Project 1
Wiring Harness using CATIA V5 - Project 1
Routing for side door panel
Connector Selecting
- First we need to check whether the Connectors are provided by the supplier .
- If not we need to decide the type of connector that is required as per the varies specifications
- The decision is made by considering the female connector which is coming by the part itself
- The connectors are downloaded from the tyco.com website
- Here for this project I have used one connector which we keep as a dummy connector
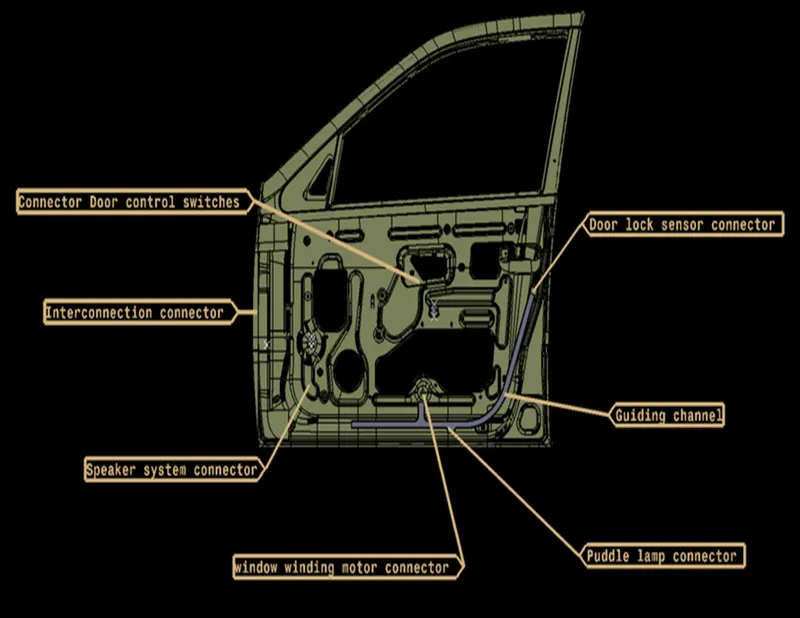
- Here we need 5 connector and 1 inter connector so that we can connect
- Speaker system connector
- Window winding motor connector
- Puddle lamp connector
- Door sensor connector
- Connector door control switch
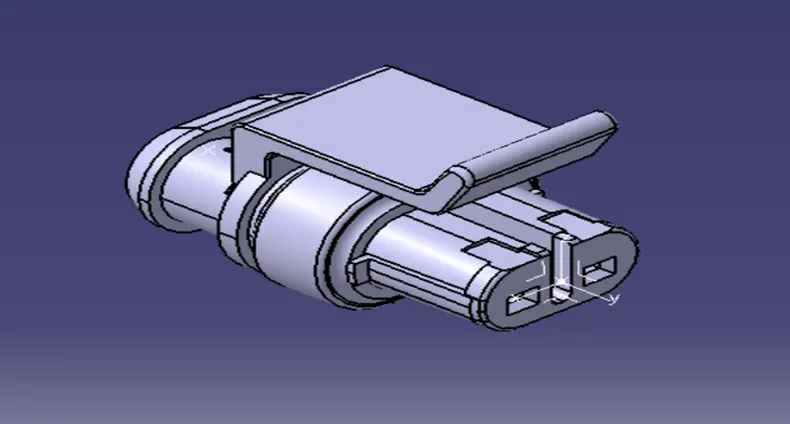
C-282080-1
- Now we need to Electrical define the connector and also the following other supporting devices
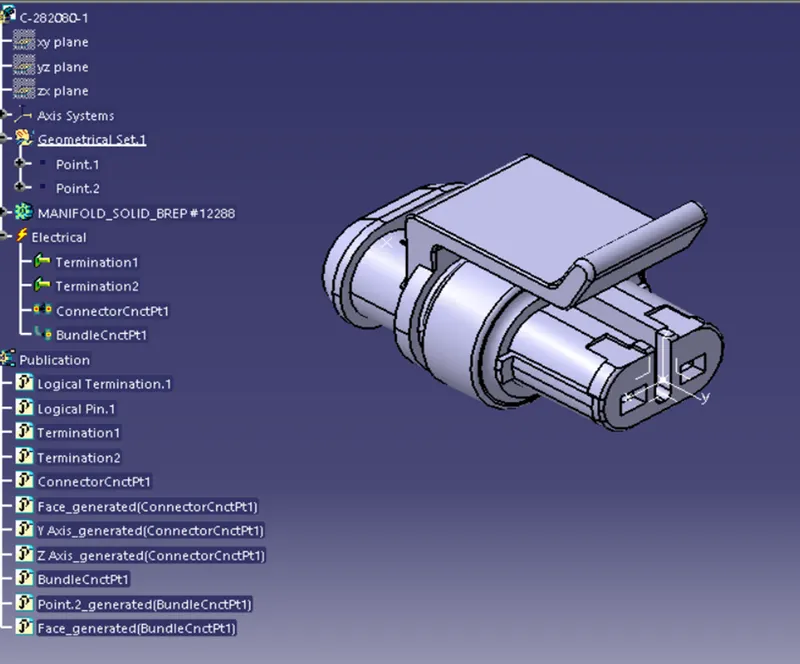
Supporting components
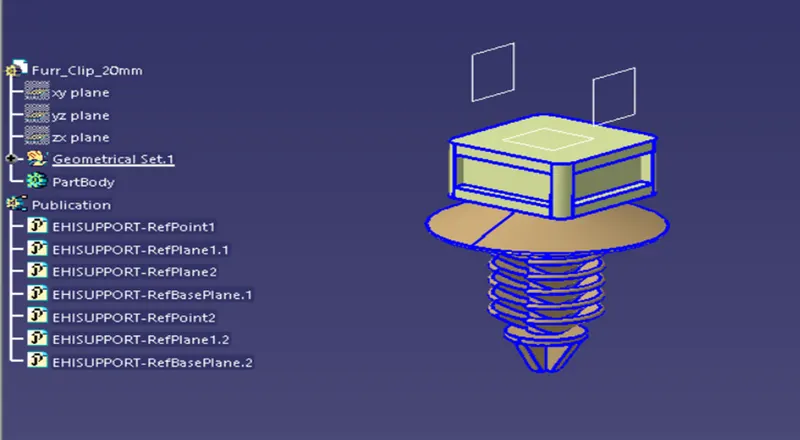
Furr clip
- The furr clip is used to support the bundle harness towards all the connectors
- It is also electrical defined
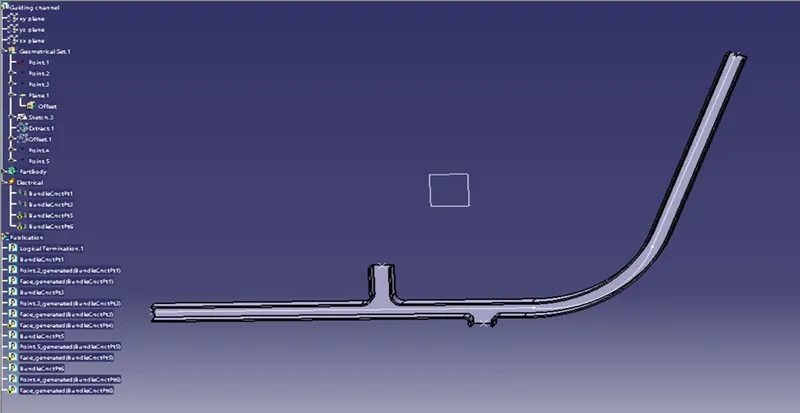
Guiding Channel
- This guiding channel also works as a support for the harness
- This channel is also used to electrical defined
Door Panel
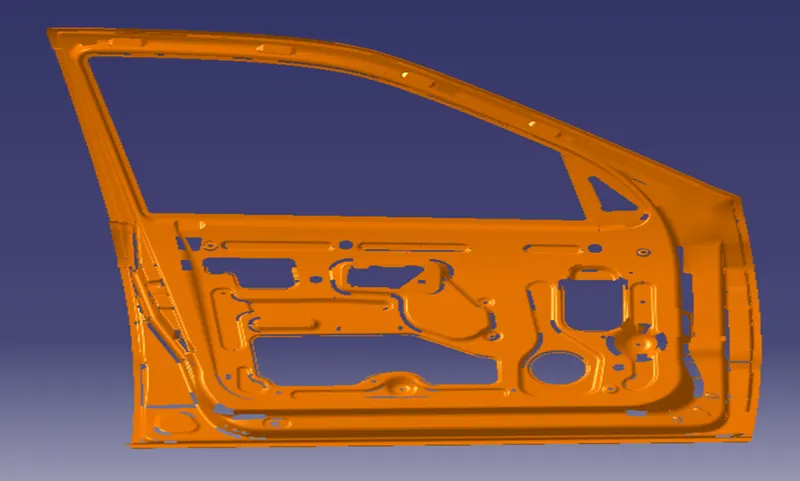
- For the given Door panel we need to first assemble the connectors which is given below
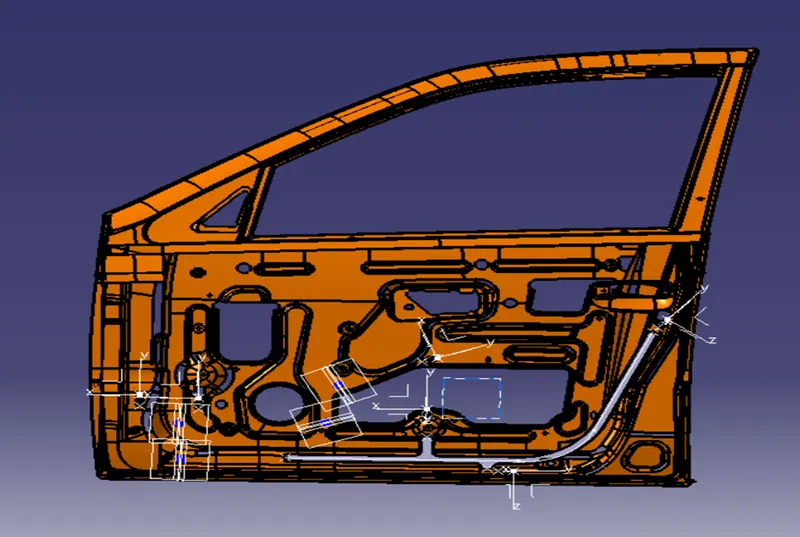
- By using the Mechanical assembly workbench we can place all the connector in the panel
- The placed view is shown below
- Now the wiring harness is done
- From starting the interconnector we can start the harness and connect all the connector
- Once after connecting we need to check the bundle connectivity
Electrical flatneing
- After checking all the bundles we can now go to the electrical flattening
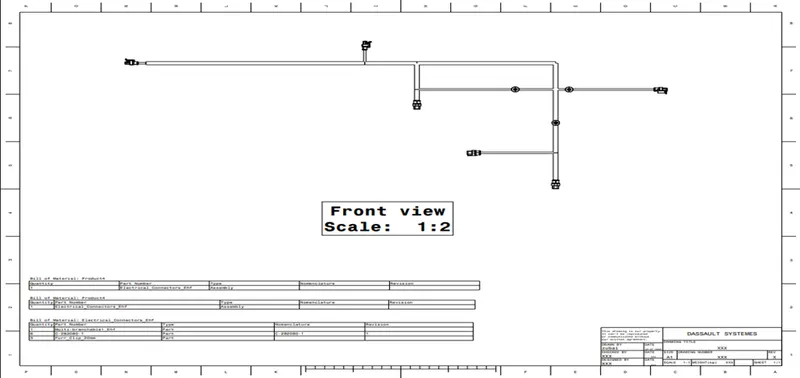
- Finally we can draft all the bundles