Preparing Schedule & Cost Estimation for a building using REVIT
1) Use the shortcut keys in Revit discussed in class to complete the following tasks and list them below
a. Using 3D model create a section box
b. To create similar doors and windows in a floor plan layout
c. To reduce the thickness of lines visible in plan views
d. To apply override settings to a floor in the model section view
e. To increase the range of visibility in a plan view
f. To select the previously selected items
g. To add annotations to the model views
h. To bring the model elements inline
i. To rotate the model elements
j. To move an object to another location
k. To copy a model element
l. To mirror an element about an axis
m. To create an array of model elements
ANSWERS:
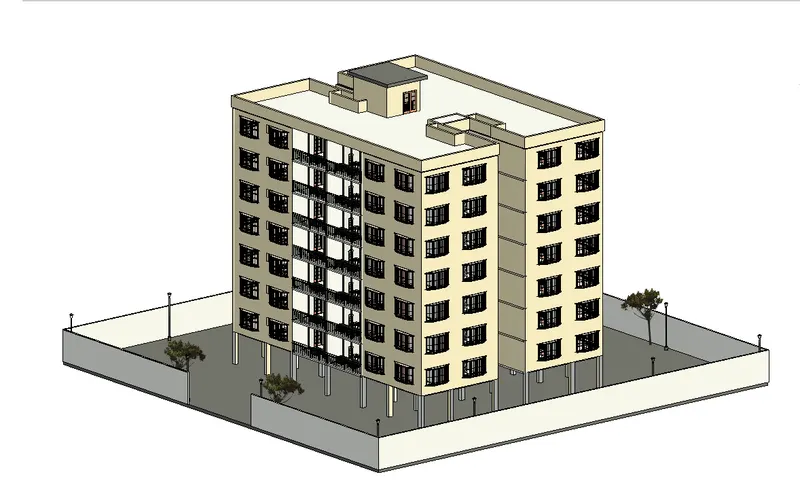
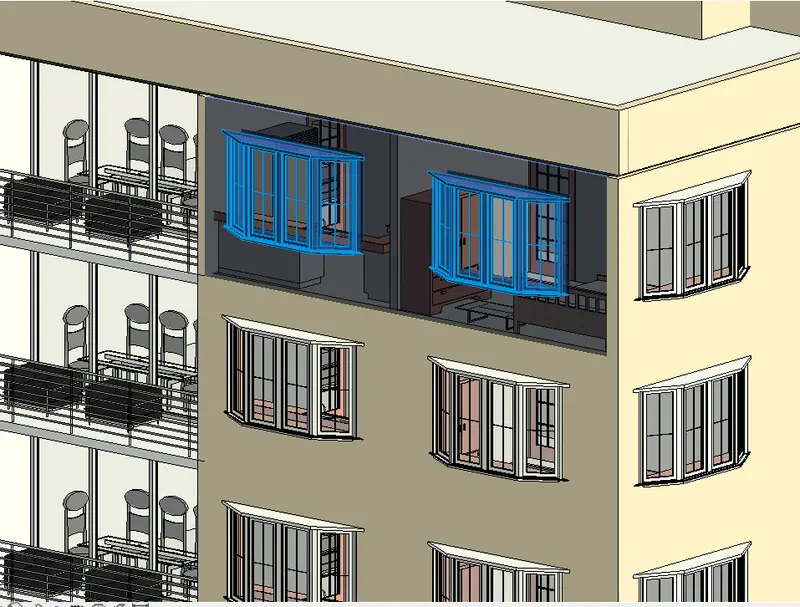
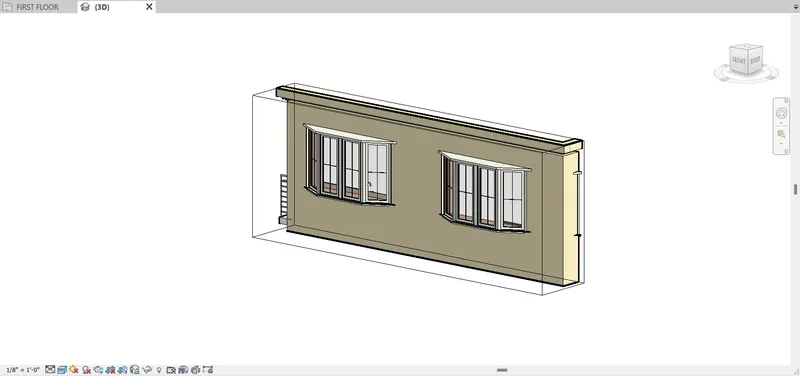
a. Using a 3D model create a section box
STEPWISE PROCEDURE:
- Open the 3d model of our project
- Select all the elements you want to put into the section box.
- Once you have clicked on all the required elements that you want to contain into the box for further edits, hit the "BX" on your keyboard and a section box with your required elements will be created.
b. To create similar doors and windows in a floor plan layout
STEPWISE PROCEDURE:
- Open the typical floor plan layout of your project.
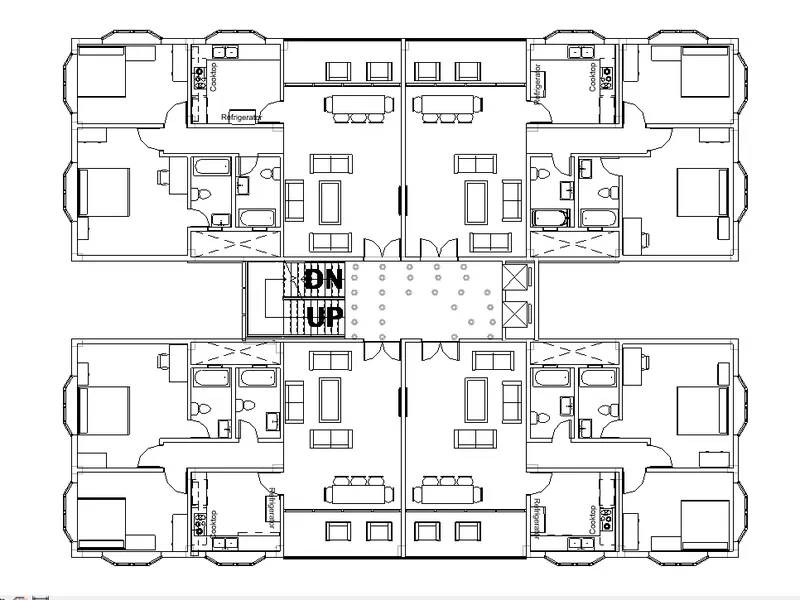
- Select the element you want to create similar of.
- In our case, we have chosen to create similar windows to place in the buildings.
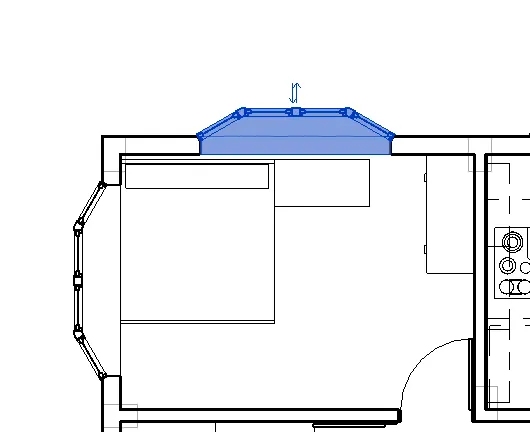
- After selecting your model element, type in the "CS" command on your keyboard.
- Once hit the CS, Revit automatically created the similar of the selected element with all the matching families and properties.
- Now you can place the similar element wherever you want into your project.
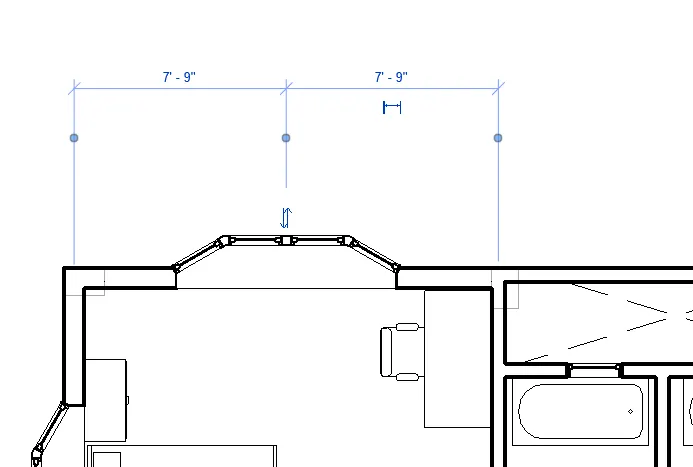
- Now, follow the same procedure and create similar doors in the project.
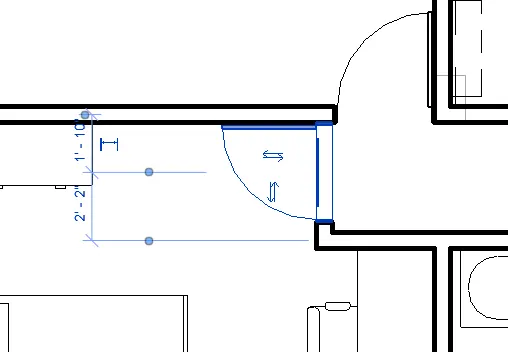
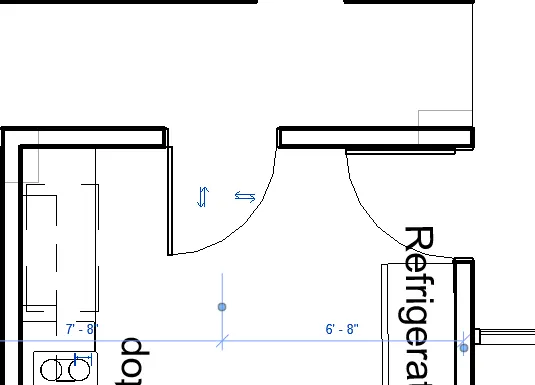
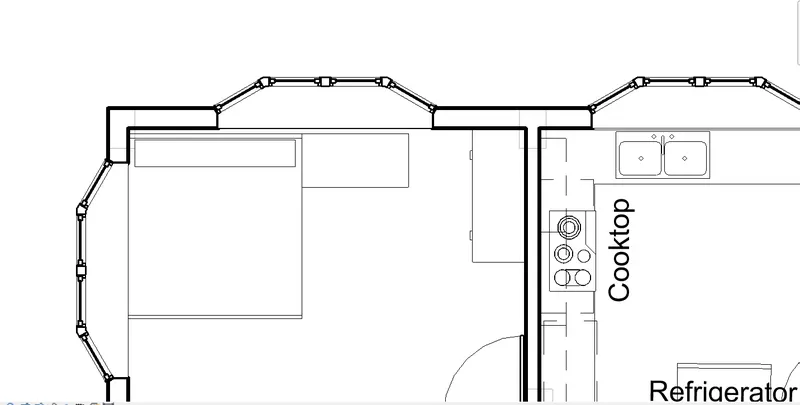
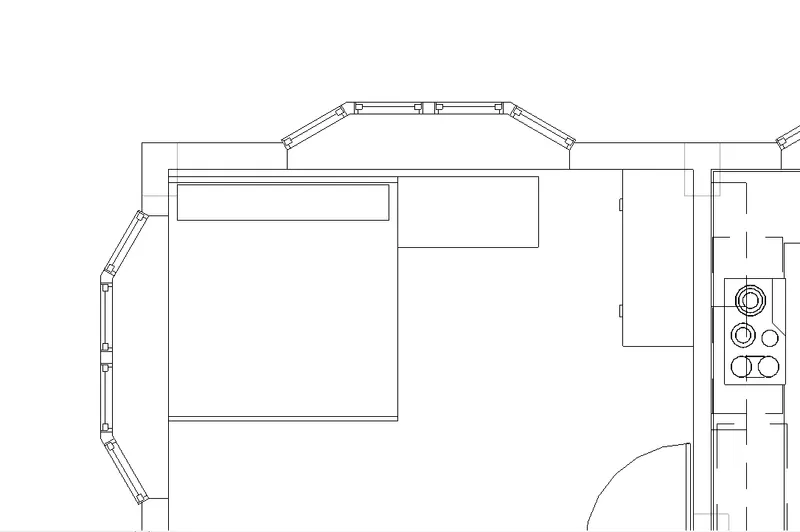
c. To reduce the thickness of lines visible in plan views
STEPWISE PROCEDURE:
- Zoom in to the floor plan to see if the lines are thick or thin.
- And to change the line state from thick to thin hit "TL" on your keyboard.
- All the thick lines shall automatically be converted to thin and vice a versa.
d. To apply override settings to a floor in the model section view
STEPWISE PROCEDURE:
- Type in "VV" on your keyboard, a visibility graphics dialogue box will open as follows:
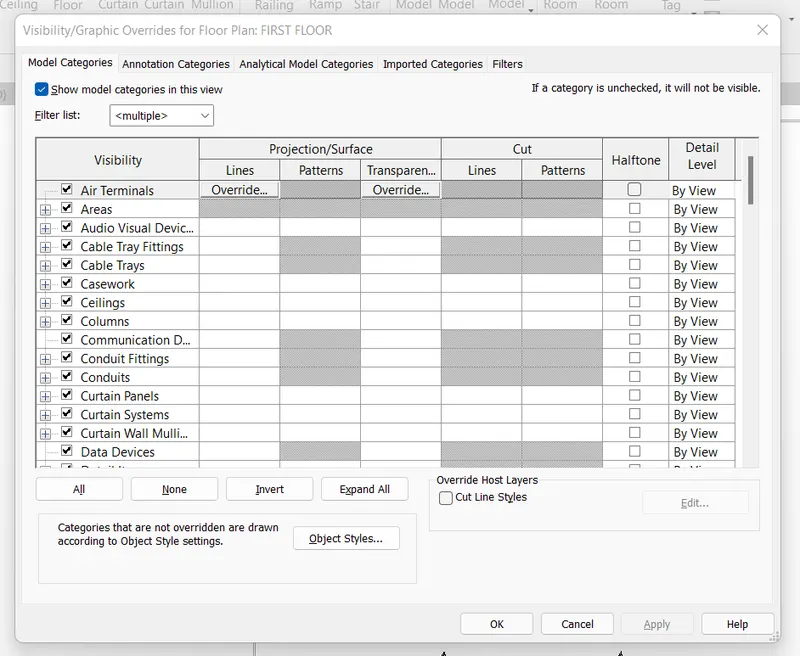
- From the same panel, look for the floors option and select it.
- Once you select the floors, the override graphical settings option will appear.
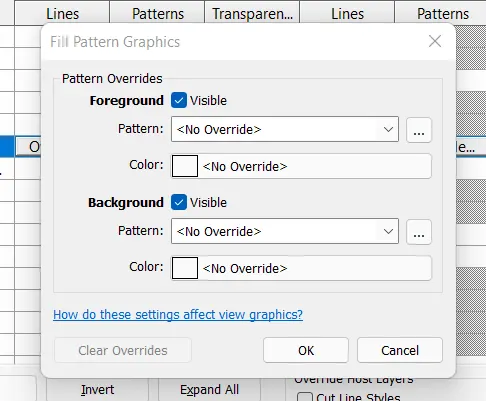
- You can then click on the same option to override the floor pattern into your project plan.
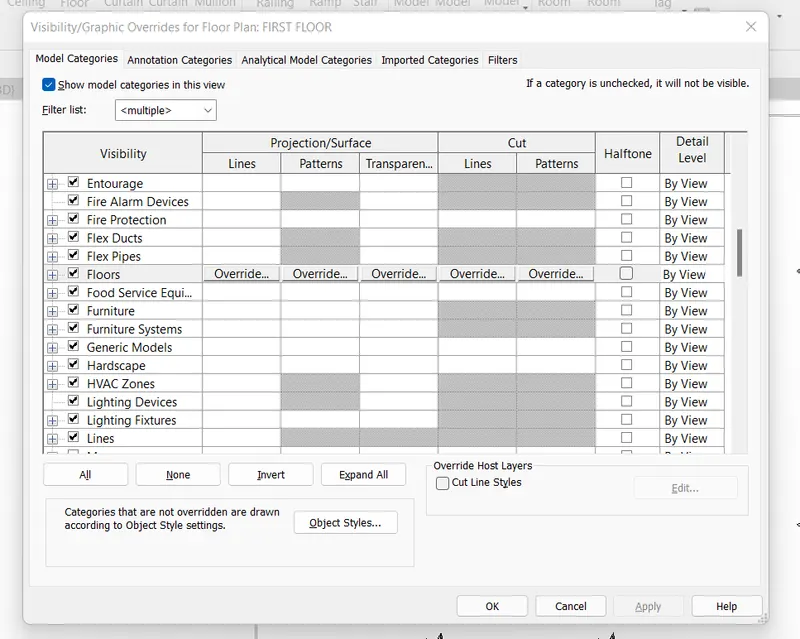
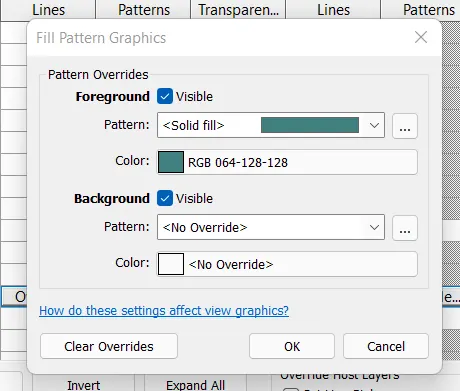
- Once you click on the override patterns, several options will pop up where you can change the pattern as well as the color of your floors in the typical plan.
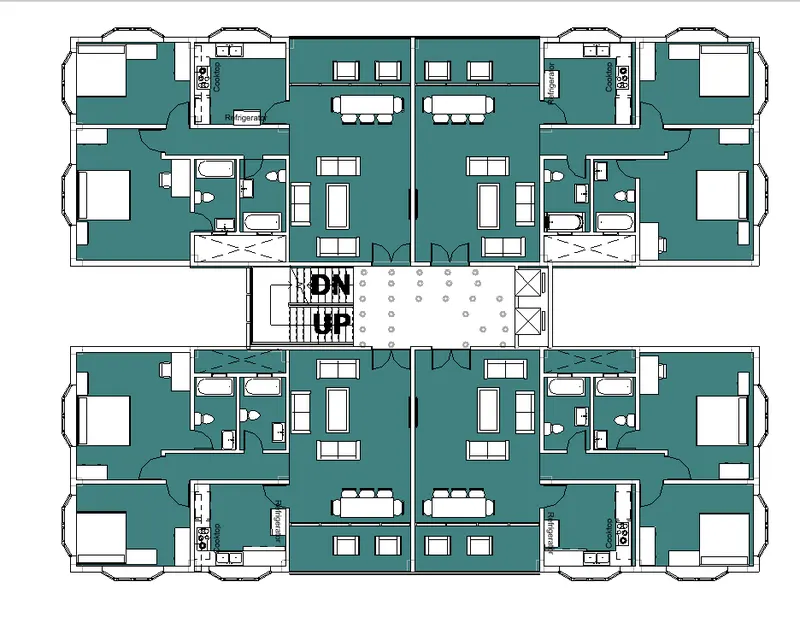
- So, we have done the following settings into the floors and changed the pattern of the floor as a solid fill.
- And the color we have chosen is RGB- 064-128-128.
e. To increase the range of visibility in a plan view
STEPWISE PROCEDURE:
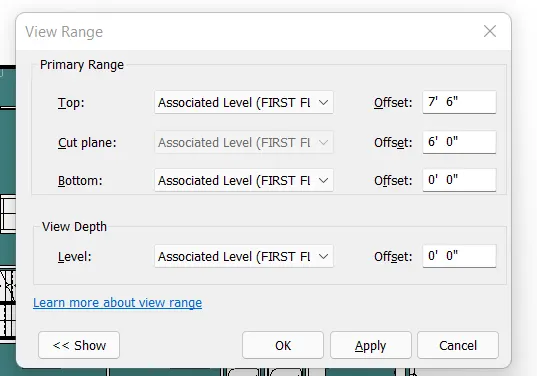
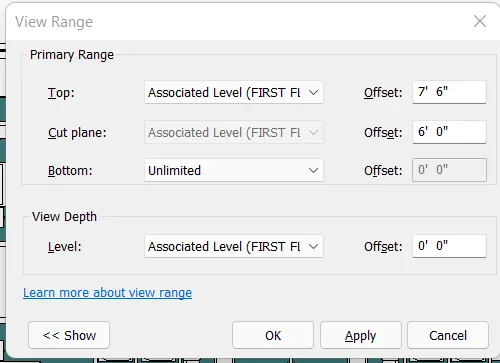
- Type in the "VR" command to invoke the view range settings in Revit.
- There are primarily two range setups, the top one and the bottom one.
- The top one is usually set up somewhere below the ceiling height whereas the bottom range is at the associated level elevation.
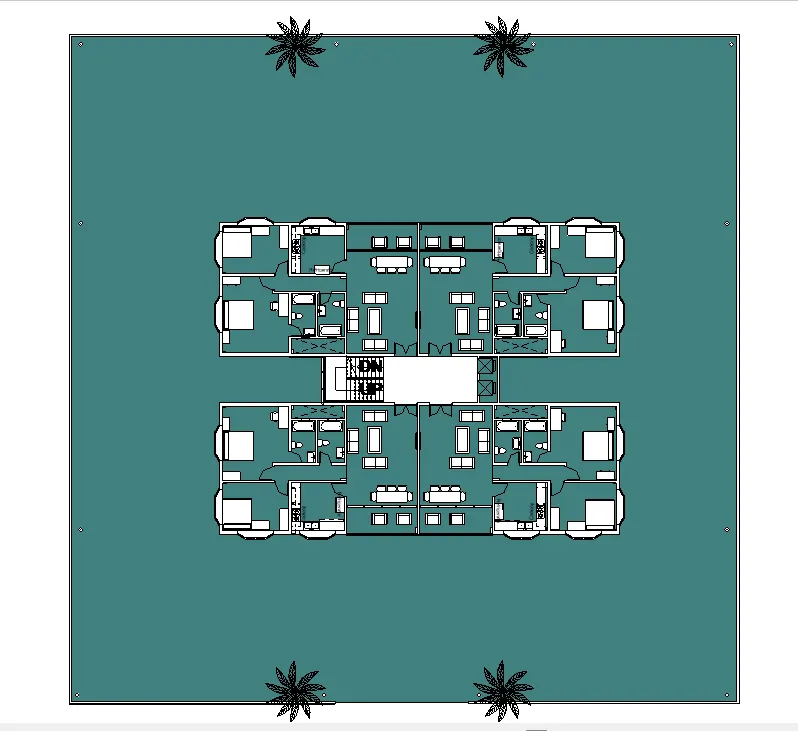
- So, to alter the settings, you can manually type in the elevation your want to see upto. Or, you can select the unlimited option available in the dropdown menu.
- So, we have selected the unlimited option for the bottom range and results are inserted below:
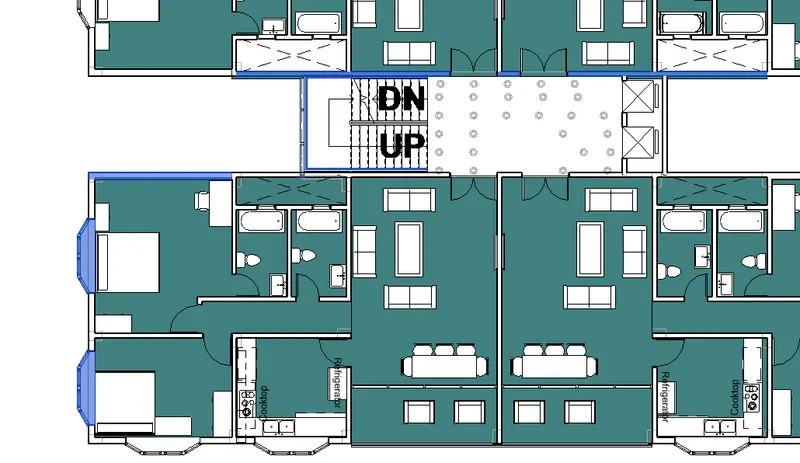
f. To select the previously selected items
STEPWISE PROCEDURE:
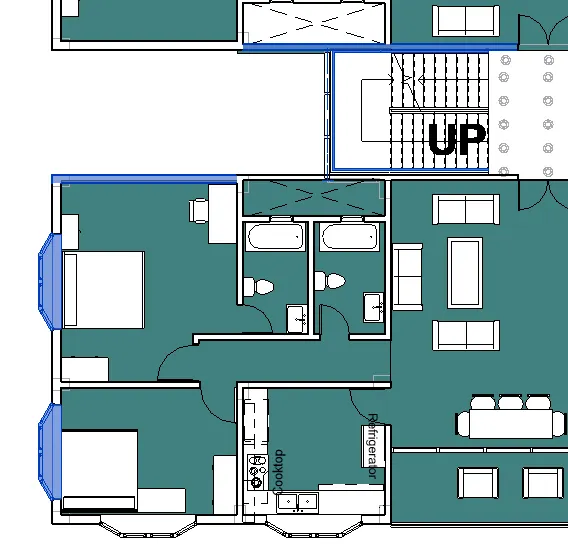
- When you are selecting multiple objects in Revit by using the control button, there are chances that you will lose the selection process by mistakenly clicking somewhere else.
- Therefore, there is a way to restore your selection by hitting the shortcut keys in Revit.
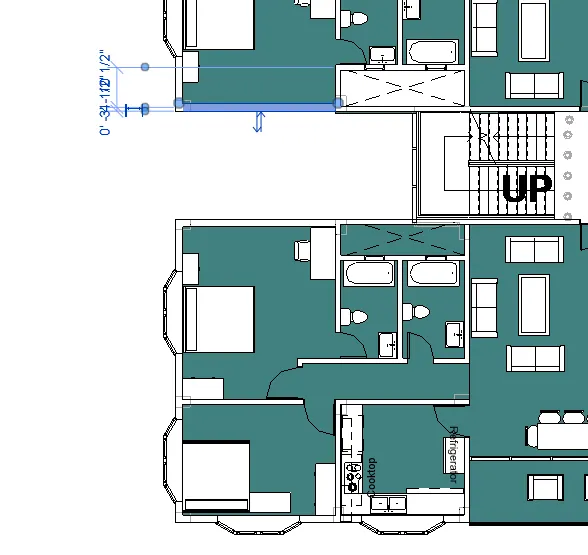
- So, you can bring back your selection elements by hitting the ctrl+left arrow buttons on your keyboard.
- Hence, the following procedure is followed to revoke the previously selected objects and the results are inserted below:
g. To add annotations to the model views
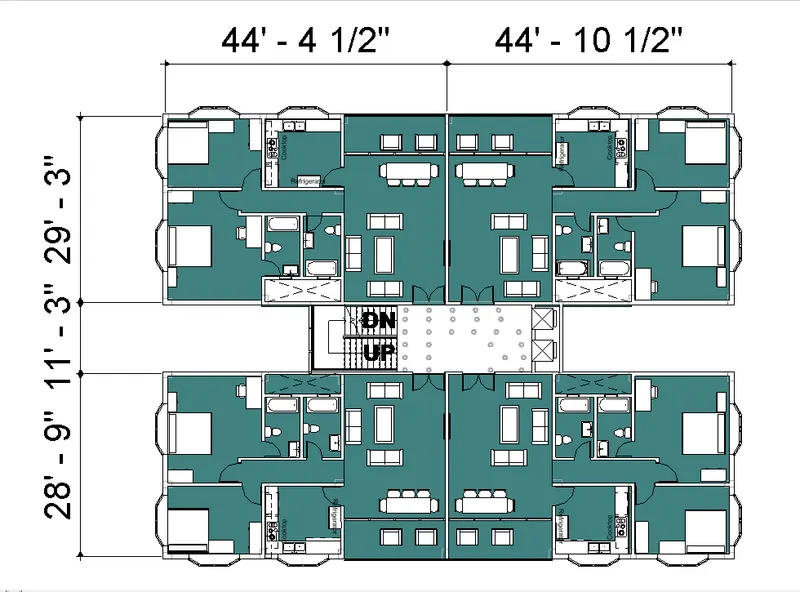
STEPWISE PROCEDURE:
- To place annotation dimensions in Revit, simply type in "DI" on your keyboard.
- Then, change the settings as per your convenience like where do your want dimensions to be.
- You can choose from options like wall faces, wall centerline, wall core, etc.
- After completing the setup, simply click the walls in the floor plan and measure the distance required.

h. To bring the model elements inline
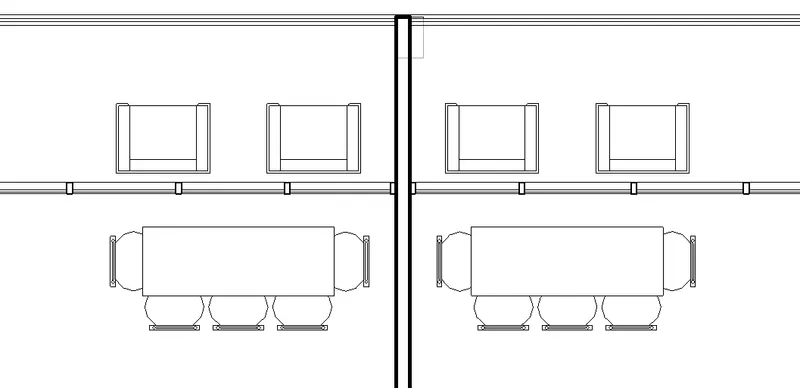
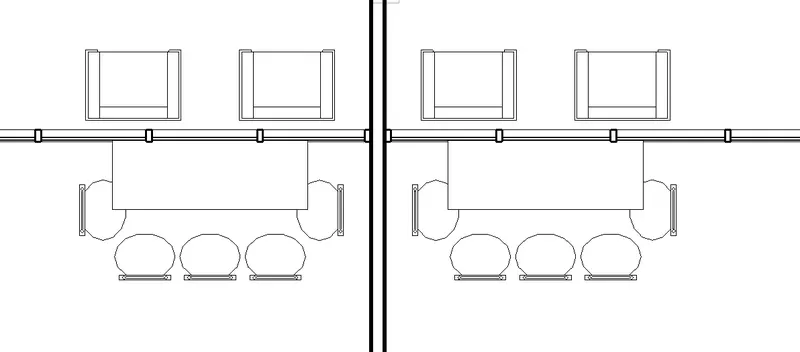
STEPWISE PROCEDURE:
- There is a shortcut in Revit to bring your model elements in one line.
- The tool is the align tool and the shortcut key is "AL".
- So, when you press AL on your keyboard, you should first select the reference line where you want to bring your model elements,
- Then after that, select the element you want to align or bring into the line.
- Thus, the same procedure was followed and a dining table was aligned to a wall adjacent to it in the following manner.
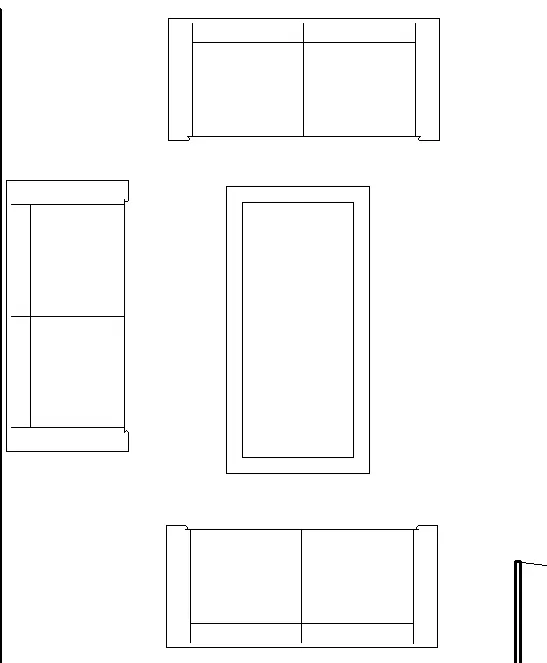
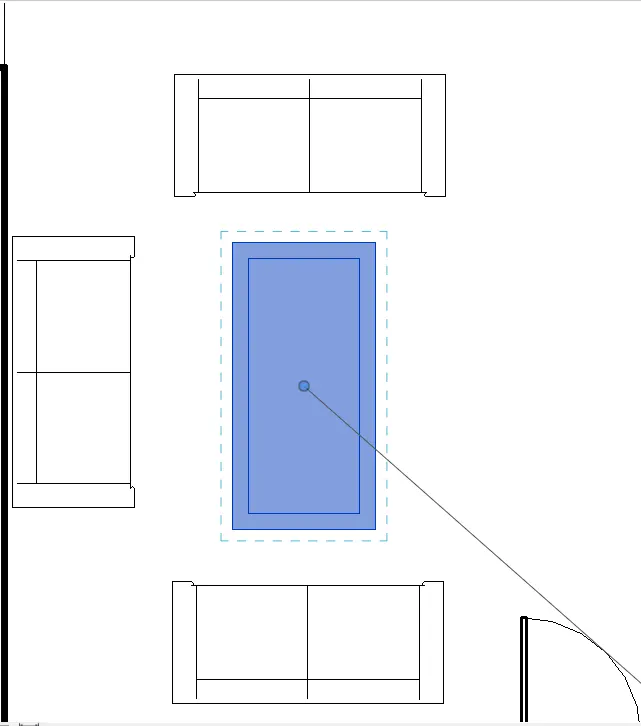
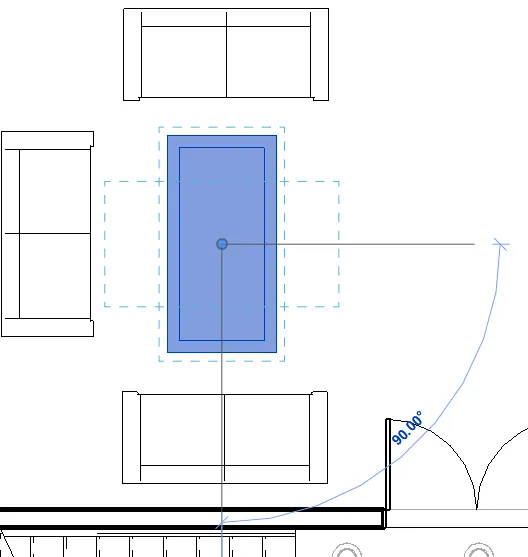
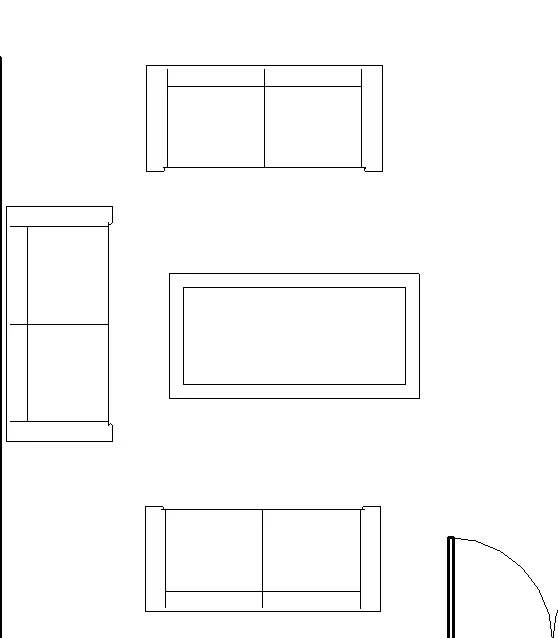
i. To rotate the model elements
STEPWISE PROCEDURE:
- Select the object you want to rotate.
- Hit the "RO" on your keyboard.
- Specify the rotation angle and direction with the help of the line invoked within the rotate command.
- Reference images depicting the same procedure are inserted below:
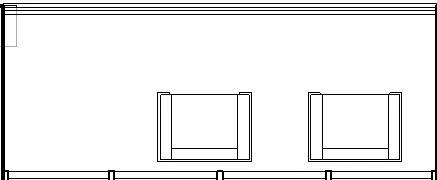
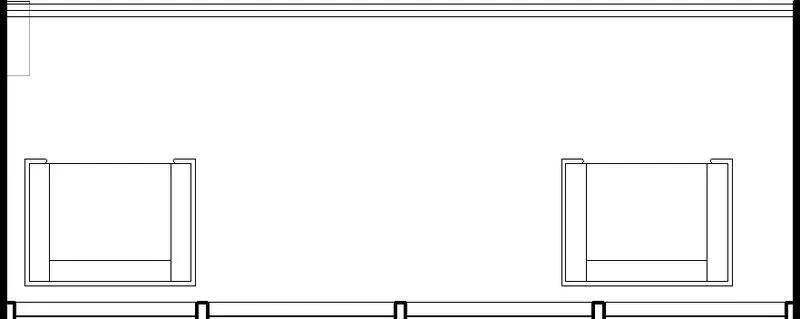
j. To move an object to another location
STEPWISE PROCEDURE:
- Select the object.
- Press "MV" on your keyboard.
- Select the reference point within the model element.
- Specify the point to which want to move the object.
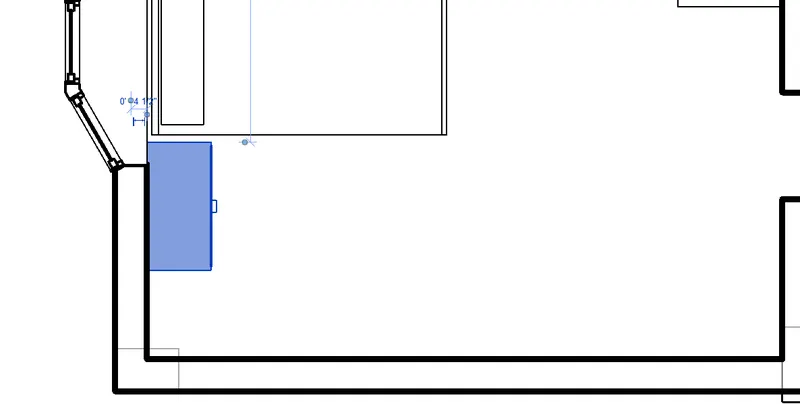
k. To copy a model element
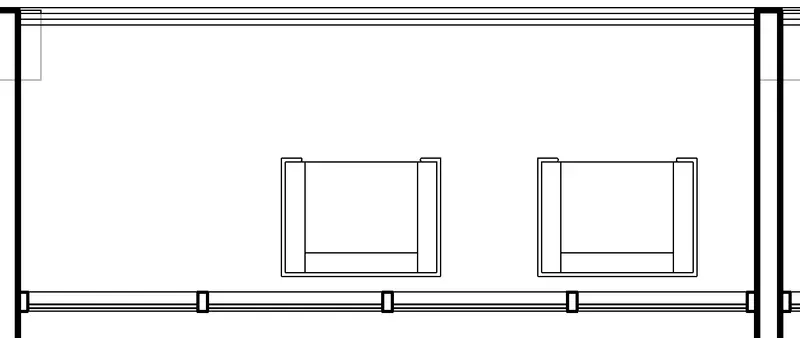
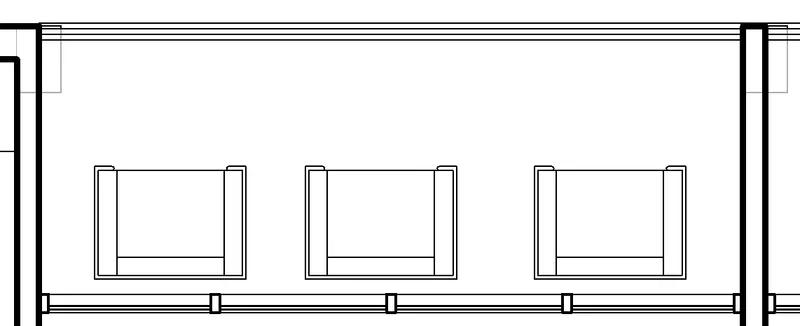
STEPWISE PROCEDURE:
- Select the model element that your want to copy.
- Hit "CO" on your keyboard.
- Specify the reference point.
- Check the multiple option from the settings.
- Make as many copies you want to make of the object and place them accordingly within your project.
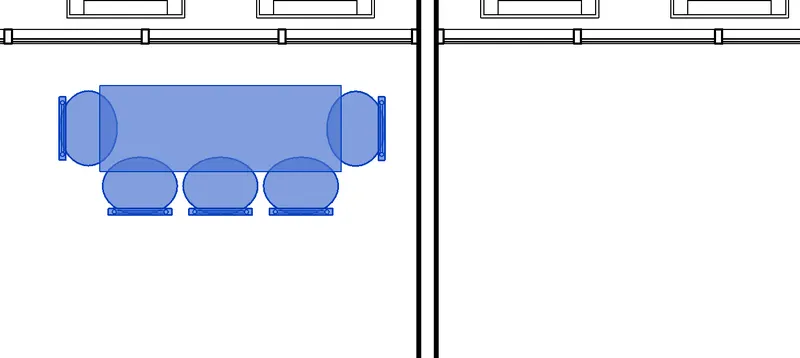
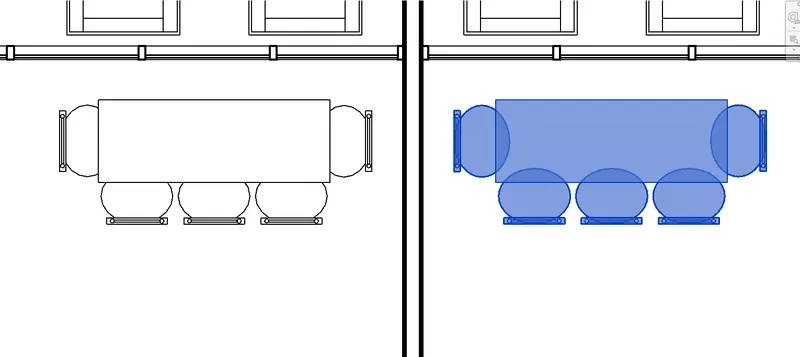
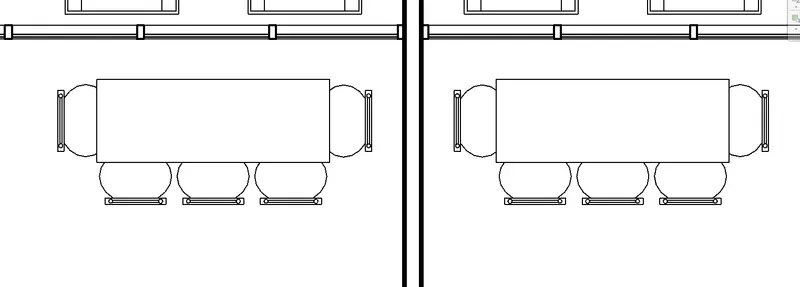
l. To mirror an element about an axis
STEPWISE PROCEDURE:
- Select the model element.
- Press the shortcut key "MM" or "DM" for mirroring.
- When you press MM, you can select any wall or line as the mirror axis.
- When you press DM, you can draw the mirror axis manually as per the need for mirroring.
m. To create an array of model elements
STEPWISE PROCEDURE:
- Select the model element to be arrayed.
- Press the shortcut key "AR" to invoke the array command in Revit.
- Specify the number of copies you want from the settings panel.
- Then, define the path and the distance for the array and done.
- You can further revise the number of copies and the distance when your select the array elements once again.

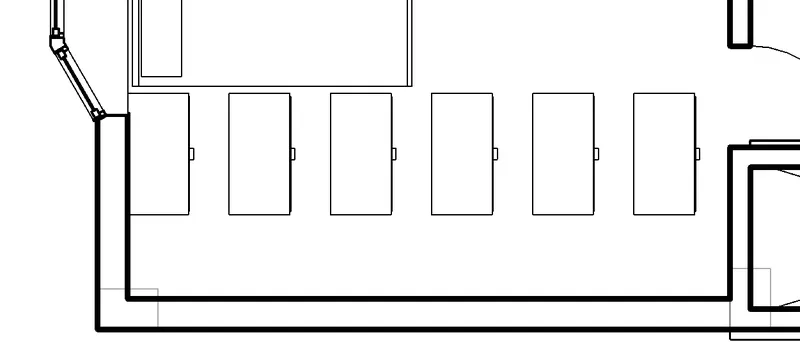
2) Using Revit and the project used from week 6 to 8 prepare a schedule for the following
a. Walls
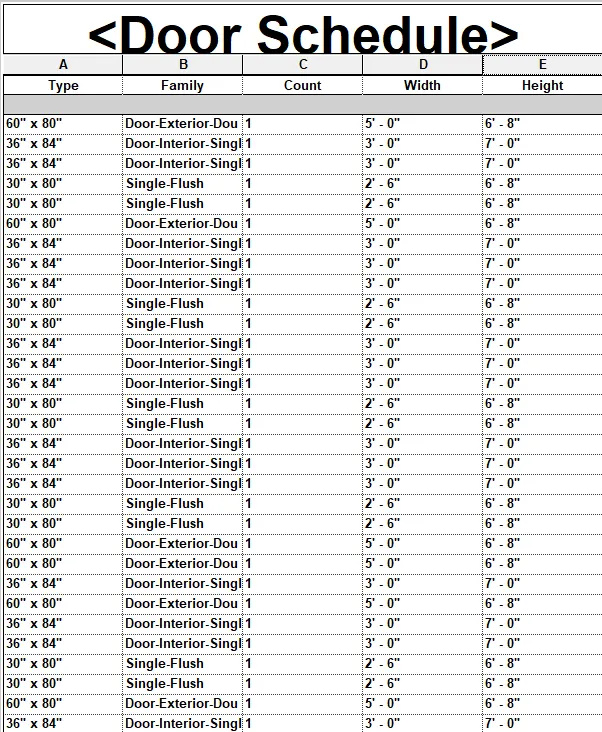
b. Doors
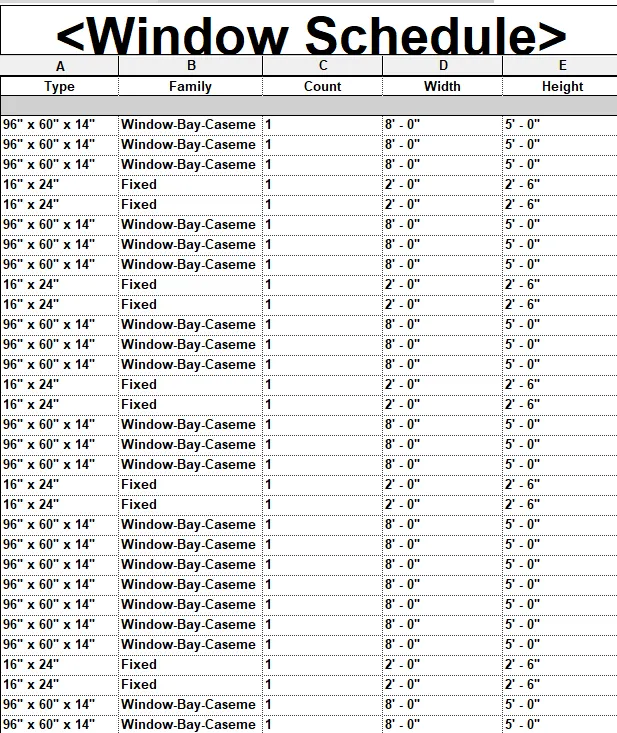
c. Windows
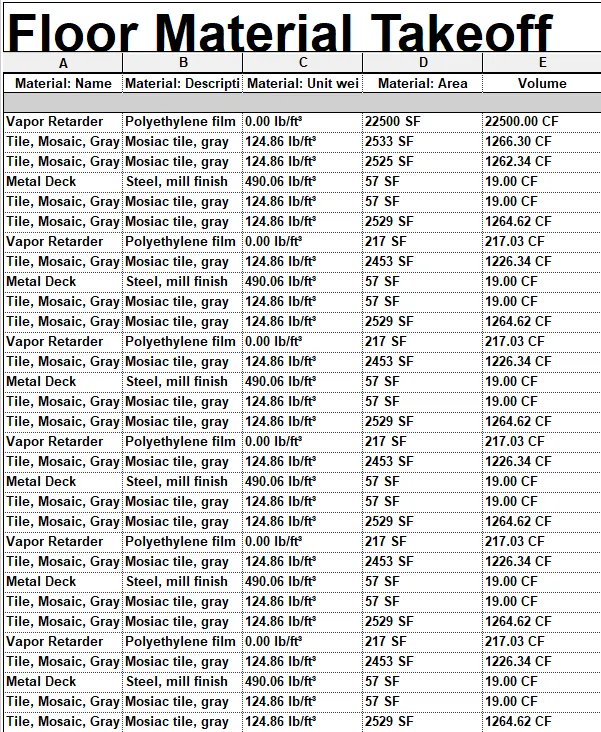
d. Material – Concrete/Wood
ANSWERS:
a. Walls
STEPWISE PROCEDURE:
- Invoke the scheduling operation in Revit.
- Go to the View tab and look for the schedules option.
- Click on the dropdown menu and select the schedule option from the same.
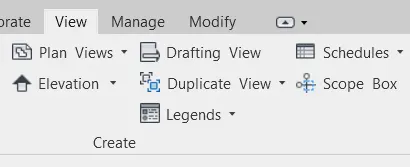
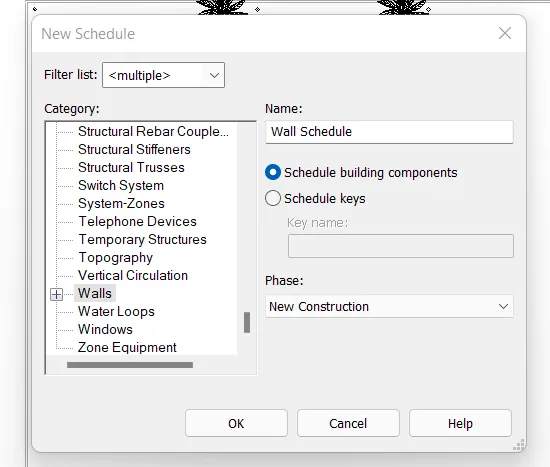
- Select the type of schedule you want to create.
- Revit gives you several options regarding materials, model elements, and many more to create the schedules of.
- As mentioned in the question, we will select the wall from the list as we want to create the schedule of the walls to be constructed in the project.
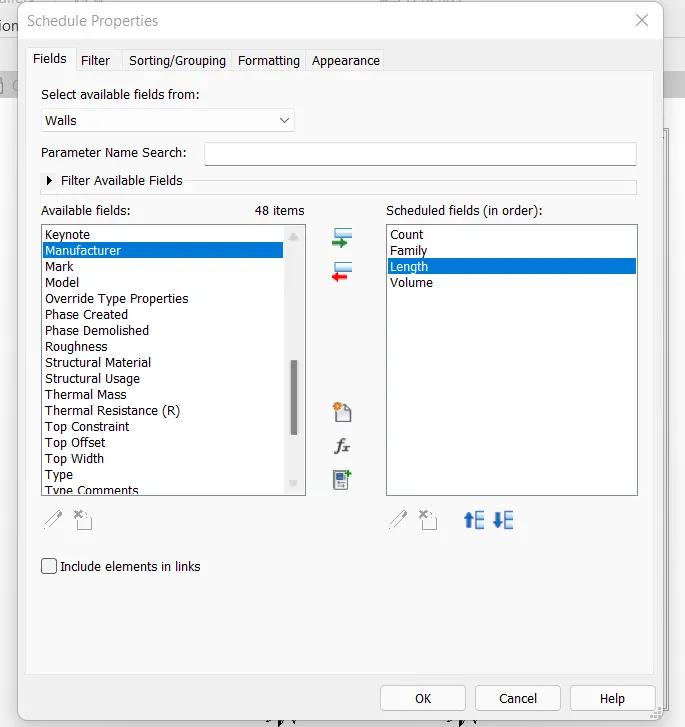
- Enter and arrange the fields you want to include in the schedule.
- After selecting the schedule category, now you can choose the fields you want to make appear in your schedules.
- You can choose from a variety of options like type, family, count, area, description, volume, etc.
- Also, you can arrange them into a particular order as per your wish or standard to be followed in the industry.
- Hence, we have chosen all the relevant columns we want to prepare along with the wall schedule.
- Click OK and complete the schedule.
- Once you have entered all the fields as demanded for the project and you have also arranged them into an organizational order, you can hit ok.
- After hitting the OK button, a new window containing the schedule as specified will open up in your Revit project.
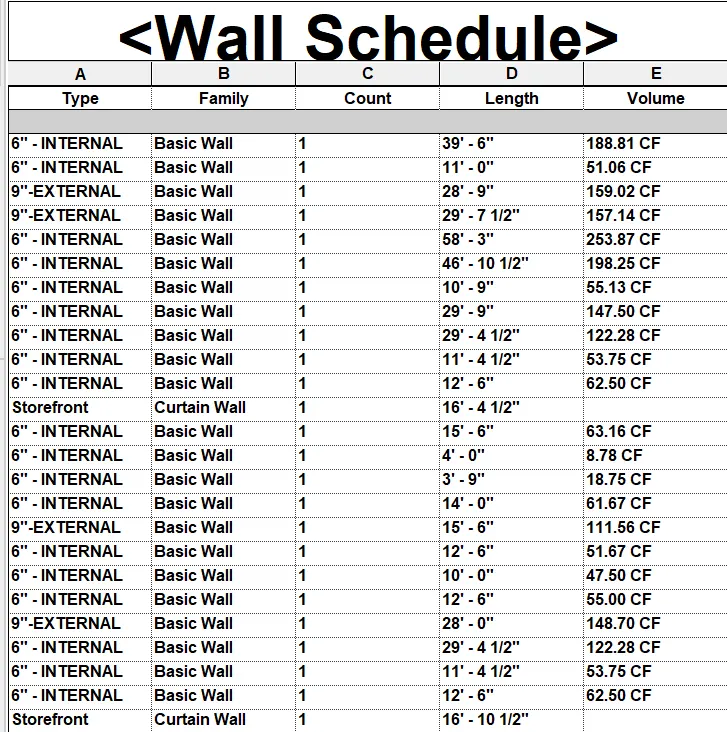
Now, follow the exact procedure and take out the schedules for all the elements mentioned in the question.
DOOR SCHEDULE:
WINDOW SCHEDULE:
FLOOR MATERIAL TAKEOFF
3) Using Revit Calculate the area and volume of each room in the model with appropriate room tags applied to each room. Prepare a schedule report for the area and volume of each room.
STEPWISE PROCEDURE:
- Add room tag with area and volume inserted
- Go to the Architecture tab and look for the room tag option.
- From the room tag option, select the tag with the area option.
- Make sure to separate each room before placing the room tag.
- Once you have separated every room from one another with appropriate boundaries, start placing the room tag with area and volume accordingly.
- Prepare the room schedule
- Just like we created the schedule for different model elements in the previous question, go ahead and prepare one schedule for the room with area and volume included in the fields.
- Arrange the fields precisely to showcase different information in relation to the area and volume of different rooms.
ROOM SCHEDULE:
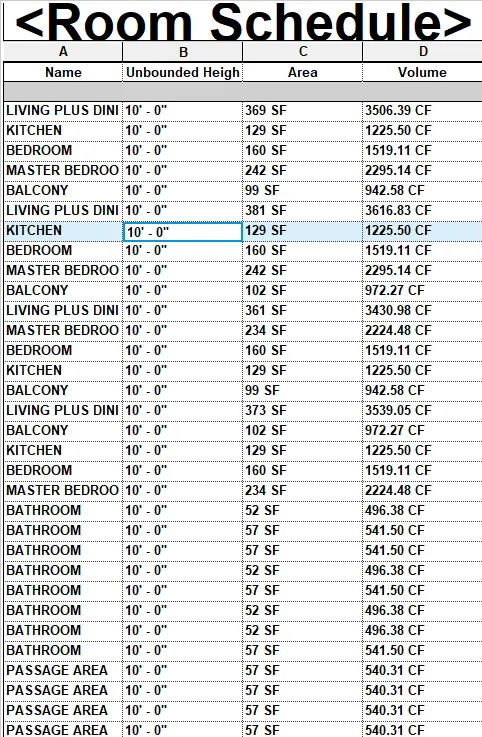
NOTE: Always keep the volume computation settings on for Revit while executing the room schedules that require volume insertion.
4) Using the same schedule using the unit cost rate for materials available on the internet, prepare the total cost of materials used in the project
a. Total Cost of Materials
b. Individual Material Takeoff
ANSWERS:
a. Total Cost of Materials
STEPWISE PROCEDURE:
- Open up the previously created schedule
- Go to the project browser and look for the schedules option.
- From the list of schedules within the project, open up anyone with the materials to find out the total cost of materials.
- For this, we have opened up the wall schedule to find out the total cost of the brick masonry.
- Insert the cost field into the schedule
- Before obtaining the total cost, you need to set up the individual cost for unit materials.
- For this, go to the dit schedule and insert an additional field for cost.
- And make sure you have assigned the appropriate cost to the relevant materials from the properties panel.
- To assign a cost to the model elements, select them and go to the edit type and scroll down to enter the cost as per the market rate of the materials.
- You can look up on the internet to find out the rate for different materials included in your project.
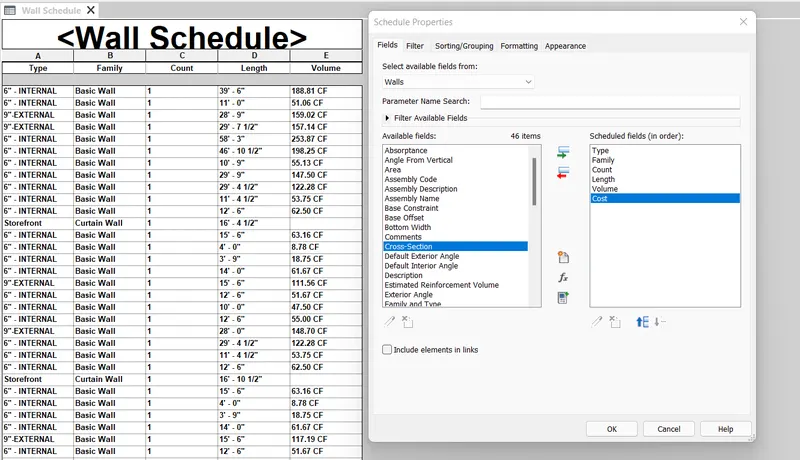
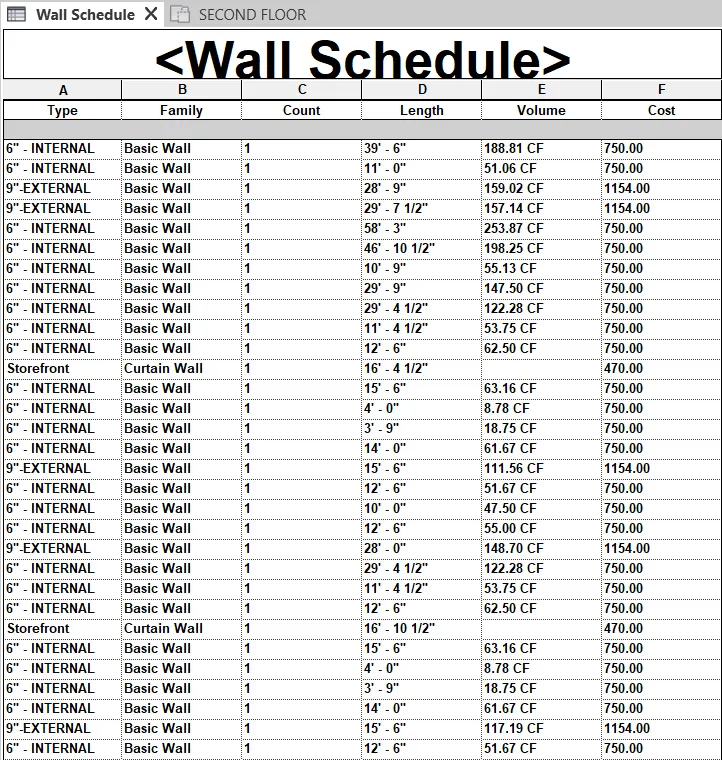
- Insert additional field for the total cost
- Go to the edit field and insert a blank field like type mark or description.
- Then rename it as the total cost.
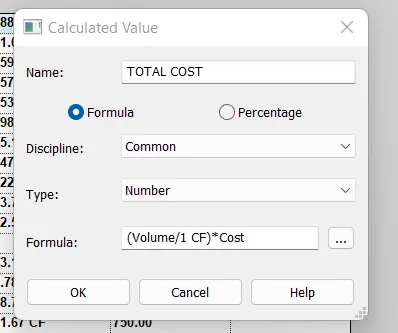
- Insert the calculated value for the total cost
- Click on the formulated option to generate a calculated value.
- A dialogue box will open up where you can insert the formula to calculate the total cost.
- In this, you need to apply the formula as volume divided by the unit into the cost.
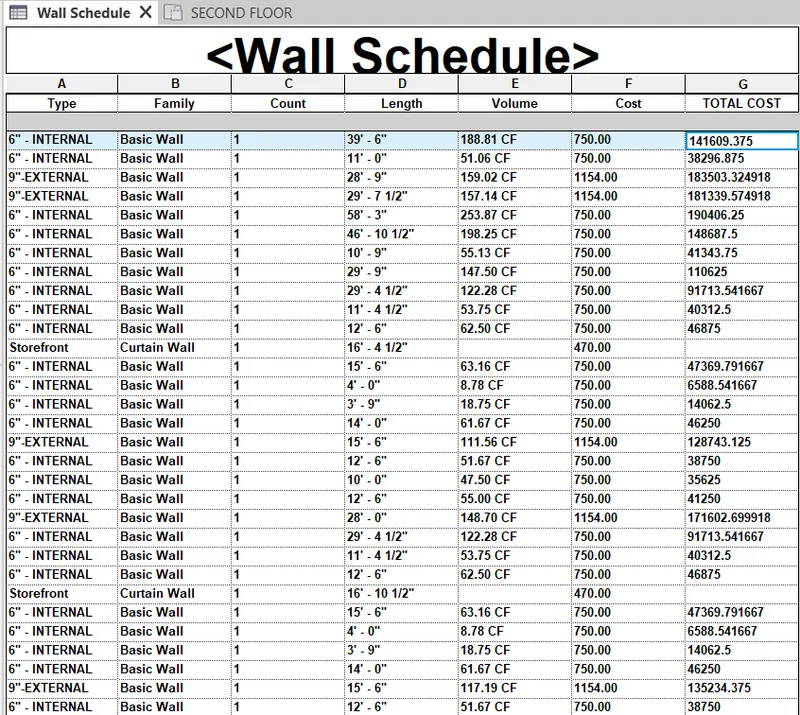
- The same procedure is followed and the total cost for the wall construction has been obtained as follows:
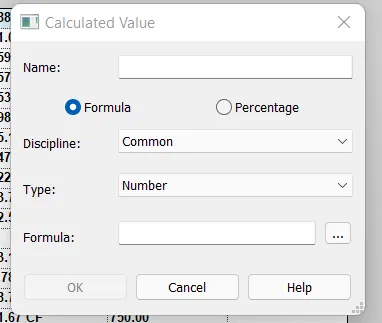
TOTAL COST FOR WALL CONSTRUCTION:
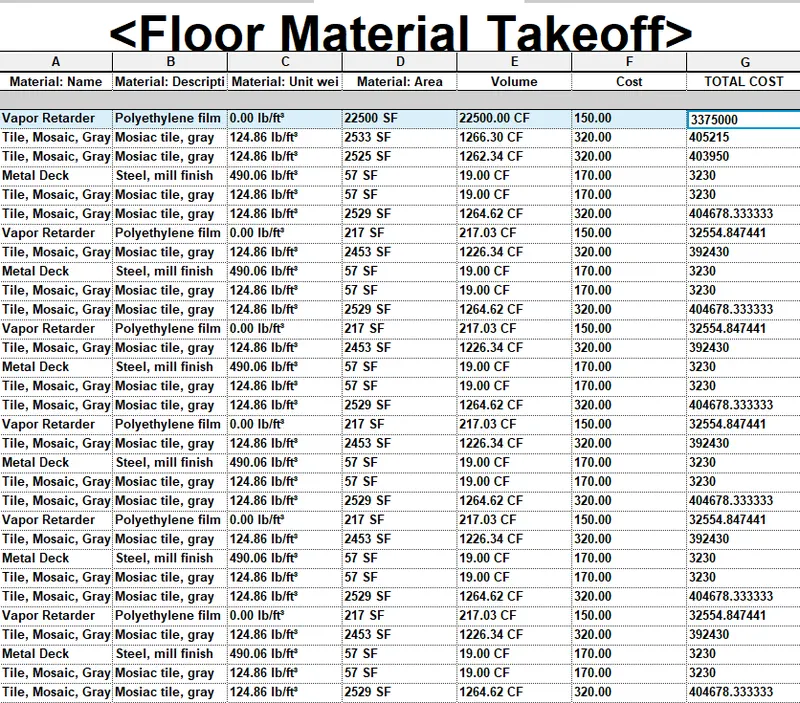
Follow the exact procedure and adopt the total cost of different materials.
TOTAL COST FOR THE FLOOR CONSTRUCTION:
b. Individual Material Takeoff
STEPWISE PROCEDURE:
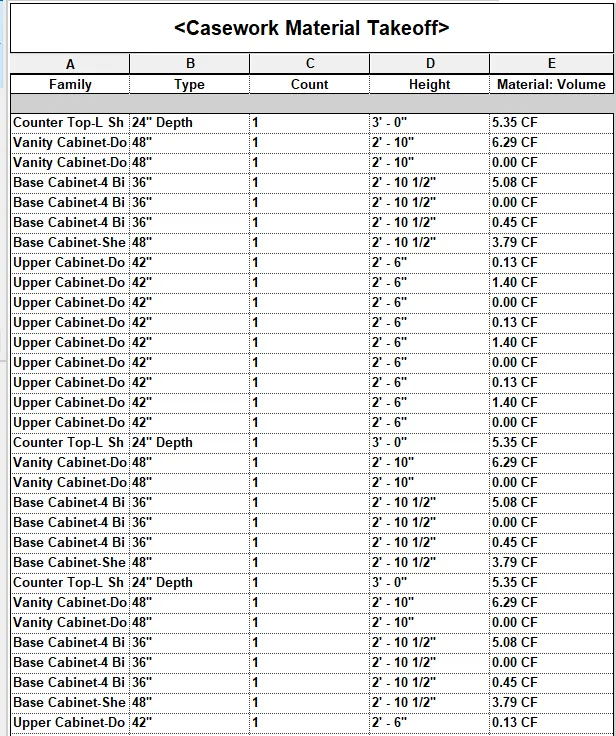
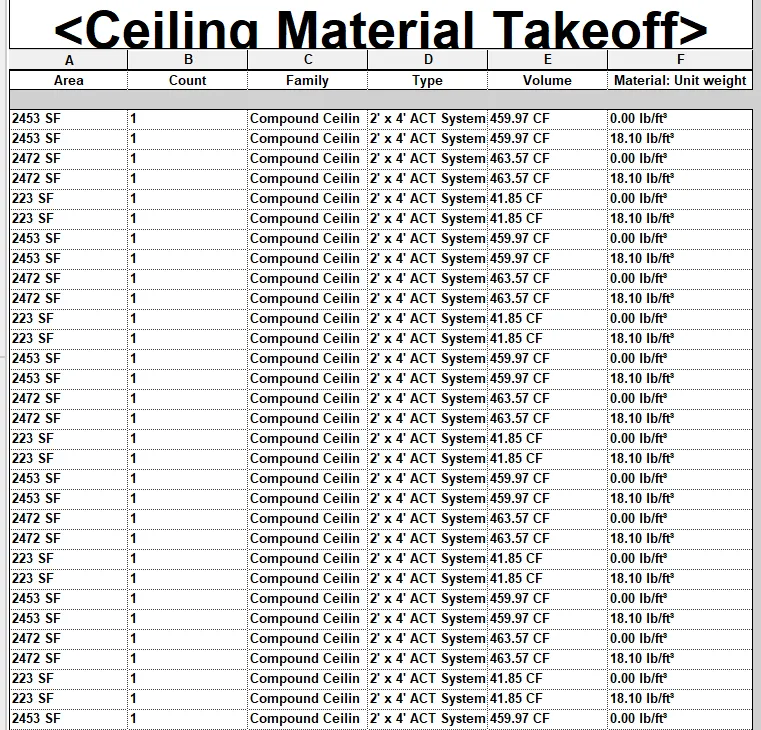
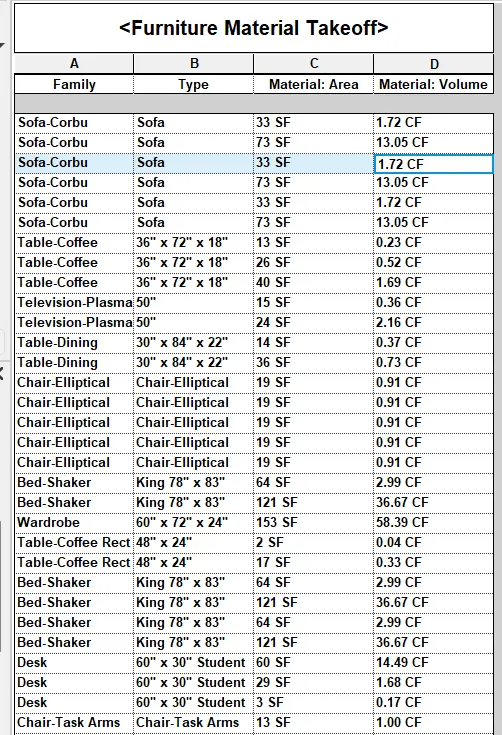
- Follow the same procedure that has already been discussed and implemented in the previous questions:
CASEWORK TAKEOFF
CEILING MATERIAL TAKEOFF
FURNITURE TAKEOFF
5) Using the concept of Visual Programming discussed in class, list a flowchart for the following scenario
a. How to decide framings for a structure using Dynamo?
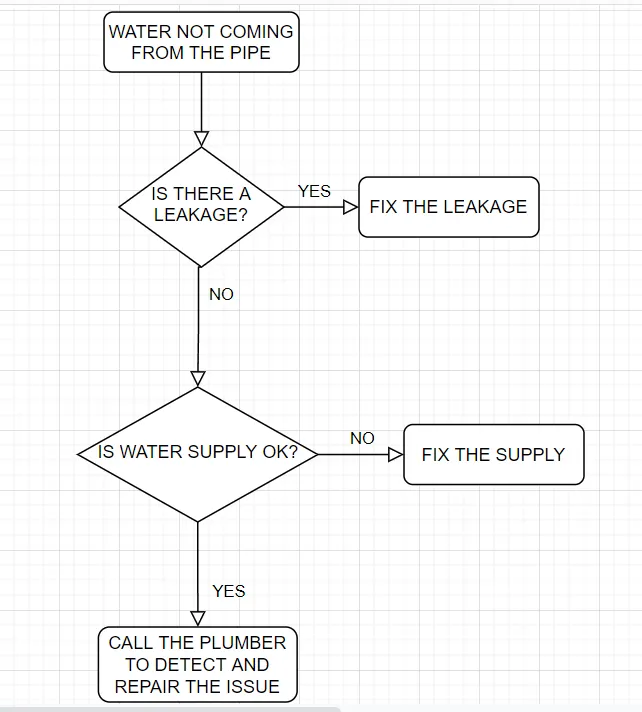
b. If there is no water coming from the pipes
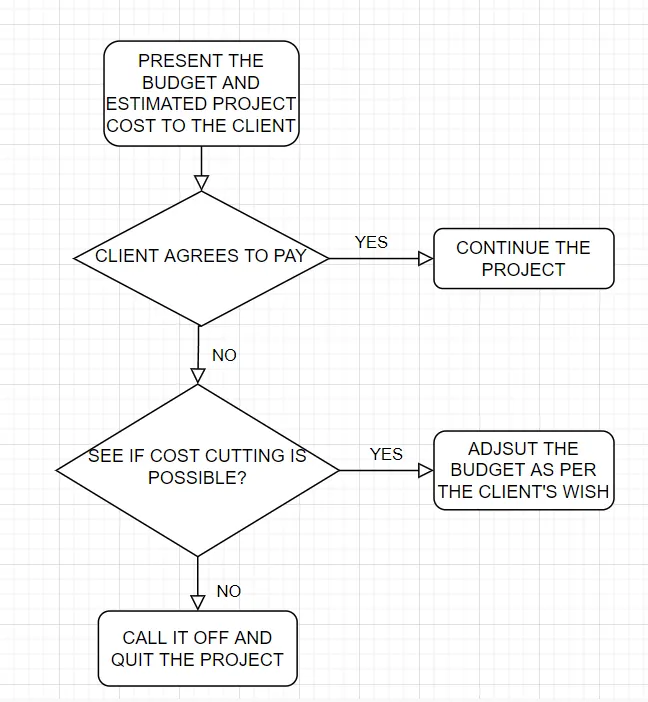
c. If a request for money from the client has been declined for the project
ANSWERS:
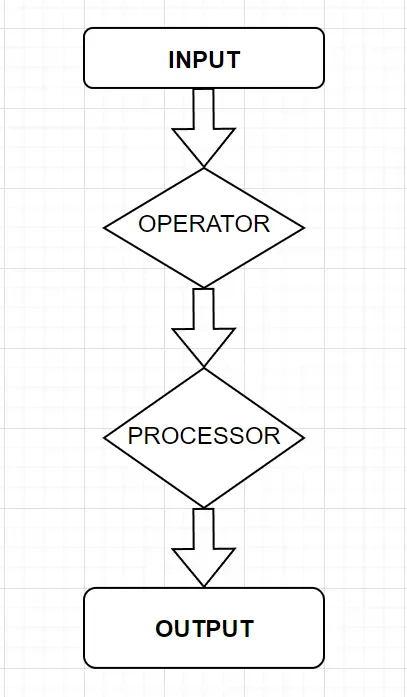
a. How to decide framings for a structure using Dynamo?
b. If there is no water coming from the pipes
c. If request for money from client has been declined for the project
6) List the parameters associated with each model element
a. Wall
b. Floor