Preparing Schedule & Cost Estimation for a building using REVIT
1. a) For using section box used shortcut BX and so section box has become visible.
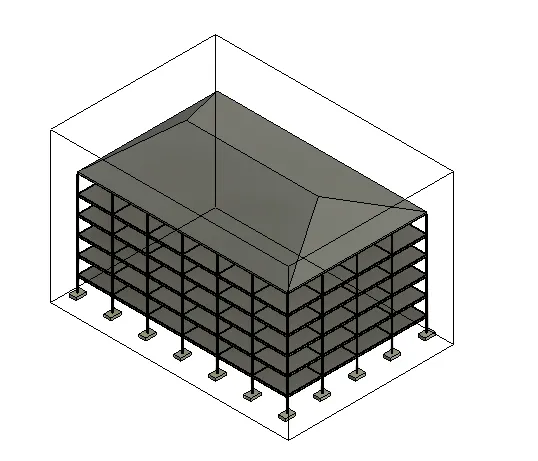
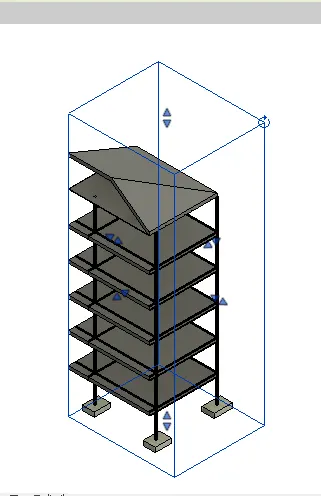
b) Now created similar door and window by using shortcut CS .
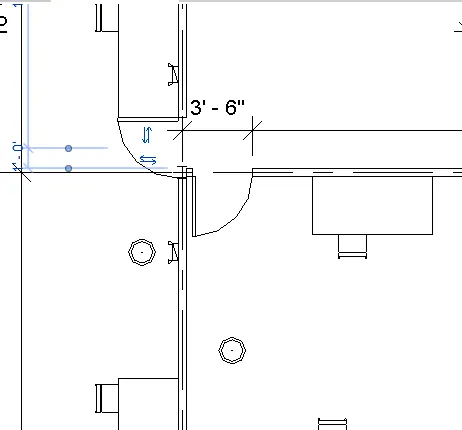
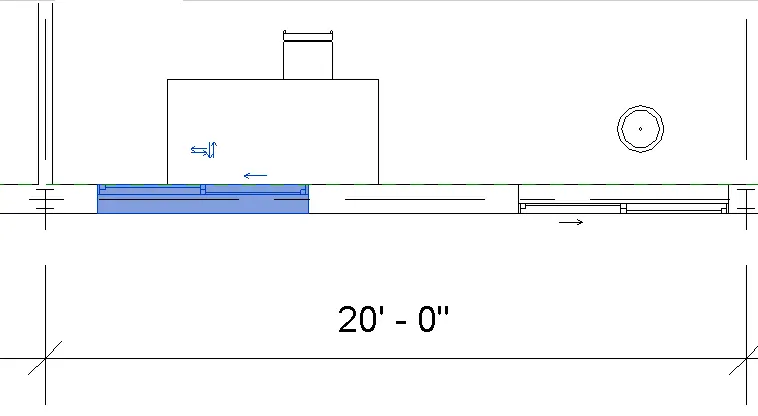
c) By using TL command for thin lines activated the command .\
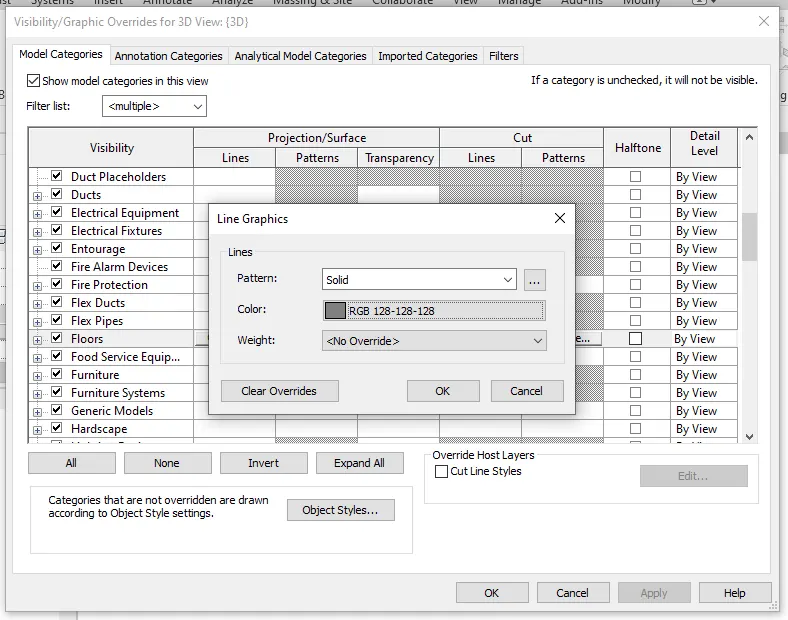
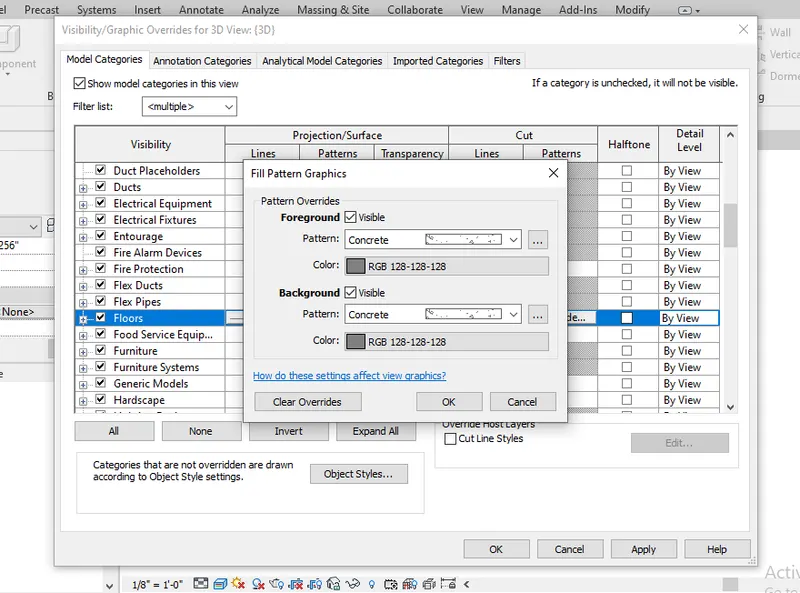
d) Now to change the visibility settings clicked VG and then in model selected floor and in override settings did the settings as follows and also gave different pattern.
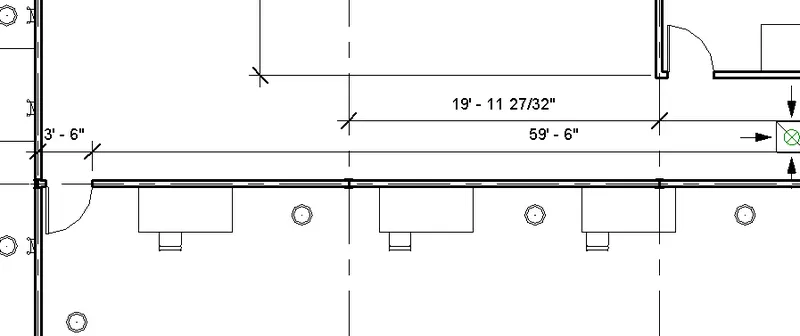
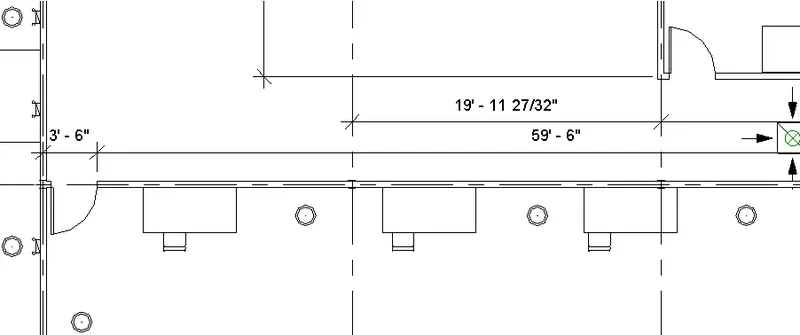
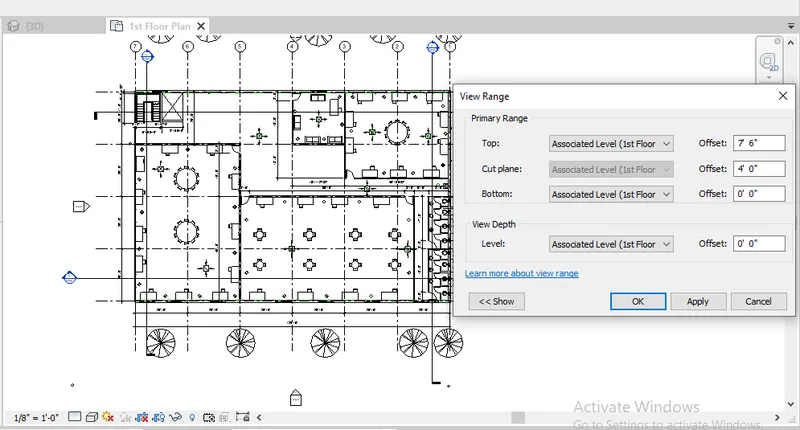
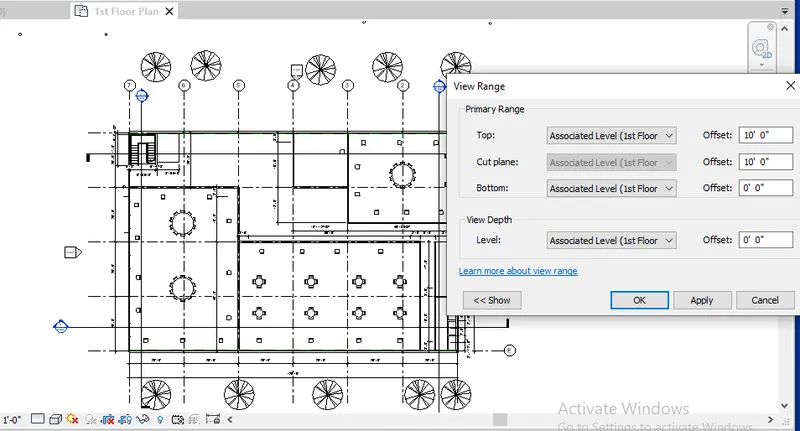
e) Now to modify settings for view range clicked VR and changed the settings so that furniture is not visible.
First image is before and latter one is when I changed view range.
f) For reselecting the objects pressed ctrl+< key.
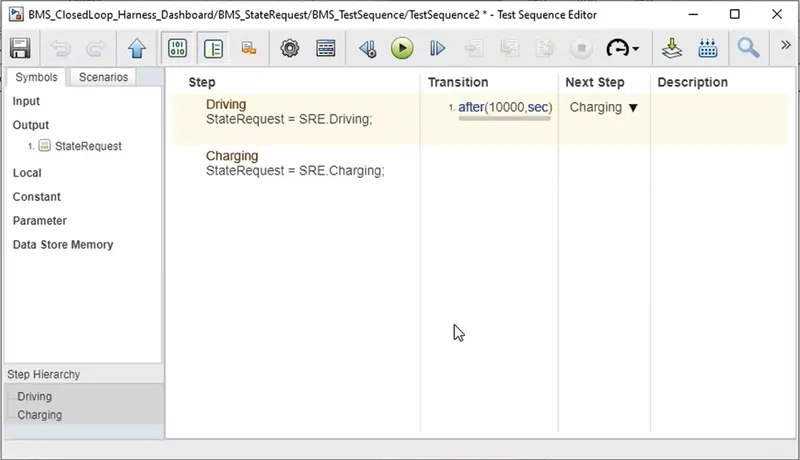
g) Using shortcut DI for annotating the grid lines and giving dimensions.
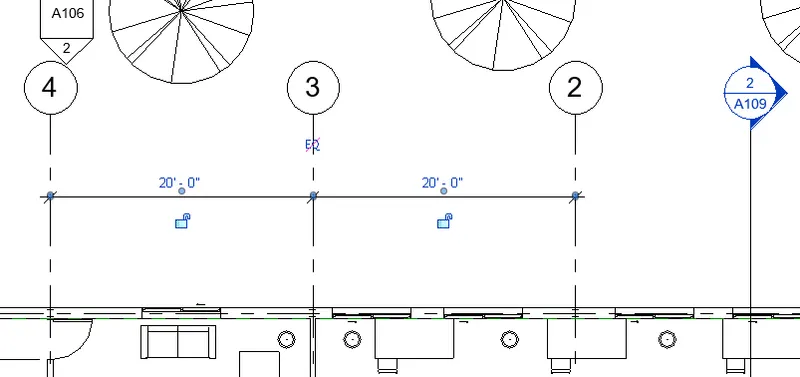
h) Now to bring the furniture in single line used align command for which the shortcut is AL.
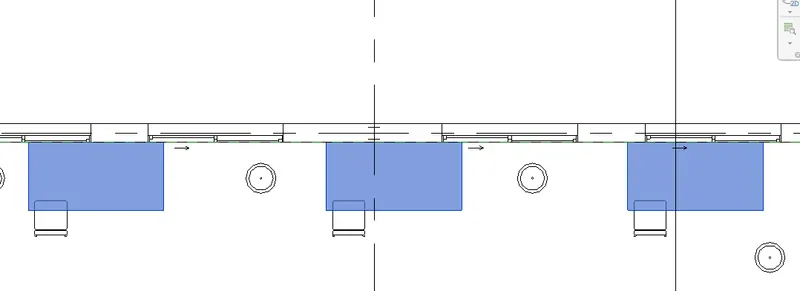
i) By using RO the shortcut for rotate rotated the chairs and adjusted in a different way.
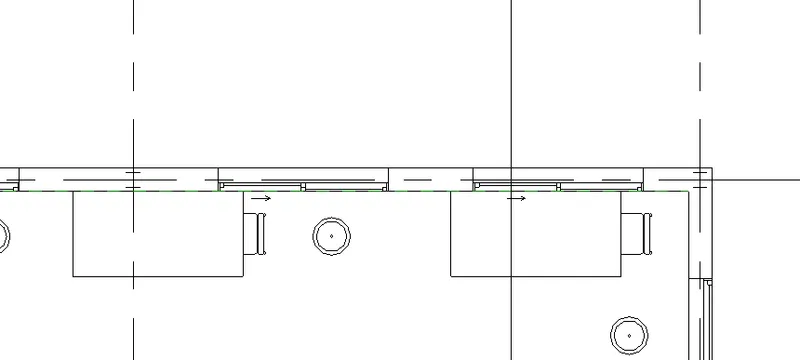
j) Now to move the tables used the shortcut for move that is MV.
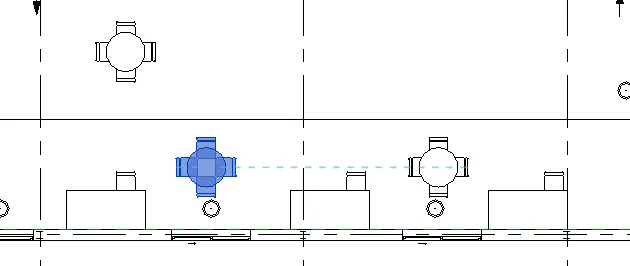
k) For copying the model items used shortcut for copy that is CO.
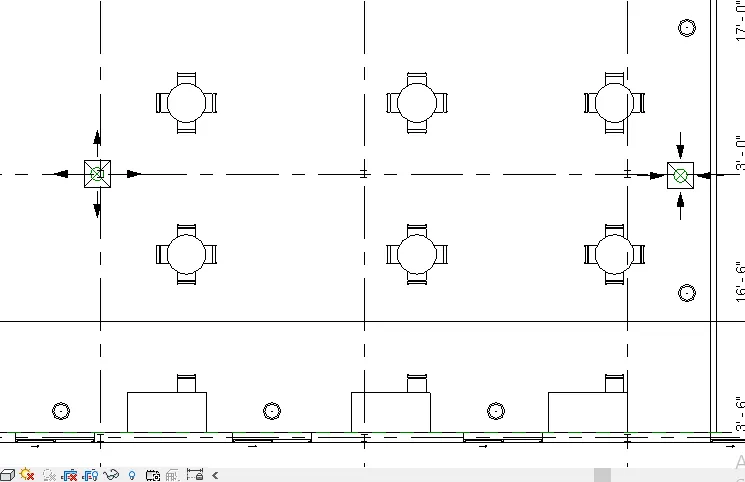
l) For mirroring the element used MM and set the axis through which to mirror .
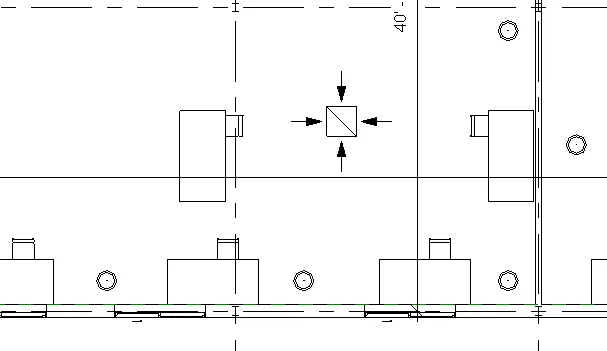
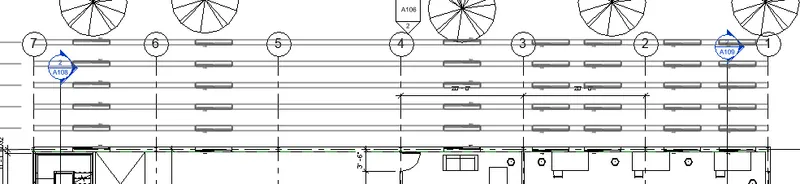
m) To array the objects in the model used array command and shortcut for which is AR.
2. a) Wall Schedule
For wall schedule clicked on view tab and selected schedule and then following dailog box appears.
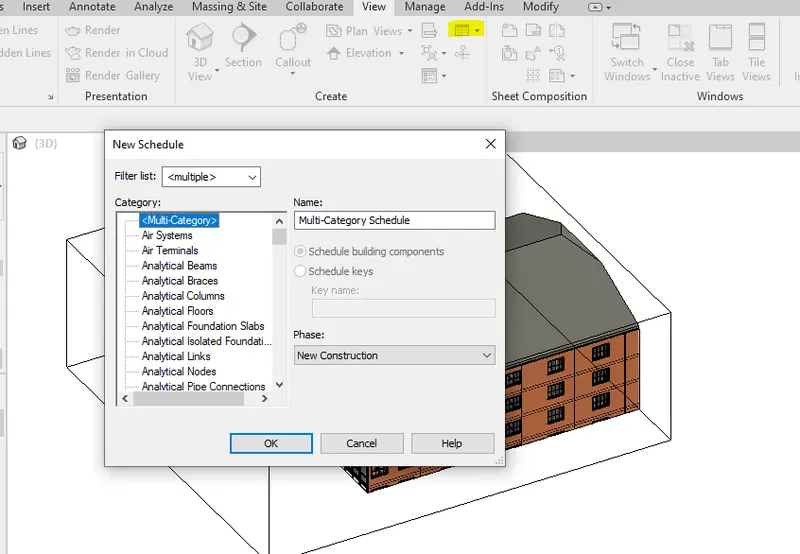
Then here selected walls and clicked ok
Following dailog box appears.
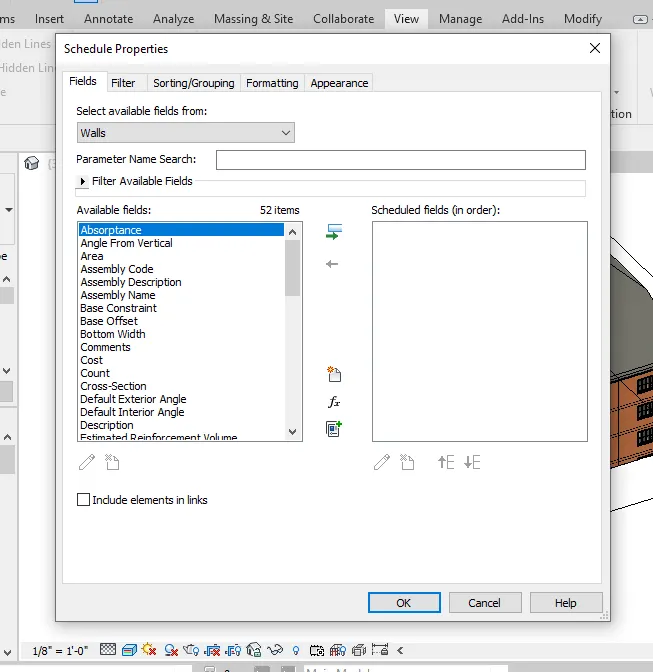
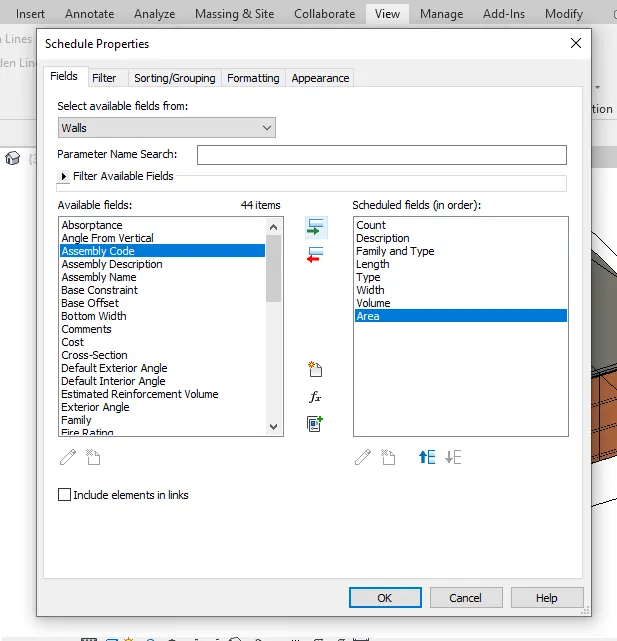
Selected appropriate parameterts like below and clicked ok.
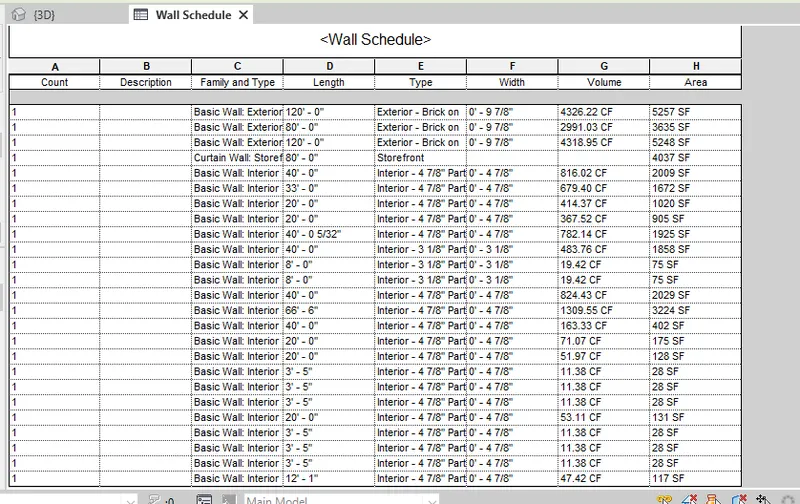
Finally we got the following wall schedule.
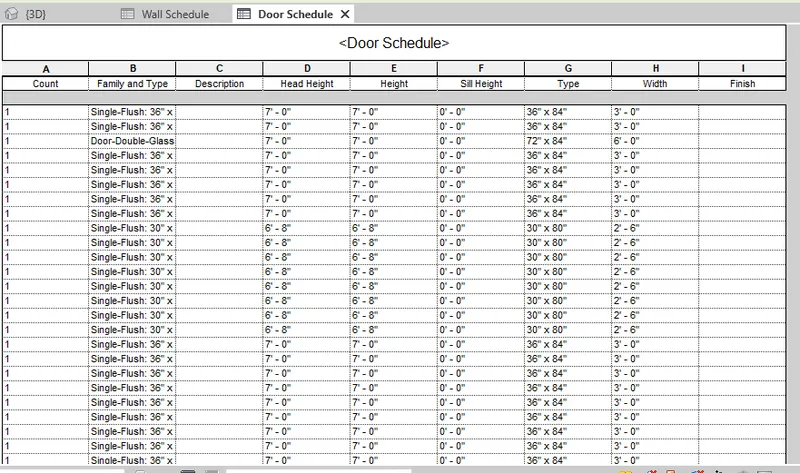
b) Door Schedule
For the door schedule repeated the same upper steps just selected door in place of walls and finally got the door schedule.
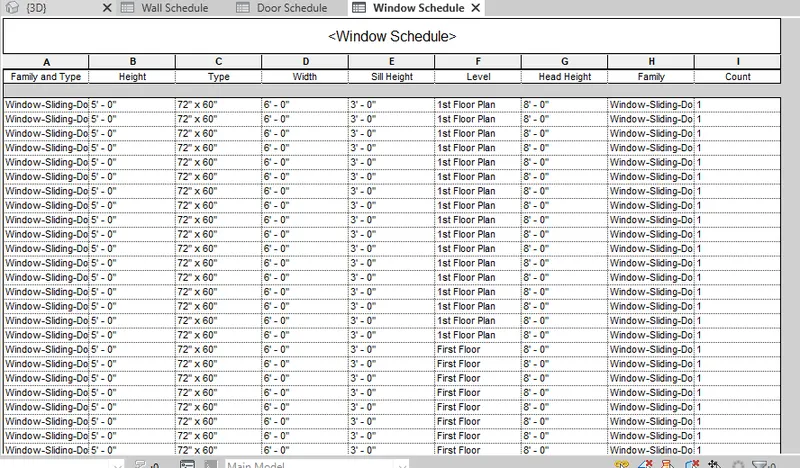
c) Window Schedule
Again for window schedule repeated the steps and selected windows and got the window schedule.
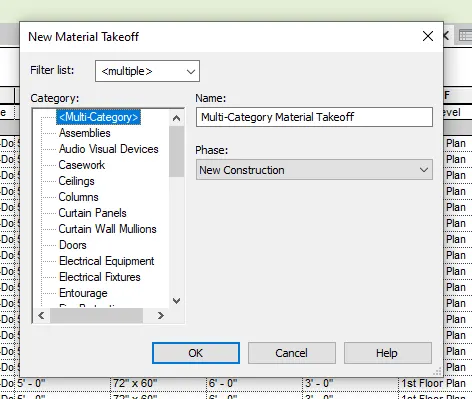
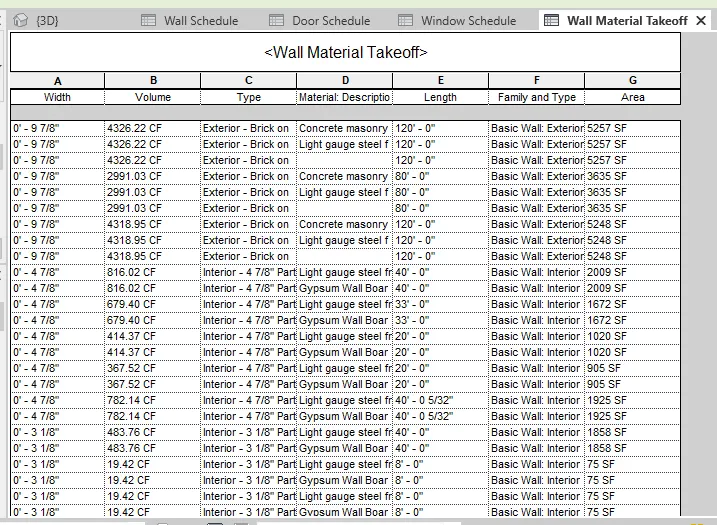
d) Material concrete schedule.
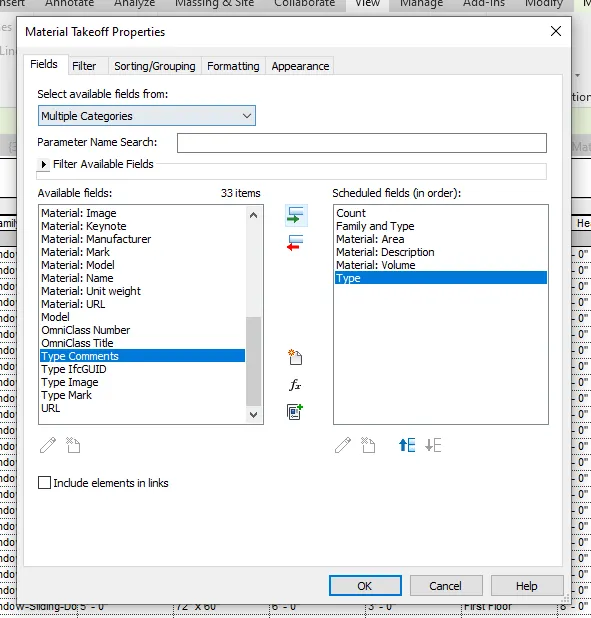
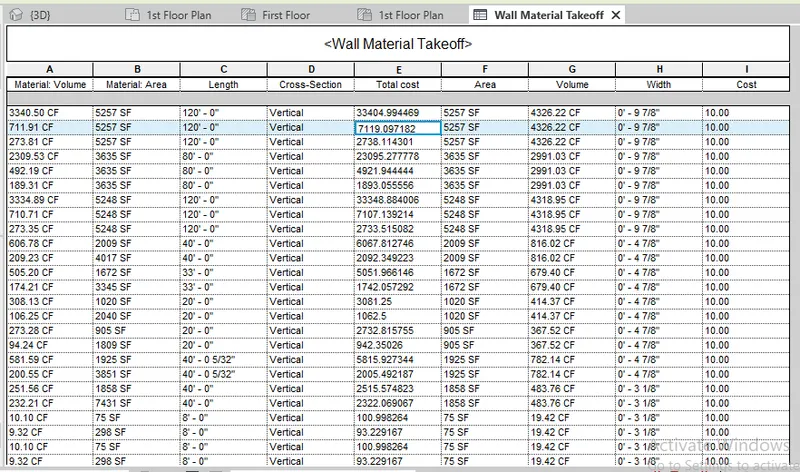
Now selected Material Takeoff and then selected wall and added appropriate parameters for it.
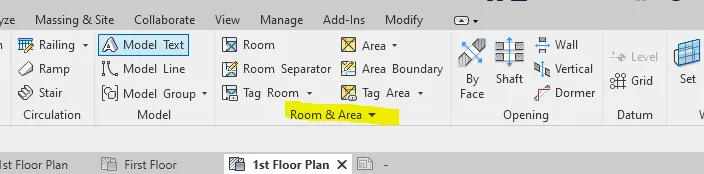
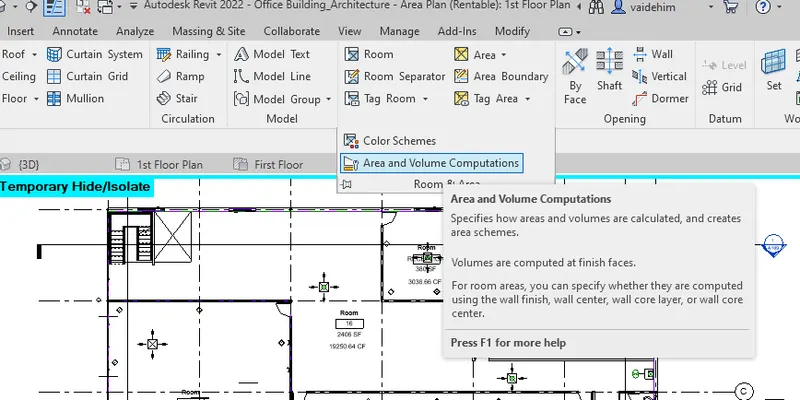
3) Now using the architecture tab used option 'Tag Room' and 'Tag Area' .
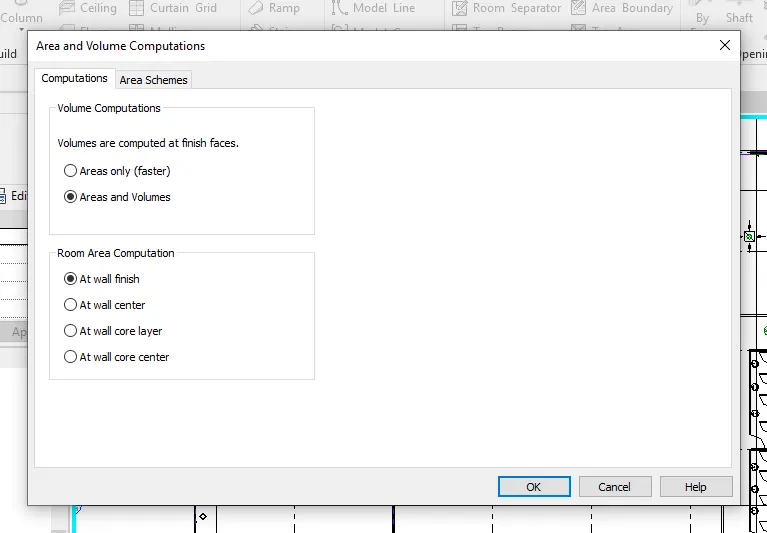
Then clicked on room and area option in the downside to select area and volume computations.
Ticked the Area and Volumes then clicked ok.
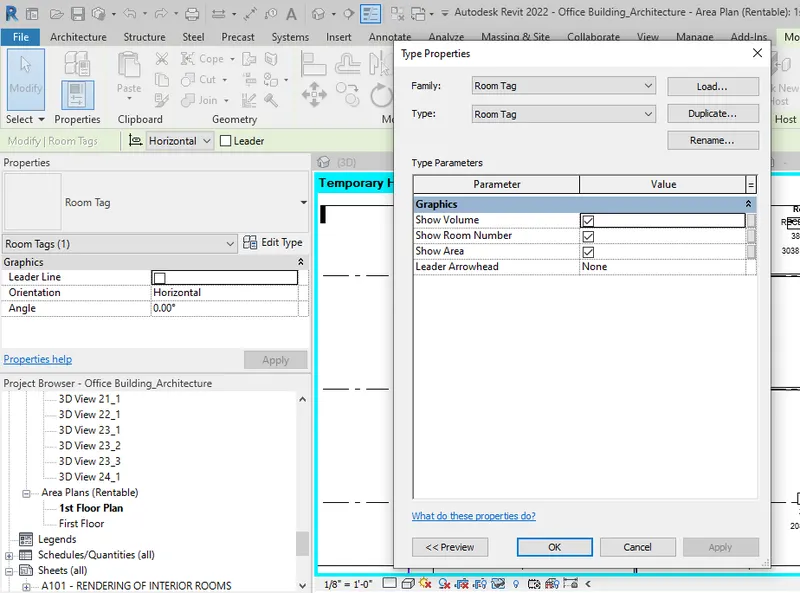
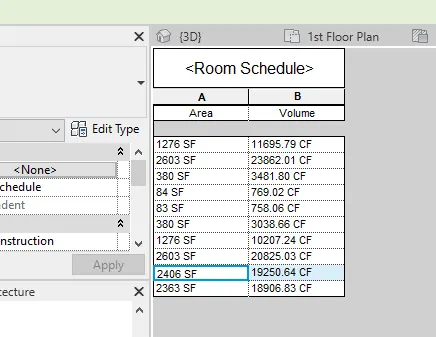
Then selected Room tag and in the properties browser clicked on edit type the following dialog box appears. So ticked the show area and show volume box and clicked ok.
Finally got the following result.
Schedule report
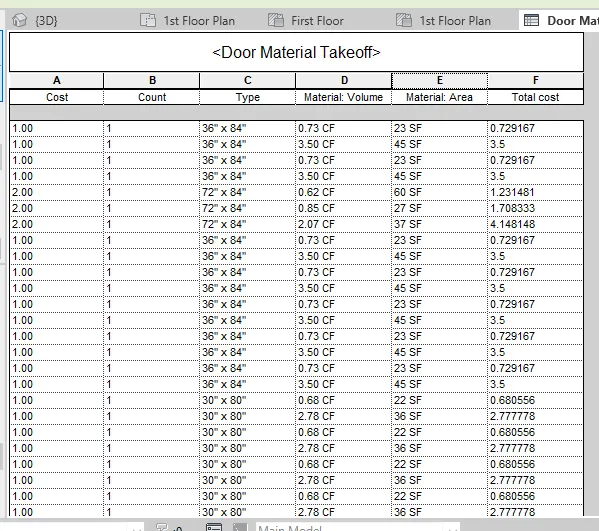
4) Door material takeoff.
Wall material takeoff
Window material takeoff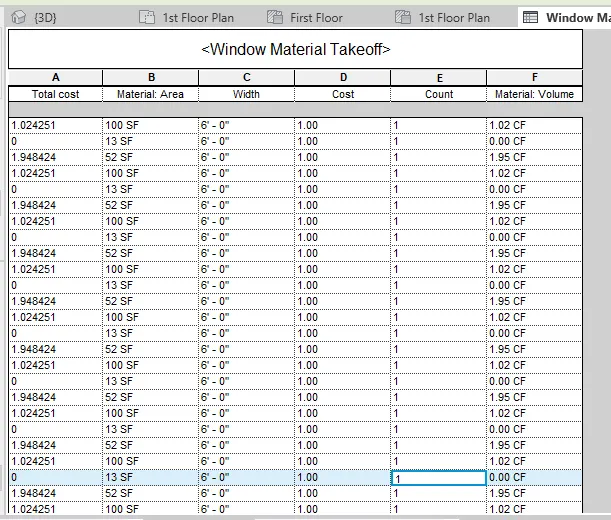
5. Flowchart for following conditions:-
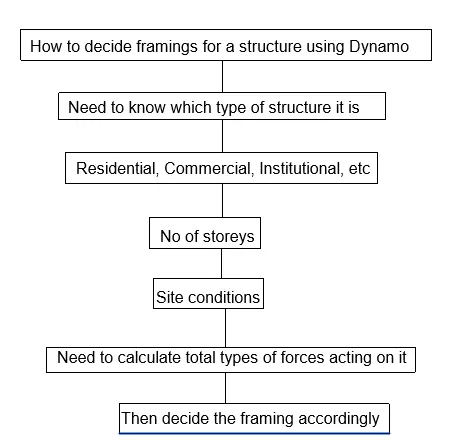
a) How to decide framings for a structure using Dynamo:-
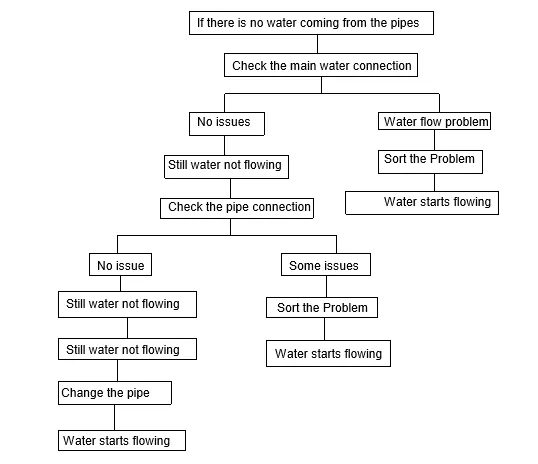
b) If there is no water coming from the pipes:-
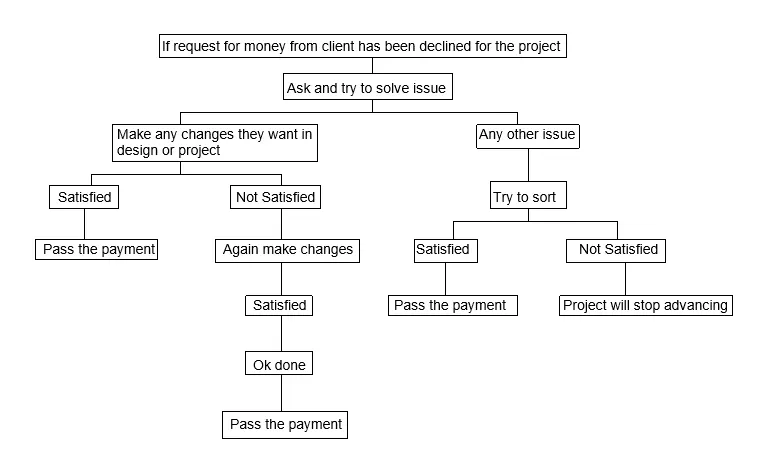
c) If request for money from client has been declined for the project:-
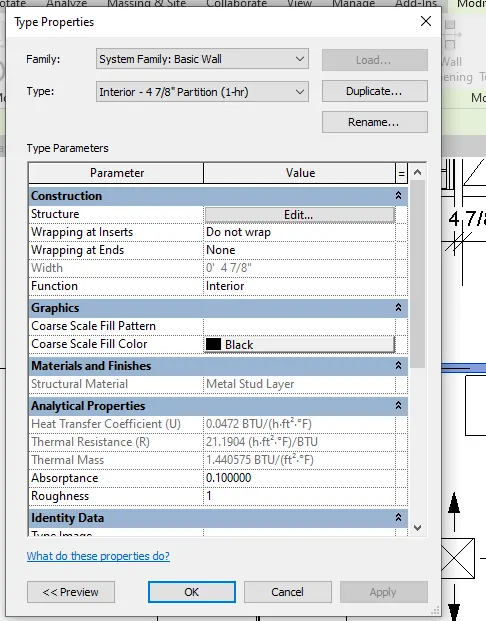
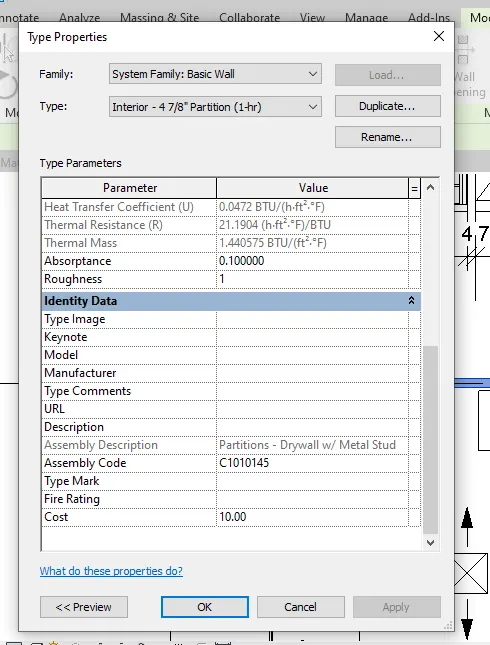
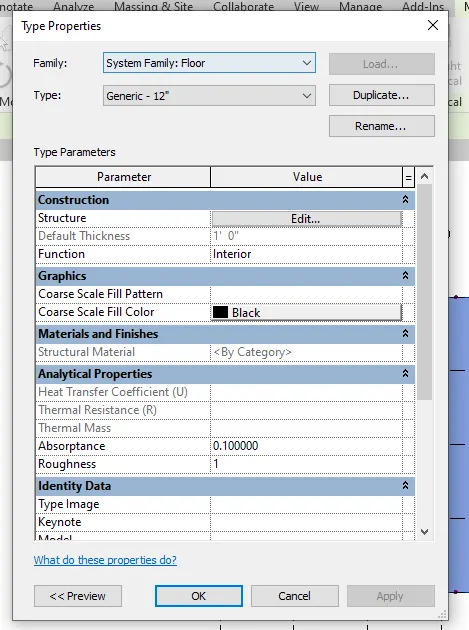
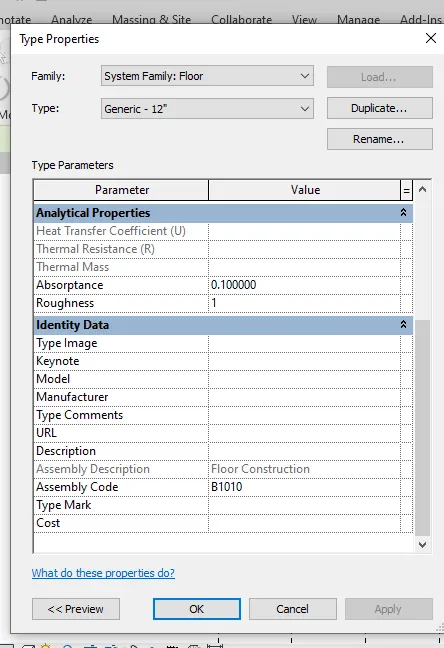
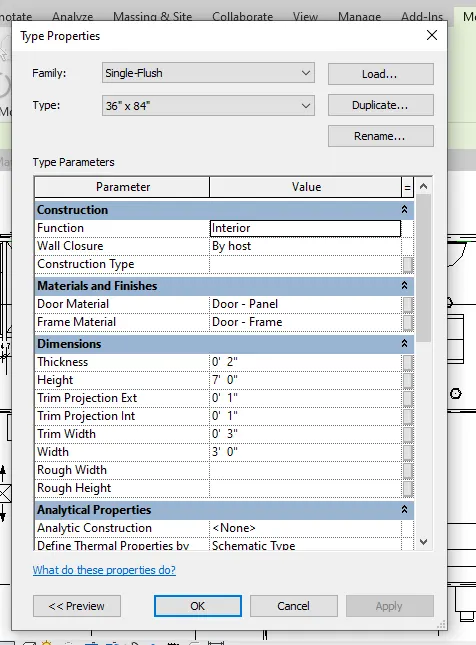
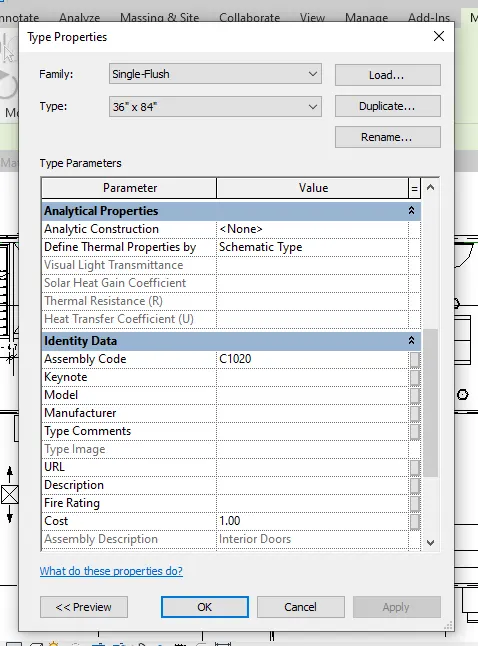
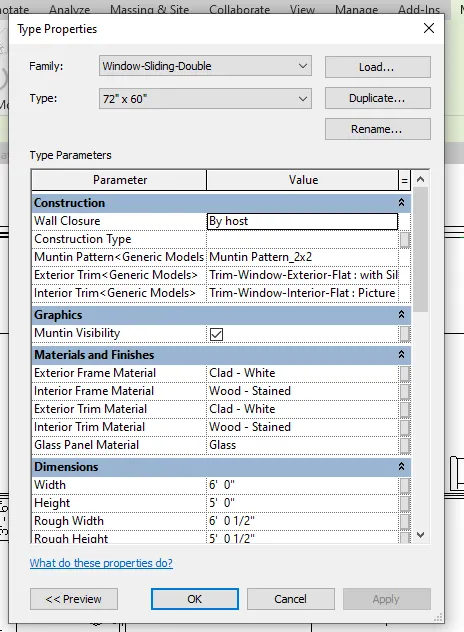
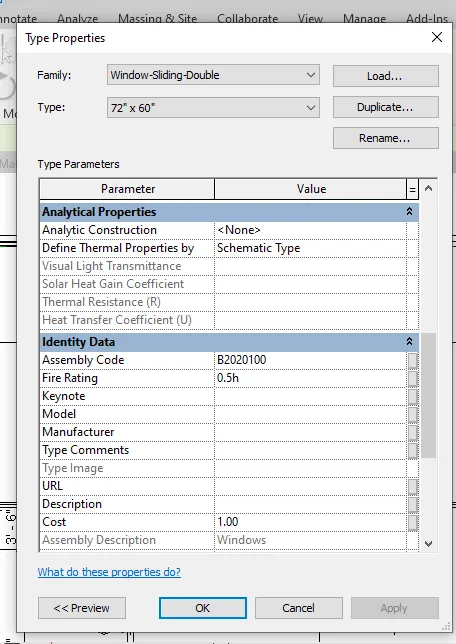
6. Parameters associated with:-
a) Walls:-
b) Floor:-
c) Door:-
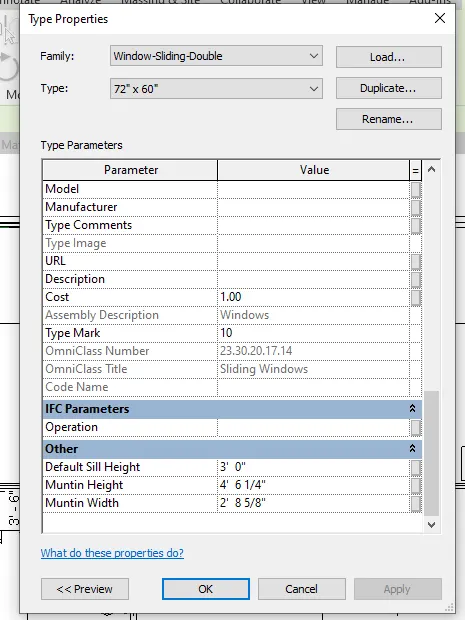
d) Window:-
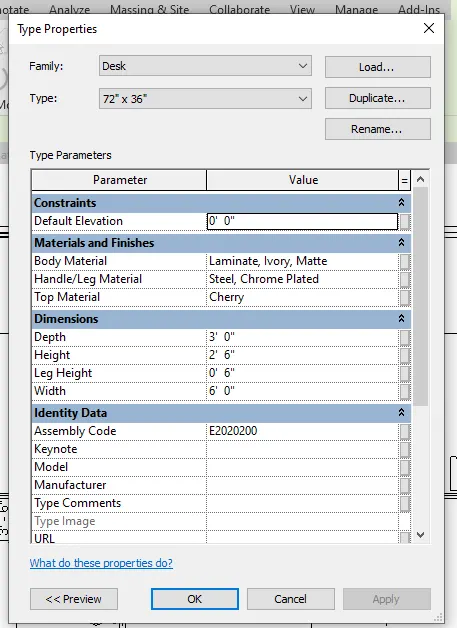
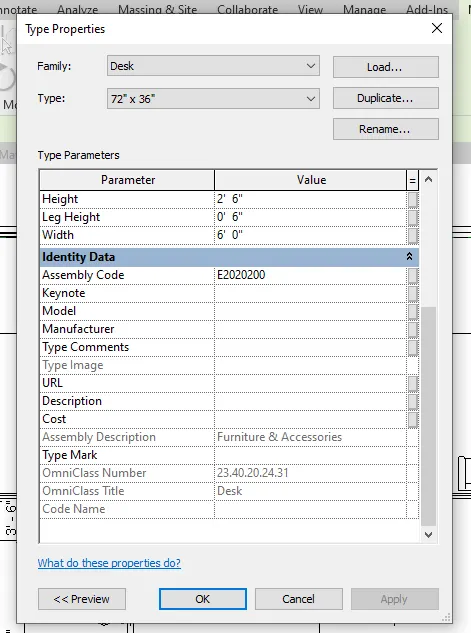
e) Table:-