Preparing Schedule & Cost Estimation for a building using REVIT
1)
AIM:
- To use the shortcut keys in Revit discussed in class to complete the following tasks:
a. Using 3D model create a section box
b. To create similar doors and windows in a floor plan layout
c. To reduce the thickness of lines visible in plan views
d. To apply override settings to a floor in the model section view
e. To increase the range of visibility in a plan view
f. To select the previously selected items
g. To add annotations to the model views
h. To bring the model elements in line
i. To rotate the model elements
j. To move an object to another location
k. To copy a model element
l. To mirror an element about an axis
m. To create an array of model elements
PROCEDURE:
a) Section Box 'BX':
- Open the 3D view of the Project from Project browser.
- Go to Property browser-> Check the Section Box option and click Apply.
- A section box is applied to the entire 3D model.
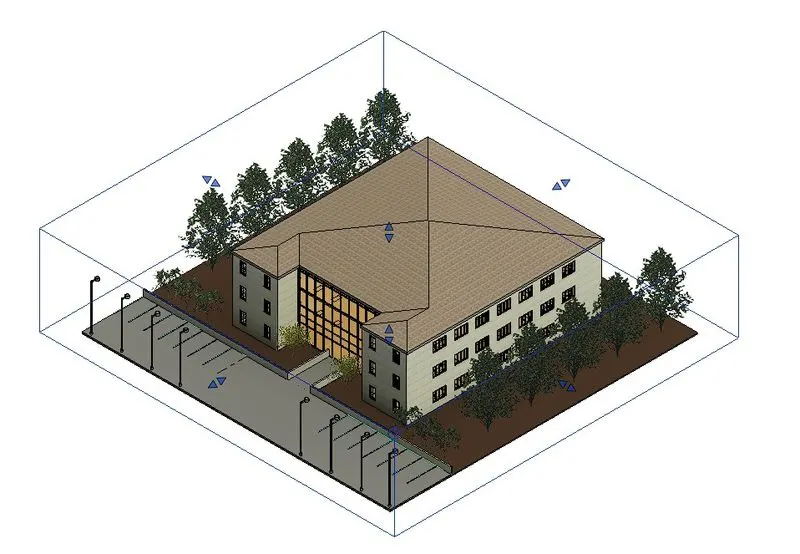
- Uncheck the Section box-> Click Apply.
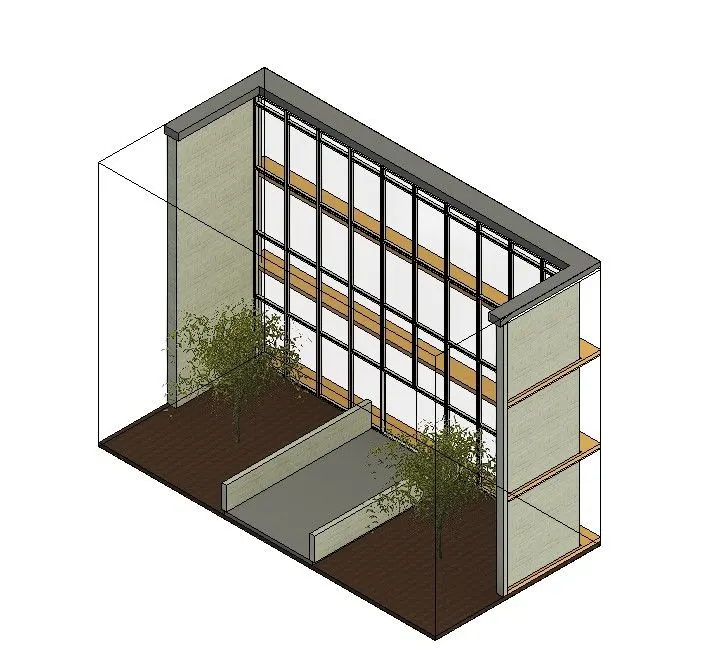
- Select any component of the model. In this case the Curtain wall has been selected.
- Enter the shortcut 'BX' and the Section box is created around the Curtain wall.
- The arrows can be used to control the view.
b) Create similiar 'CS':
- Open any Floor plan view from Project browser.
- Select any component in the Floor plan.
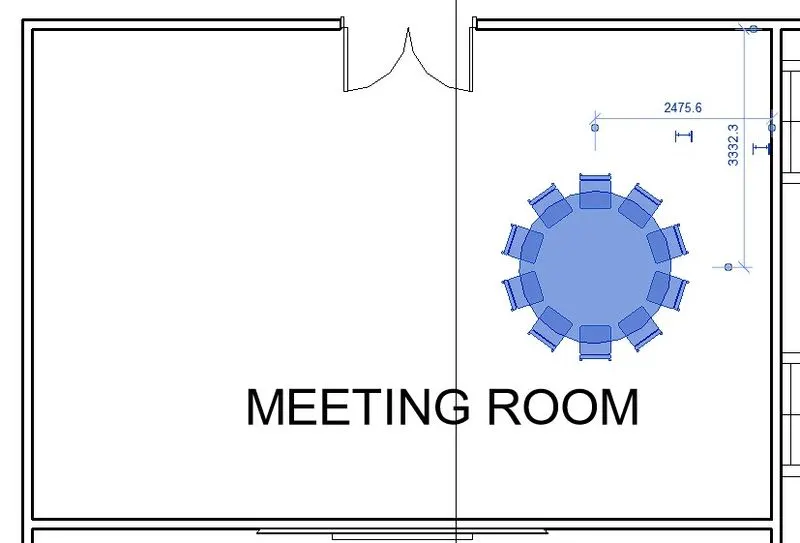
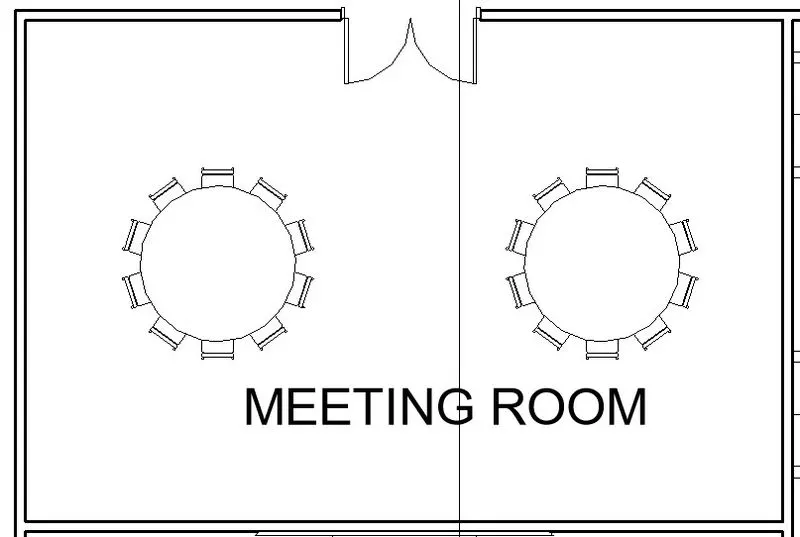
- Enter the shortcut 'CS' to create a similiar component.
- Place the components wherever necessary.
c) Thin lines 'TL':
- Open any FLoor plan view from Project browser.
- Zoom in to view the line thickness clearly.
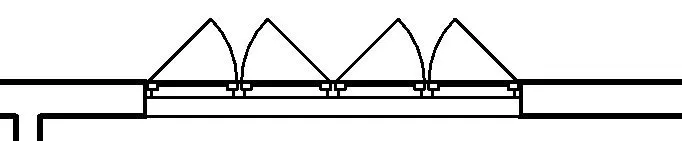
- Enter the shortcut 'TL'.
- The line thickness reduces visibly.
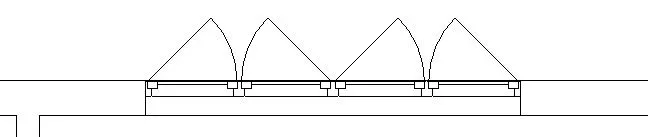
- Enter the shortcut 'TL' again to revert the line thickness back to normal.
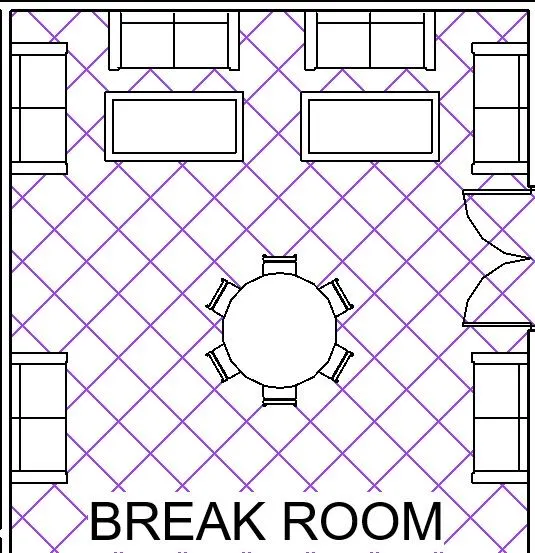
d) Visibility Graphics 'VG':
- Open any Floor plan vie from Project browser.
- Enter the shortcut 'VG' to open Visibility graphics dialogue box.
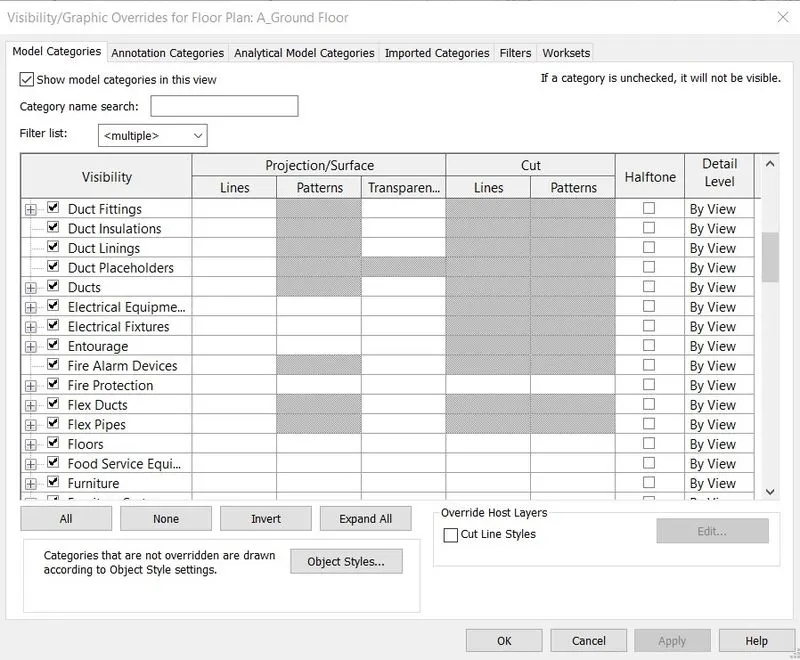
- Navigate to Floors-> Patterns-> Override.
- In the dialgue box select required pattern and colour and click OK.
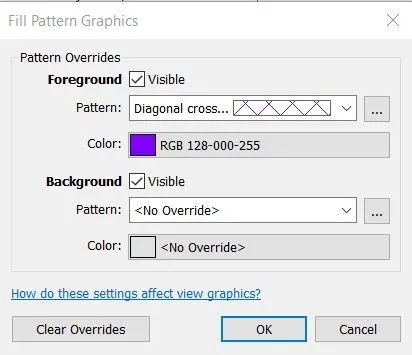
- The floor pattern and colour has been applied.
e) View Range
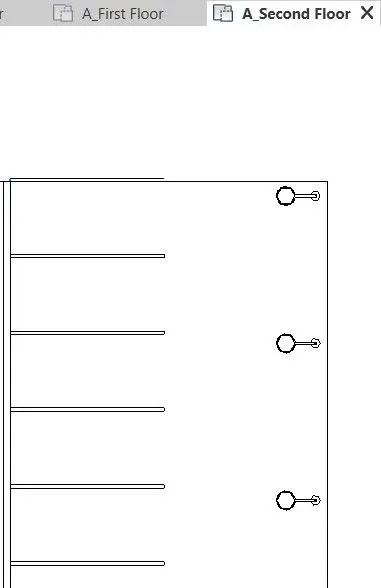
- Open Second Floor plan view from Project browser.
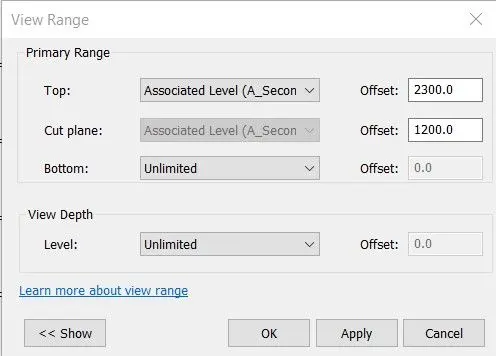
- Enter the shortcut 'VR', the View range dialogue box appears.
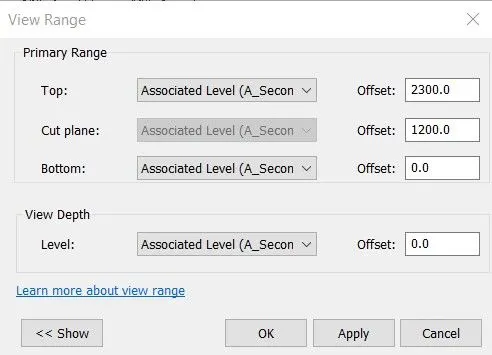
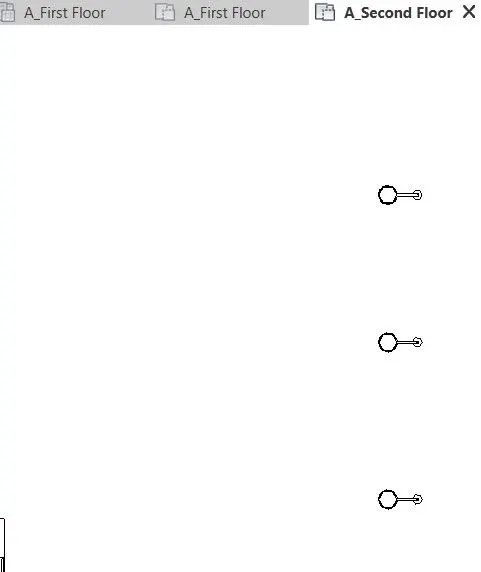
- Edit the Primary range options or depth as required and click Apply-> OK.
- The changes will be reflected appropriately in the Floor plan view.
f) Reselect 'Ctrl + Left arrow key':
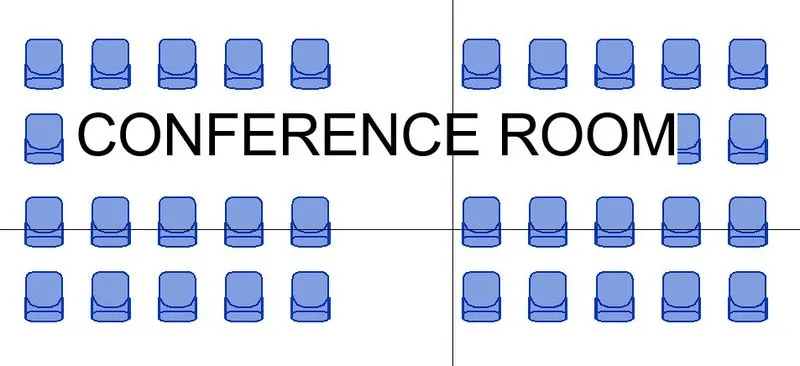
- Select any number of components in the model.
- If by mistake they are deselected press Ctrl + left arrow key to reselect them all.
g) DImensions/ Annotations 'DI':
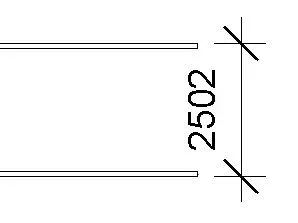
- Enter the shortcut 'DI'.
- The Ribbon changes to Modify/ dimensions.
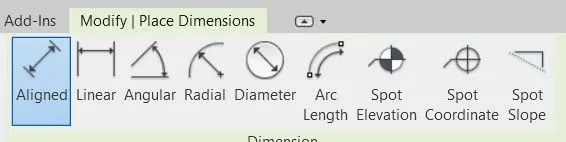
- Select the type of dimension and proceed to dimension the required component.
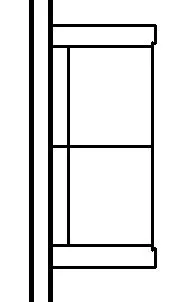
h) Align 'AL':
- Open any Floor plan view.
- Enter the shortcut 'AL'.
- Select the Line along which the object needs to be aligned.
- Select the Line of the object that must be aligned.
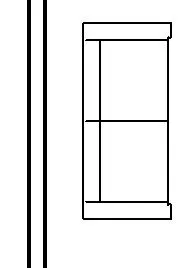 ------>
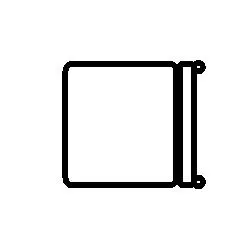
i) Rotate 'RO':
- Enter the shortcut 'RO'.
- Select the component that needs to be rotated
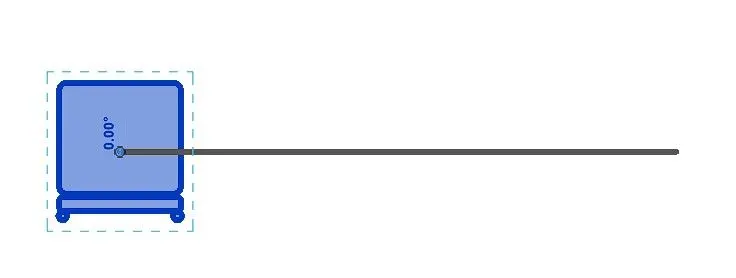
- Rotate it to the required angle.
- The component is rotated.
j) Move 'MV':
- Enter the shortcut 'MV'.
- Select the component to be moved and select a base point.
- The component can be moved to desired location by using the base point.
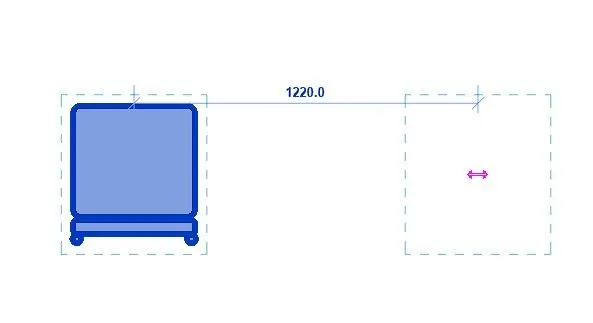
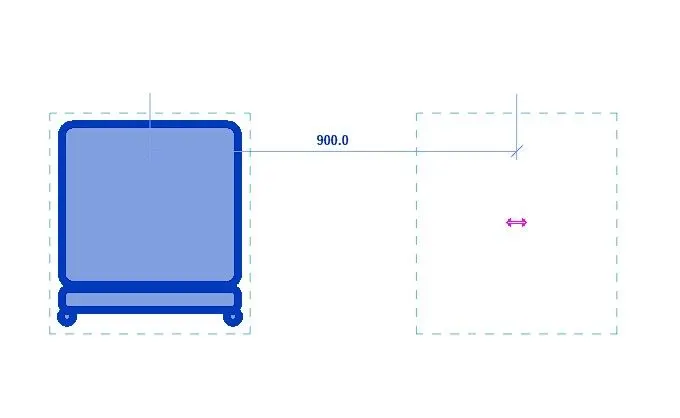
k) Copy 'CO':
- Enter the shortcut 'CO'.
- Select the component that needs to be copied and select a base point.
- The component can be copied to desired location using the base point.
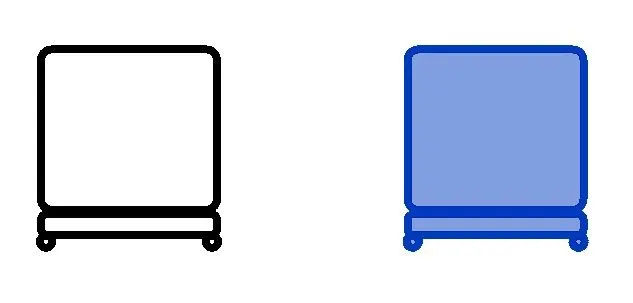
l) Mirror 'MM' or 'DM':
- Enter the shortcut 'MM'.
- Select the component required to be mirrored.
- Select axis of mirror.
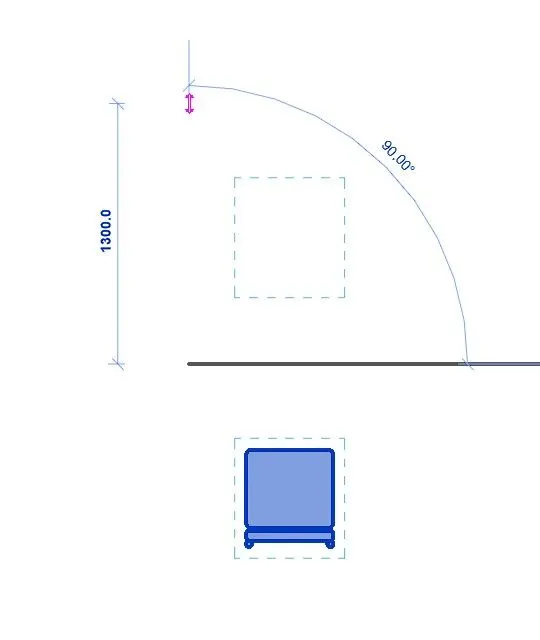
- The object has been mirrored.
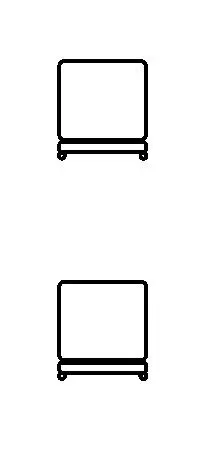
m) Array 'AR':
- Enter the shortcut 'AR'.
- Select the component required to be arrayed.

- Enter the number and other options as required.
- Select the base point and direction.
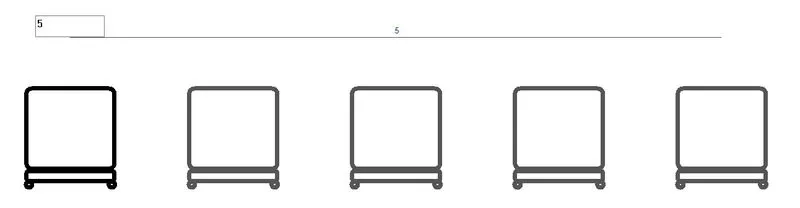
- The component has been arrayed.
FINAL RESULT:
The mentioned tasks have been succesfully completed ussing the shortcut keys in Revit.
2)
AIM:
- To prepare a schedule for the project from week 6- week 8 for the following
a. Walls
b. Doors
c. Windows
d. Material – Concrete/Wood
PROCEDURE:
STEP 1:
- Go to File-> Open-> Project and open the week 6-8 project.
- Go to View-> Schedules-> Schedules/ Quantities.
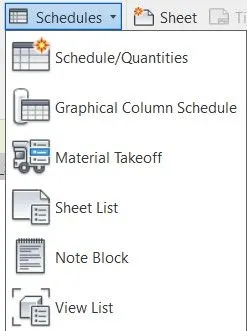
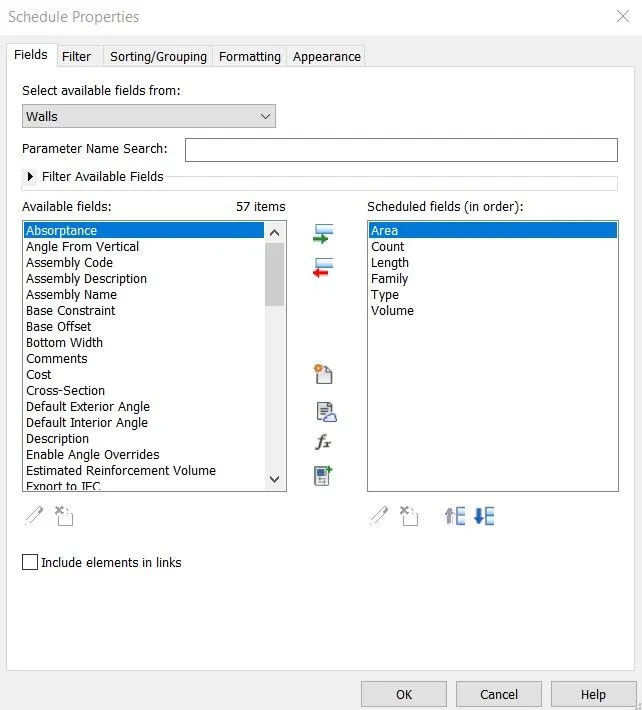
- The following dialogue box appears:
- Select the required category: Walls.
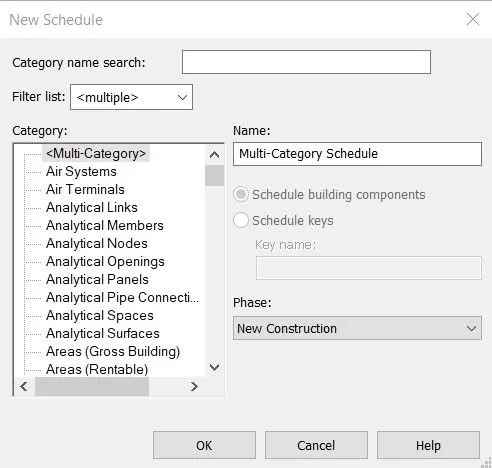
STEP 2:
- Select the and add the required fields to the schedule.
- Then cick on OK.
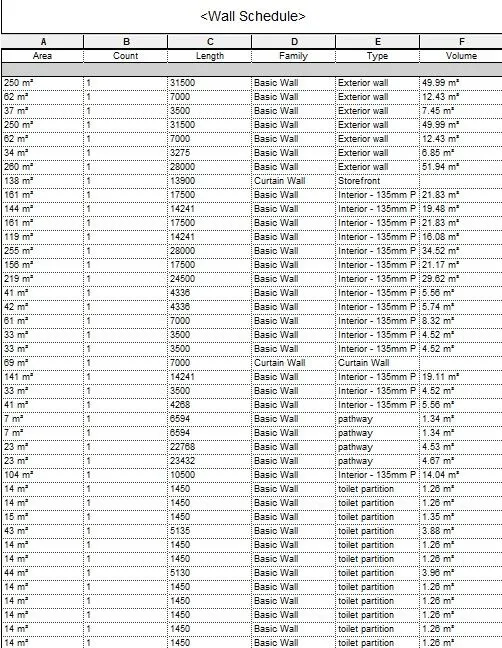
- The required wall schedule has been created with selected fields.
STEP 3:
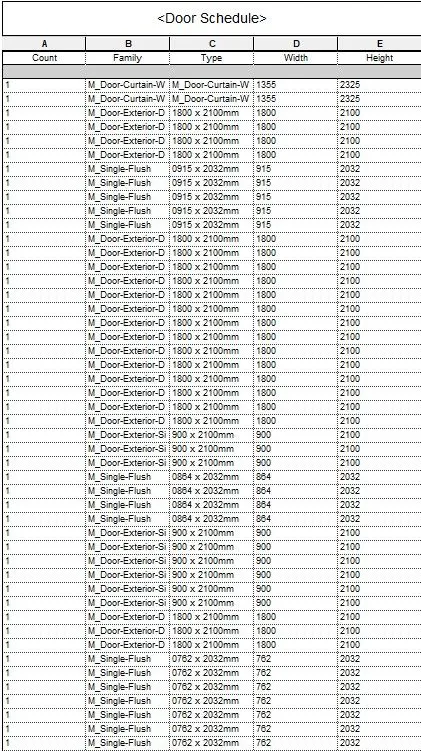
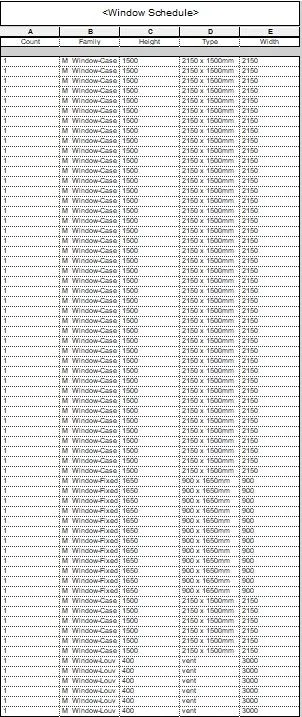
- Follow the same steps to get the Door and window schedules with required fields.
STEP 4:
- Go to View tab-> Schedules-> Material takeoff
- Select the category as Floor.
- Ad the required fields and click on OK.
- Floor material takeoff schedule has been created with required fields.
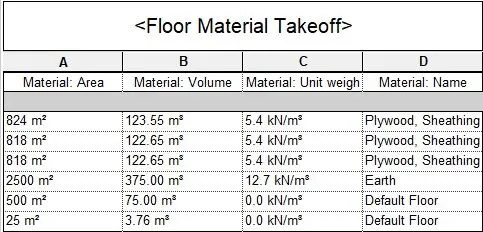
FINAL RESULT:
Schedule for the project from week 6- week 8 for the following
a. Walls
b. Doors
c. Windows
d. Material – Concrete/Wood
have been succesfully created.
3)
AIM:
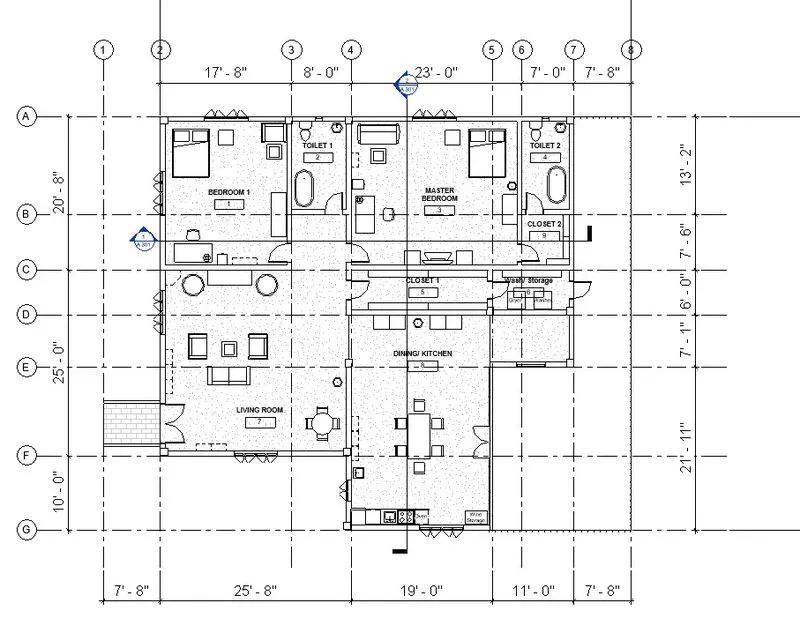
- To calculate area and volume of each room in the model with appropriate room tags applied to each room.
- To prepare a schedule report for area and volume of each room.
PROCEDURE:
STEP 1:
- Open the residential building model created previously from File-> Open-> Project.
- Appropriate room tags have already been applied to each room.
STEP 2:
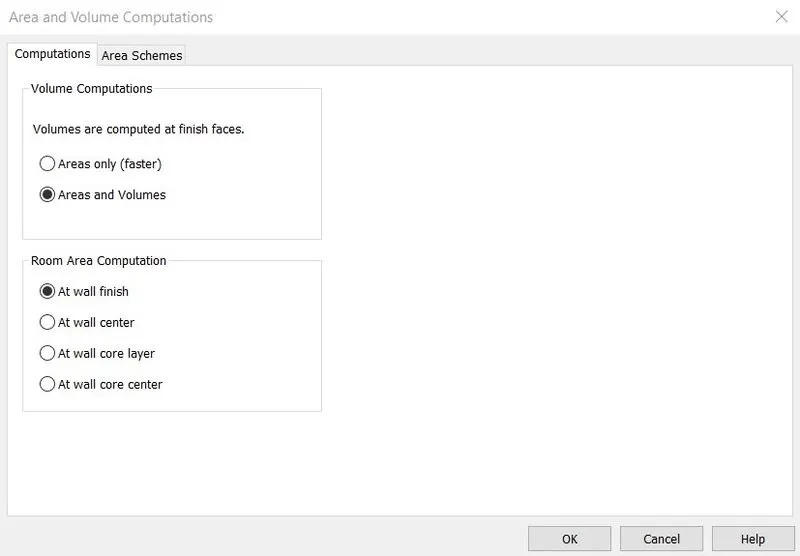
- To calculate the area and volume of the rooms go to Architecture tab-> Room and Area-> Area and volume computations.
- The following dialogue box will appear.
- Select Area and volumes option and select OK.
STEP 3:
- Go to View tab-> Schedules-> Schedules/ Quantities.
- Select Rooms category and click on OK.
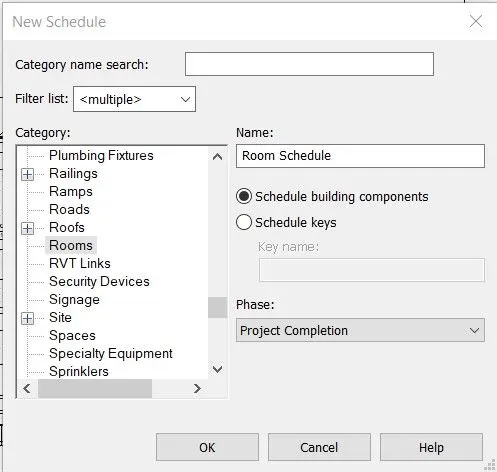
- Choose the required fields for the schedule and click on OK.
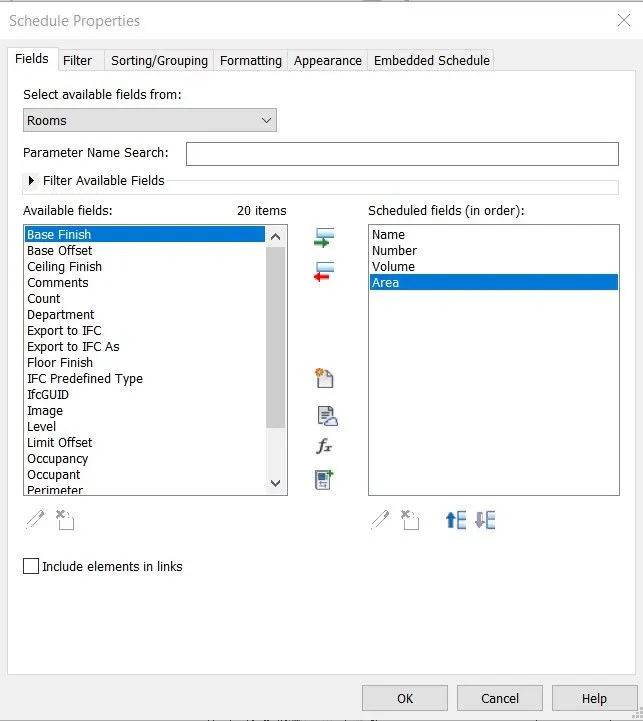
- The required Room schedule has been created.
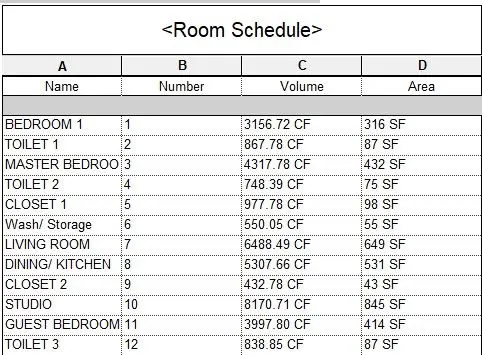
FINAL RESULT:
Area and volume of each room in the model have been calculated succesfully using Revit, schedule report for area and volume
for each room has also been prepared.
4)
AIM:
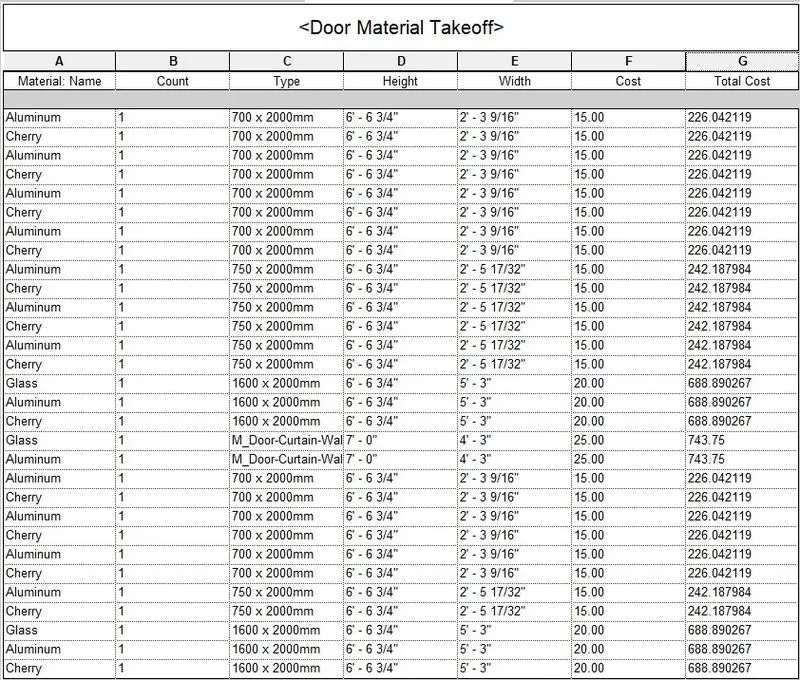
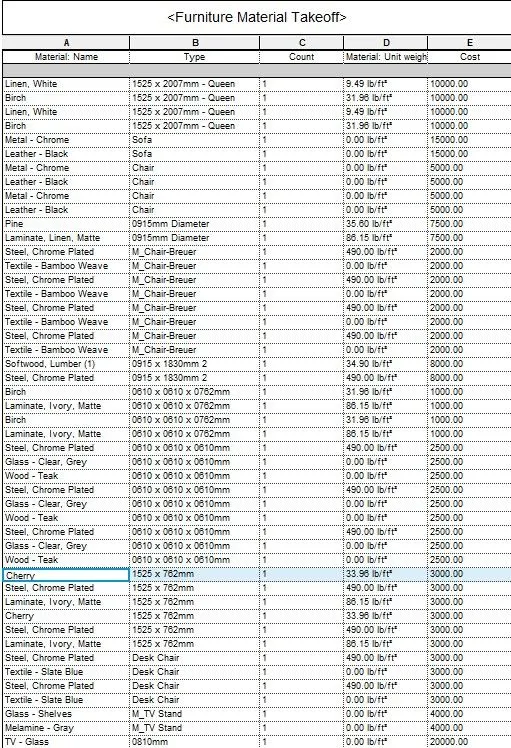
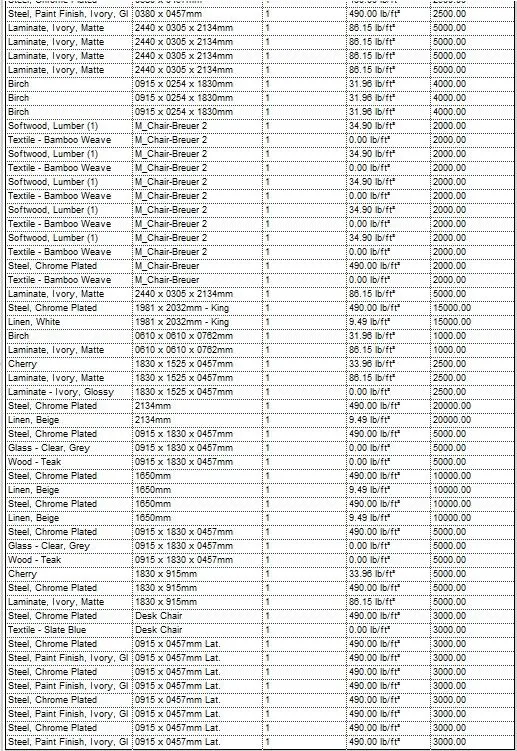
- To use the unit cost rate for materials available in the internet, prepare total cost of materials used in the project
a. Total Cost of Materials
b. Individual Material Take off
PRCOCEDURE:
STEP 1:
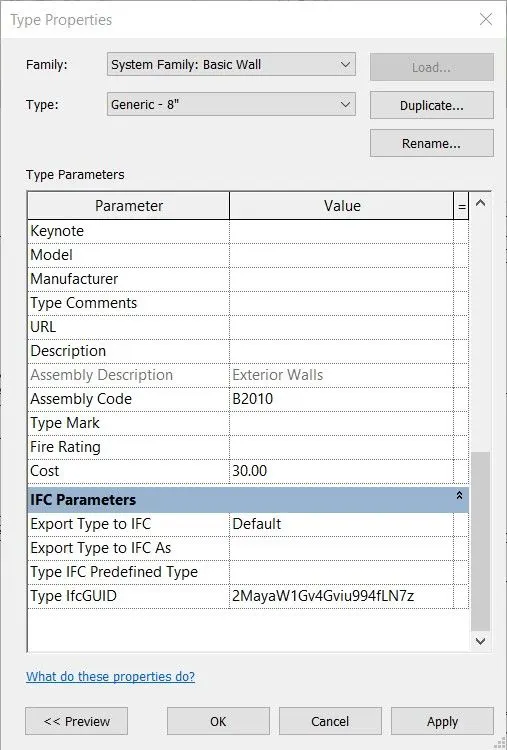
- Select required wall and click Edit type option in Property browser.
- Navigate to Cost parameter and change its value appropriately.
STEP 2:
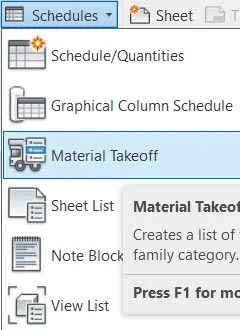
- Go to View-> Schedules-> Material Takeoff.
- Select the Category Walls and Click OK.
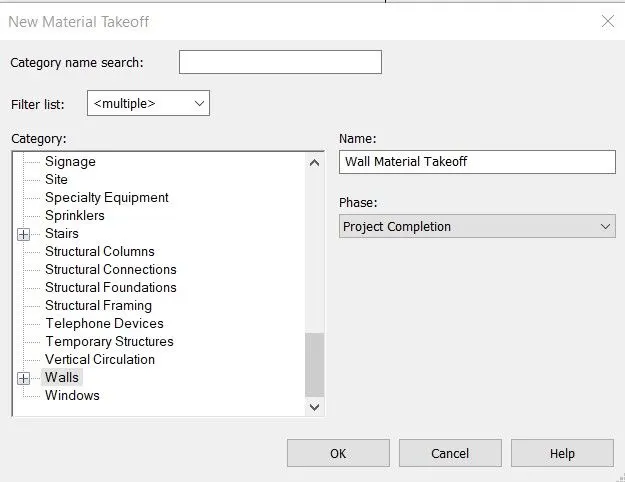
- Add the required fields to the Schedule.
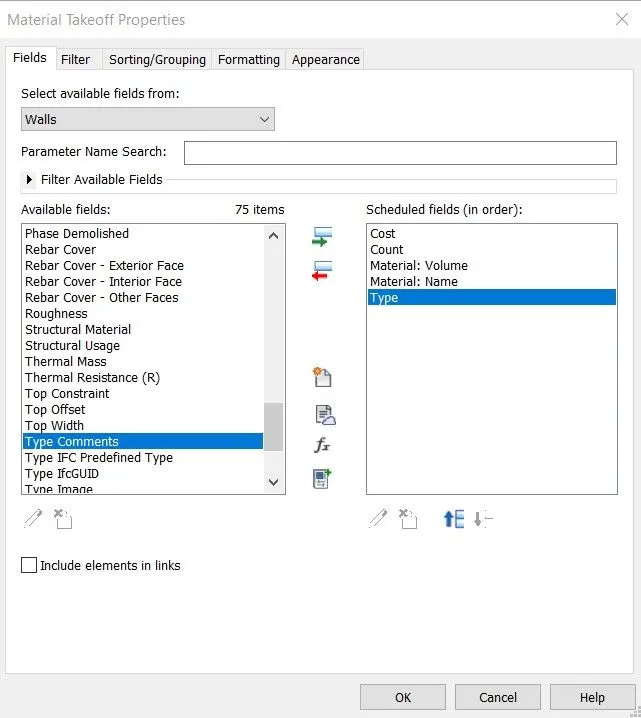
STEP 3:
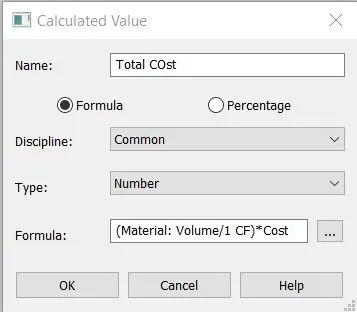
- To calculate Total cost of materials add a new column to the Schedule.
- Select the column and click on Calculated option in ribbon.
- Name the column as Total cost and enter the formula to calculate the total cost of materials.
- The Wall material takeoff is ready.
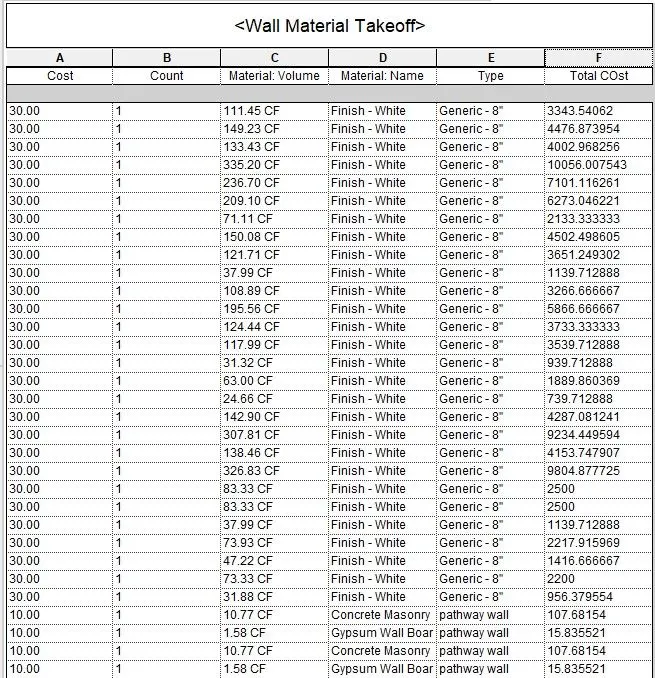
STEP 4:
- Following the same process Door material takeoff and individual furniture material takeoffs are created.
FINAL RESULT:
Total cost of materials used in the project, and Individual material takeoff has been calculated succesfully.
5)
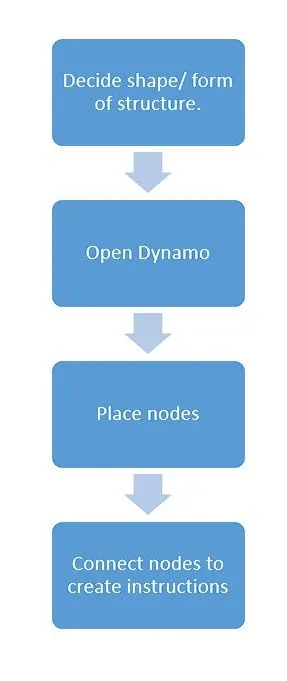
a) Flowchart to decide framings for a structure using Dynamo:
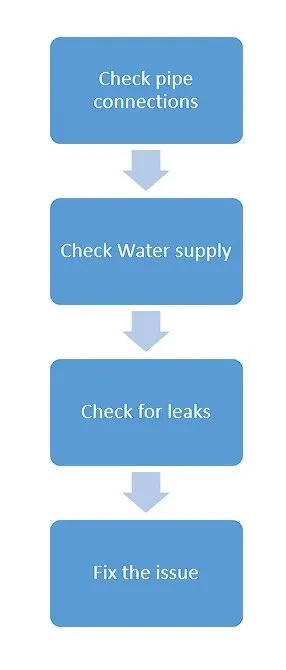
b) FLowchart for if there is no water coming from the pipes:
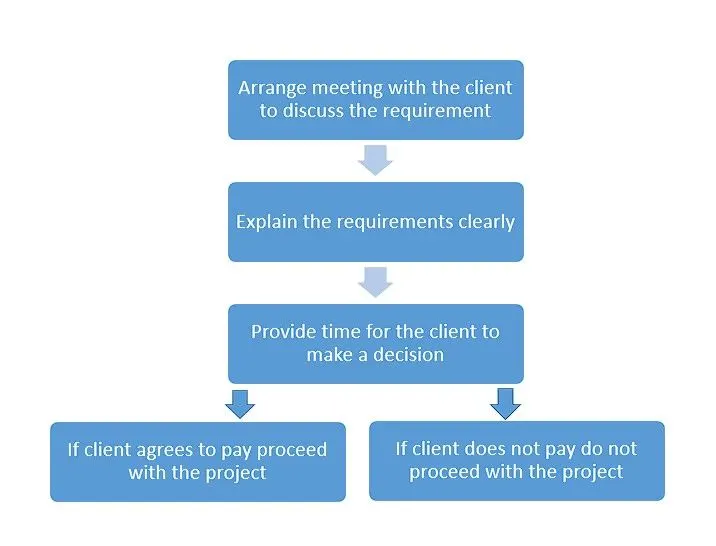
c) FLowchart for if request for money from client has been declined for the project:
6)
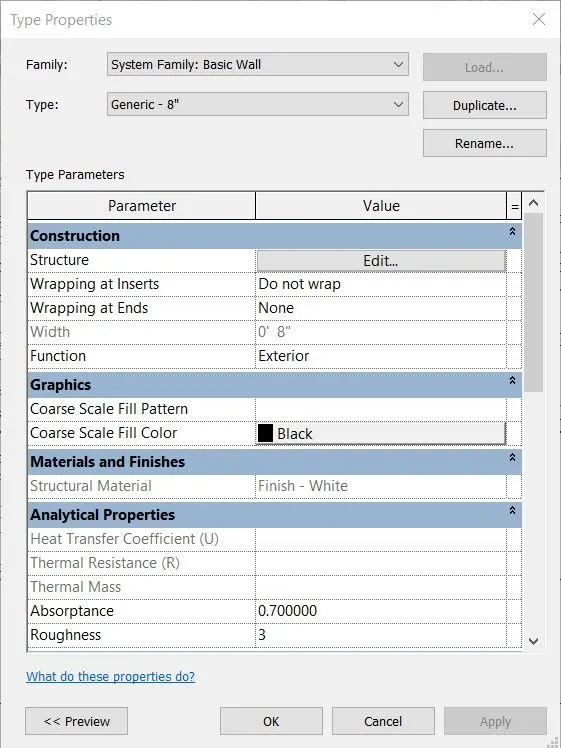
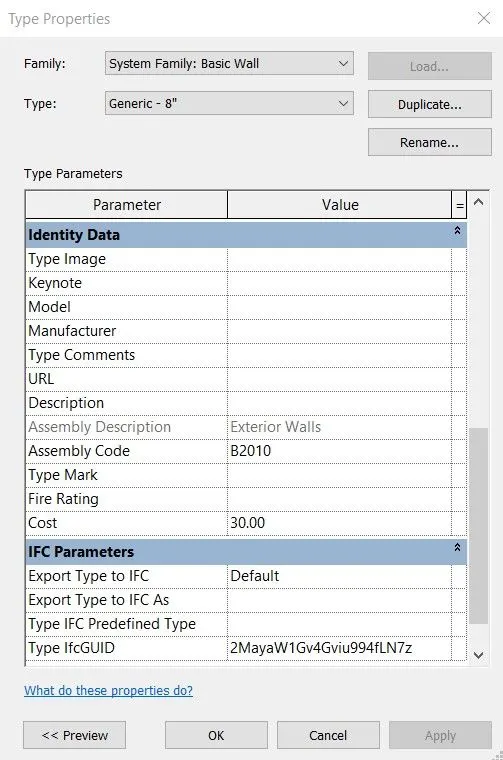
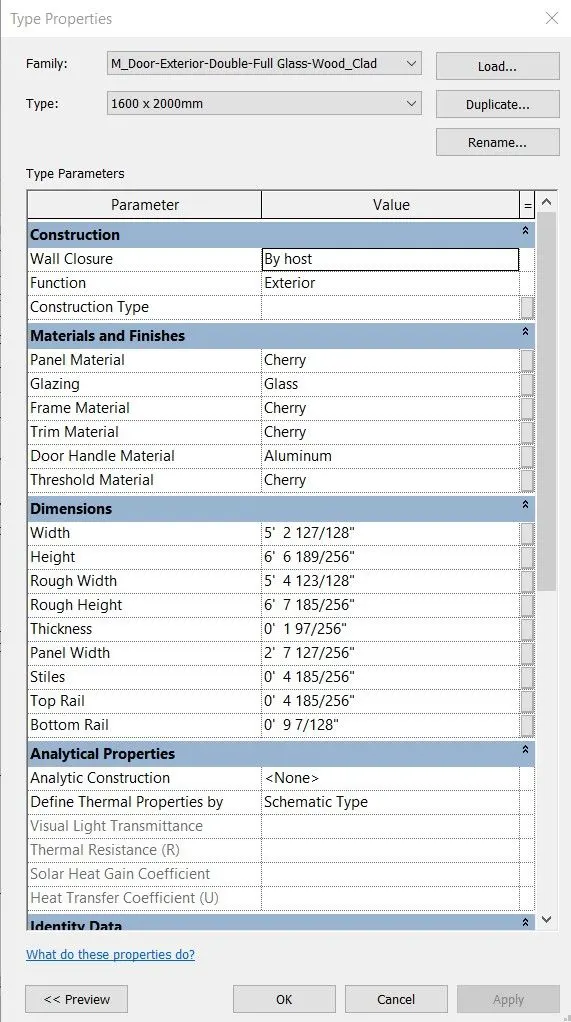
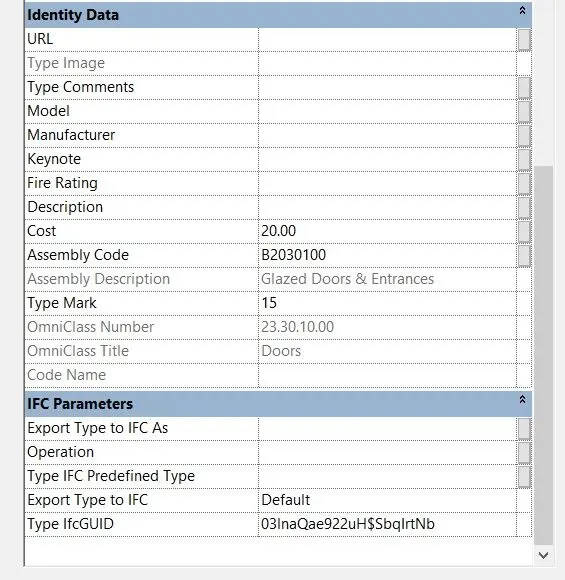
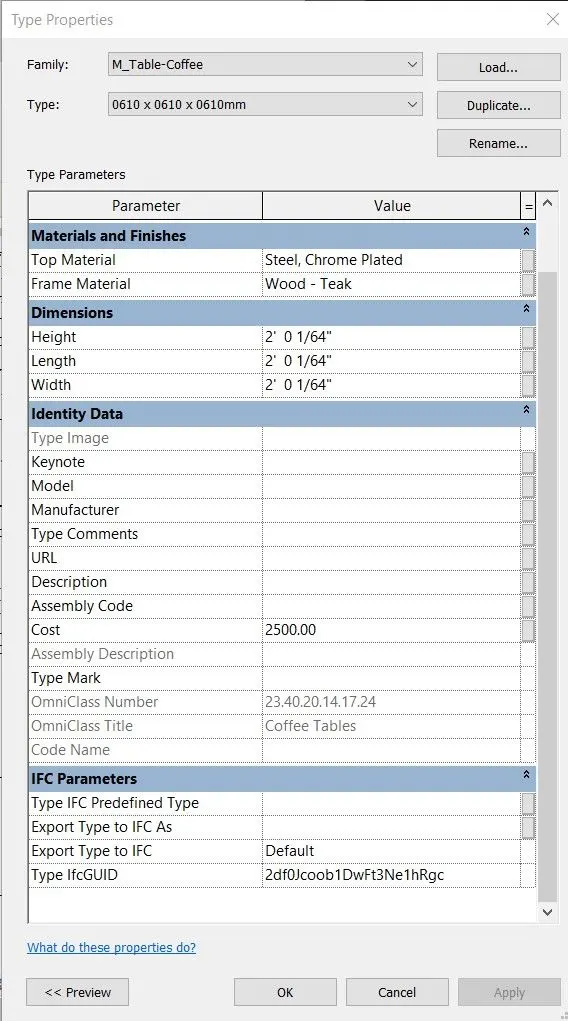
Here are some of the parameters associated with:
a) Walls:
b) Floors:
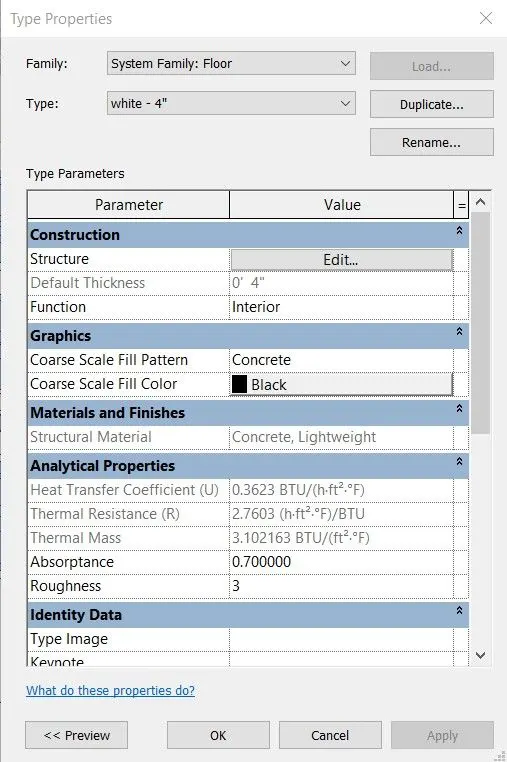
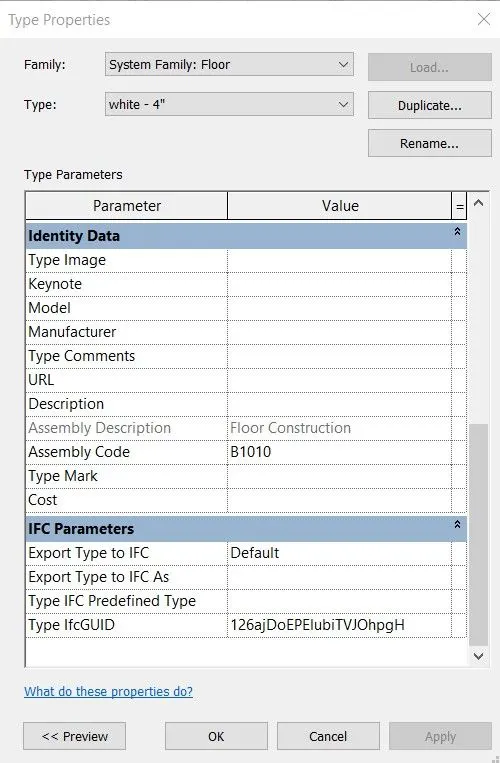
c) Door:
d) Window:
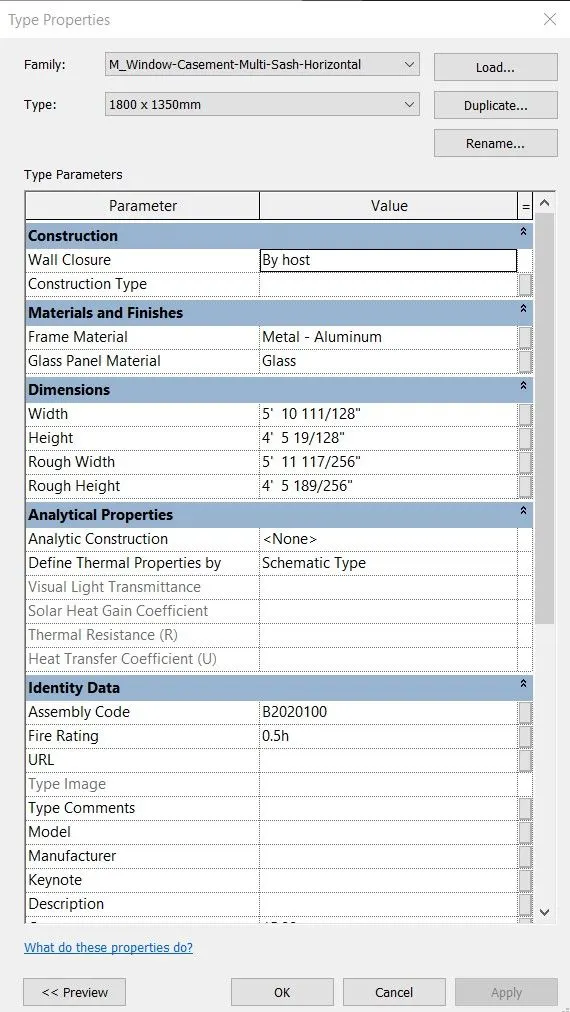
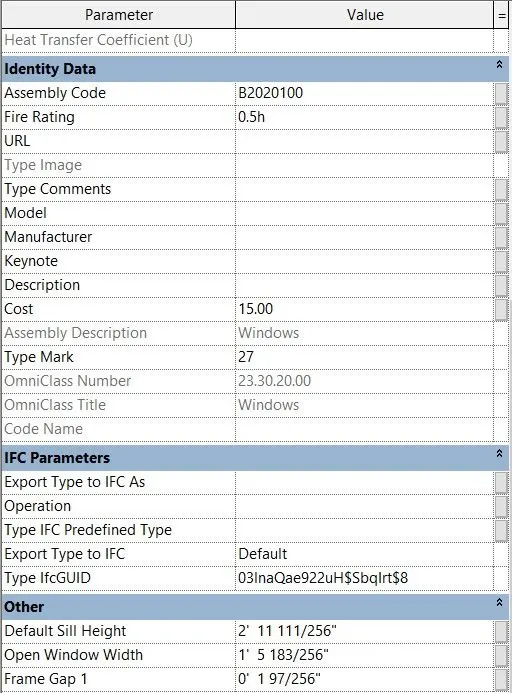
e) Table:
f) Building:
Height
Purpose
Cost
Sustainability
Materials used
Structural and Architectural elements
Loads
Stresses
Floor area
Location
Coordinates