Preparing Schedule & Cost Estimation for a building using REVIT
1.
Aim
To use shortcut keys and to understand the shortcut commends.
Procedure
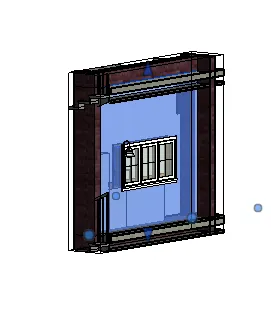
Section Box - BX
- Go to Revit software.
- Then in 3D view select any one of the component which we need to view and press BX commend
- That view will be shown separately in the section box.
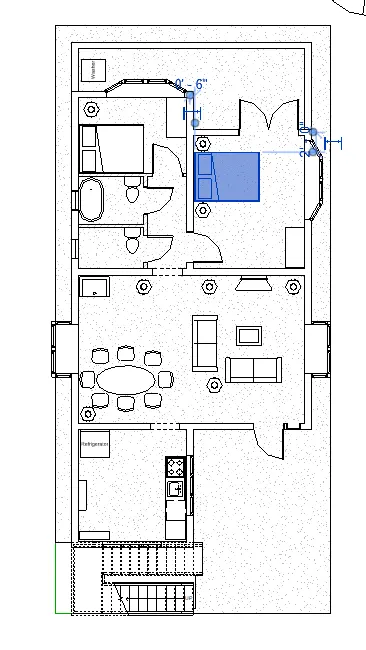
Create Similar – CS
- This commend is used to create similar component.
- Go to floor plan click any of the component. I select bed and type CS the similar copy of this will be created we can place it anywhere
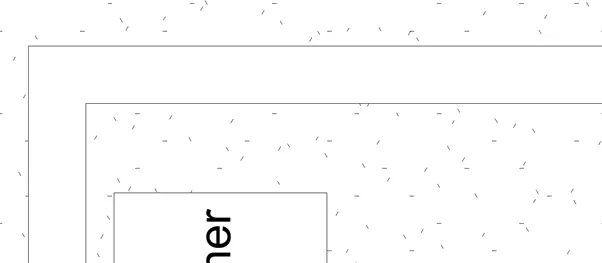
Thin Lines – TL
- This commend is used to reduce the line weight.
- Go to floor plan and click on the line and type TL the line weight is reduced.
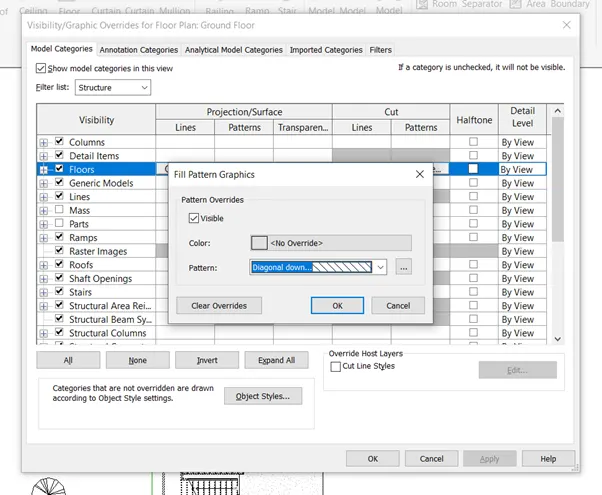
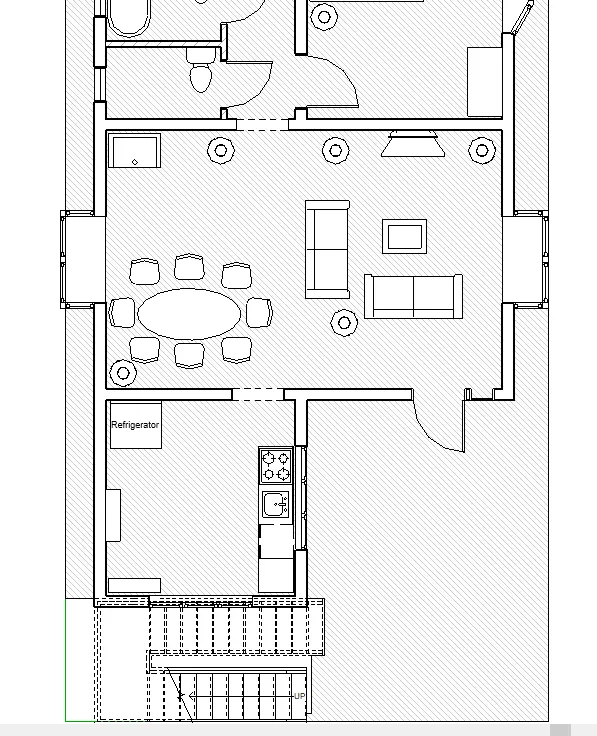
Override Settings to Floor – VG
- Go to visibility gbraphics VG and in model category go to floor and there is an option call override.
- Then we can change the pattern of floor and colour of pattern.
- Then click ok.
Thus Floor Lines are created
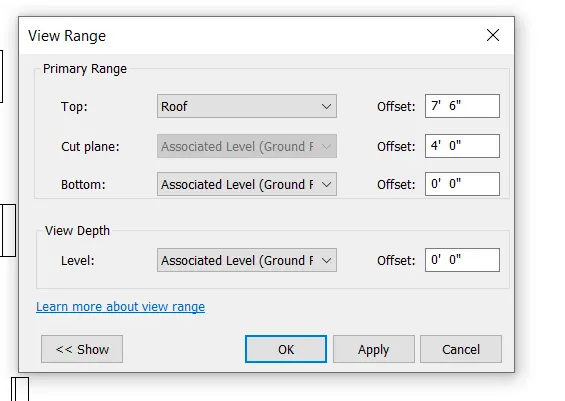
View Range - VR
- Go to floor plan and type VR a dialogue box will appear.
- We can modify the view of top and bottom and also the view Depth
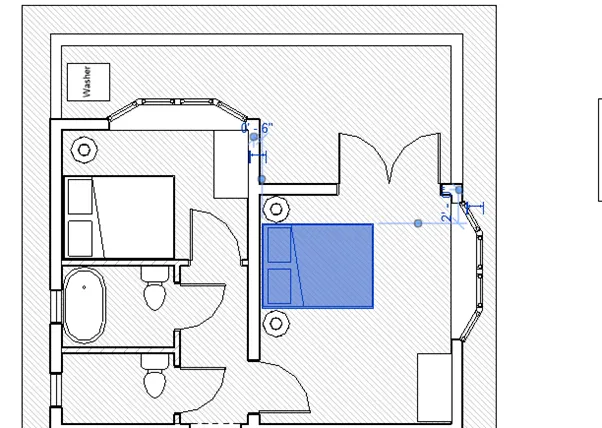
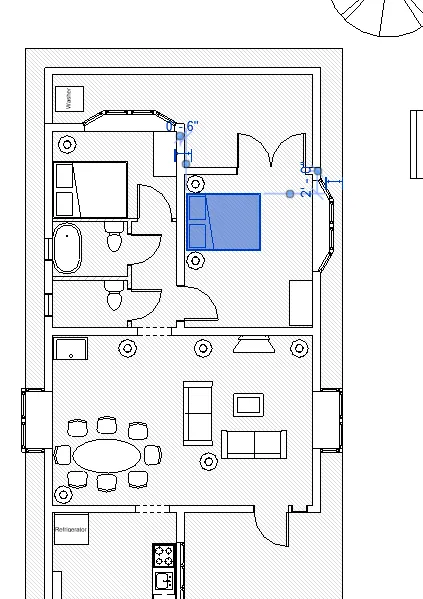
Reselect – Ctrl (Left Arrow Key)
- If we press Ctrl Left Arrow Key, it will show the previously selected object.
- I have selected the Bed and then deselect it.
- Then is use Ctrl Left Arrow the previously selected bed will be selected.
Annotation – DI
- Go to floor plan and if we press DI the ribbon tab will changed to Annotation tab.
- We can select the dimensions and all the other elements which are available in Annotation tab.
- First I was in architectural tab once I press DI then Annotation is opened.


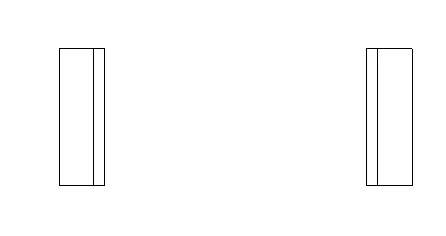
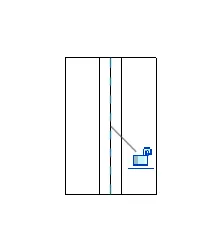
Align – AL
- Align is used to align one component with the other.
- I have created the park bench and need to align it.
- Type align and click reference and click on the bench which needs to be aligned
- It will be aligned
Rotate – RO
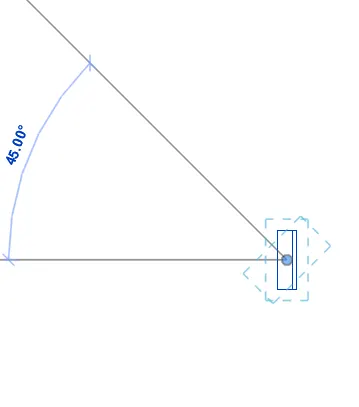
- Click on any object or component and type RO
- It will show the start and end angle create the angle and press enter.
- The component will be rotated.
Move – MV
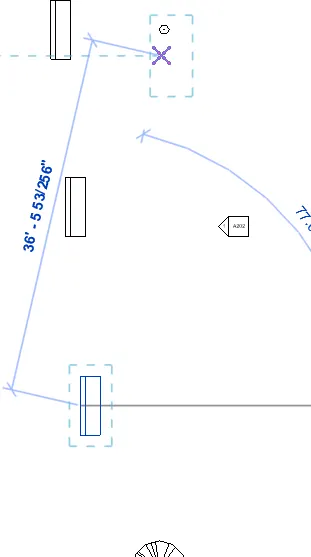
- Click on any component which needs to move.
- Type MV and place it in required place.
Mirror – MM
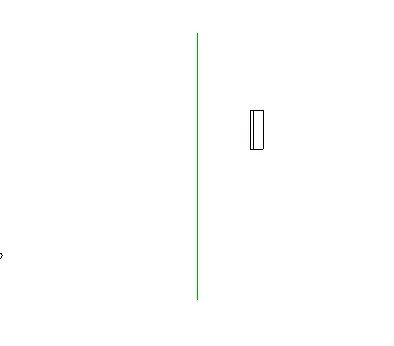
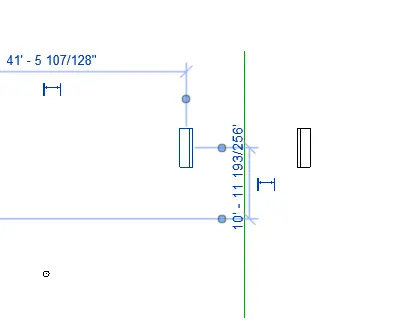
- If I need same component in the opposite side I can use mirror option
- Select the component and type MM
- Click the centre point to mirror.
- I have a parking bench and I will mirror it.
Array – AR
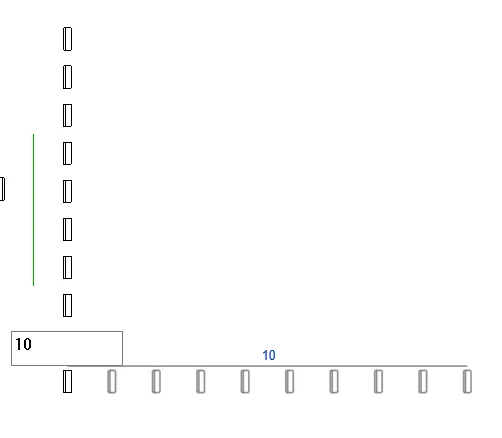
- Array is helpful in creating the components in regular distance and numbers.
- Select the component to array and type AR
- Then mention the number of components and end he distance of Array. Then press enter.
2.
Aim
To create the schedule of walls doors windows and elements by using the previous model.
Procedure.
- Open the Revit software
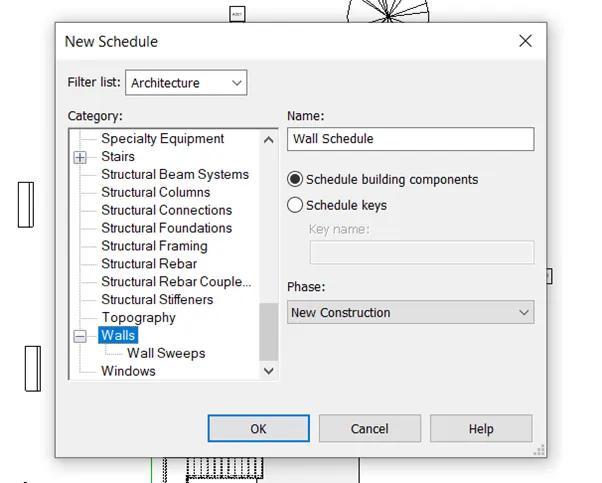
- Go to view tab and click schedule. And click wall the wall has been scheduled and press ok.
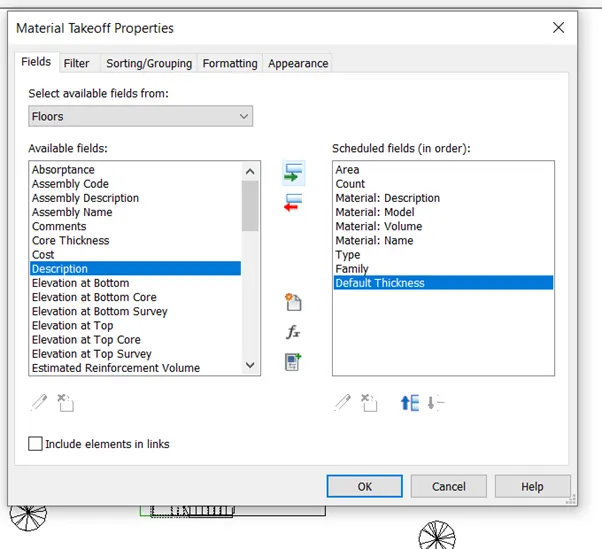
- Then click the parameters required to show in the schedule.
- After creating the wall schedule go to view tab and select schedule and select doors.
- Then select the parameters required to view in schedule.
- The press ok the door schedule has been created and appear in the project browser schedule
- Similarly create the window schedule also.
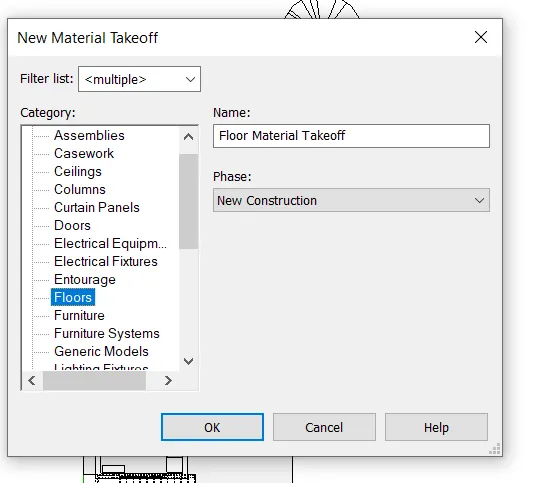
- To create material schedule, go to floor plan and view tab.
- Then schedule their go to material take-off.
- Select the material that needs the quantity.
- Then select the parameters and then press ok. Thus the material schedule ahs been created.
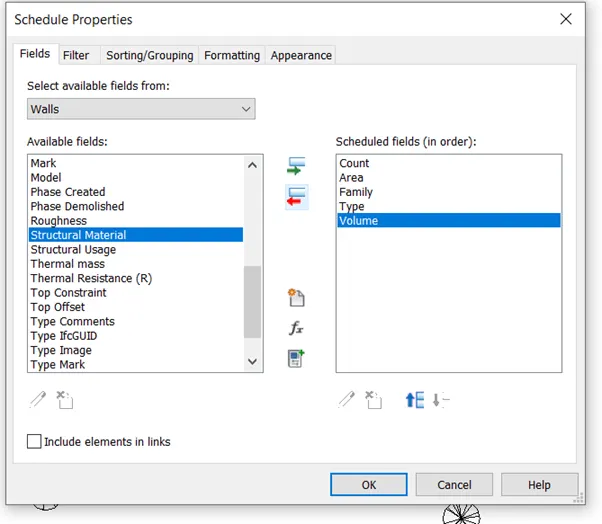
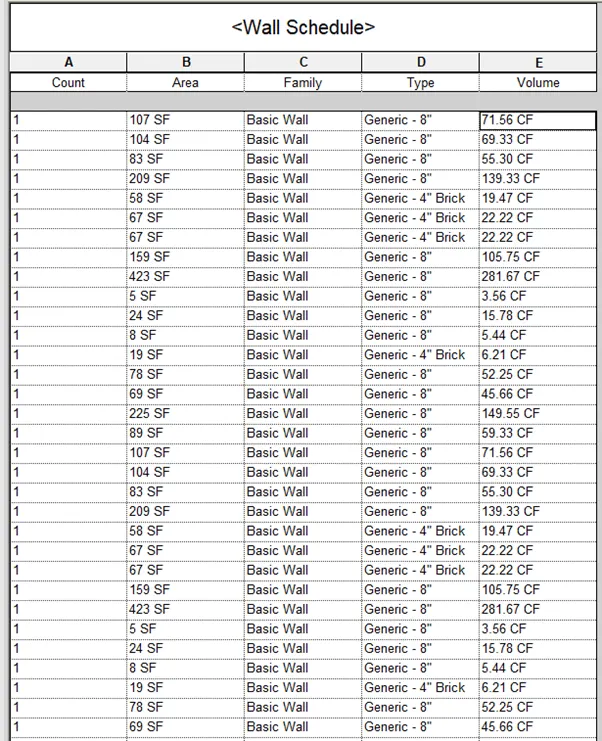
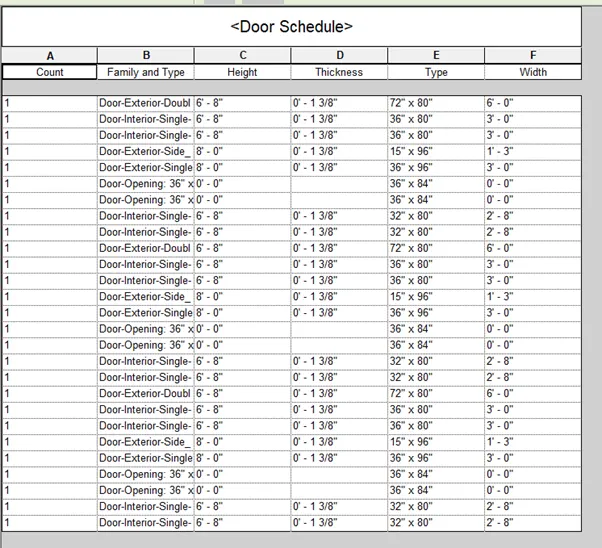
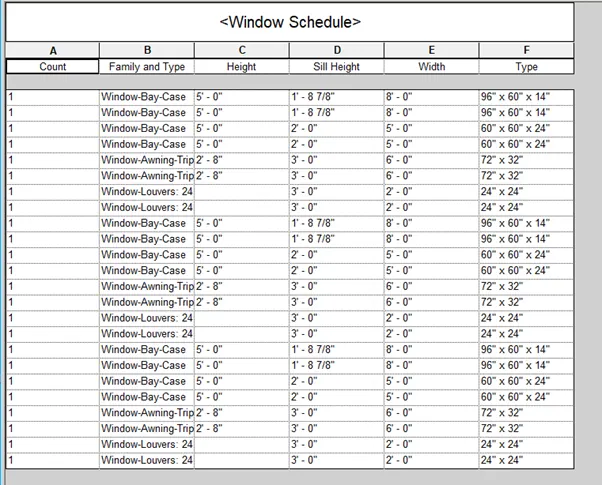

Result
Thus the schedule has been created for walls, doors, windows, and Materials.
3.
Aim
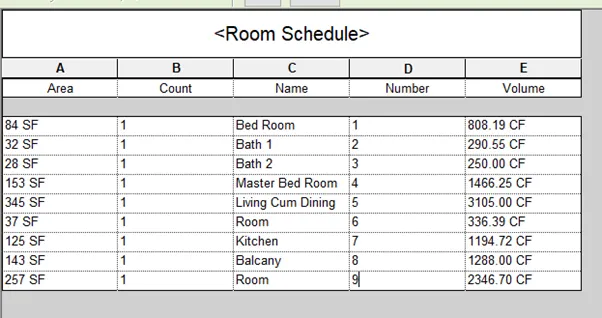
To calculate the area and volume of each room in the model by using schedule option.
Procedure
- Go to floor plan and go to view tab then schedule.
- Go to room schedule
- Then choose parameters like area, number, name, volume, type, etc.
- Then press ok.
- The room schedule has been created.
Result
Thus the room schedule has been created.
4.
Aim
To calculate the total cost of material and also the individual material take-off.
Procedure
- Go to Revit Software.
- And for individual material take-off.
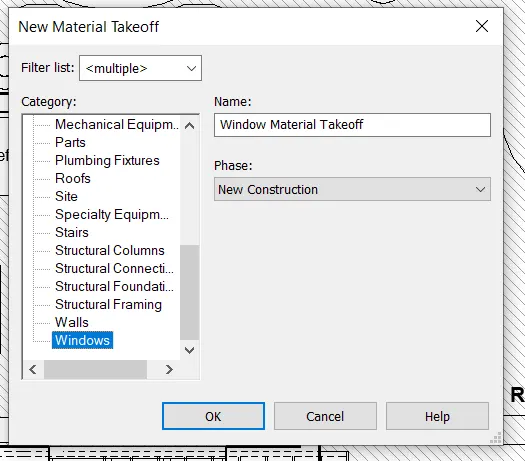
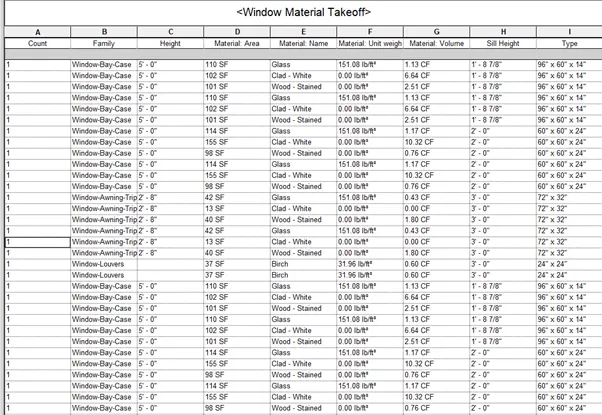
- Go to schedule and press material take off.
- The select the material to which the quantity and other parameters are required eg, Doors, windows, Walls, Lighting fixtures, floor etc.,
- Then select the parameters required to be showcased in material take off schedule.
- Then press ok
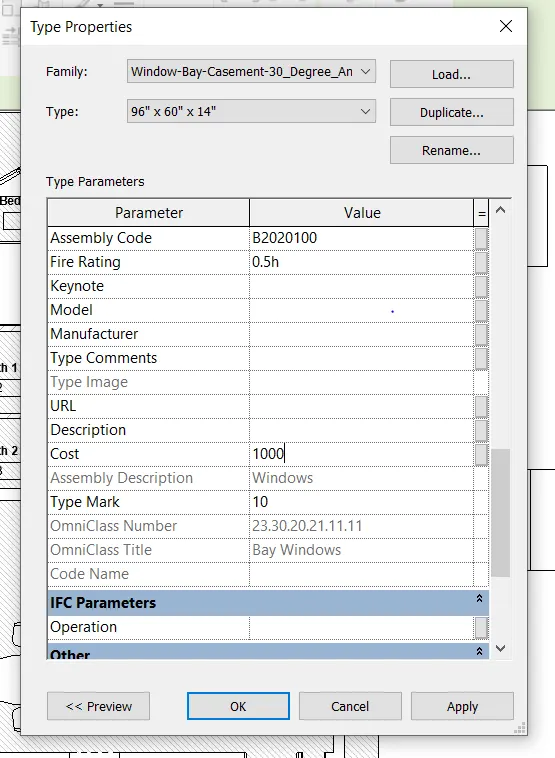
- To calculate total cost of the material, go to that material and go to edit type and at the last there is an option called cost. Enter the value of per Sq. ft. or cft
- Then go to schedule and click material take of and enter he parameters and press ok
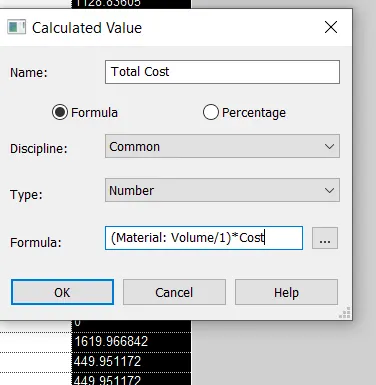
- Then schedule will be created select the column and insert.
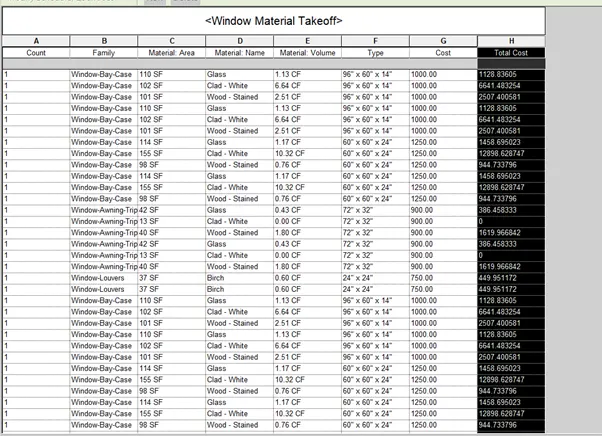
- Then to calculate total cost the formula is (Volume/ Unit) *Cost
- Thus the total cost of windows is calculated.
Result
Thus the material take off and cost of material has been calculated.
5.
Aim
To create the flow chart for following cases
- How to decide framing for a structure using Dynamo?
- If there is no water coming from the tap
- If request for money from the client has been declined for the project
Procedure
How to decide framing for a structure using Dynamo?
Preparation of Formwork

Assembling the formwork
Placement of Reinforcement
Concrete Placing
Compacting & Curing
Completion
If there is no water coming from the pipe
Check for Availability of water
Check for water supply
Check for any Leakage
Fix the problem
Problem Solved
If request for money and Client has been declined for the project
Explain the project to the client
Provide time for client to decide

If he accepts to pay then proceed If he refused to pay then drop the
to continue the project project
6.
Aim
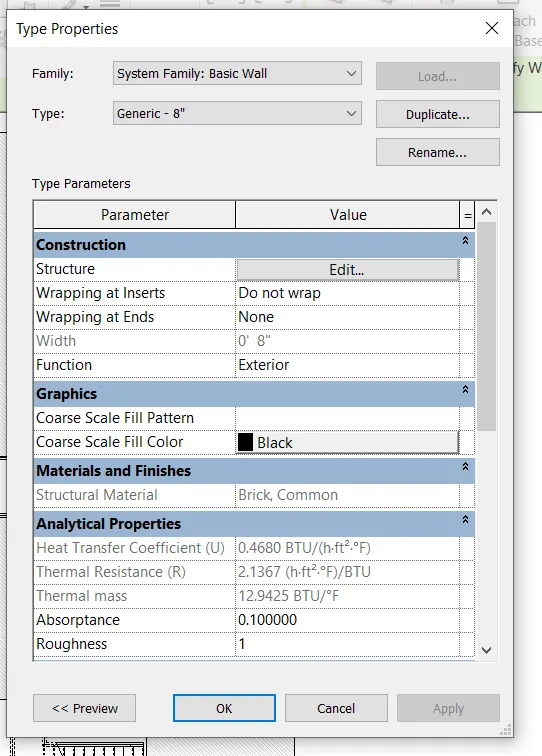
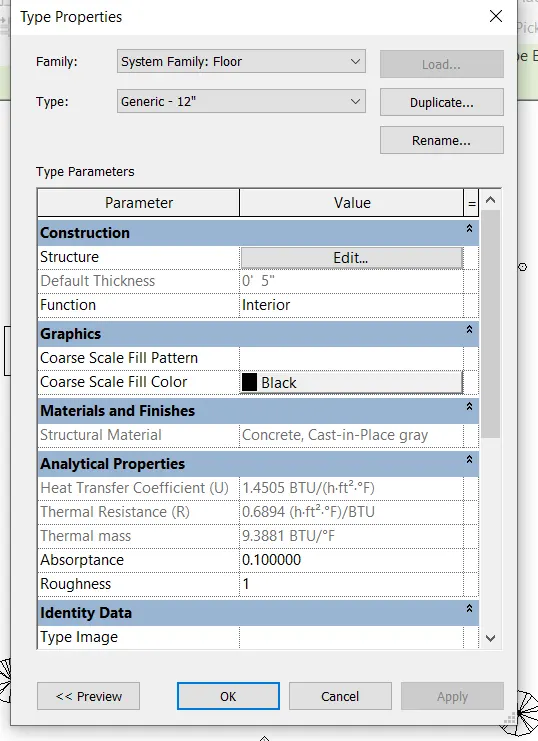
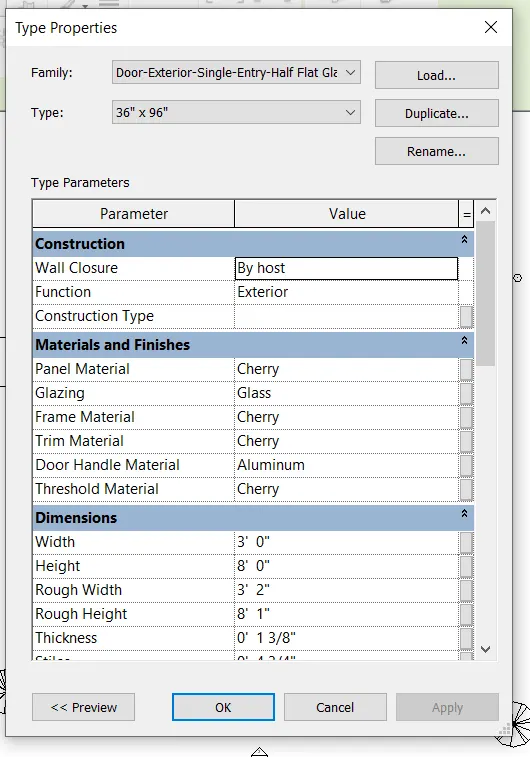
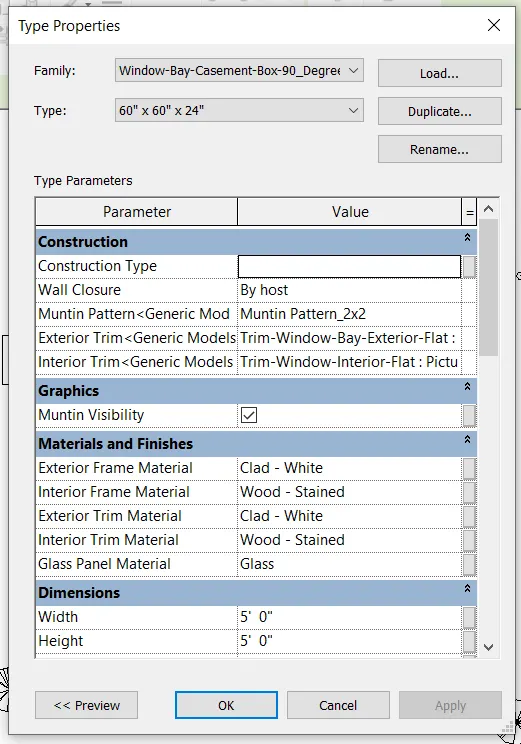
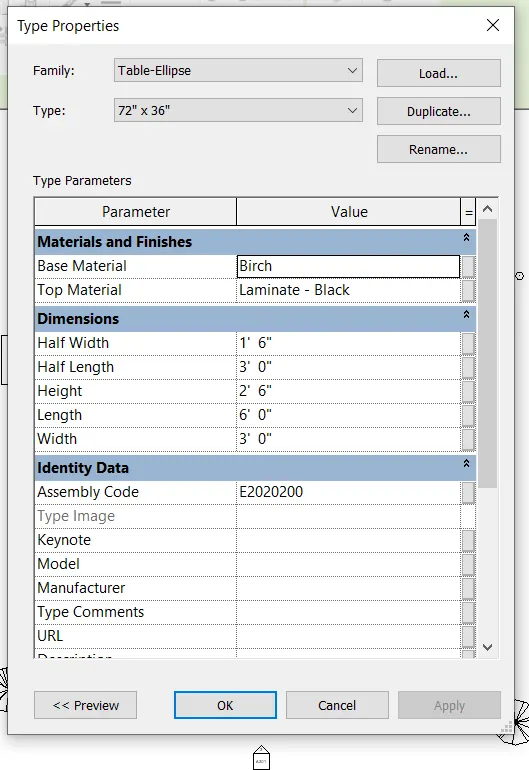
To determine the parameters of the Walls, Floor, Doors, Windows, Table, Building.
Procedure
- For determining the parameters go to floor plan and select any of the wall.
- Go to edit type the parameters are available. We can edit the parameters and customize the model.
- We can edit parameters like Construction, Graphics, Material & Finishes, Analytical Properties, Identity Data.
- Similarly for Floors, Doors, Windows, Table and Building we can edit by using edit type.
Result
Thus the parameters are taken for each components.