Photo Realistic Rendering
Design of American Chopper
Introduction:
This report contains a detailed explanation of designing an American Chopper starting from part modelling to final rendering of the assembly.
Objective:
The main objective of this project is to learn the basic knowledge about the part modelling & assembly by using SOLIDWORKS and to create a photo-realistic view of the assembly by using SOLIDWORKS Photo View 360 & SOLIDWORKS Visualize.
The following steps are undertaken while designing the American Chopper:
- Design of the individual components.
- Assembly of the chopper.
- Application of decals, setting up the scene, lights and cameras.
- Final rendering of the assembly.
Solid Modelling:
Solid Modelling is generally to create a virtual prototype of an item. Consider a car engine it has hundreds of parts. Each part can be modelled separately and then assembled together to form an engine. This type of modelling is called as solid modelling.
Feature Description:
Sketch:
Sketch is the two dimensional representation of the model with respect to the plane/view from the outside of the model. In Solidworks there are different sketch options available to create a sketch. These are known as entities in solidworks. The following are the entities available in the solidworks line, arc, spline, circle and rectangle.
Extrude Boss/Base:
Extrude is a type of feature in solidworks to convert 2D sketch into 3D model.
Extrude Cut:
Extrude cut is another cool feature which helps to remove materials from the 3D model. It is just opposite to the Extrude boss/base feature, because it cuts the sketch profile while extruding. You can cut in the both directions and mainly used to make holes, channels and slots etc.
Lofted Boss/Base:
The loft feature is to generate complex geometry in a single feature. It does this by interpolating surface between various cross-sections of a model. The cross-sections can be sketch, face or edge. In the loft interface, these cross-sections are considered as “Loft Profiles”.
Revolve Boss/Base:
To create a revolve feature, create a sketch that contains one or more profiles and a centreline, line or edge to use as the axis around which the feature revolves.
Fillet:
Fillet/Round creates a rounded internal or external face of the part. You can fillet all the edges of a face, selected sets of faces, selected edges or edge loops.
Offset:
One or more sketch entities, selected model edges or model faces by a specific distance. For example, you can offset entities spline or arc, sets of model edges, loops and so on. You can also offset finite lines, arcs and splines.
Chamfer:
A cut on the corner or edge of something that makes it slope slightly rather than being a perfectly square.
Trim Entities:
Select the trim type based on the entity you want to trim or extend. All trim types are available in 2D sketches and 2D sketches on the 3D planes. You can use any of the following trim option such as power trim etc.
Dynamic Mirror:
Dynamic mirror is an important tool in solidworks. As you sketch the entities, they are mirrored about the pre-selected sketch entity.
Dome:
Select one or more planer or non planer face. You can apply domes to faces whose centroid lies outside the face. This allows you to apply domes to irregular shaped contours.
Split:
The split is tool is used to project an entity (sketch, solid, surface, face, plane and surface spline) onto the other surfaces or curved/planer faces. You are also able to split the faces on multiple bodies with one commend.
Combine:
Combine is the type of feature available in solidworks to manually combine two bodies.
Shell:
The shell definition manager is used to define the thickness of thin and thick element.
Circular Pattern:
The circular parent bodies/feature are used to create a different number of instance are required to create the circular pattern.
Linear Pattern:
The linear parent bodies/feature are used to create a different number of instance are required to create the linear pattern.
Appearance:
An appearance defines the visual properties of a model, include colour and texture. Appearance does not affect the physical properties, which are defined by materials. Every material is assigned by a default appearance that emulates the look of the material.
Surface Modelling:
Surface modelling gives you the ability to build a visual representation of an objects exterior and its contours. In other words it’s a surface. Parts like seats, fuel tank of the chopper are surface modelled.
Feature Expansion:
Lofted Surface:
Lofted surfaces are surfaces generated by multiple 3D curves existing edges or creating a smooth tangency between the selected curves.
Swept Surface:
Swept surfaces are surfaces that are generated from a section curve position along a path.
Filled Surface:
The filled surface feature constructs a surface patch with any number or sides, within a boundary defined by existing model edges, sketches or curves including composite curves.
Surface Trim:
Primarily used to cut away material from surface, and provides two modes: standard and mutual.
Extended Surface:
Extended surface is used to extend the surface which is already created. There are different options available on the extended surface. We can extend the surface as same surface or we can extend surface tangent to the surface.
Surface Knit:
Surface Knit is used to knit the two free edges/ open edges of the surface together. Also it reduces the gap between the two edges of the surfaces.
Methodology:
The American Chopper is made up of the following parts:
- Transmission belt
- Kick stand
- Front fender
- Rear fender
- Chain
- Oil tank
- Pedal
- Front wheel
- Rear wheel
- Front fork
- Chassis
- Engine
- Gas tank
1. Transmission Belt:
It is a loop of flexible material used to link two or more rotating shaft mechanically, most often parallel. Belts may be used as a source of motion to transmit power efficiently.
Features: Extrude Bose/Base and Fillet.
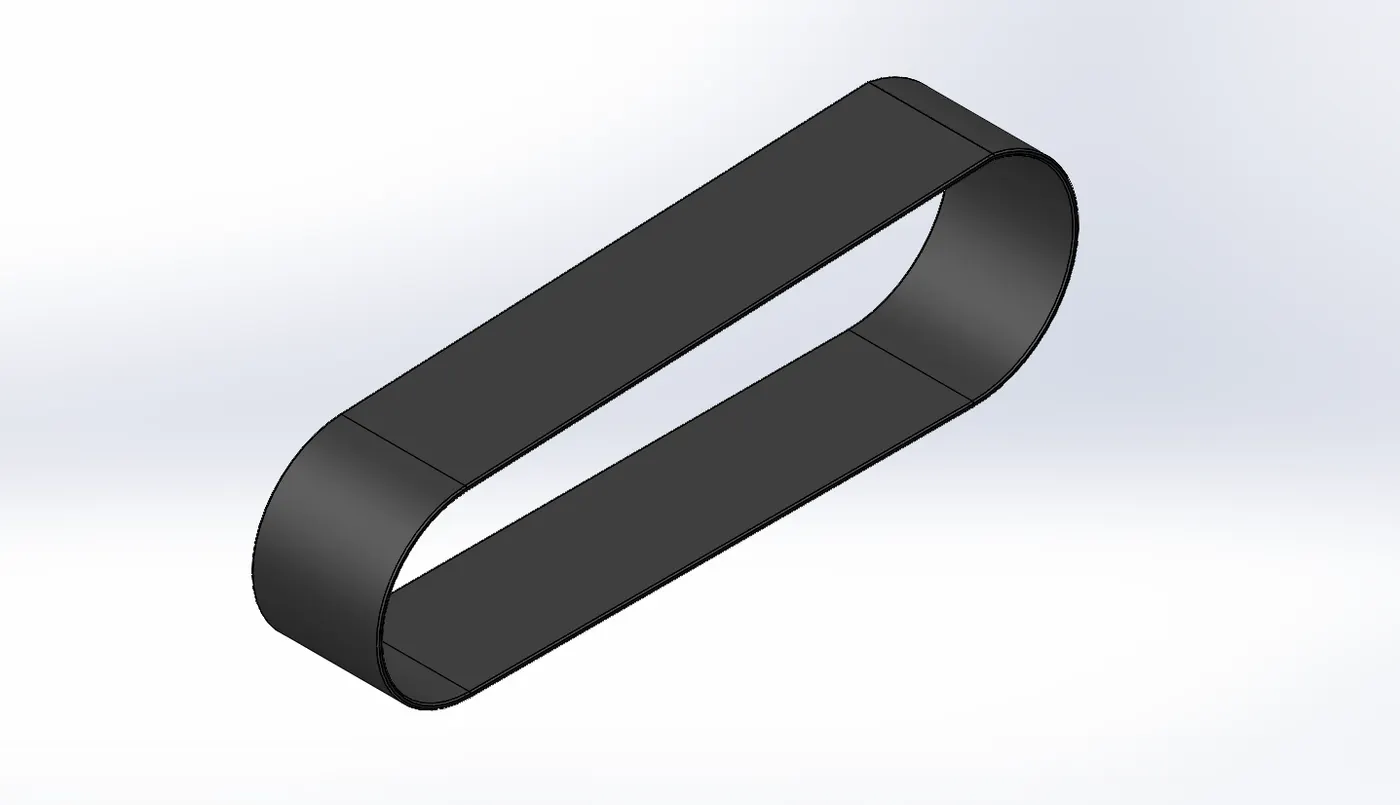
The profile of the transmission belt is created as per the dimensions in the front plane; the belt is given a thickness of 3.5mm. Once the sketch is completed the belt is extruded. The square edges are given fillet. The transmission belt is made out of Matte Rubber.
2. Kick stand:
A kickstand is a device on the motorcycle that allow the bike to kept upright without leaning against another object or the aid of a person. A kickstand is usually a piece of metal that flips down from the frame and makes contact with the ground.
Features: Lofted Boss/Base, Dome, Extrude cut, Extrude Boss/Base and Fillet.
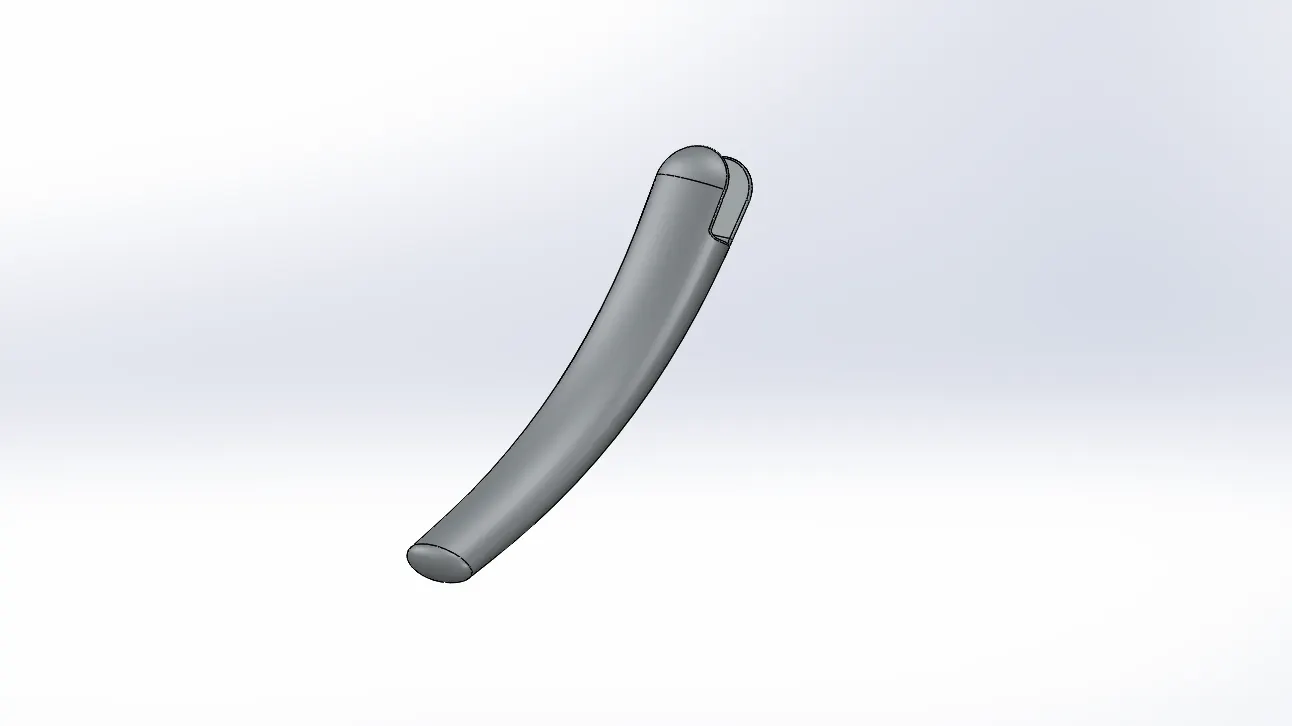
Mainly loft feature is used to create a kick stand. Two ellipses are created on the right plane, one at the top end and another at the bottom end of the kick stand. A path is created on the front plane which joins the centre point of the two ellipses created before using pierce relation between the centre of the ellipses and the path. Using loft, the body of the kick stand is created. Elliptical dome feature is used to create the rounded end of the kick stand. A slot with an extrude boss is created at the top end of the stand using which it is connected to the chassis. At last fillets are provided to the sharp edges of the kick stand. Chrome plate appearance is applied to the kick stand.
3. Front Fender:
Fender is the American English terms the part of the automobile, motorcycle or other vehicle body that frames a wheel well (the fender underside). Its primary purpose is to prevent from sand, mud, rock, liquid and other road spray from being thrown into the air by the rotating tire.
Feature: Revolve Boss/Base, Split and Fillet.
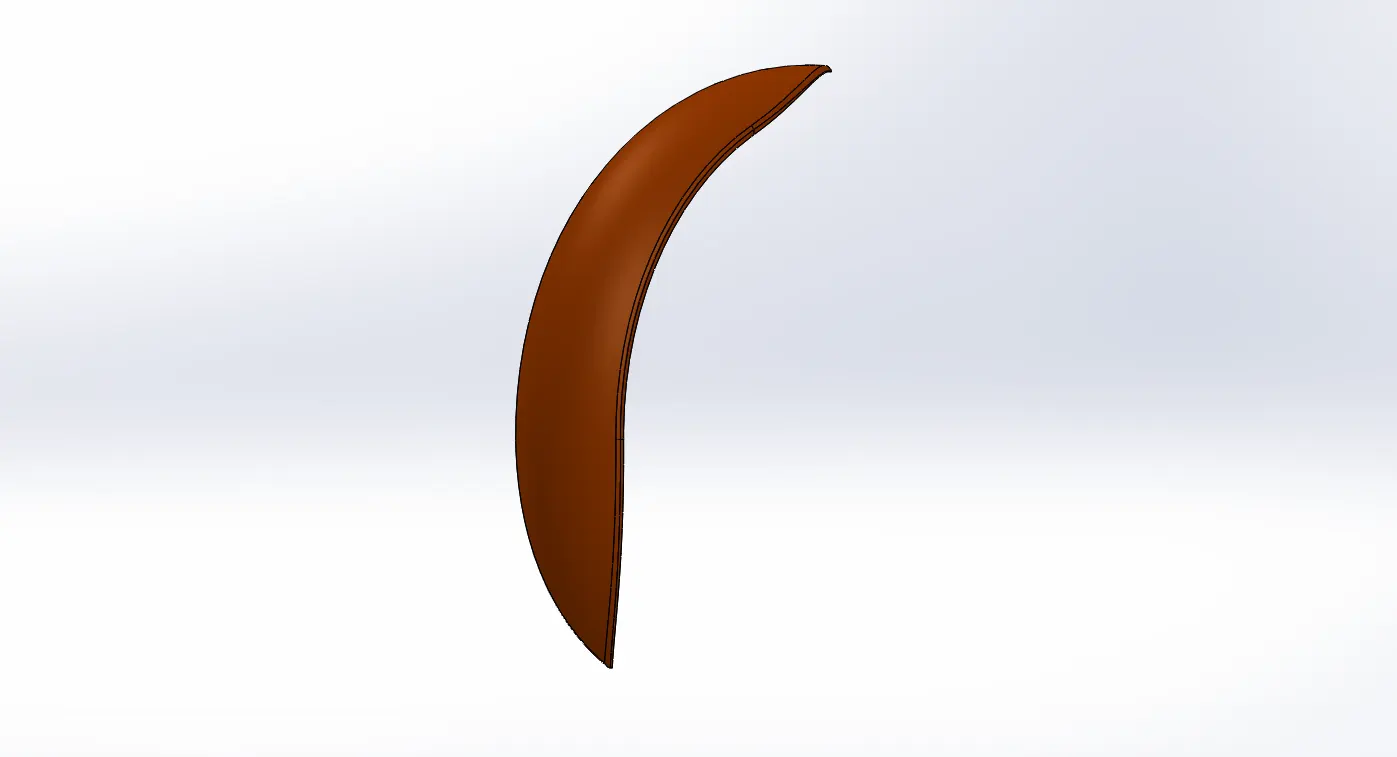
A sketch is created in the front plane using a three point arc and offset it meet the thickness of the fender. Create an axis at the origin. Using revolve boss/base the required front fender is created. Two different sketches are created in the top plane and the right plane to cut the front fender into required shape. Fillets are created in the sharp edges of the fender. Desired appearance is applied to the fender.
4. Rear Fender:
Fender is the American English terms the part of the automobile, motorcycle or other vehicle body that frames a wheel well (the fender underside). Its primary purpose is to prevent from sand, mud, rock, liquid and other road spray from being thrown into the air by the rotating tire.
Feature: Revolve Boss/Base, Split, Fillet and Shell.
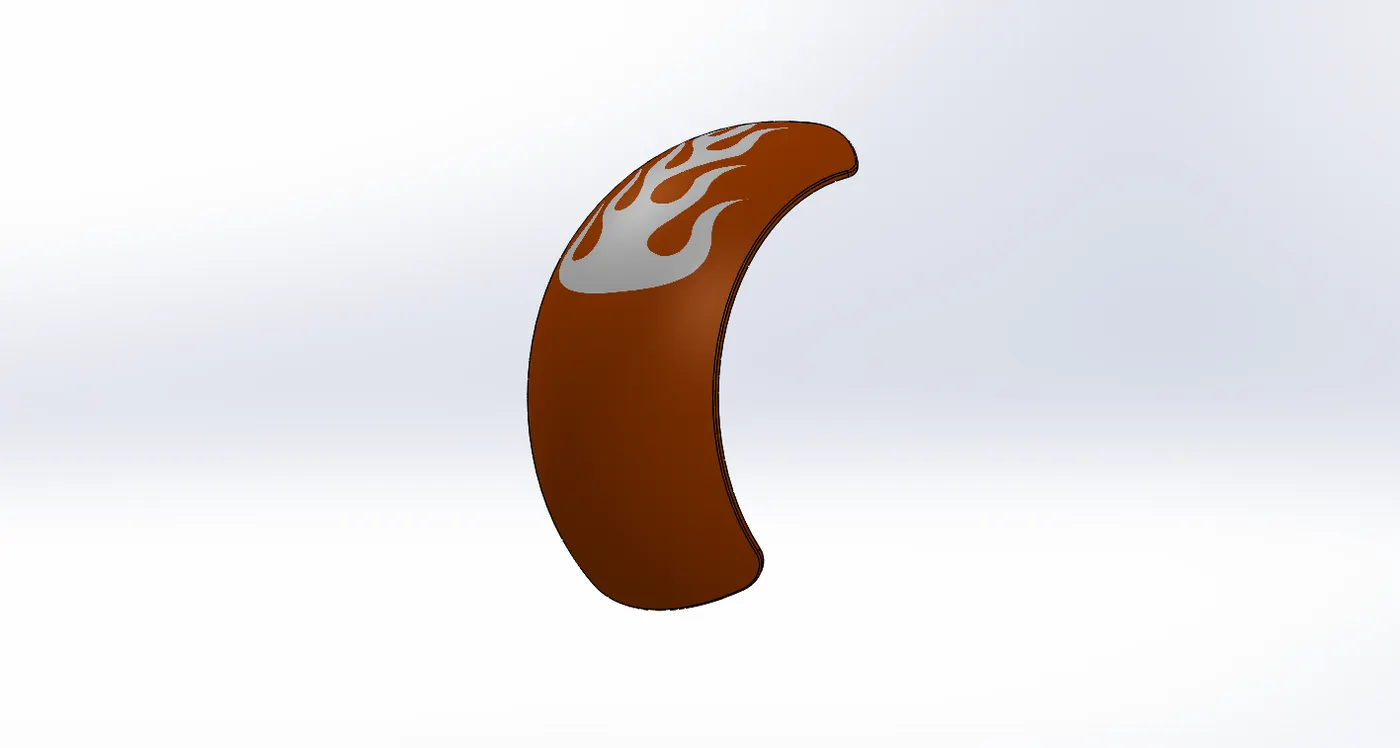
A sketch is created in the front plane using a three point arc and offset it meet the thickness of the fender. Create an axis at the origin. Using revolve boss/base the required front fender is created. Two different sketches are created in the top plane and the right plane to cut the front fender into required shape. Fillets are created in the sharp edges of the fender. Desired appearance is applied to the fender.
5. Chain:
Chain is the connection used to transmit power from engine to the rear wheel. It passes over toothed member known as sprocket.
Feature: Extruded Boss/Base, Curve Driven Pattern, Fillet and Mirror.
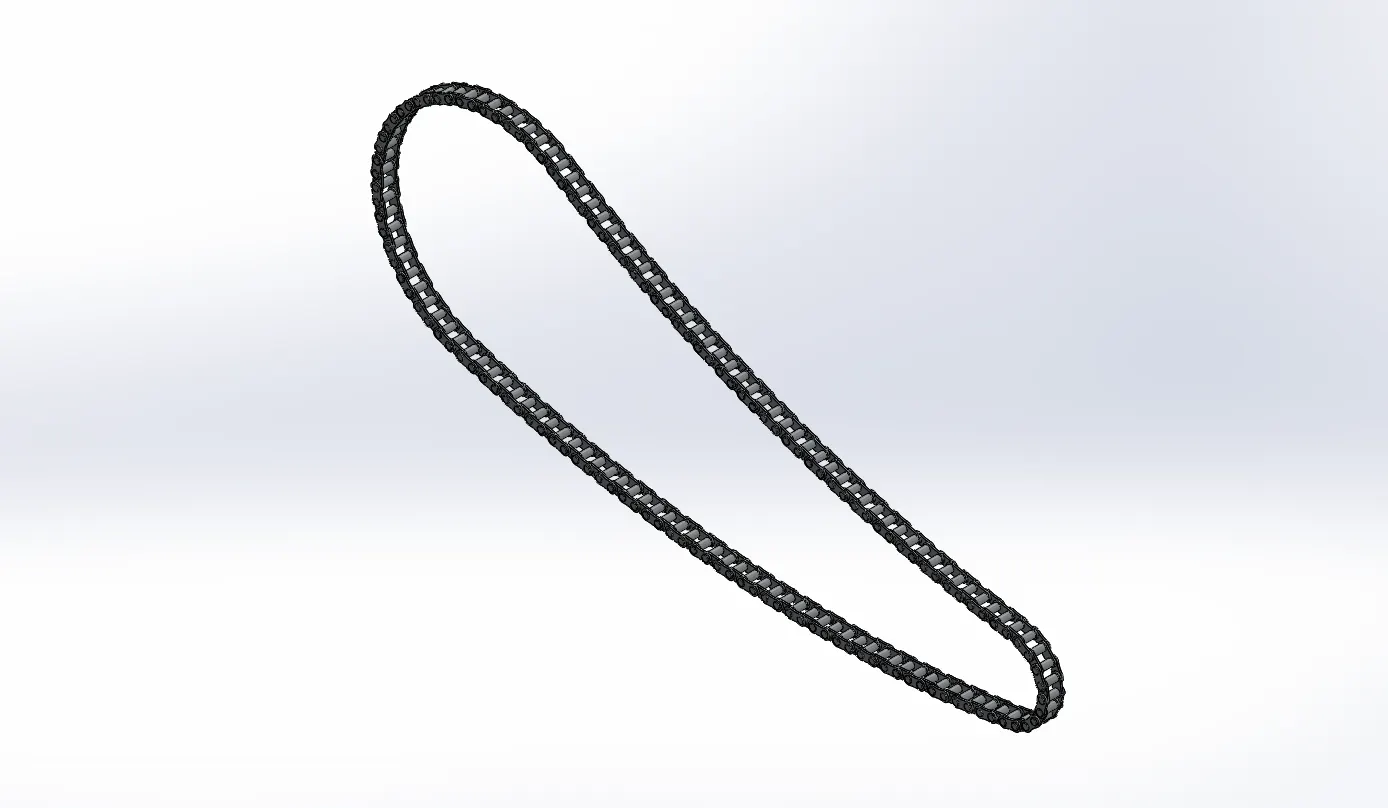
A main profile of the chain is created using the three point arc and tangent relation between the arcs the given dimensions. Create a throwaway sketches which are used to create the inside and outside link of the chain. The plates of the chain link are extruded using the throwaway sketches and the connecting pins are created using the same sketches. Only one side of the plates of the chain links are created. The created chain links and pins are then populated to the main sketch using the curve driven pattern feature. All the chain links and the pins are mirrored using the front plane. All the components of the chain are combined into a single part using the combine feature. Chrome steel appearance is applied to the chain.
6. Oil Tank:
An oil tank has proposed of storing the lube oil to lubricate the engine parts to wear and tear due to extreme heat.
Feature: Extrude Boss/Base, Combine, Fillet and Shell.
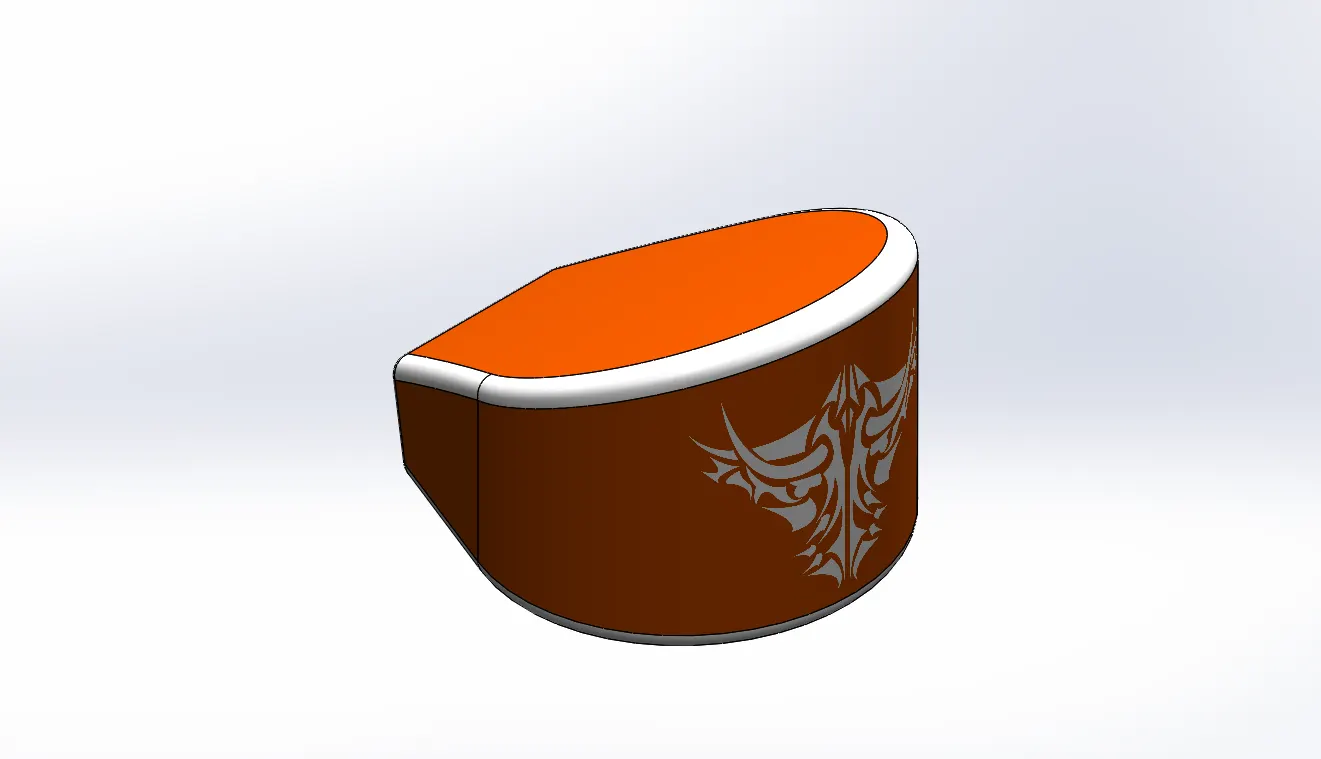
On the top plane a sketch by creating a three point arc and few lines then apply tangent relation to them. Then extrude the profile to obtain a structure. On the front plane, created another sketch and extrude it by mid plane extrude. Now split the bodies and remove the unwanted parts to obtain the oil tank. Apply necessary fillets. Now using shell feature make the oil tank hallow of the required thickness. Apply the desired appearance to the oil tank.
7. Pedal:
It is a part of the motorcycle where foots of the rider rests and the place where the gear and brakes are easily available to the rider.
Feature: Extrude Boss/Base, Revolve Boss/Base, Linear pattern, Chamfer and Fillets.
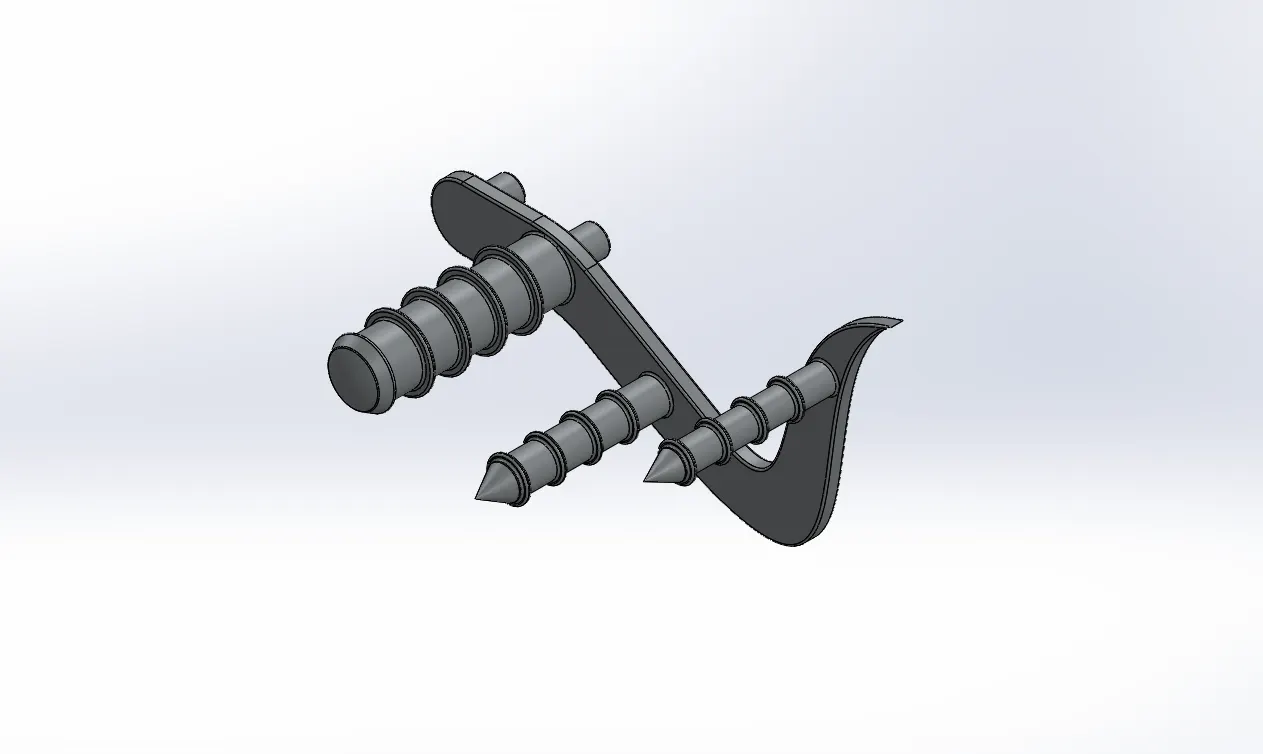
A sketch is made on the front plane in the form of support plates as shown in the above picture, along with that few circles of required dimensions are created on the either side of the profile which are later used to extrude the cylindrical structure for foot rest and attachment to the chassis. Provide the required fillets and linear pattern to produce the ring structure on the pedal. Chrome steel appearance is provided to the pedal.
8. Front Wheel:
It is a rolling part situated on the front of the motorcycle. This wheel helps to guide the vehicle according to the movement of the front fork as desired by the rider.
Feature: Extrude Boss/Base, Revolve Boss/Base, Extrude cut, Revolve cut, Circular pattern, Mirror, Chamfer and Fillet.
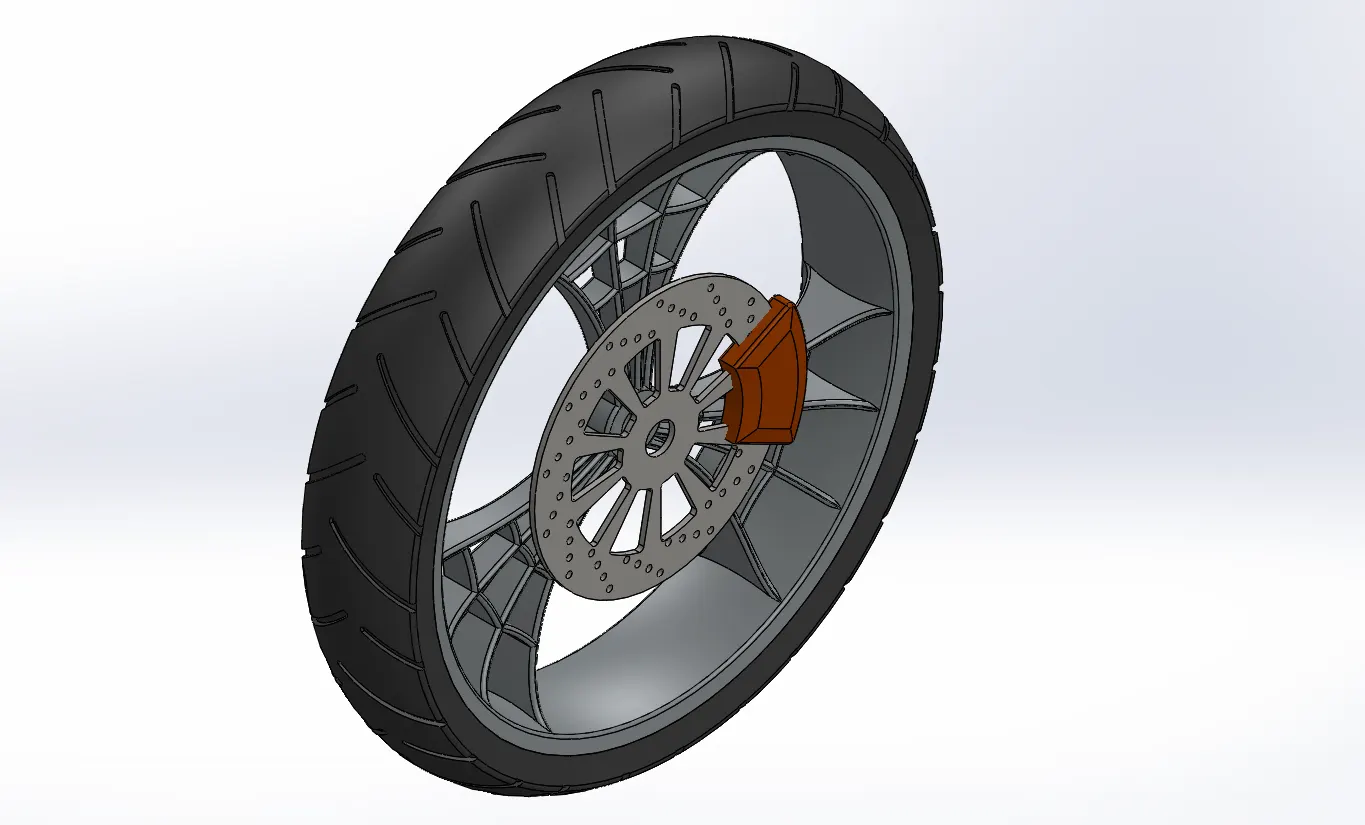
Initially the rim is created by sketching on the front plane and revolves using an imaginary axis at the origin. A spider web design of the rim is created on the front plane and extruded using the mid plane extrude feature. And this spider web spoke is circular pattern to required numbers and the rim is completed. The spider web spokes and the rim are combined to form a single solid body.
For Rotor, sketch on the front plane and extrude it to the required dimensions. Create the necessary holes using circular pattern.
For Calliper, create a profile using lines and circles then remove the unwanted sketch and extrude the calliper profile using the mid plane extrude feature. Provide necessary fillets and chamfers to complete the calliper.
For Tyre, A sketch is created by converting the entities of rim and the tyre is extruded by revolve. Later profiles are created on the surface of the tyre to give the grips to the tyre.
Separate appearances are applied to each part of the wheel.
9. Rear Wheel:
It is a circular component of the motorcycle which helps in the motion and it receives power from the engine through chain drive. Rim, tyre, rotor, sprocket and calliper are the parts of the rear wheel.
Feature: Extrude Boss/Base, Revolve Boss/Base, Extrude cut, Revolve cut, Circular pattern, Mirror, Chamfer and Fillet.
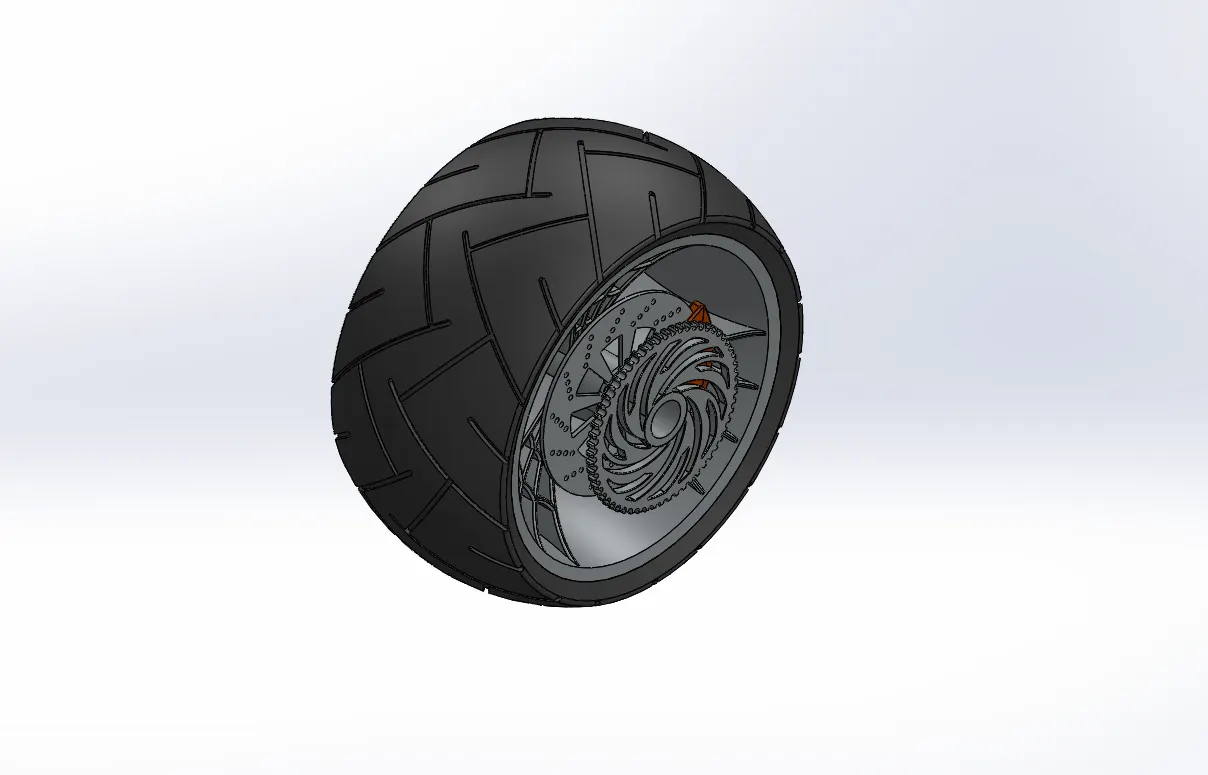
Initially the rim is created by sketching on the front plane and revolves using an imaginary axis at the origin. A spider web design of the rim is created on the front plane and extruded using the mid plane extrude feature. And this spider web spoke is circular pattern to required numbers and the rim is completed. The spider web spokes and the rim are combined to form a single solid body.
For Rotor, sketch on the front plane and extrude it to the required dimensions. Create the necessary holes using circular pattern.
For Calliper, create a profile using lines and circles then remove the unwanted sketch and extrude the calliper profile using the mid plane extrude feature. Provide necessary fillets and chamfers to complete the calliper.
For Sprocket, sketch a circle and extrude it to the required thickness. Apply chamfer to the outer edges and sketch a tooth profile on extrude and cut it. Apply fillets to the tooth edges and create a sprocket using circular pattern feature with required number of teeth.
For Tyre, A sketch is created by converting the entities of rim and the tyre is extruded by revolve. Later profiles are created on the surface of the tyre to give the grips to the tyre.
Separate appearances are applied to each part of the wheel.
10. Front Forks:
It is used to guide the entire vehicle. It holds the front wheel and other control devices operated by the rider. It consists of two columns along with the shock absorber which is held together by triple clamp.
Feature: Extrude Boss/Base, Revolve Boss/Base, Extrude cut, Revolve cut, Project curves, Swept Boss/Base, Dome, Combine, Mirror, Chamfer and Fillet.
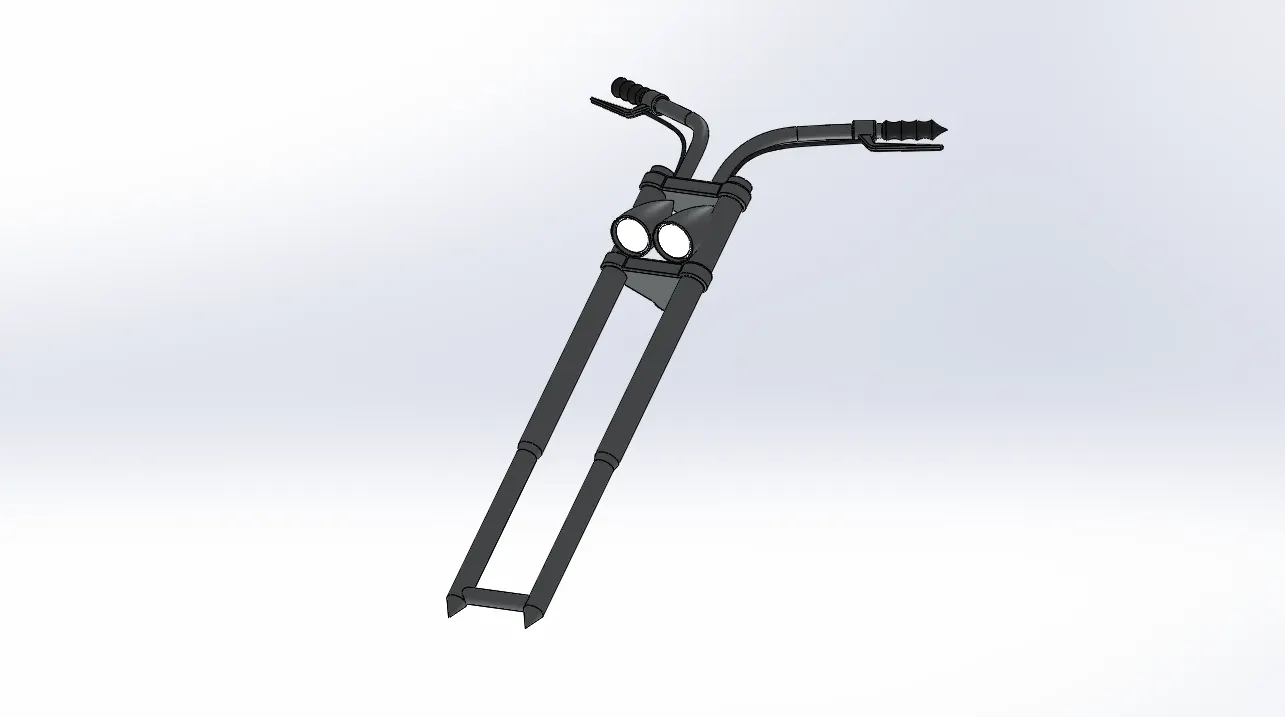
Create a long tube on the front plane by creating the sketches with appropriate dimensions and then extrude it by revolve. Then create the half of the triple clamp using appropriate sketch dimensions. On the same plane create the headlight by revolve extrusion. On the top plane, draw a sketch for creating the handle by using the spline and swept feature. Select all the created bodies and mirror them along the front plane and combine the entire object. Select an appropriate appearance to the front forks.
11. Chassis:
It is the skeleton of the vehicle to which all the components of the motorcycle is attached. It also provides the required support to the vehicle.
Feature: Extrude Boss/Base, Swept Boss/Base, Revolve Boss/Base, Extrude cut, Project curves, Dome, Split, Combine, Mirror, Chamfer and Fillet.
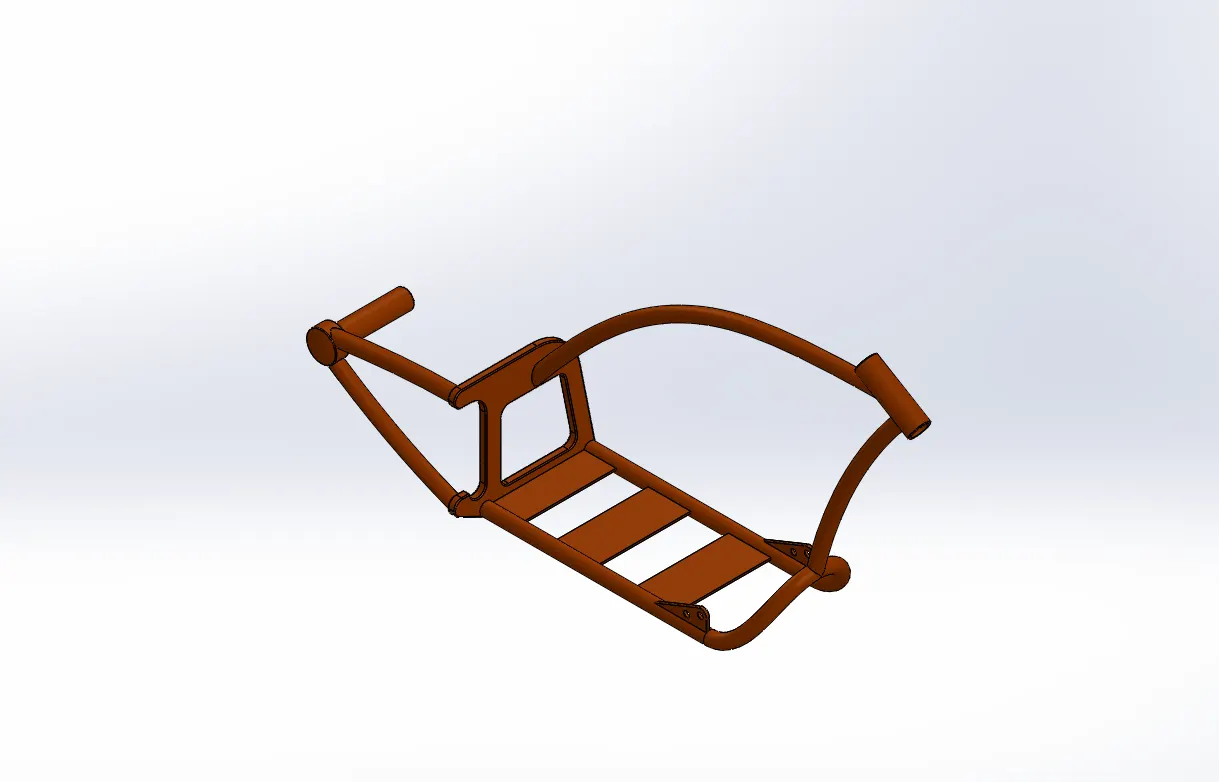
The blueprint of the motorcycle is important to the part design, adjusting the location and transparency the sketch of the chassis is carried on by this blueprint. At the end, all the tubes are connected to the plate and further this chassis is extended till the rear wheel hub.
12. Engine:
It is the main component of the vehicle where the power is generated by burning the fuel and later it is transmitted to the rear wheel to create the required motion.
Feature: Extrude Boss/Base, Revolve Boss/Base, Swept Boss/Base, Extrude cut, Circular Pattern, Linear Pattern, Project curves, Composite curves, Dome, Mirror, Combine, Chamfer and Fillet.
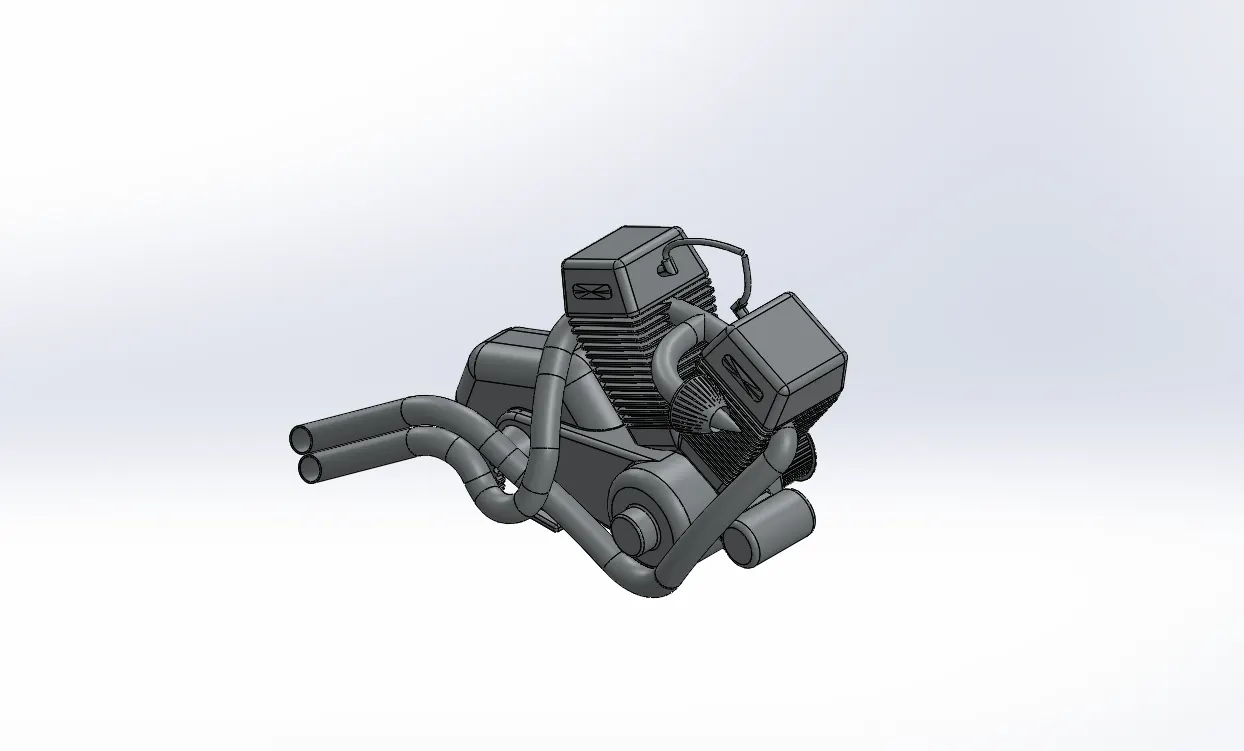
Again using the inserted picture and choosing the front plane, the base of the engine is created by using the three point circle and lines (using tangent properties) and extrude to the required dimension. Again using the same sketch extrudes the two circles. Again on the front plane create the twin engine in the V-shape. Create the sketch for pulley and crate the pulley by the revolve extrusion. Create a cylindrical part in the front of the engine on the front plane. Using the curves create a project curves, then create the profile of the exhaust pipe and extrude it by the swept feature. Then the spark plugs are created at the end. Apply the appropriate material to the engine.
13. Gas Tank:
Fuel storage component of the American Chopper and it supplies the required fuel to the engine.
Feature: Swept surface, Loft surface, Boundary surface, Project curves, Knit surface, Swept cut, Combine, Shell, Mirror and Fillet.
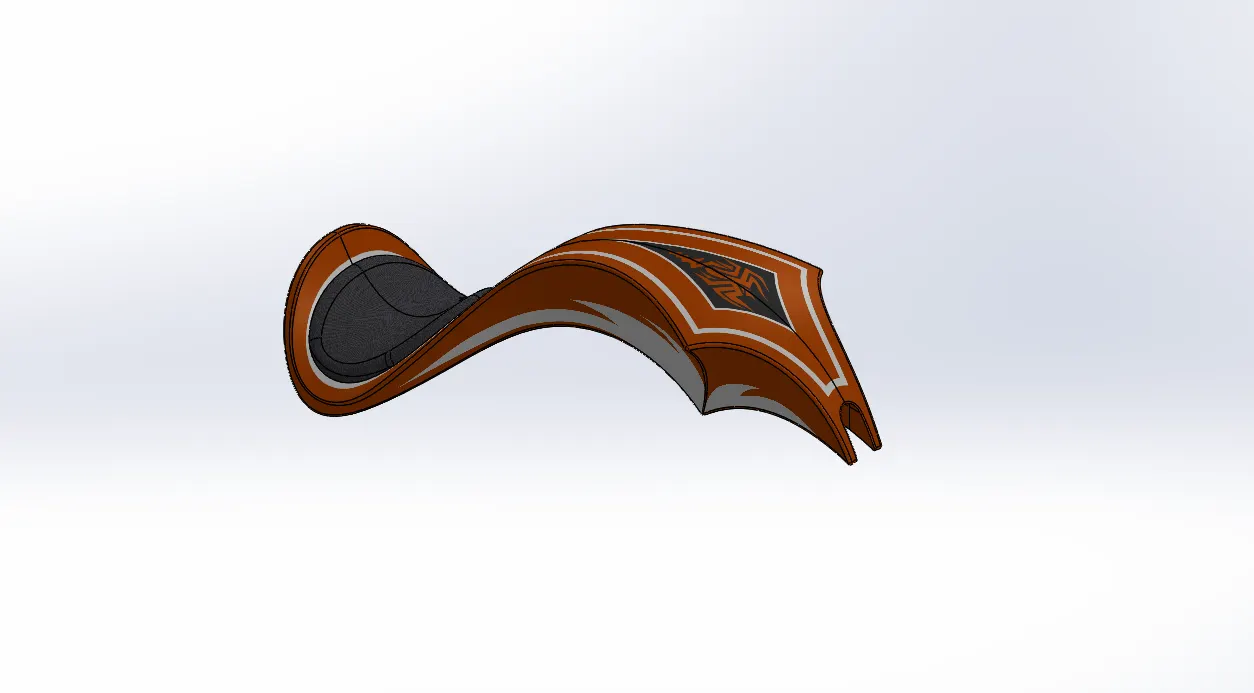
In the front plane using splines, construction lines and project curves create a surface swept to make half of the tank. Create another extrude to make the seat. Now mirror the created parts of the tank and knit the entire surface together. Now apply the appropriate material to the tank and seat.
Assembly of American Chopper
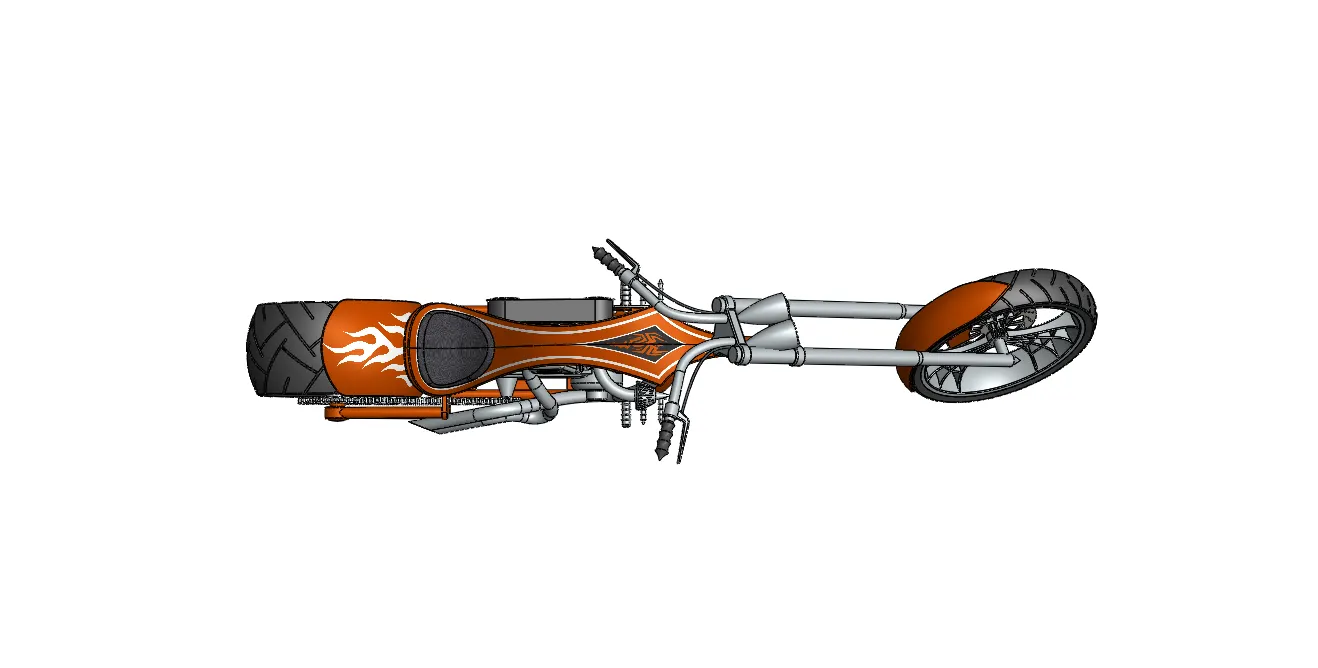
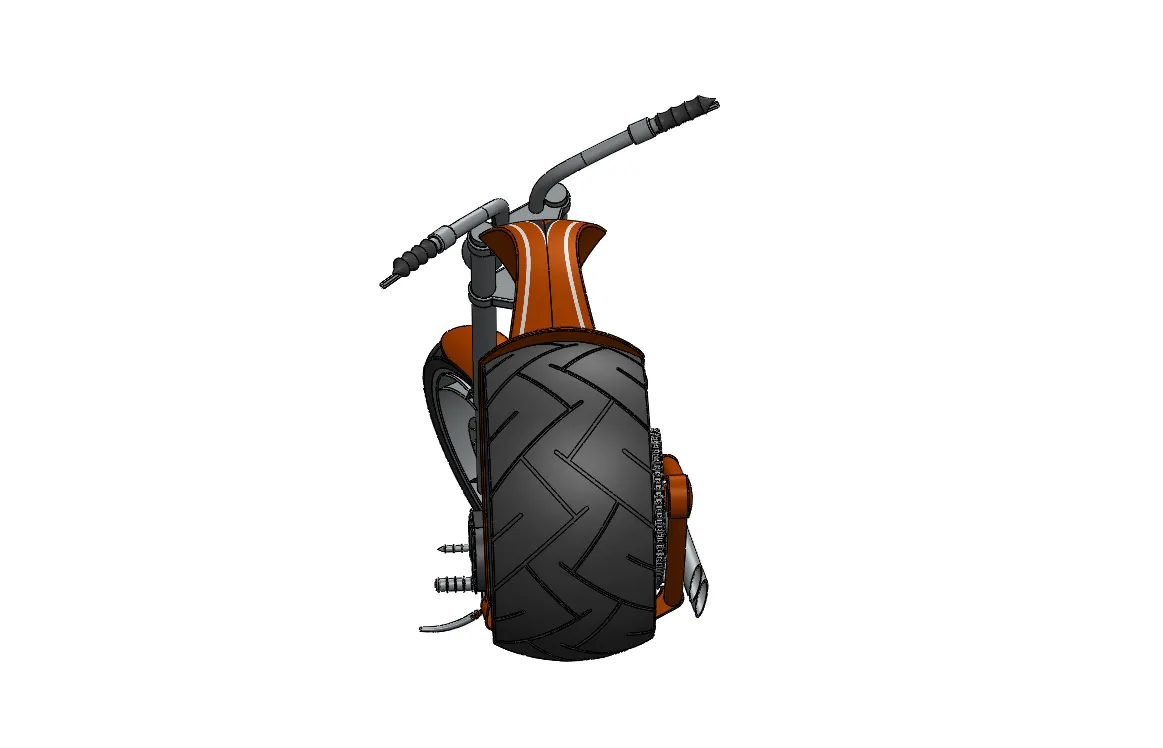
All the designed components are taken to the assembly section in the Solidworks and using different mate features like coincident, concentric, parallel etc., the entire assembly of the American Chopper is created. After the assembly the Decals are apply to the Chopper.
Once the application of the decals if finished, the assembled motorcycle is now taken to the rendering.
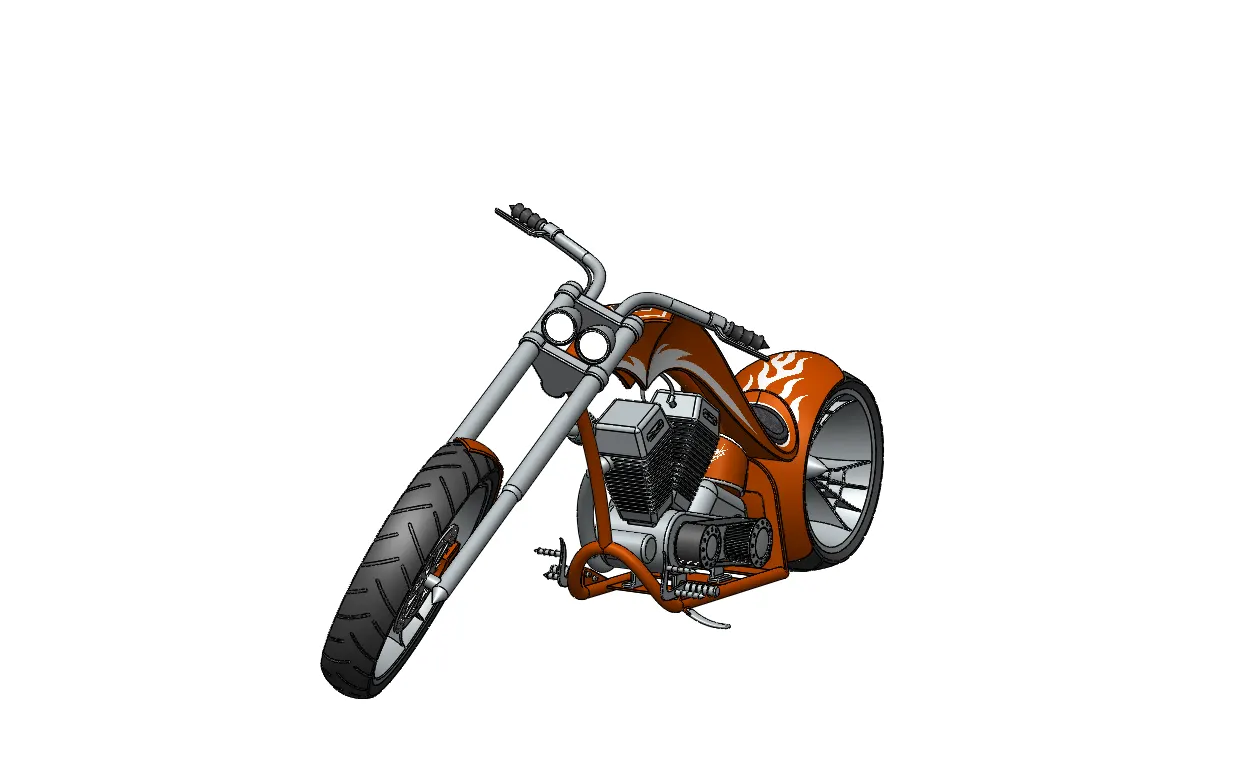
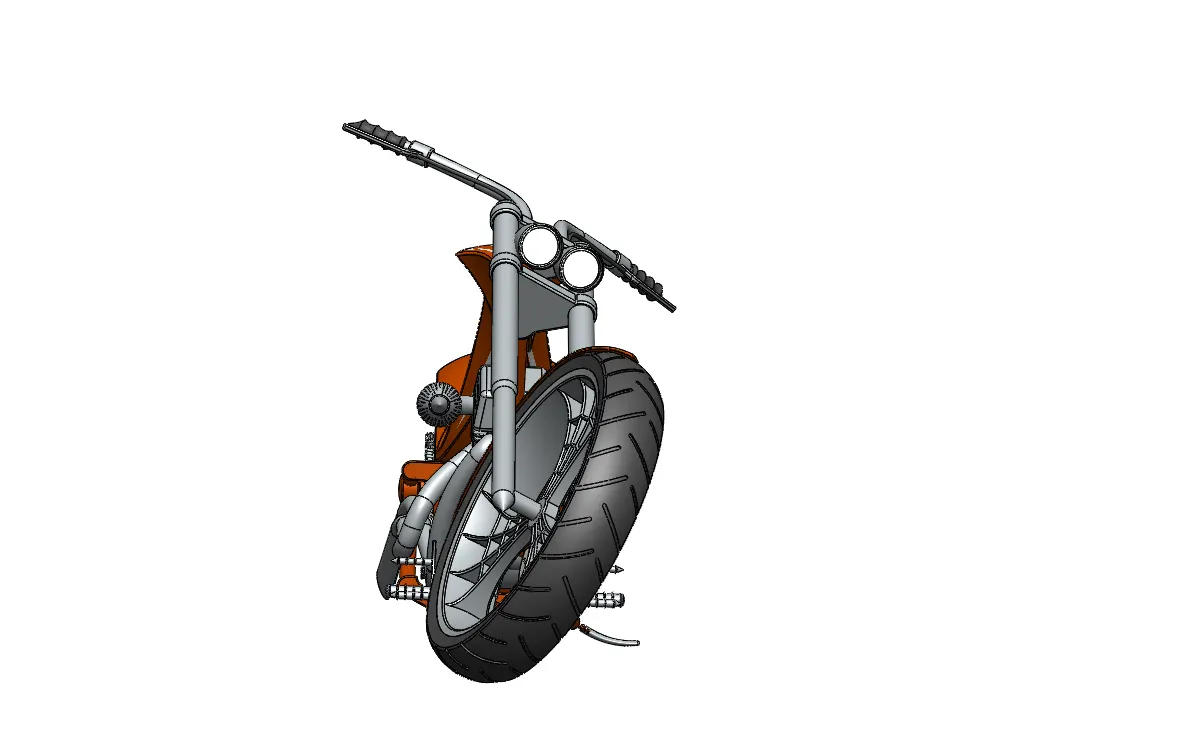
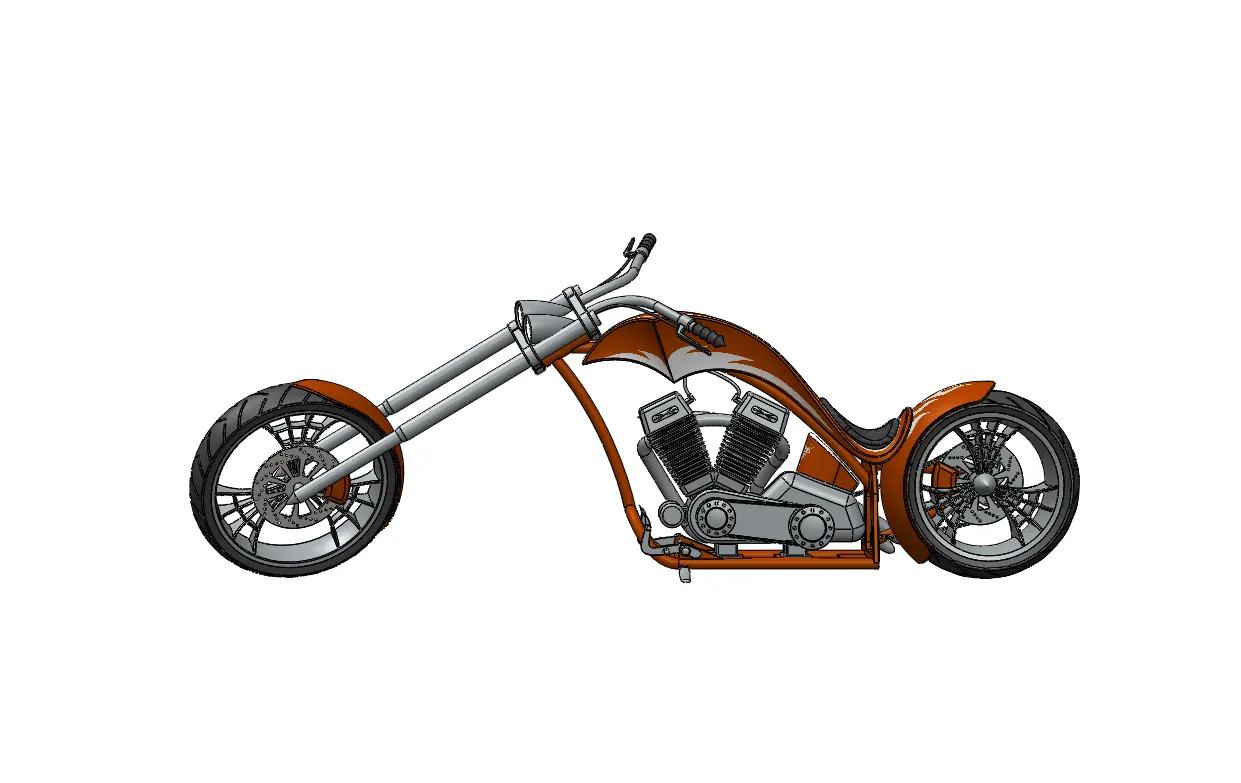
Rendering of the American Chopper
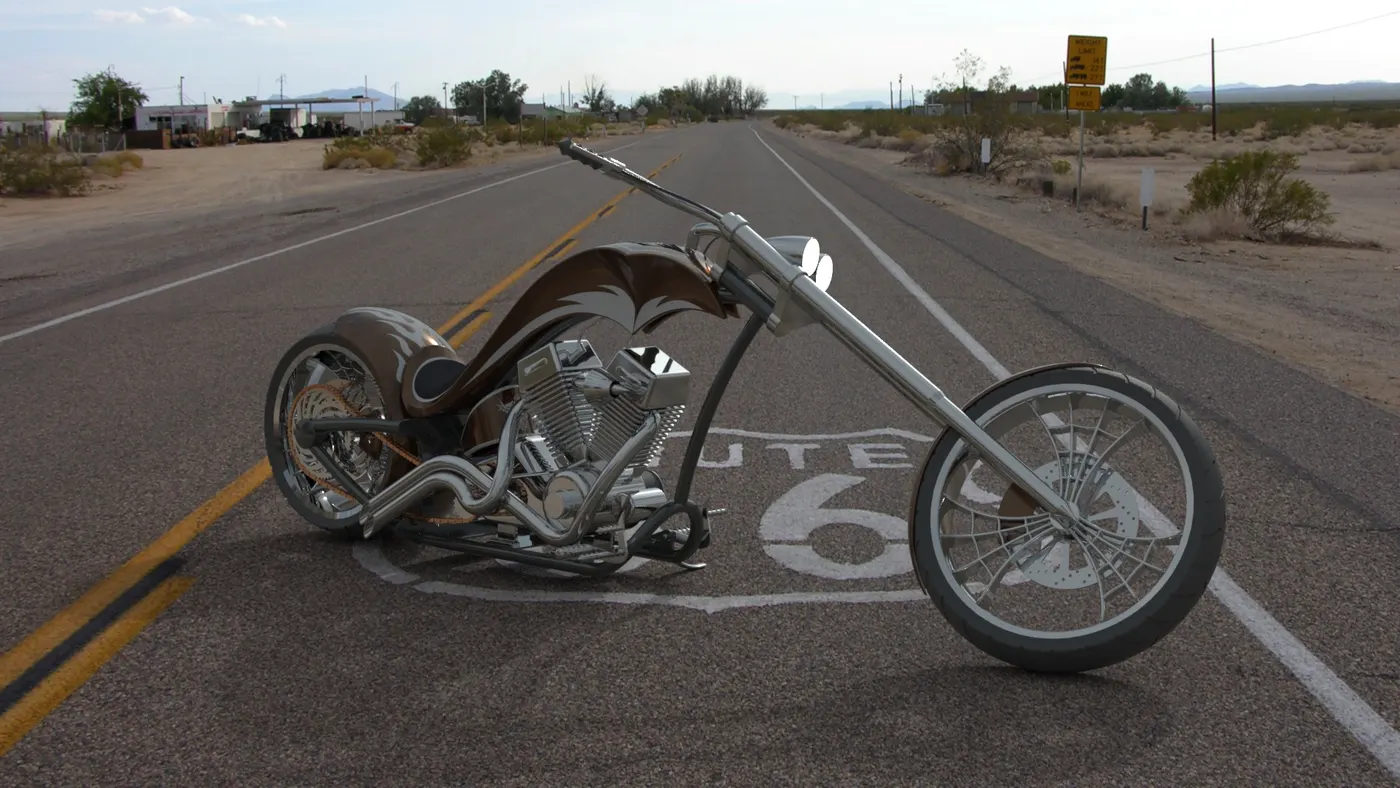
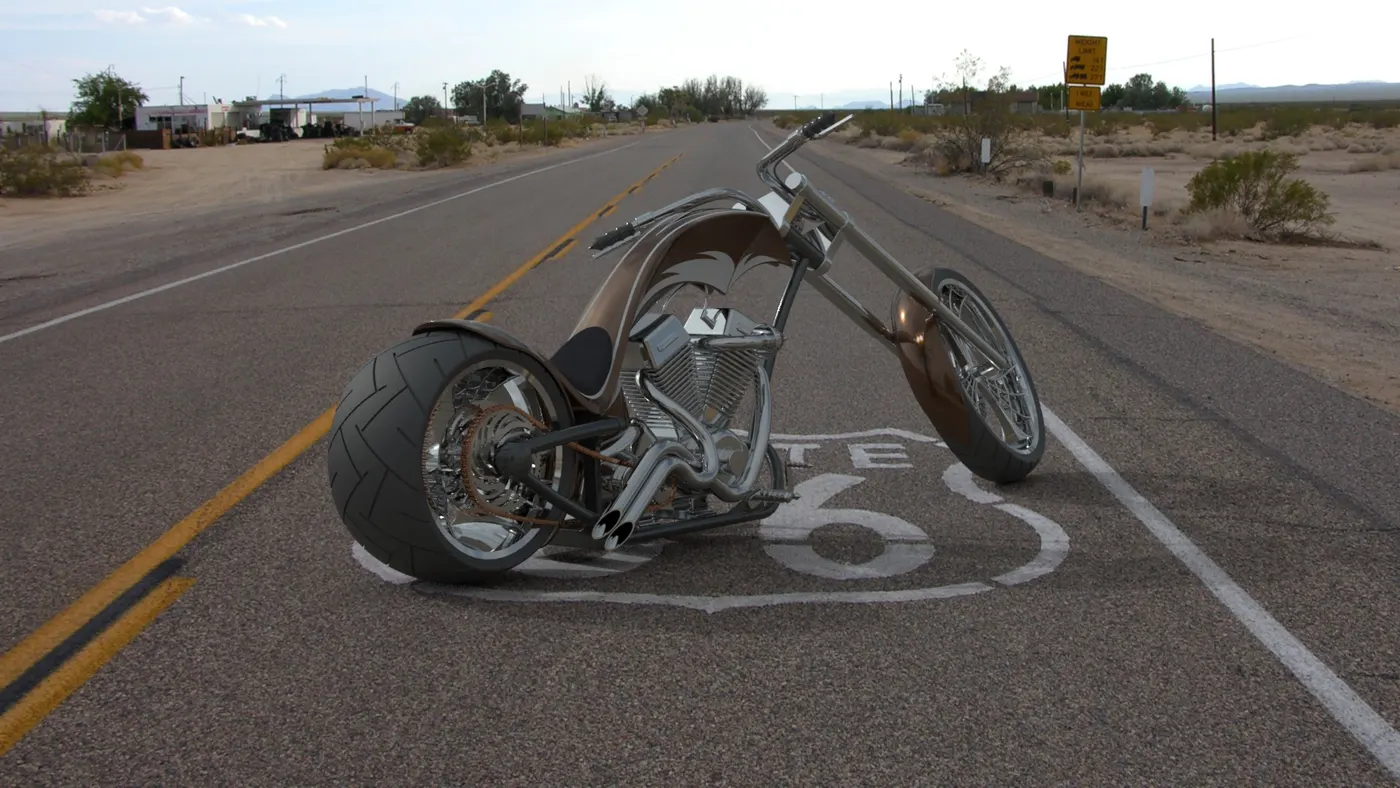
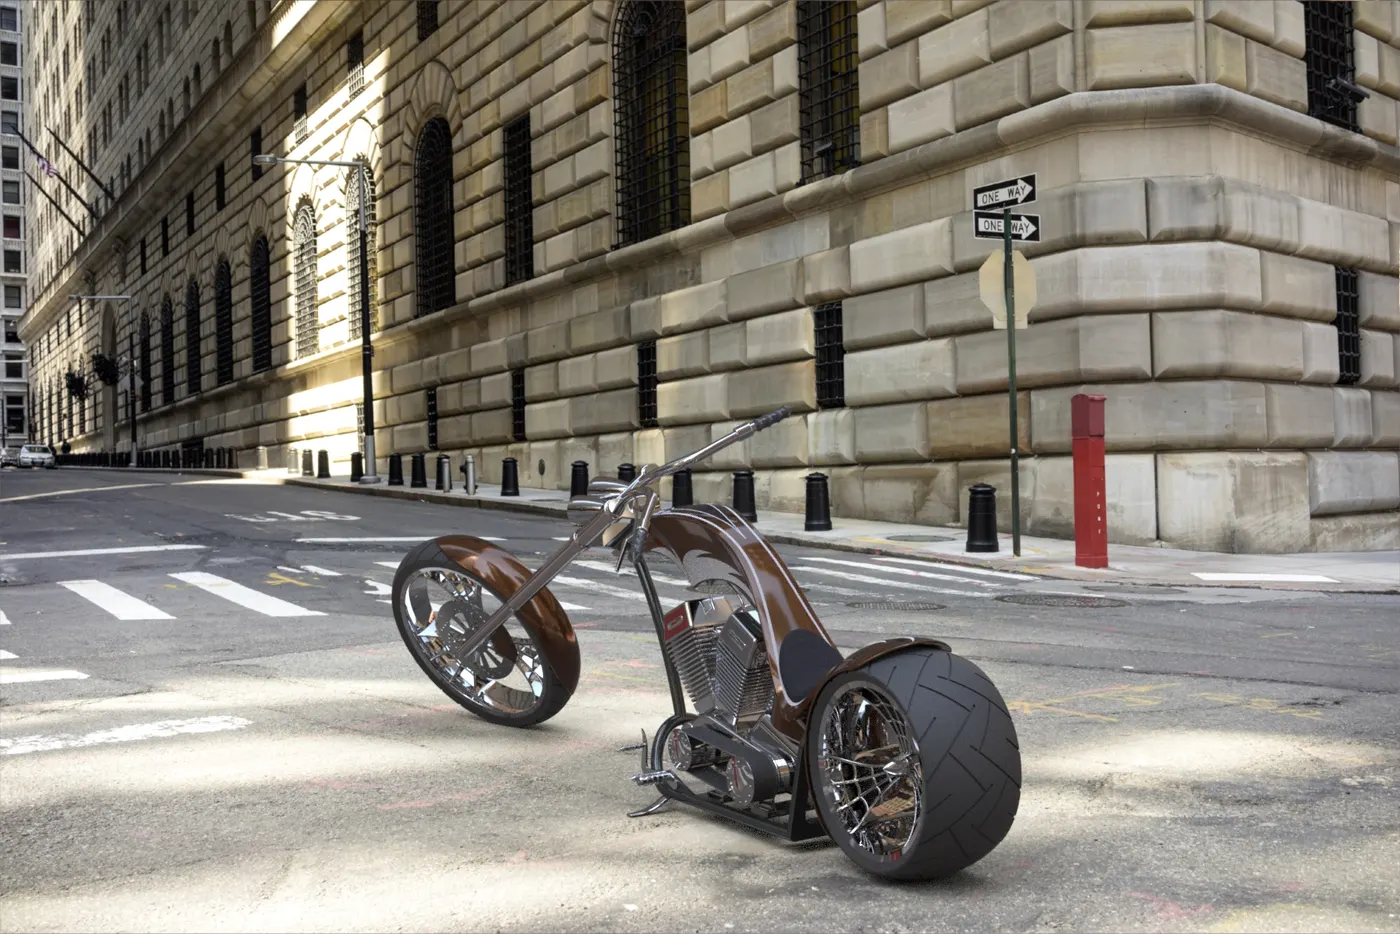
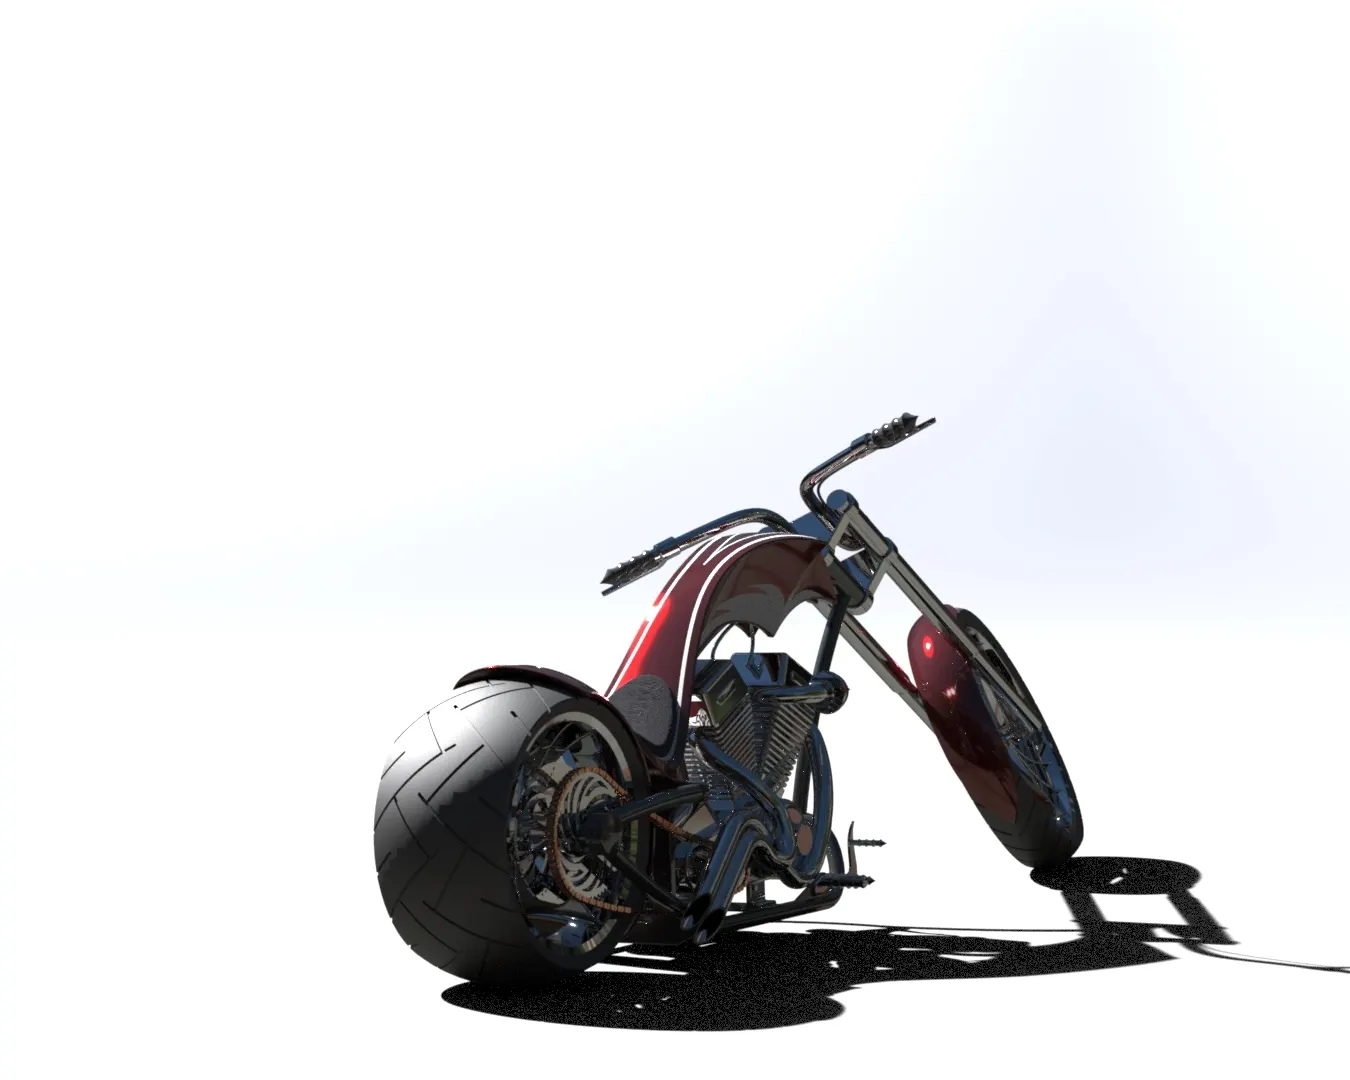
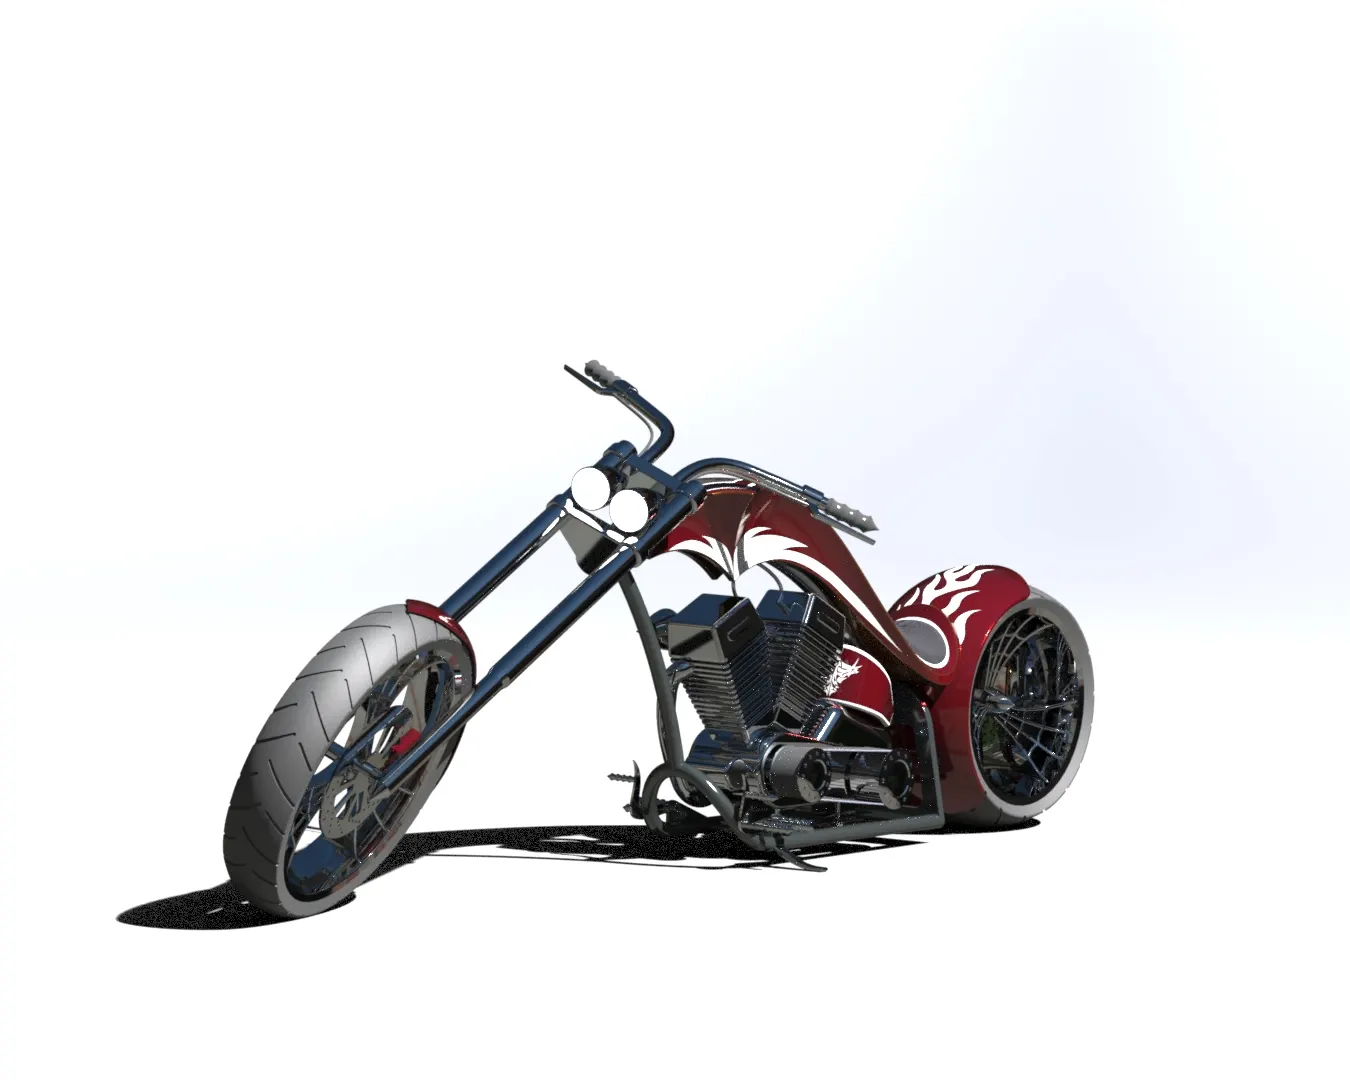
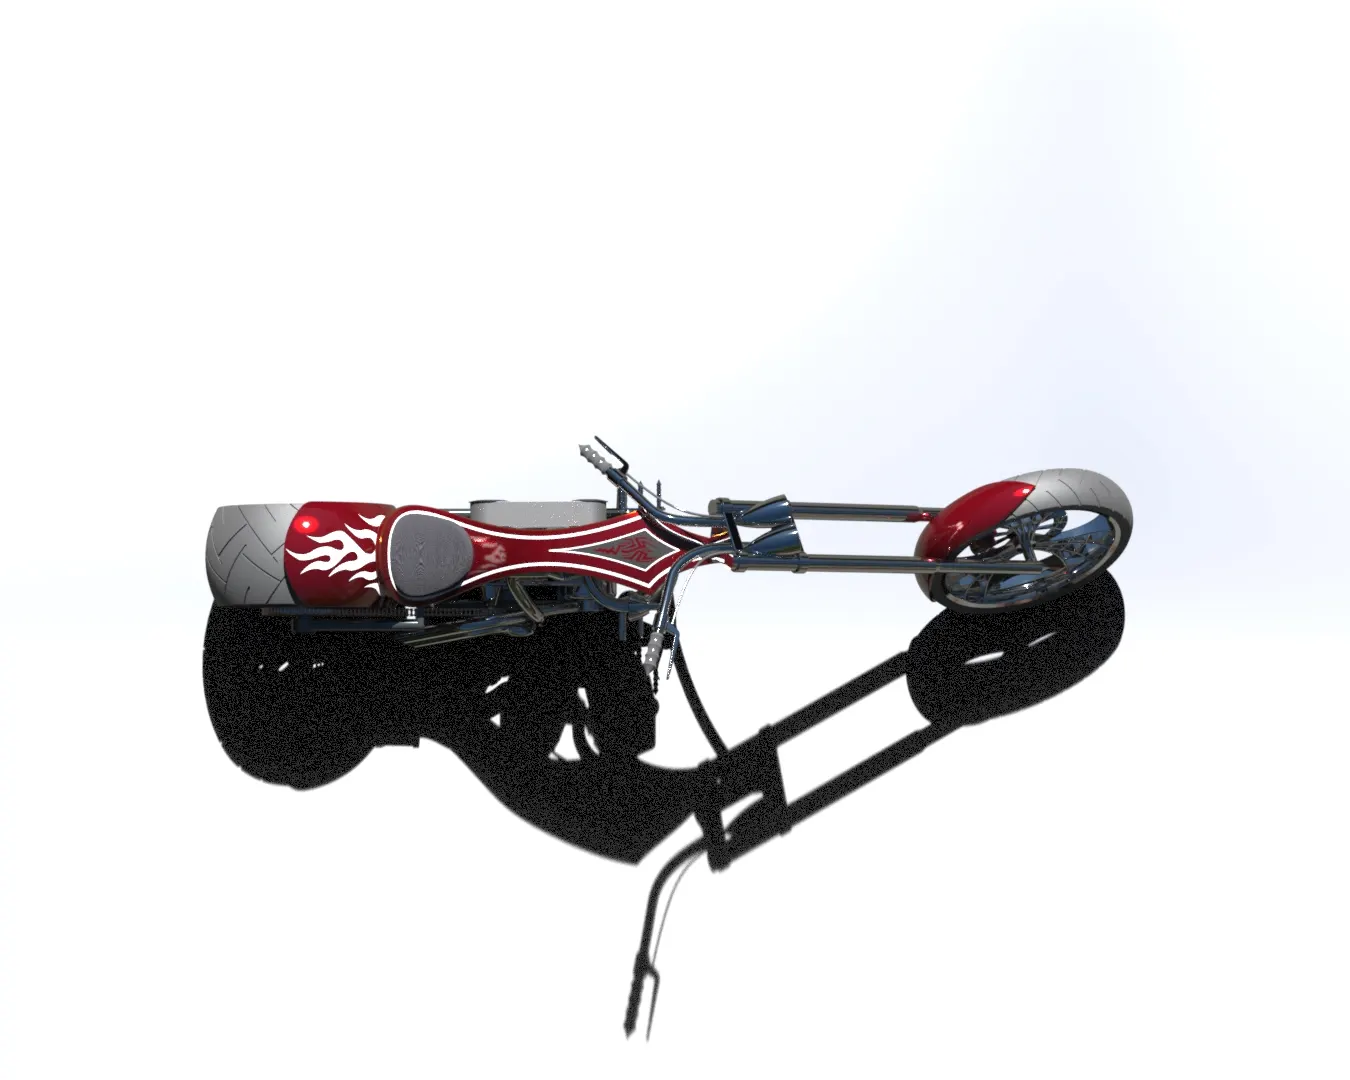
- Rendering is the process of creating the photorealistic model of the chopper with the environment.
- Rendering has been done in the following ways in Solidworks:
- Photoview 360
- Solidworks Visualize
- The photorealistic model of the chopper is rendered into realistic image with different environments and views.
Conclusion:
- The parts of the American Chopper are sketched and modelled in the Solidworks.
- The parts are inserted into the assembly environment and by applying the mates feature Chopper is assembled.
- The realistic image was rendered with the use of the Photoview 360 & Solidworks Visualize.