American Chopper
Project: American Chopper
Introduction:
This project report is about 3D modelling, assembling and rendering a motorcycle using SolidWorks for 3D modelling & SolidWorks Visualize/Photoview 360 for photo realistic rendering.
Objective:
The aim of this Project is to modelling a complete motorcycle assembly of American chopper using SolidWorks and create a photorealistic rendering of chopper.
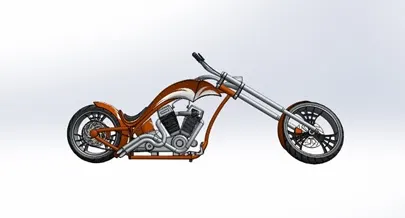
Process Flow Chart:

- Part Modelling:
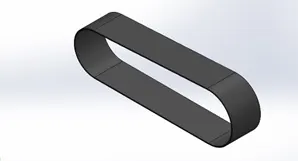
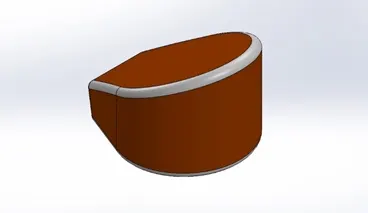
1.Transmission Belt: Belts are the cheapest utility for power transmission whenever rotary motion is to be transmitted between shafts that may not be axially aligned. Advantage of Belt drive is it runs smoothly and with little noise and is economical.
For modelling I drew a sketch in front plane using lines and 3pt arc gave desired dimension with constrains to make fully sketch then use offset tool(inward) to create a contour for Extrude Boss feature.
Applied matte rubber appearance.
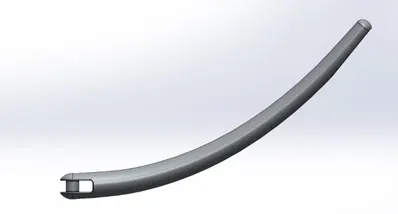
2.Kickstand: It is a part of motorcycle chassis which helps to keep motorcycle in upright position when it is stationary.
For modelling 1st drew ellipse on front plane then sketch spline on right plane coincident with origin going downwards activate its handle gave weights and directional constrains to make it fully define.
Then using reference plane feature created a plane at the end point of the spline and sketched an ellipse on the plane gave dimensions and used pierce relation to fix the ellipse to the spline.
After that used Loft feature between two ellipse and used spline as guide curve.
Then used Cut extrude feature to create mounting and used Fillet feature to make sharp edge smooth and used Dome feature.
To create a flat spot which will touch the ground used Spilt feature. Applied chore plate finish appearance.
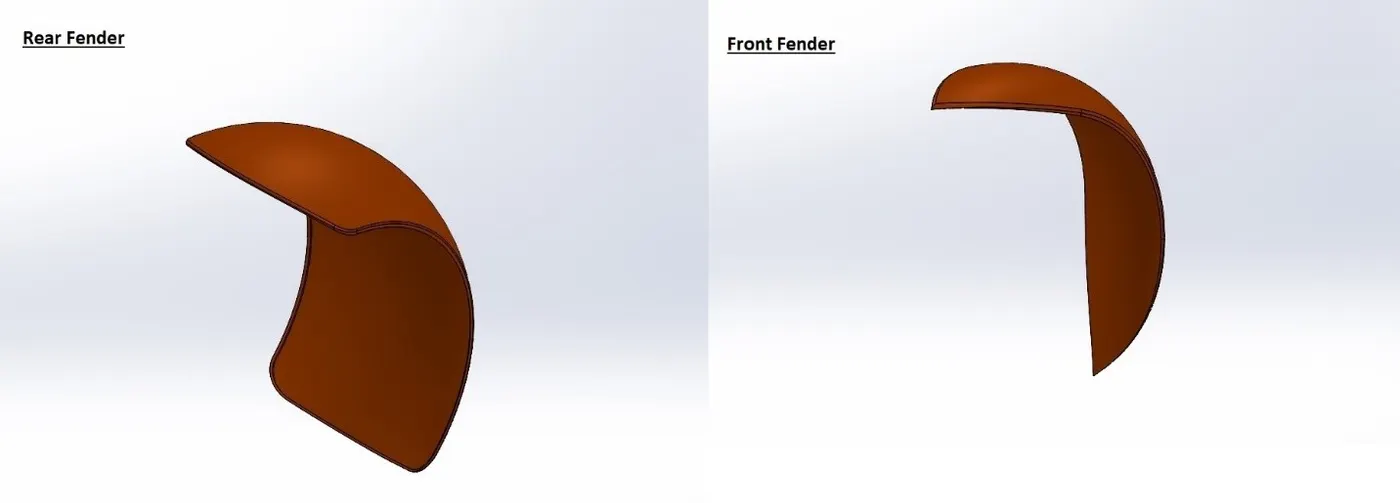
3.Front Fender: Fender is a part of motorcycle which purpose is to prevent dirt, liquids and mud from being thrown into the air by moving tire. Also, it enhances aesthetic and appearance of motorcycle.
To model the fender, I sketched 3pt arc and use vertical relation with origin and center point gave dimension and offset it inward and close the ends with straight lines also sketched horizontal constructional line on front plane.
Then use Revolve Boss feature with selecting construction line as an axis of revolution for specific angle in both directions.
To make cut out I created a sketch on top plane and also another sketch on front plane then used Split tool to cut the part and used fillet on sharp edge. Applied metallic paint Siena color appearance.
4.Rear Fender: Used similar process to model this part.
Used Shell feature and gave metallic paint Siena color appearance.
5.Oil Tank: It stores oil for lubrication and cooling.
To model oil tank I sketched on front and top plane and used Extrude Boss feature. Then used Combine feature with operation type as common which will keep common part from both extrude boss.
Used fillet to smooth out sharp edges.
Applied metallic paint Siena color appearance.
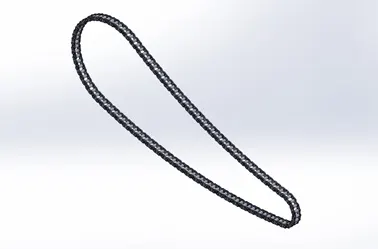
6.Chain: It is a part of motorcycle which is used for power transmission to the rear wheel. It is positive drive.
To model the I sketched the path on front plane and then created two blocks for inner and outer plate of chain link so we can use it later and makes little easier.
Then using blocks and features like Boss Extrude with keeping merge option turned off and Curve Driven Pattern to make all the chain links.
Then segregated all individual solid bodies into plates and pins to organized and used Mirror feature for plates.
Applied chrome appearance.
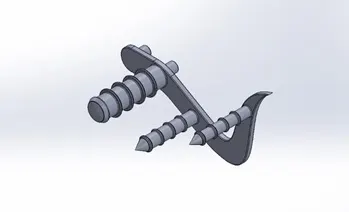
7.Pedal: Pedals are used for rear brake and gear change lever also it serves purpose for resting foot.
To model pedal I sketched the outline and applied dimension and relations to fully define the sketch.
Used various feature like Extrude Boss, Revolve Boss, Dome, Fillet, Chamfer and Linear Pattern to complete the model.
Applied appearance.
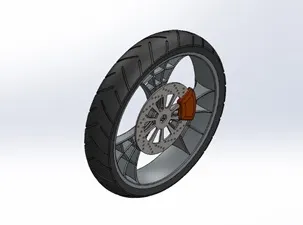
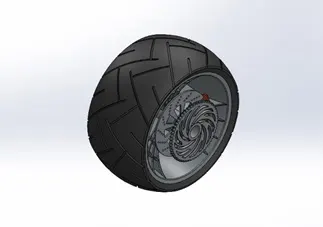
8.Front Wheel: Wheels helps to prevail the vehicle forward and also absorbs some shocks.
Front wheel is modelled as multibody part it has Rim, Break Rotor, Break Caliper and Tire.
Rim: To model rim, used Revolve Boss to make ring and then used Extrude Boss to make hub. After that used Extrude Boss, Cut Extrude, Revolve Cut, Circular Pattern to make multiple instances of spokes and used Combine feature to make one solid body.
Break Rotor: To model break rotor, used Extrude Boss to make disc and then use Cut Extrude and Circular Pattern to cut the excess part.
Break Caliper: To model break caliper made a sketch on rotor face and used Extrude Boss in both directions and gave Chamfer and Fillet to edges.
Tire: To model tire, used Convert Entities for reference to make fully define sketched and used Revolve Boss feature then used Cut Extrude to make treads.
Applied appearances individually to each body.
9.Rear Wheel: Rear wheel is a multibody part and modelled in a same way that of front wheel only one body is extra i.e. Sprocket.
Sprocket: To model the sprocket used Extrude Boss to make disc and then used Extrude Cut to make tooth profile and used Circular Pattern to make teeth of sprocket.
Applied appearance individually to each body.
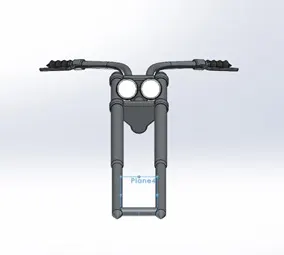
10.Front Fork: Function of front fork is to mount the front wheel, shock absorbers, headlight, indicators, handle bar, accelerator, front break lever, clutch lever and also steer the vehicle while turning the bike.
To model the fork, I have used Revolve Boss, Extrude Boss, Extrude Cut, Projected Curve with Sweep Boss to make handle bar, Revolved Cut, Mirror, Move Body features to complete the part.
Applied appearance to the part.
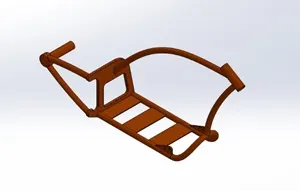
11.Chassis: Chassis is the skeleton of motorcycle to which all parts like engine fuel tank front fork rear wheel etc. are mounted and also it provides strength.
To model the chassis, inserted a blueprint to follow the shape of chassis used features like Projected Curves, Sweep Boss, Mirror, Extrude Boss, Extrude Cut, Revolve Boss, Spilt, Combine and Fillet to smooth out the sharp edges.
Applied appearance to chassis.
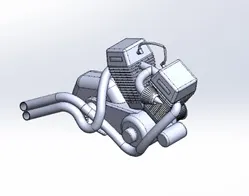
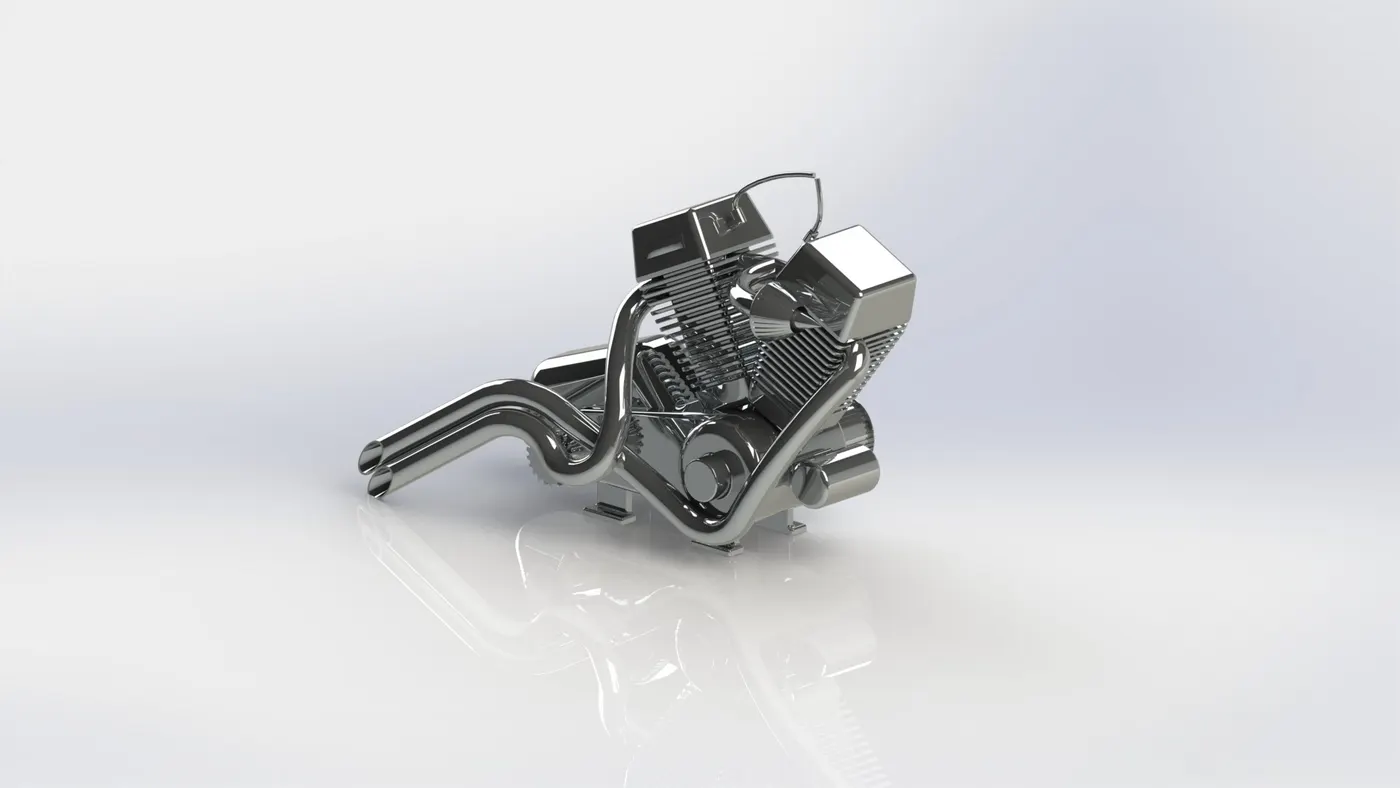
12.Engine: Engine is power house of motorcycle.
To model engine, used blueprint to follow the contour and used features like Extrude Boss, Revolve Boss, Cut Extrude, Dome, Chamfer, Circular & Linear Pattern, Split, Combine for Cylinder and transmission box.
For exhaust I used Projected Curve & Composite Curve to make the path for exhaust pipes and then used Sweep Boss.
Applied appearance to engine.
13.Gas Tank: It stores the fuel for motorcycle.
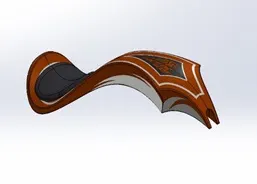
To model the gas tank, I used Sweep Surface, Trim Surface, Projected Curve, Surface Loft, Boundary Surface, Surface Knit to create gas tank’s outer surface.
Then used Split, Surface Extrude and Fillet to created seat.
Then used Boundary Surface, Lofted Surface and Surface Knit to create solid body of gas tank.
Then used Sweep Cut, Shell and Fillet to complete the model.
Applied appearance to gas tank and seat.
- Assembly:
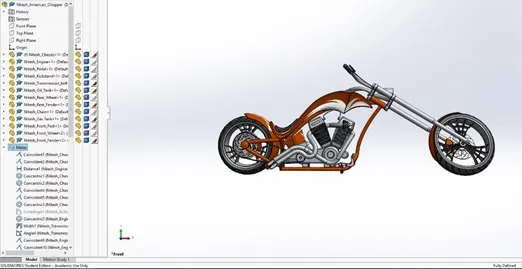
- To assembled the chopper, first started by inserting chassis followed by engine, pedal, kickstand, transmission belt, oil tank, rear wheel, rear fender, chain, gas tank, front fork, front wheel and front fender.
- Applied general mates such as Coincide, Concentric, Parallel, Distance, Tangent and advanced mates such as Width and Limit Angle mate to make fully defined assembly.
- Also Mirror feature to mirrored the pedal on the other side.
- Decals, Lights & Camera setup:
Decals:
Applied decals on Gas Tank, Oil Tank & Rear Fender. Decals gives motorcycle good looks.
Lights:
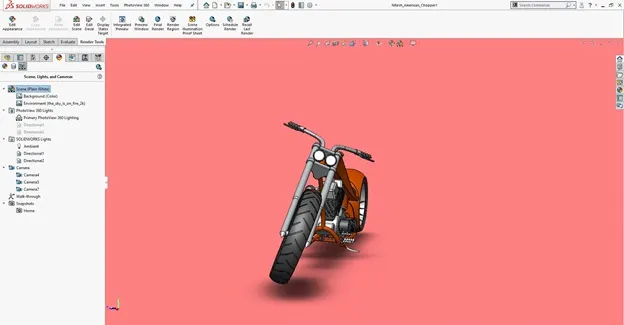
In SolidWorks we can customize the environment in which motorcycle is modelled we can add various light such as Directional Light, Spot Light, Point Light & Sunlight. Also we can add HDR environment image to get reflections on reflecting surfaces.
Camera:
We can add multiple camera views in SolidWorks. Also to add walkthrough around the model.
- Rendering:
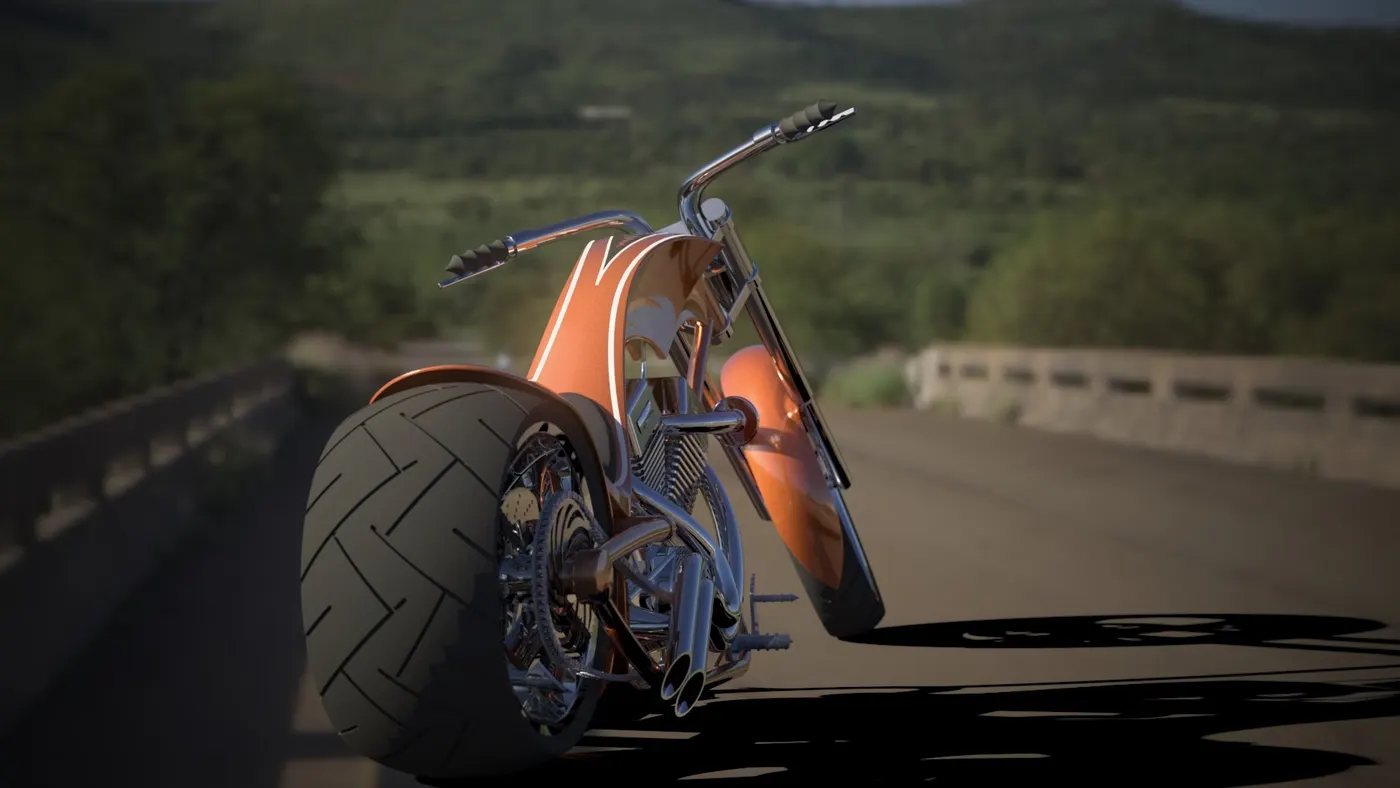
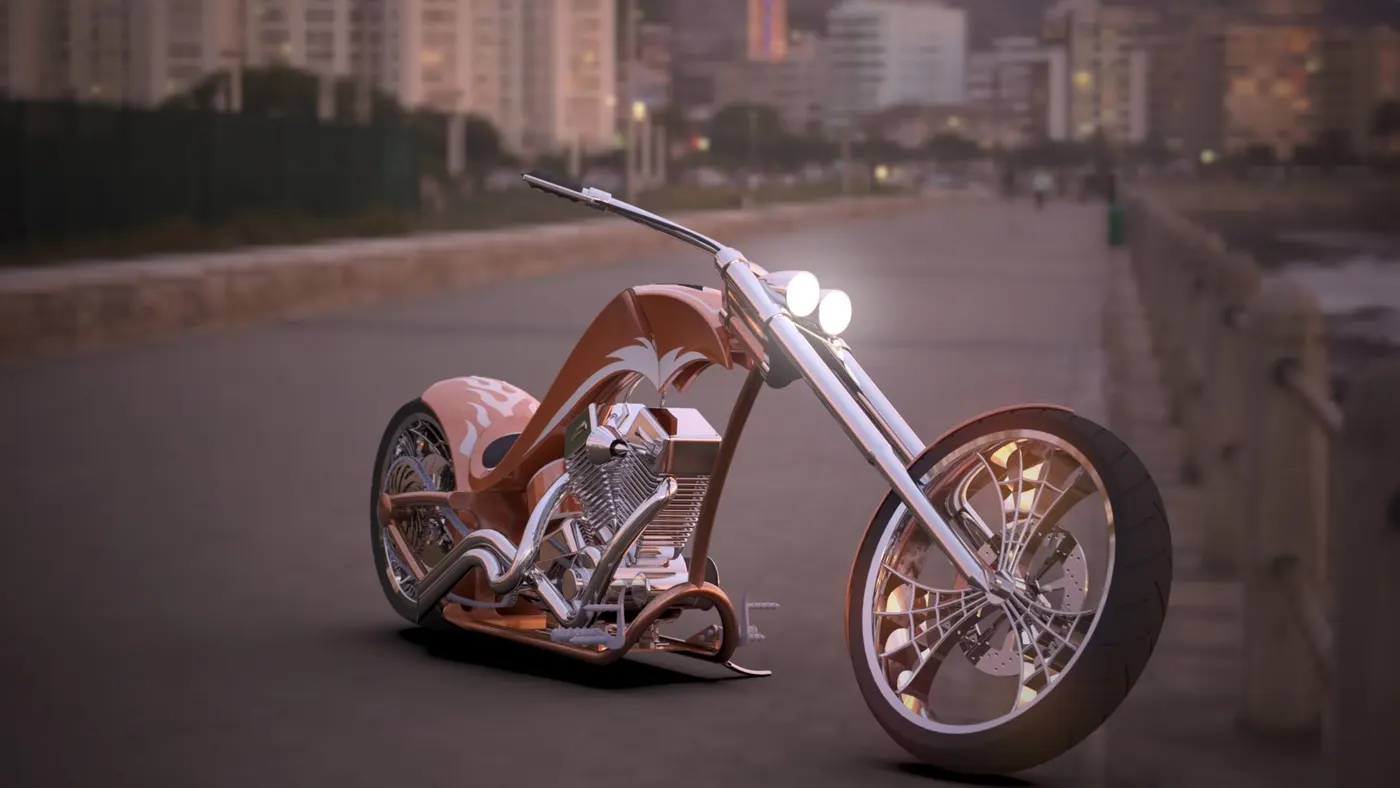
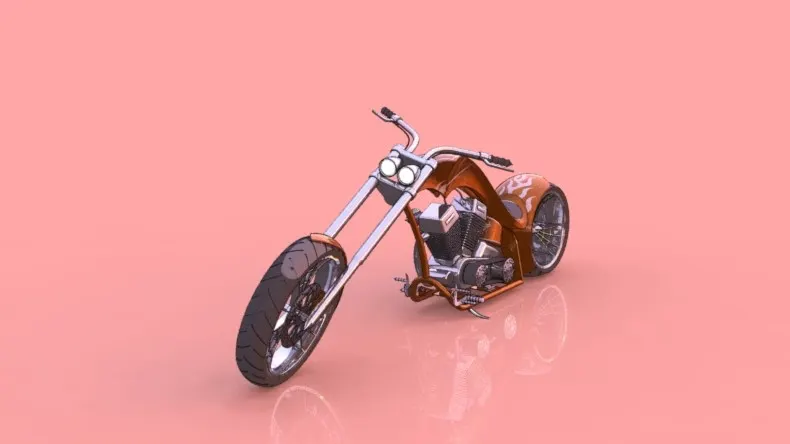
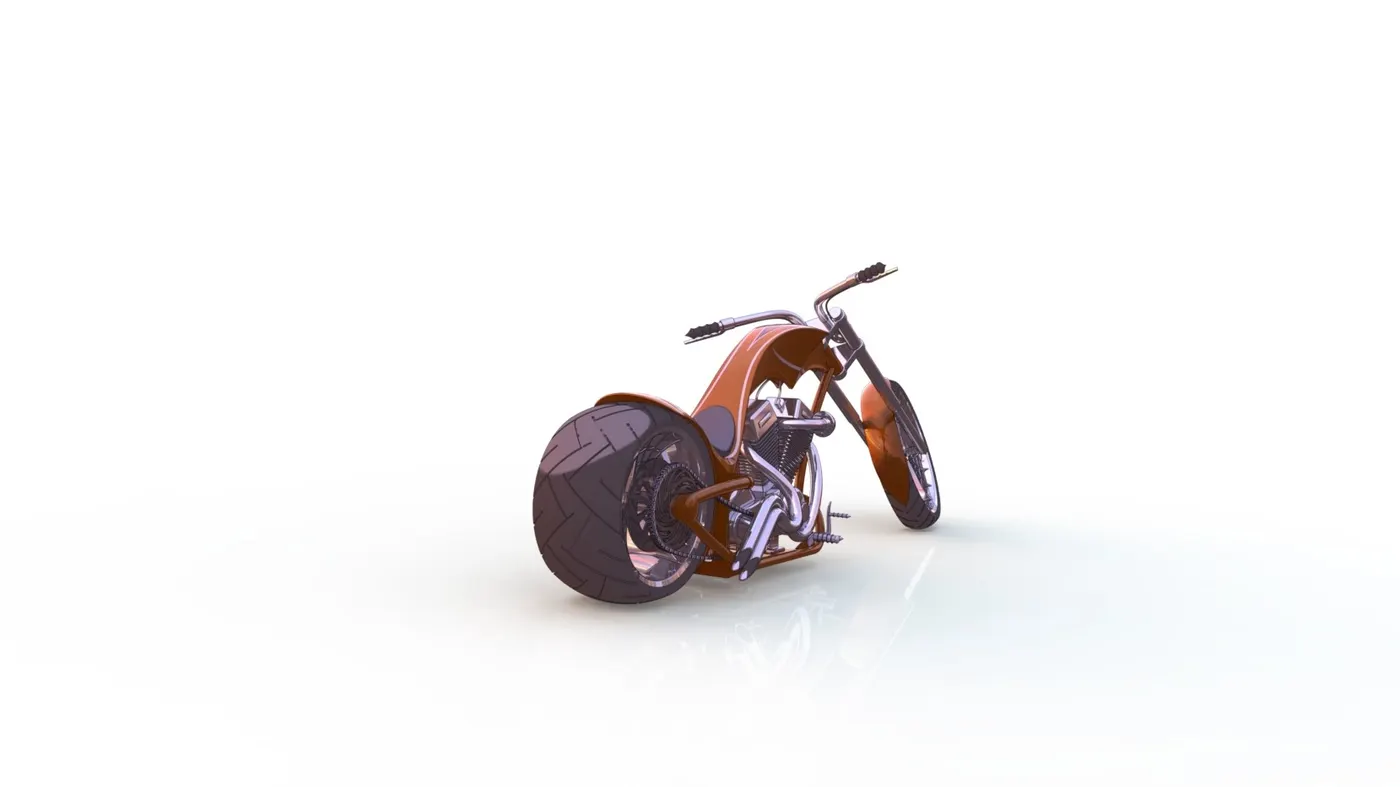
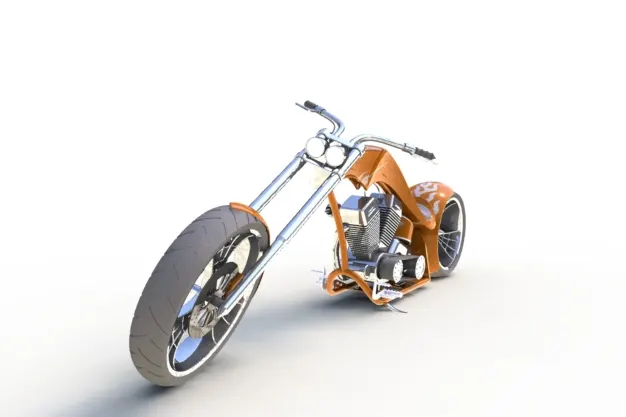
For rendering I have used SolidWorks PhotoView360 and SolidWorks Visualize.
- Conclusion:
From this project I got introduced and familiar to SolidWorks user interface and its features of Part Modelling, Assembly features and Rendering features.