Fender Design Challenge
Project: Fender Design- Wheel Arch Calculation
Introduction:
This project report is about creating mounting points of a car’s Fender using Siemens NX11.
Objective:
The aim of this Project is to learn the method of creating mounting points for Fender.
Master Section for Drip Area:
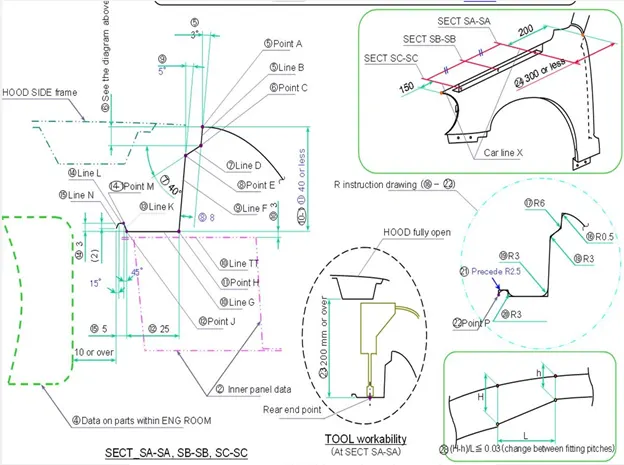
What is Fender?
The car fender is the part that frames the wheel well. They are located on both sides of the front and rear wheels and tyre assemblies of the car.
It prevents sand, mud, rocks, liquids and other road spary from being thrown into the air by the tire.
There are two tuypes of fenders Half Bumper type & Full Bumper type Fender. However now a days half bumper type fender is commonly used in the industry. The main reason is to reduce the wastage of blank. Using half bumper type fender design we can stamp two fender using slightly bigger blank size. Also, using this design we can introduce plastic parts further reducing the material which leads to reducing the weight and increasing the performance of the car.
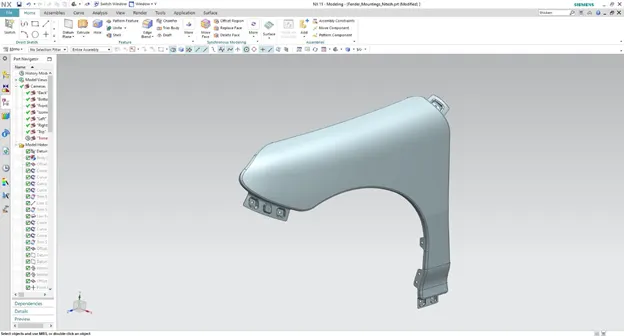
Command Used:
Offset Curve in Face: It is used to offset curves along a selected face or surface.
Curve on surface: Creates a surface spline feature directly on a face.
Trim Sheet: It is used to cut off a portion of surface.
Intersection curve: Creates intersection curves between two sets of objects.
Law Extension: It creates a law-controlled extension from base sheet, dynamically or based on laws for distance and angle.
Dart: Adds a dart feature along the intersection curve of two sets of faces.
Face blend: Add tangent blend faces between selected set of faces with specified radius.
Bridge Curve: Creates a tangent blend curve between two objects.
Edge blend: Rounds the sharp edges of the faces with specified radius.
Emboss: This command modifies the surface by projecting a section along a vector, with options for end cap location and shape.
Sew: Sew is used to combine sheet bodies by sewing their edges together.
Thicken: It gives thickness to the surface body.
Mounting Points for Fender:
- Body mount:
- A Pillar mount:
- Sill Mount:
- Cowl Mount:
- Drip Mount:
Design features:
Embosses are provided to increase the strength.
Ribs and beads are added to give structural support.
Drip area Mount:
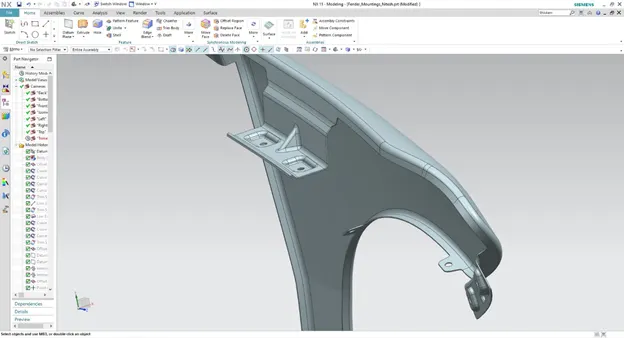
A Pillar Mount:
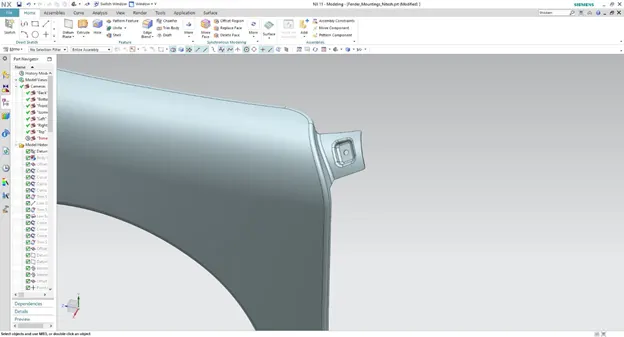
Sill Mount:
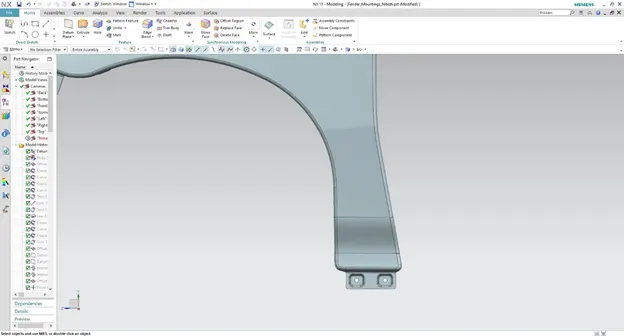
Bumper mount:
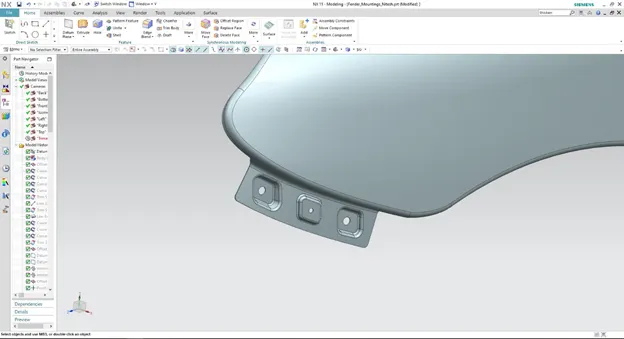
Baffel/Splash Mounts:
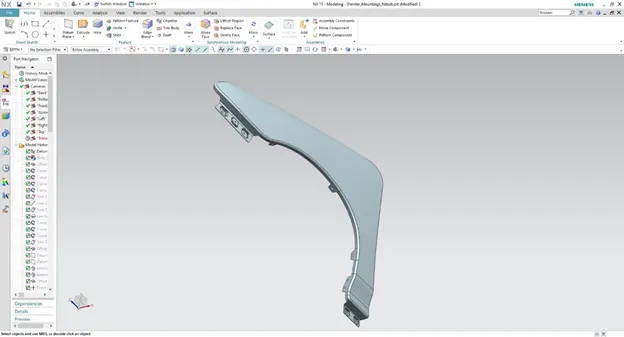
Conclusion:
I learned how to design the mounting points of fender and the master section of drip area mounting.