Yacht
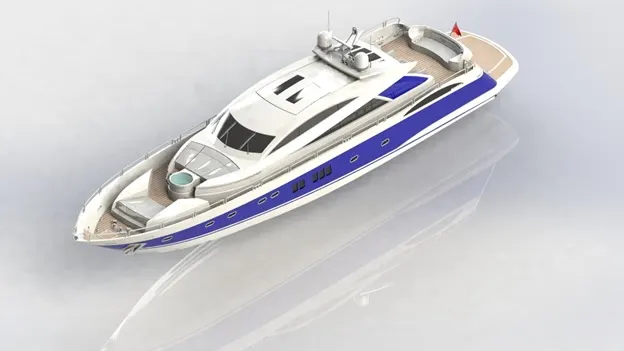
Project: Sunseeker Predator Yacht
- Introduction:
This project report is about 3D modelling, assembling and rendering a yacht using SolidWorks for 3D modelling & SolidWorks Visualize/Photoview360 for photo realistic rendering.
- Objective:
The aim of this Project is to modelled a yacht using SolidWorks and create a photorealistic rendering of Yacht.
- Process Flow Chart:

1.Blueprint Setup: Before starting part modelling, I have set multiple blueprints of yacht and created reference plane and named them accordingly.
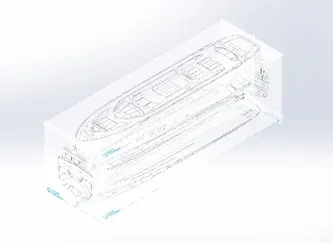
2.Hull: Hull is structural part which is watertight enclosure of the ship, which protects the cargo, machines and accommodation spaces of the ship.
For modelling Hull, I have used Projected Curve, Surface Loft, Surface Trim, Surface Extrude, Surface Knit, Surface Fill feature to create solid body.
Then used Shell, Extrude Boss, Extrude Cut, Sweep Boss, Revolve Boss, Fillet, Chamfer, Linear Pattern, Mirror, Spilt and Combine feature to complete the details of hull like windows, railing, motor, anchor.
I have used Spilt Body feature to create a cut out for garage space and saved the cut body separately for garage door. Then used Mirror feature to create the other half of the hull.
Also used Offset Surface to create a reference surface for superstructure and Split Line feature for applying different colors to the hull.
Applied appearances on the part.
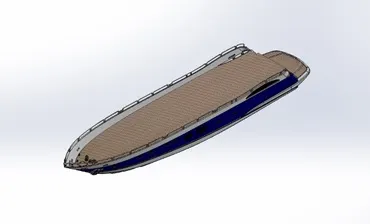
3.Superstructure: It is control room of yacht from which yacht is being operated.
Before starting the modelling used inserted reference surface from hull using Insert part Command with surface only option.
For modelling 1st drew Splines to create Projected Curve also used 3D Sketch to create Loft Surface.
Then using Surface Sweep, Extrude Surface, Ruled Surface, Trim Surface, Surface Extend, Thicken, Surface Knit feature to create solid a solid body.
Then used Boss Extrude, Cut extrude, Fillet, Chamfer, Split Line, Dome features to create all other details of superstructure.
Also used Offset Surface to create a reference surface for radar mast.
Applied appearances.
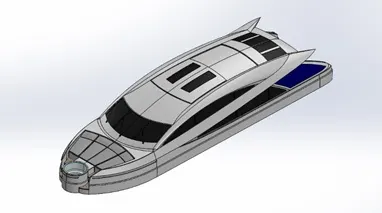
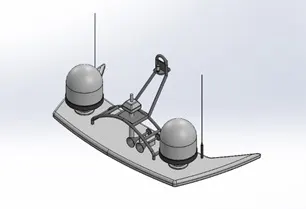
4.Radar mast: The electronic instruments for navigation are mounted on radar mast.
To model the radar mast, I have inserted reference surface from superstructure using Insert part Command with surface only option.
Then used Extrude Boss, Revolve Boss, Sweep Boss, Fillet, Dome, Mirror, Shell features to complete the model.
Applied appearance.
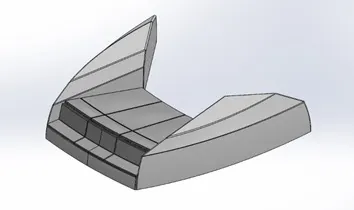
5.Front Seat:
Inserted reference surface from hull using Insert part Command with surface only option.
To model the front seat, I have used Surface Sweep, Surface Loft, Surface Extrude, Surface Trim, Surface Extend, Surface Fill, Surface Knit to create a solid body.
After that used Revolve Boss, Extrude Cut, Fillet, Chamfer & Mirror feature to complete model.
Applied appearance.
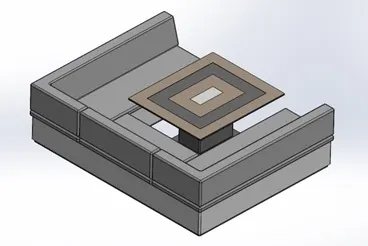
6.Middle Seat:
Inserted reference surface from hull using Insert part Command with surface only option.
To model used Extrude Boss, Chamfer, Fillet, Mirror and Extrude Cut oil tank I sketched on front and top plane and used Extrude Boss feature to complete.
Applied appearance.
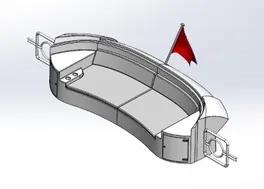
7.Rear Seat:
Again, inserted reference surface from hull using Insert part Command with surface only option.
To model the rear seat, I used Surface Sweep, Surface Offset, Ruled Surface, Surface Extrude, Surface Trim, Surface Extend and Surface Knit to create solid body.
Then using Extrude Boss, Offset Surface, Extrude Cut, Sweep Boss, Mirror, Revolve Boss and Combine feature to complete the model.
Applied appearances.
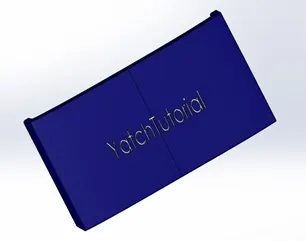
8.Garage Door:
Garage Door is modelled by using the saved cut body then used Extrude Cut, Shell, Fillet and Mirror to complete the model.
Applied appearance.
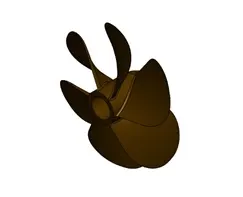
9.Propeller: A propeller is a mechanism which transmit power by converting rotational motion into thrust to propel the ship.
To model propeller, Revolve Boss, Loft Boss and Fillet to complete the model.
Applied appearances.
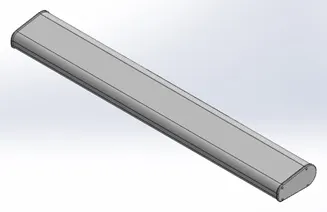
10.Radar: Radar is used for radio detection & ranging to detect objects and their position relative to your position.
To model the radar used Extrude Boss, Extrude Cut, Sketch Pattern and Fillet to complete the model.
Applied appearance.
- Assembly:
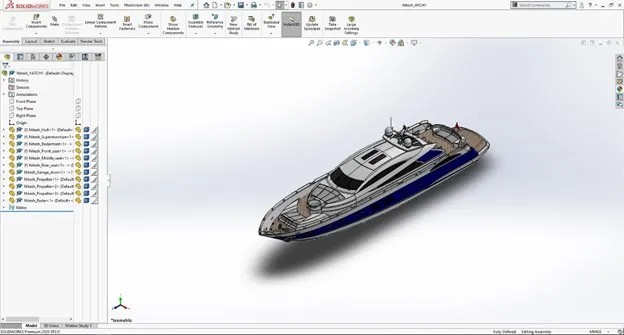
- To assembled the yacht, first started by inserting hull followed by superstructure, radar mast, front seat, middle seat, rear seat, garage door, propeller & radar.
- Used general mates such as Coincide, Concentric mate foo garage door and propeller to make fully defined assembly.
- Decals, Lights & Camera setup:
Decals:
Applied decals on floor.
Lights:
In SolidWorks we can customize the environment in which motorcycle is modelled we can add various light such as Directional Light, Spot Light, Point Light & Sunlight. Also, we can add HDR environment image to get reflections on reflecting surfaces.
Camera:
We can add multiple camera views in SolidWorks. Also, to add walkthrough around the model.
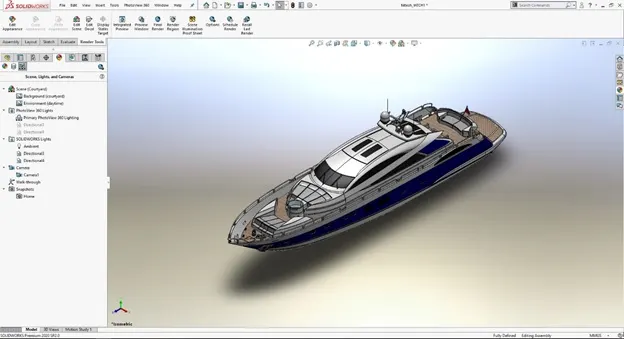
- Rendering:
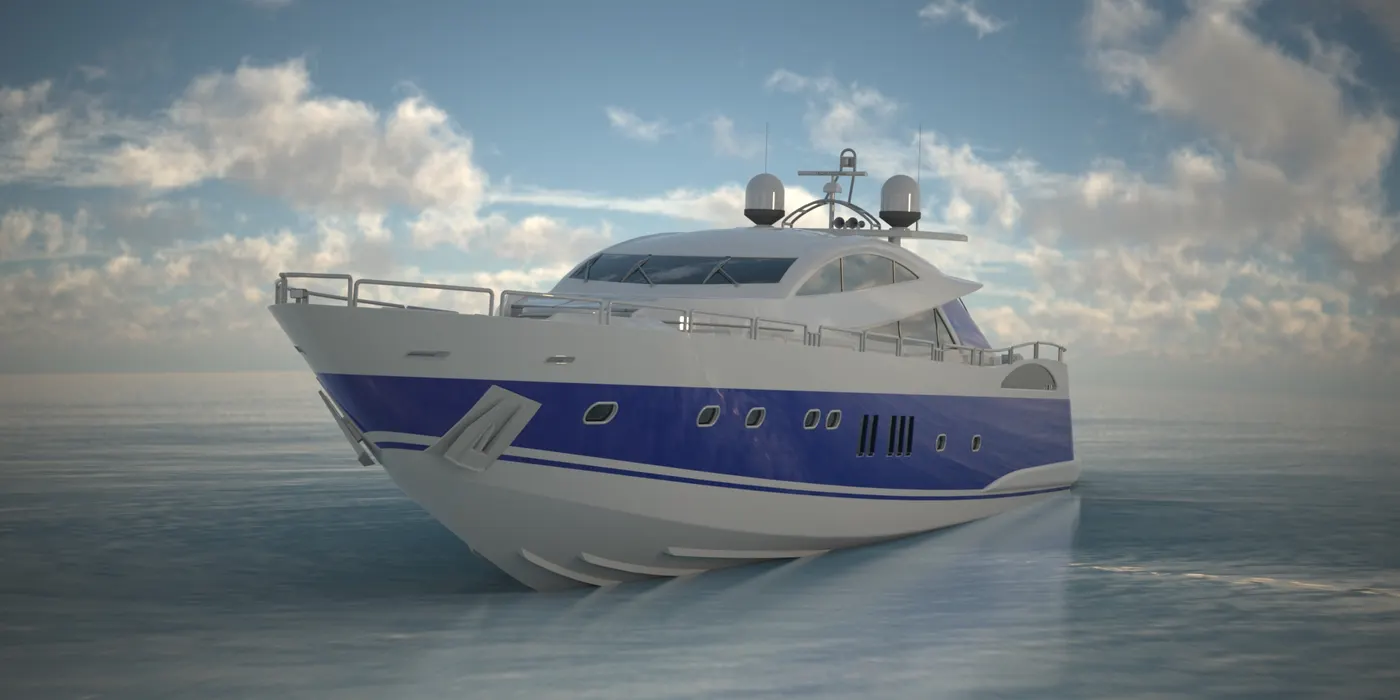
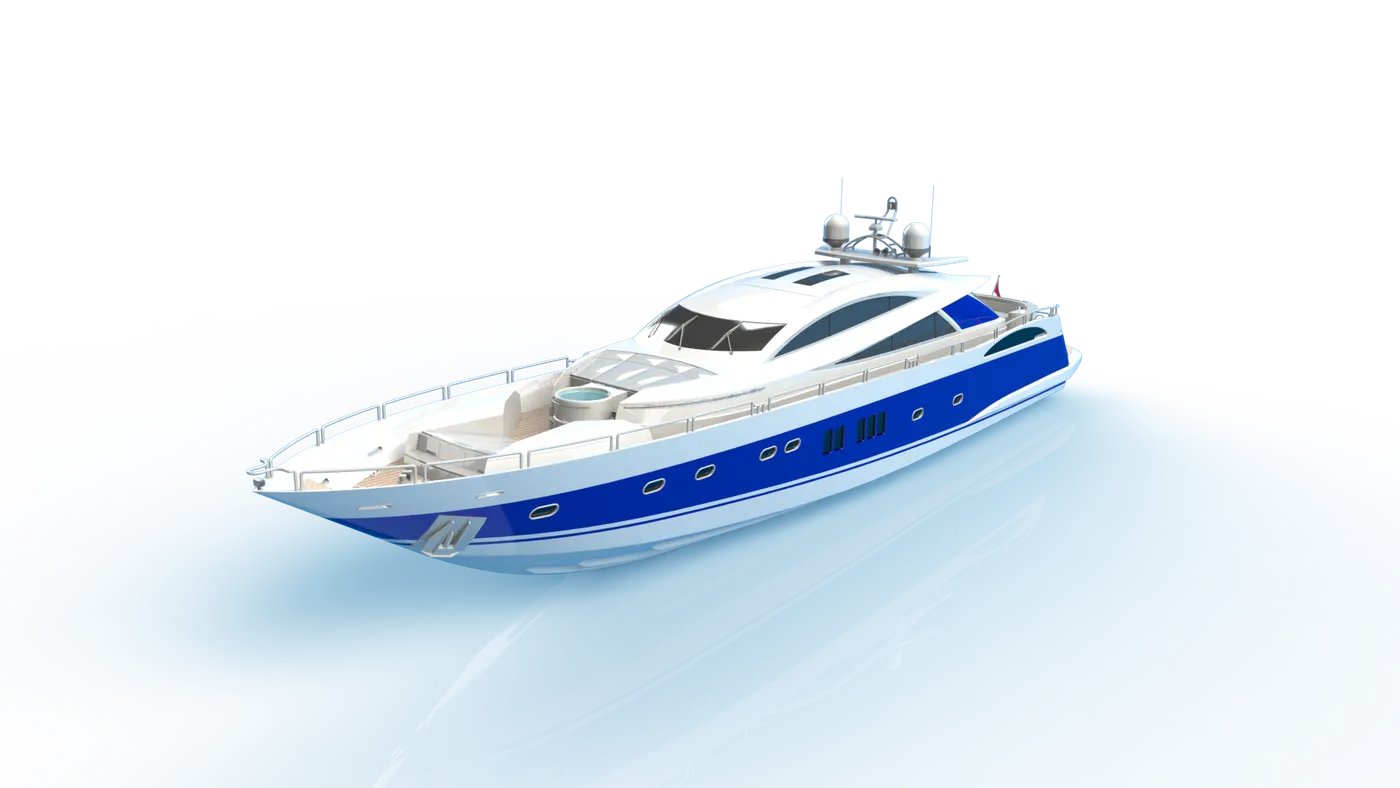
For rendering I have used SolidWorks PhotoView360 and SolidWorks Visualize.
- Conclusion:
From this project I got introduced and familiar to SolidWorks user interface and its features of Surface Modelling, Part Modelling, Assembly features and Rendering features.