Motor Blower Assembly : Week 4 Challenge
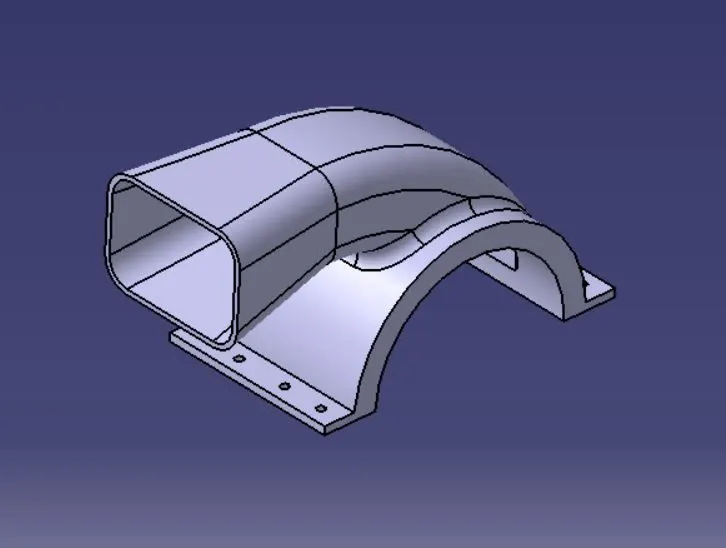
Upper Housing: -
- The semicircular part was made first by making padding its sketch.
- Provisions for bolts were provided by using the pocket command.
- Two planes were made as shown in the diagram. and corresponding sketches were made on these planes.
- Multi sections solid command was used to connect these two sketches by using guide curves.
- Then shell of 0.06 mm was applied to this MSS body.
- Under a new body, a rib command was used to sweep the sketch 18 profile along sketch 19.
- then Union trim command was used to remove unwanted faces.
- Some surface tools were used to remove the common face between the rib and the semi-circular body.
- Now, Fillet is applied to rib edges.
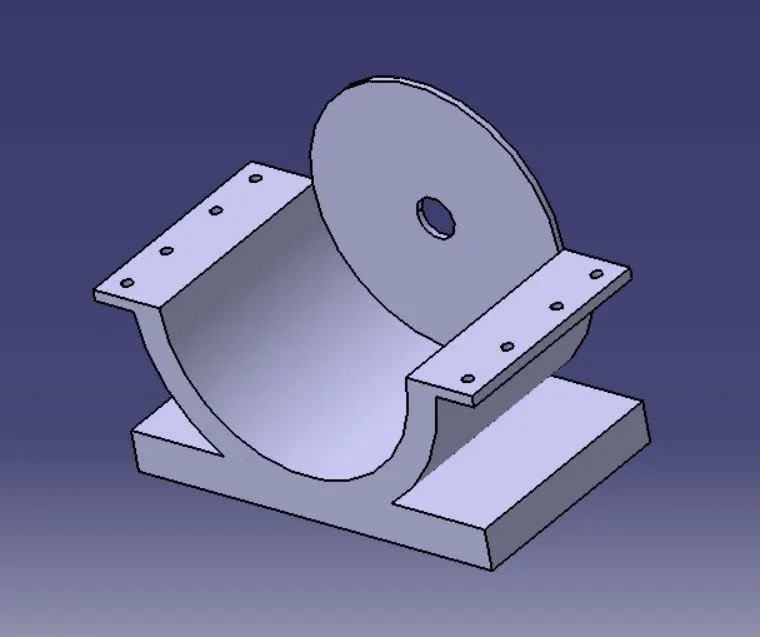
Lower Housing: -
- Sketches were made first and then extruded it using the pad command.
- Provisions for bolts were provided by using the pocket command.
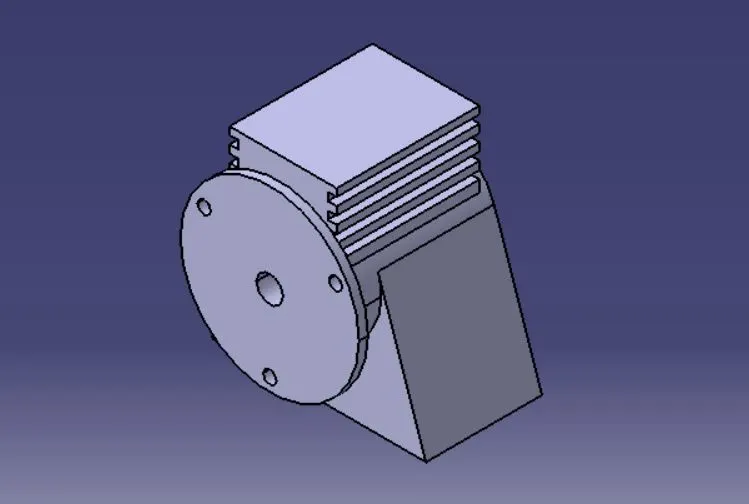
Motor: -
- Initially made the big sized cylinder and then the base.
- Then made thin circular pad section.
- Then made a rectangle at some hight and then padded it up to the cylinder
- Then on one side this pad, I made 4 rectangles of given size and used pocket command
- This pocket feature was mirrored onto the other side.
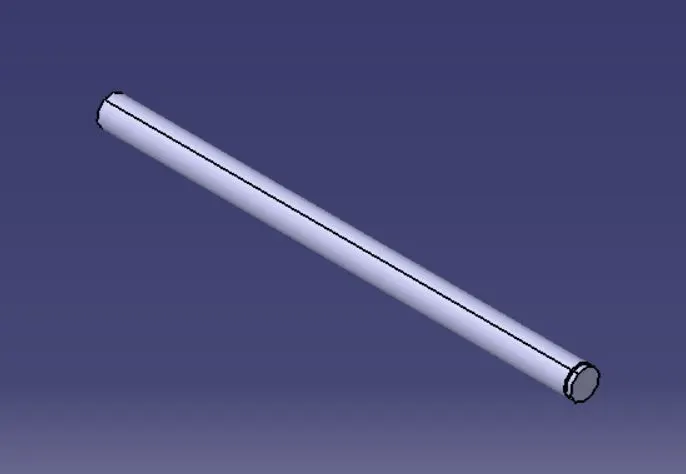
Shaft: -
- Drew the sketch and then used shaft command.
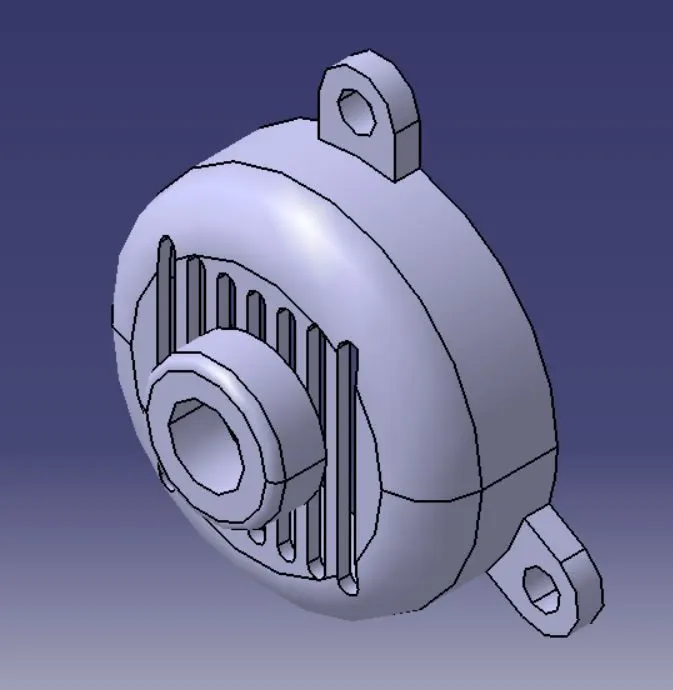
Cover: -
- First made the base cylinder and then applied fillet and then shelled it with required thickness.
- then slotted holes were made
- then three nut provisions were made
- finallt made the cylinder on the top surface of base cylinder
Blower:-
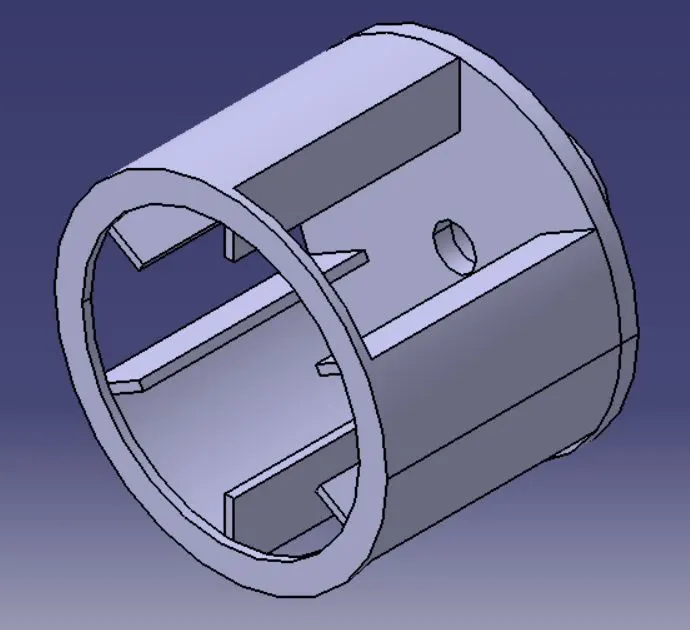
- First solid cylinder was made and then shelled it using shell command
- then pocket command was used to make some gaps in between in this cylinder
- Then on both sides thin cylinders were made
- finally bush was made on one side
Assembly: -
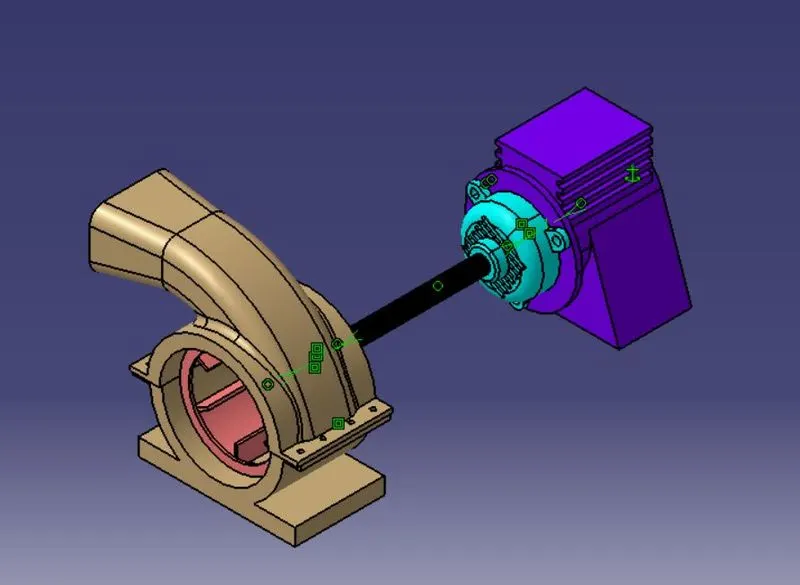
- Everything was assembled in assembly workbench by using coincidence, surface contact and offset constraints
The following zip file contains all the part and assembly files.