Introduction to REVIT concepts
Aim:- To create a basic Project file and explore various options of Revit.
Tools used:- Revit Software, Various tools of Revit
Basically, we have to create a basic Project to have a introduction to design using various options of Revit software. For this, at first Install Revit on your pc and launch it.
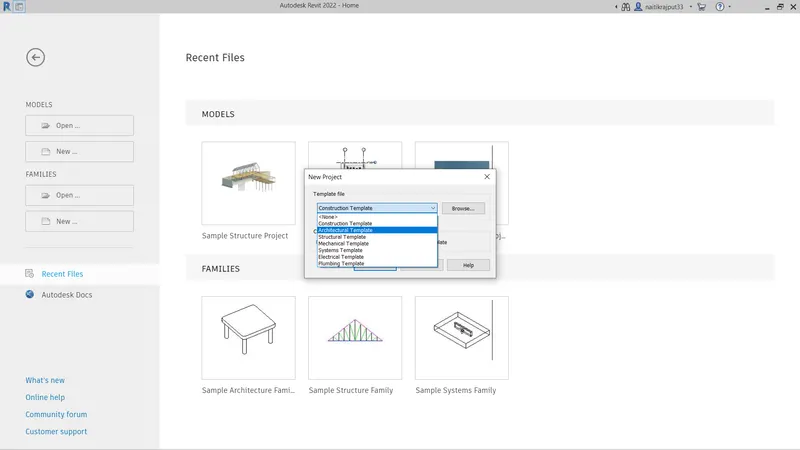
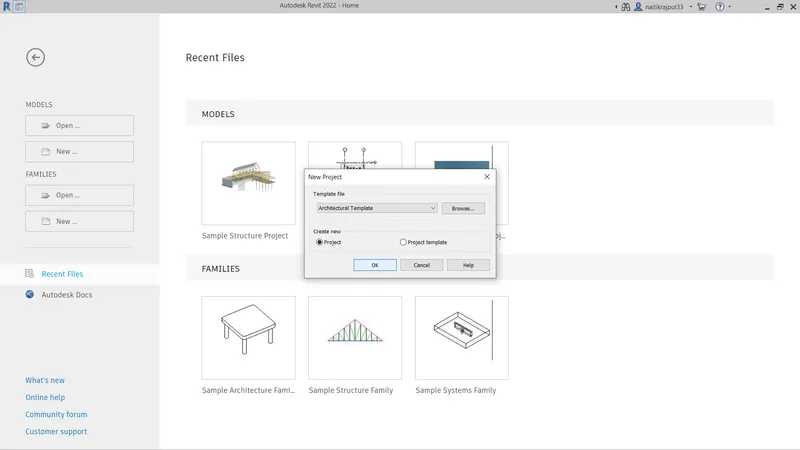
- After, main window of Revit will open, go on to New option under Models option. New-->Project option. A new project dialog box will open. Select Architectural template under template file and project and click on OK button.
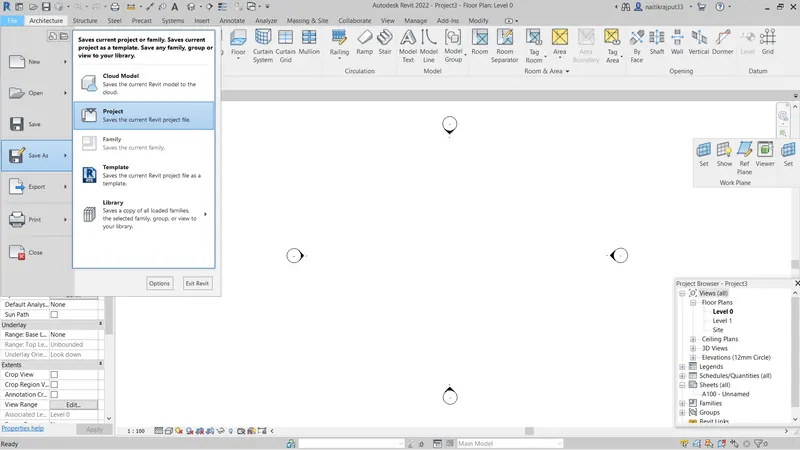
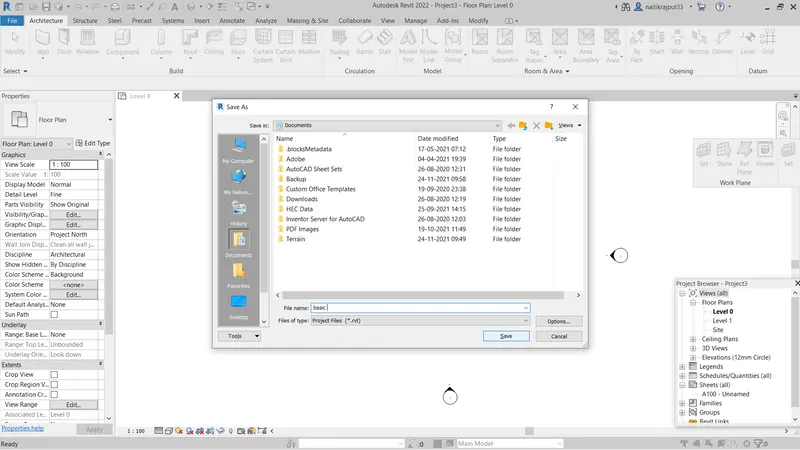
- We can save our project by going to File menu--> Save As-->project. Then give a desired name and location to our project and Click on Save button.
- Now, go to architecture option on menu bar and select Wall: Architectural from toolbar.
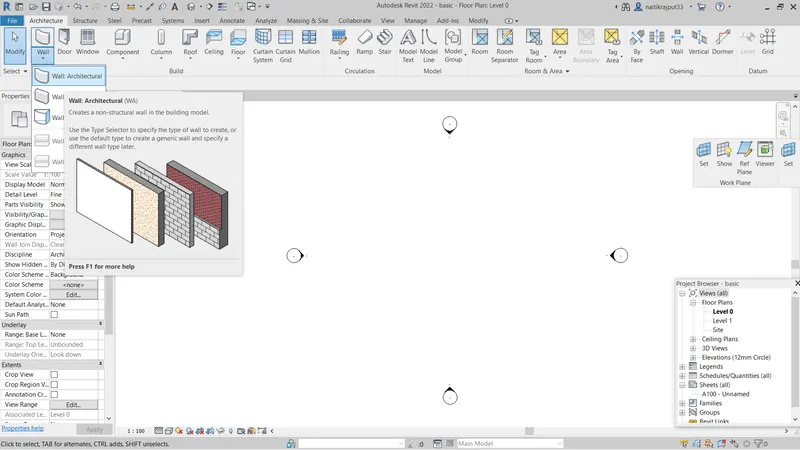
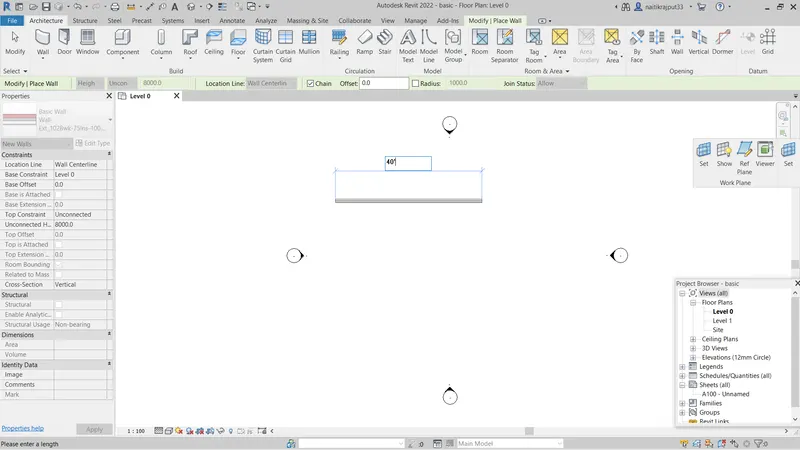
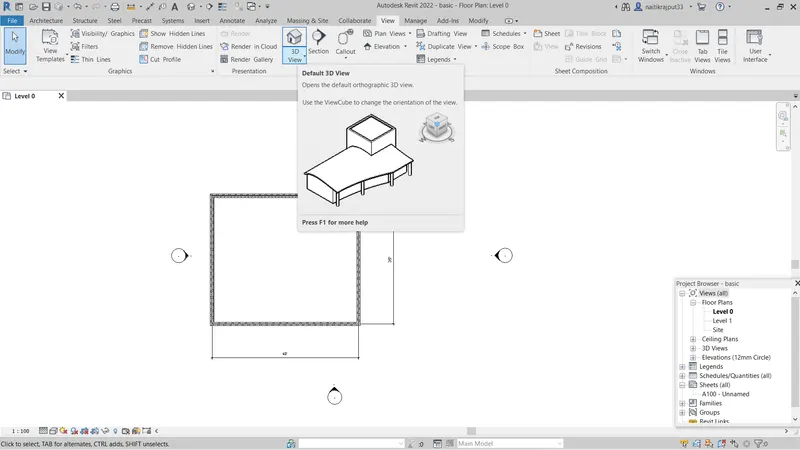
- Draw the wall with given dimension.
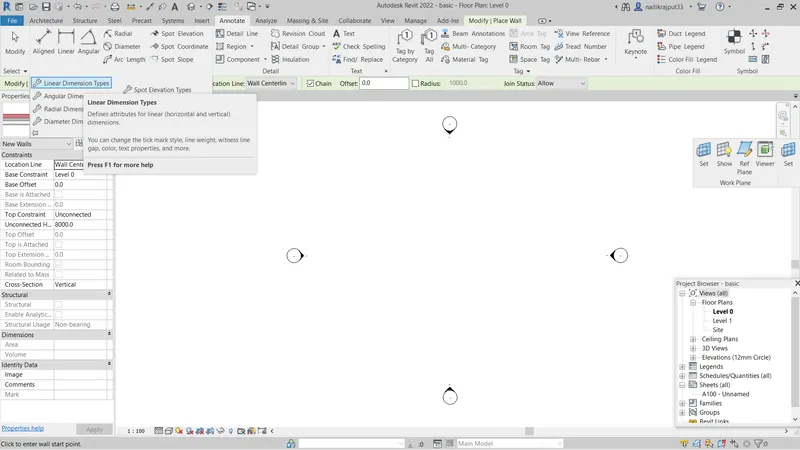
- Now, go to annotate option in menu bar and select dimensions-->linear dimension type. Properties window will open. Set primary units in the unit we desire and click OK.
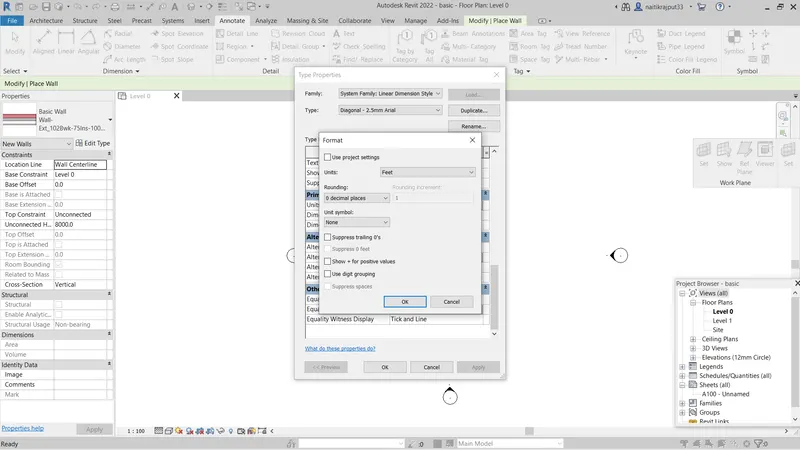
- Now, Select the dimension type and give the required dimension to our wall.
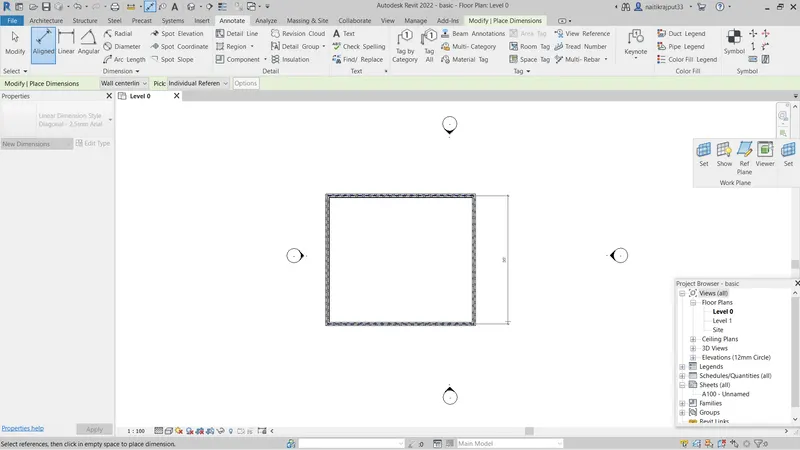
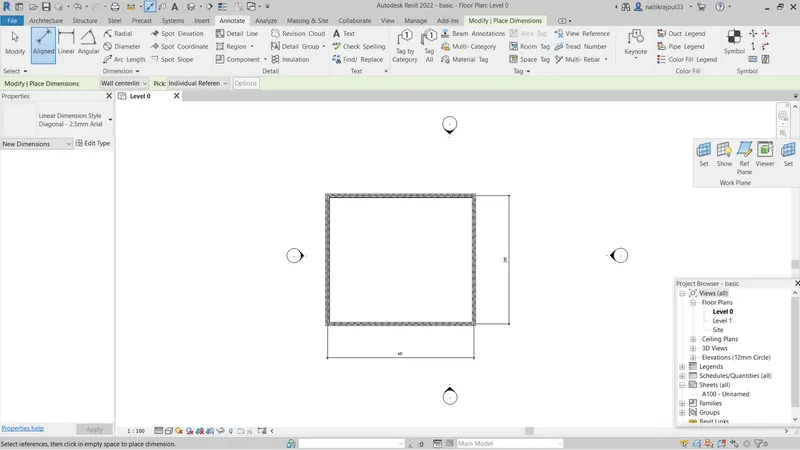
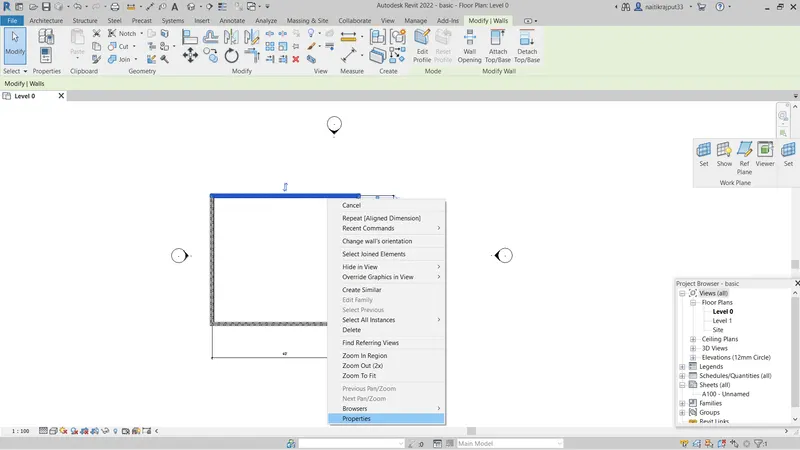
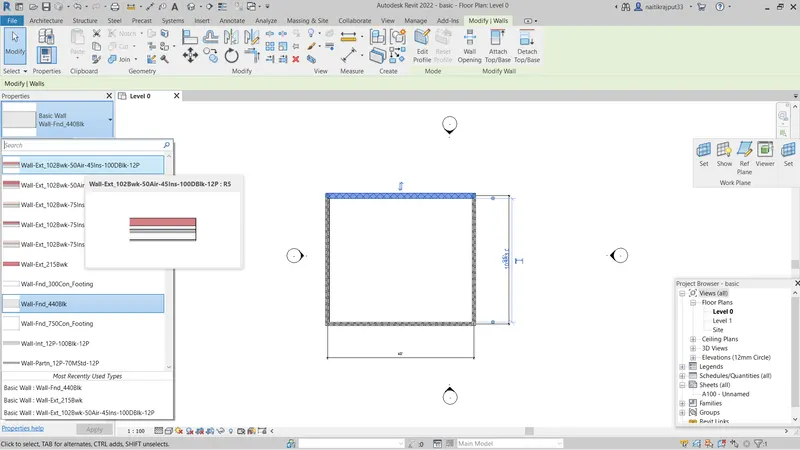
- Now right click on the wall drawn and select properties. Properties dialog box will appear. We can change our wall type as per our choice from topmost option of properties dialog box.
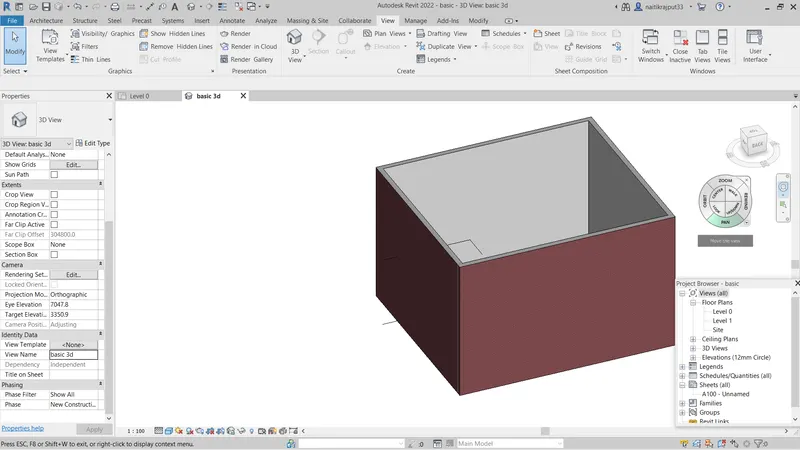
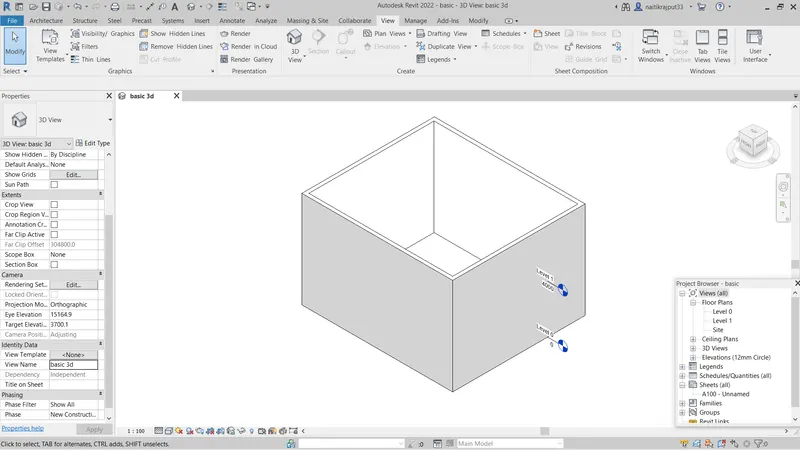
- Now, after setting all these go to View option on menu bar and select 3d view-->default 3d view. 3d view will appear on screen.
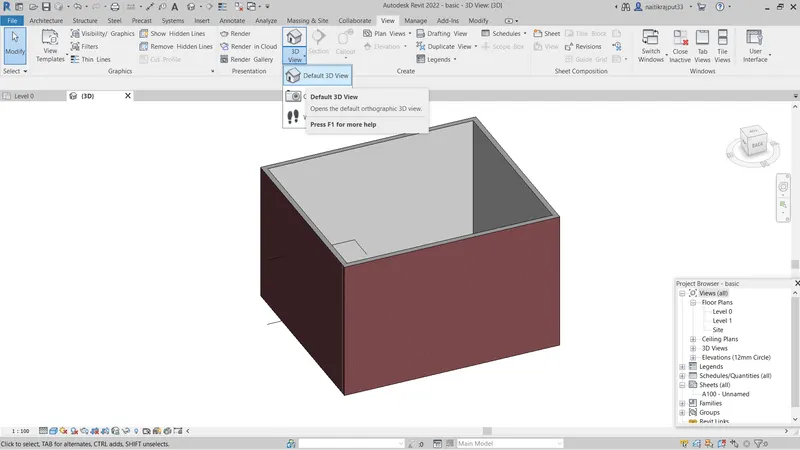
- In properties dialog box go to identify data and give a proper name to View Name and click on Apply button.
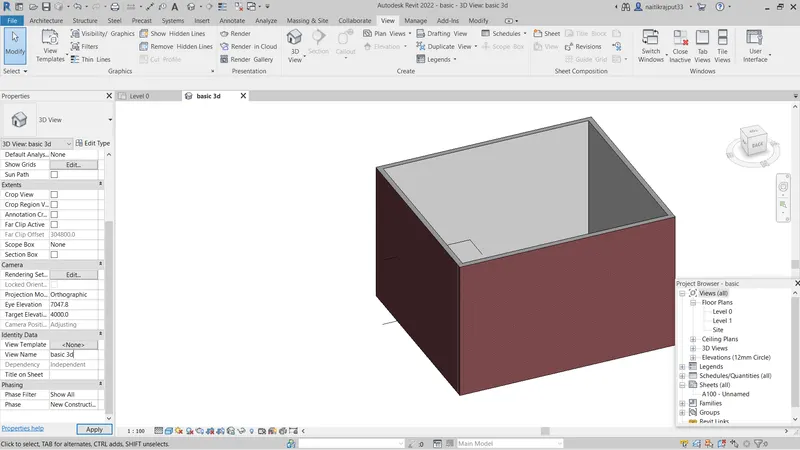
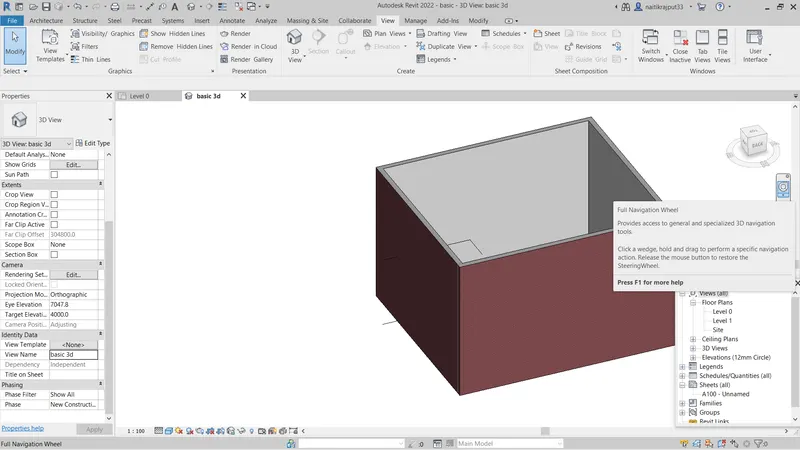
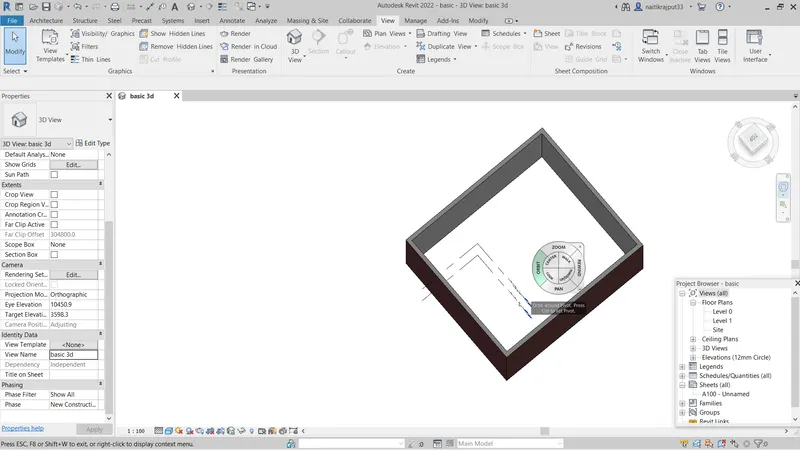
- After a proper name is given to our view, go to navigation wheel and using orbit option navigate the 3d view as desired.
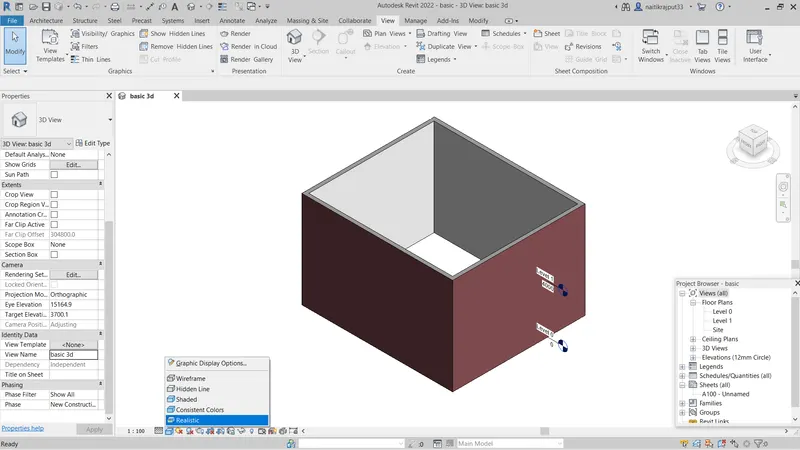
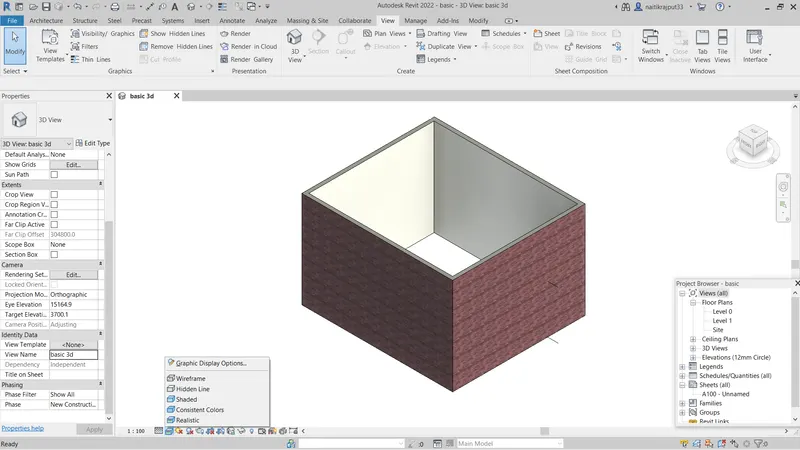
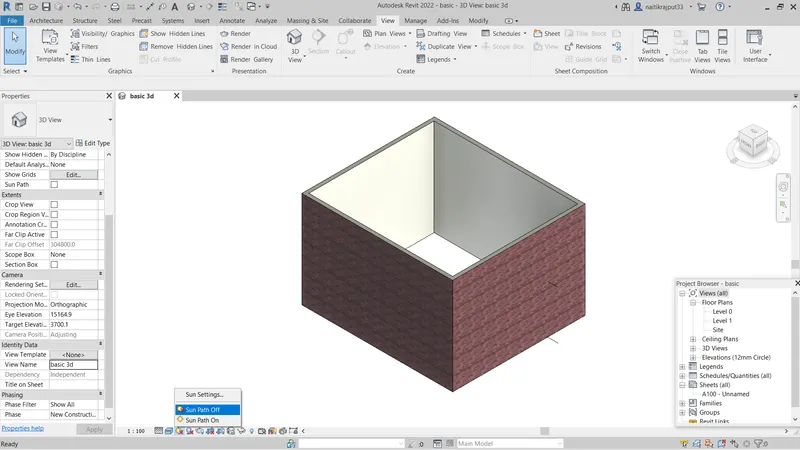
- Now, we will go to visibility settings button on bottom part of screen and select the style as you desire.
- Now, in right of Visibility settings, we have Sun settings. Turn sun path on or off as per choice to see the layout.
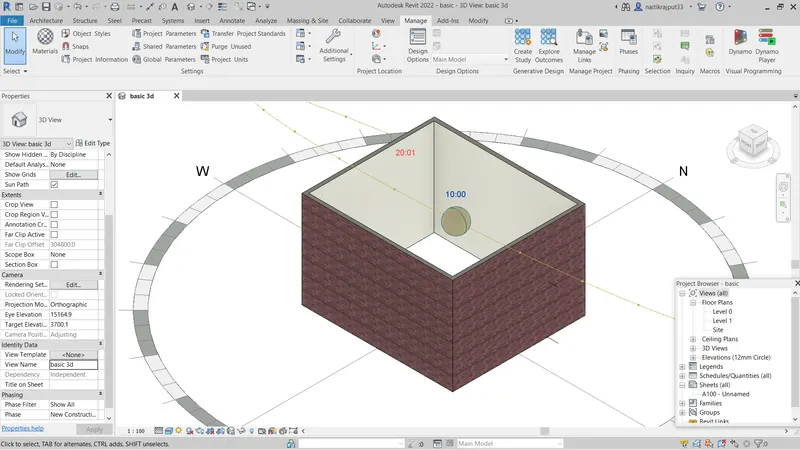
- Now, go to manage option under menu bar and select project information option there. In project information dialog box add the details you desire and click on OK button.
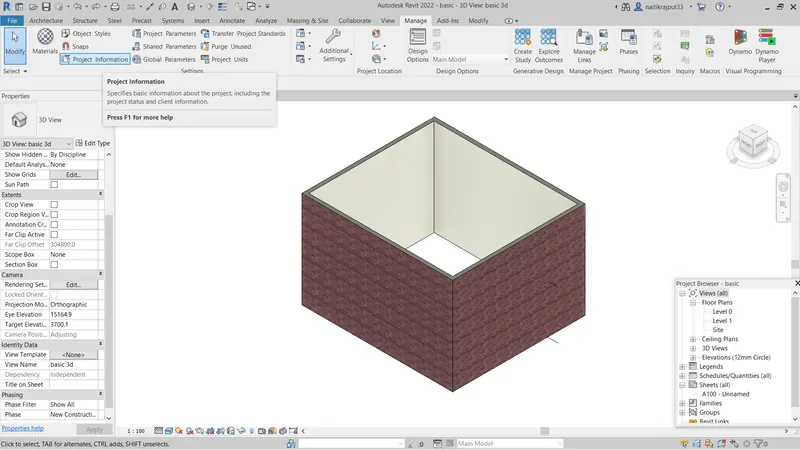
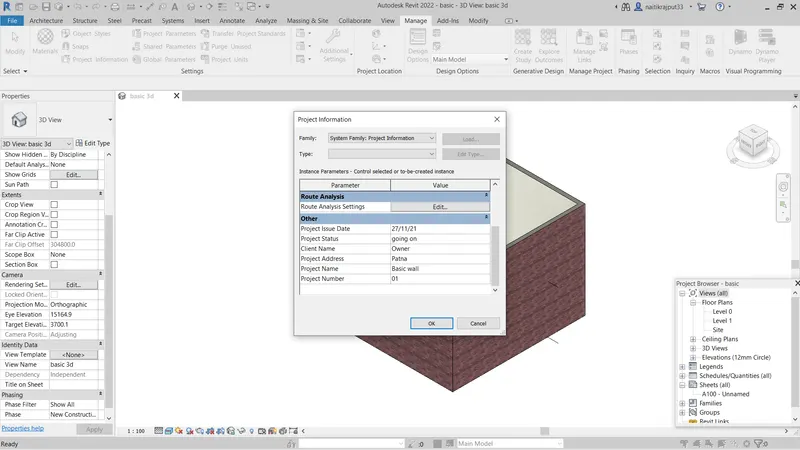
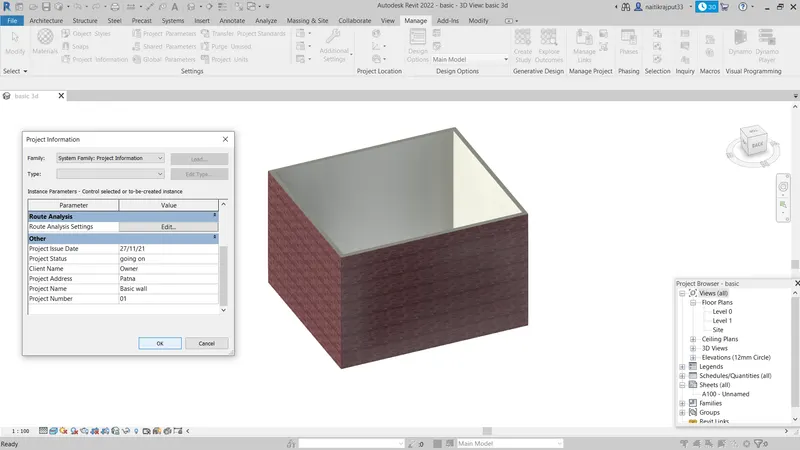
Thus, all these steps followed give us a basic introduction to various tools provided in Revit to design a project.
Analyze toolbar used in Revit and beneficial for design and modeling. It helps us to perform analysis on our structural building. The boundary conditions enable you to define point line and area boundary conditions in an analytical model.It also helps in creating revit models, this tool bar consists of many other options which help in load combinations, boundary conditions, load and cases adjustment and support systems are one amoung the tool under this analyze tool bar where in we get to adjust the model and add additional support to the model.
Linking models is primarily intended for linking separate buildings, such as those that compose a campus.We can link architectural models, structural models, and MEP models in Revit to a Model.
Revit provides several different ways to collaborate with team members who are using the software. We can link multiple Revit models together, allowing team members to work in context. Through worksharing, users on the same local area network (LAN) can work together in the same Revit model.Collaborating using worksharing involves creating a master project model, known as a central model, from an existing model. The central model stores the current ownership information for all worksets and elements in the project, and acts as the distribution point for all changes made to the model.