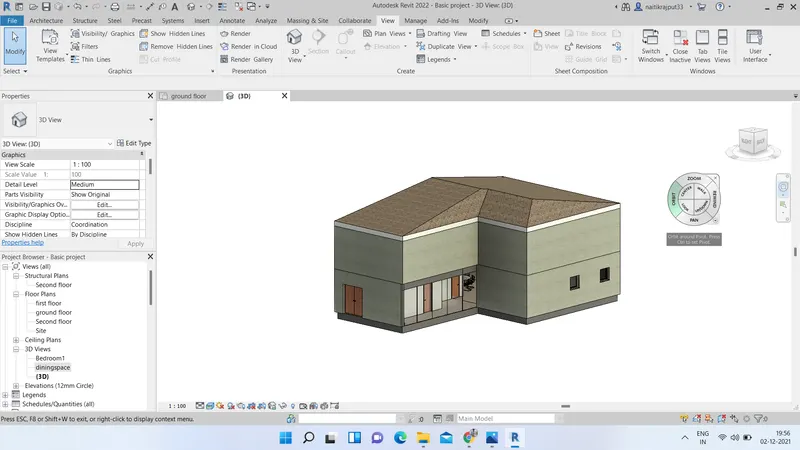
Creating Walls, Partition walls and Floors for a residential layout using REVIT
Aim:- To Design a 3d residential layout in Revit using various tools.
Tools used:- Revit Software, Various tools of Revit
We have to design a residential layout from template saved under previous project. We will add more features with Revit and will be creating a realistic 3d model of a residential building.
Launch the Revit. After, main window of Revit will open, go on to Open option under Models option. Select the saved project after week 2 in project dialog box that will open and click on OK button.
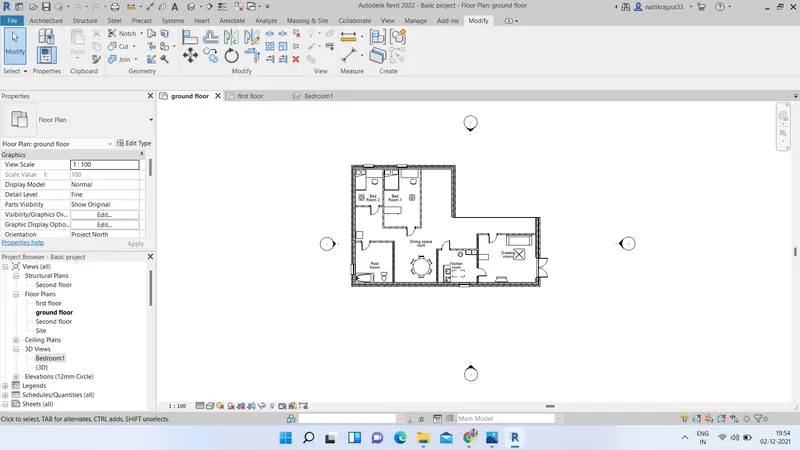
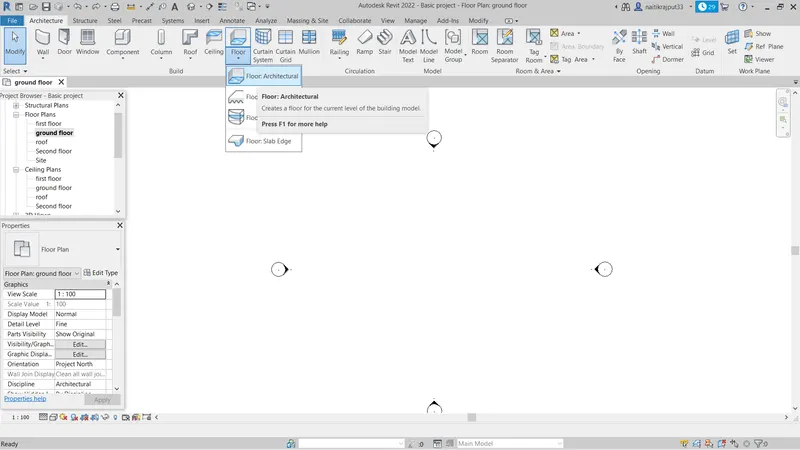
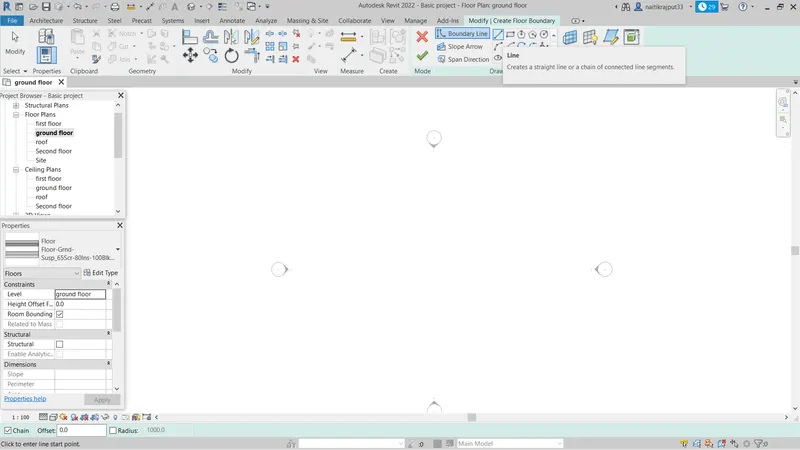
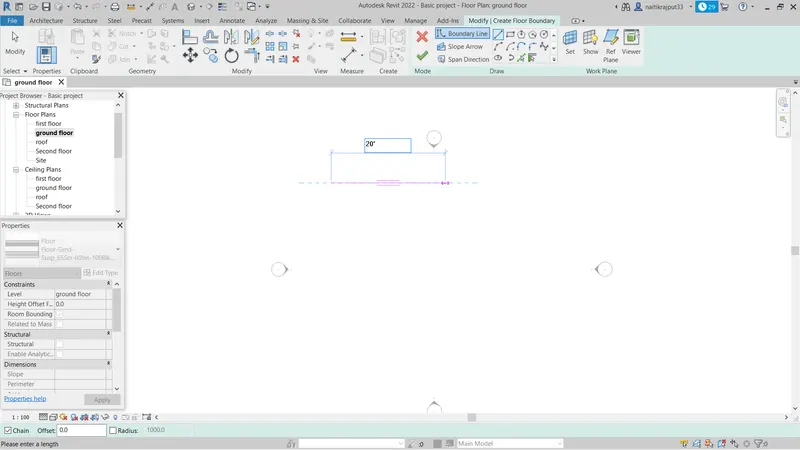
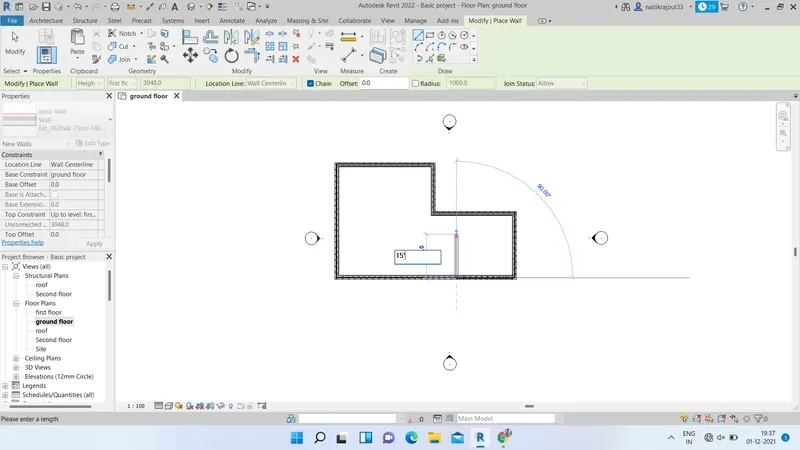
- Now, our project will open with the layout as craeted.Go to Architectural-->>Floor option. Select the desired floor type and Draw the floor using Line tool and desired dimensions.
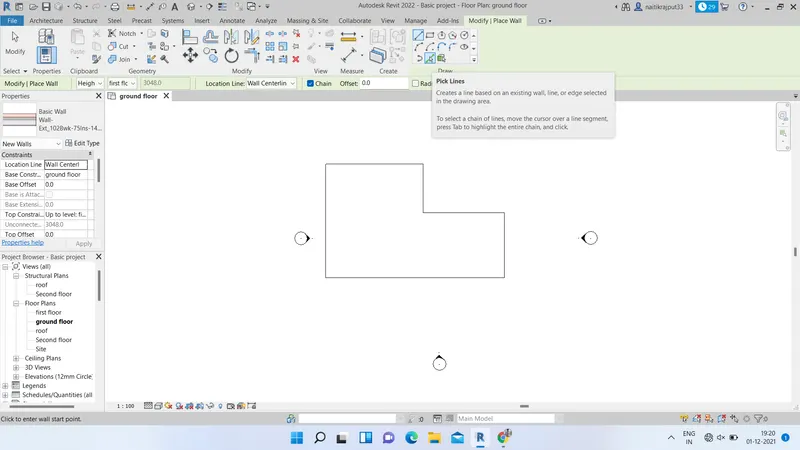
- Now, again go to Architectural and select Desired wall type and draw the wall using pick line tool.
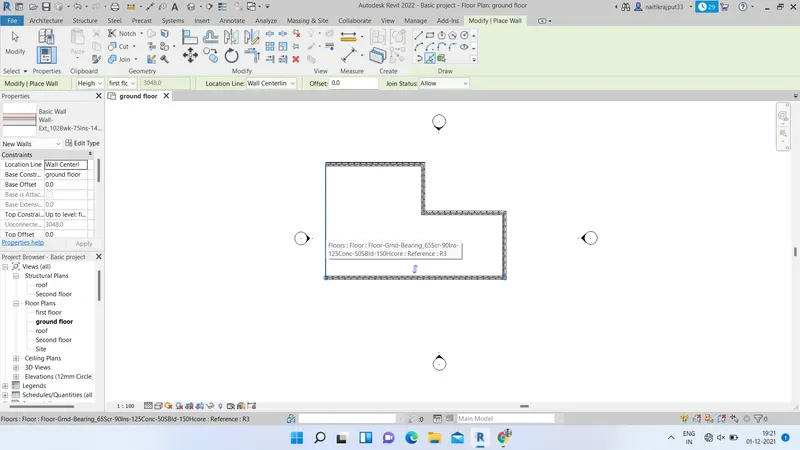
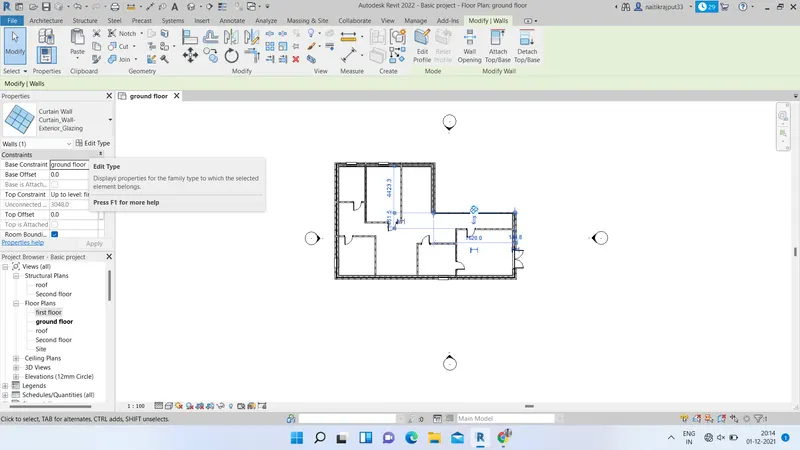
- After drawing wall we can edit features using Edit type option in property browser. Also we check constraints and can fix it upto desired levels from property browser window. we fix it upto level 2.
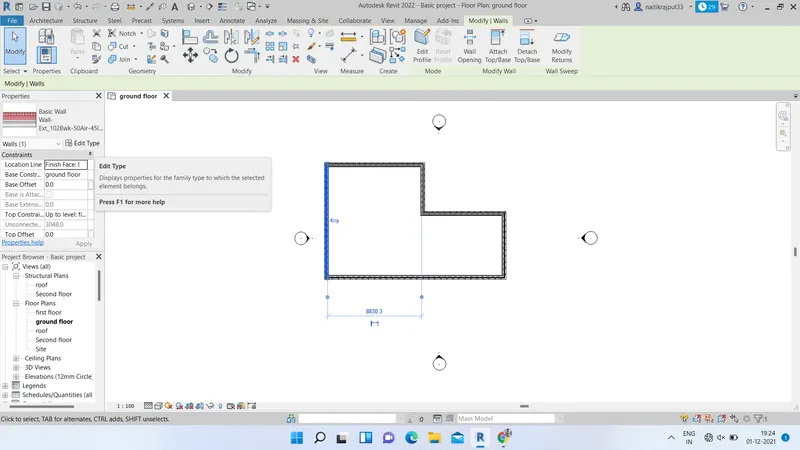
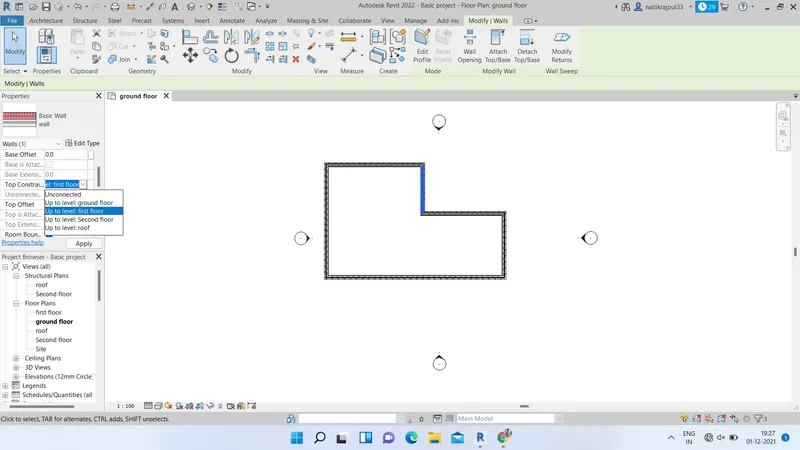
(a)Beneficial for connecting walls with associated levels is when level height changes, the wall height also changes. There is no need to do anything after changing levels.
By height is more convienient to model walls.
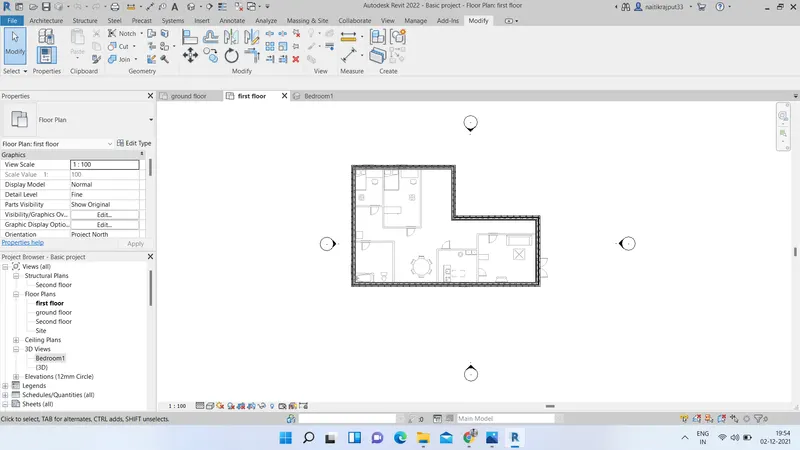
- Now, we will give first floor model. For this go to Modify tab and select Copy option from there. Select the ground floor plan and press enter to copy it.
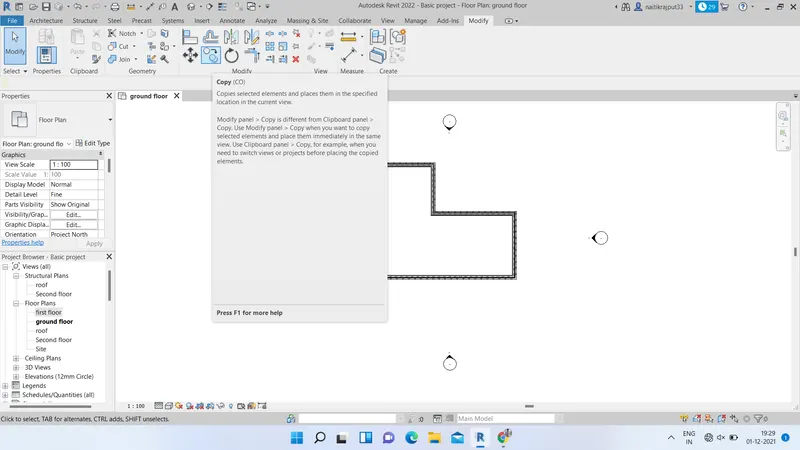
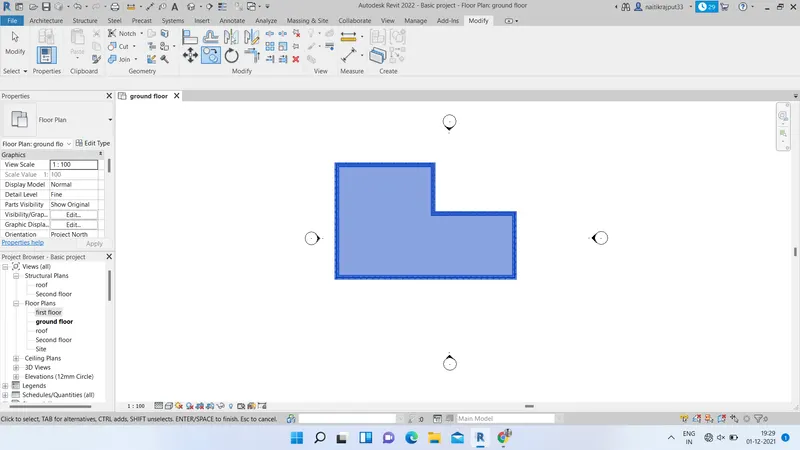
- Now, go to first floor level and select paste option to paste copied plan. Use align option from modify tab to align first floor level properly with ground floor one.
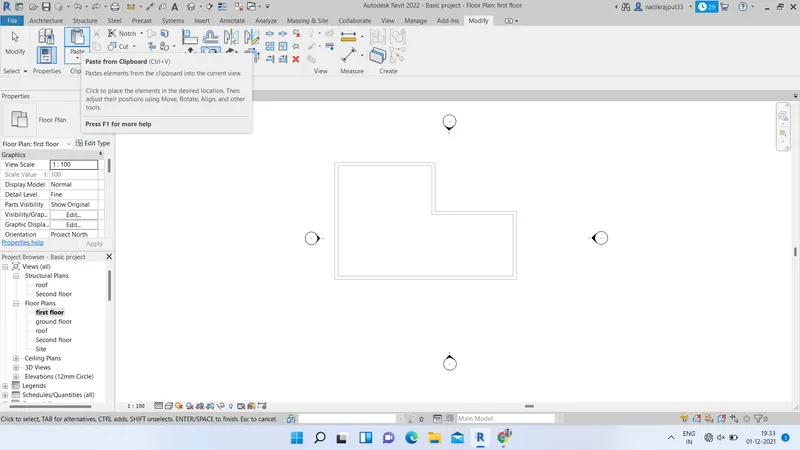
Now we will add rooms and different elements to our layout. For this we have to draw inner walls to create rooms according to desired dimensions.
- Go to Architecture tab and select wall option. Select the type of wall for interior walls and start drawing using draw line tool.
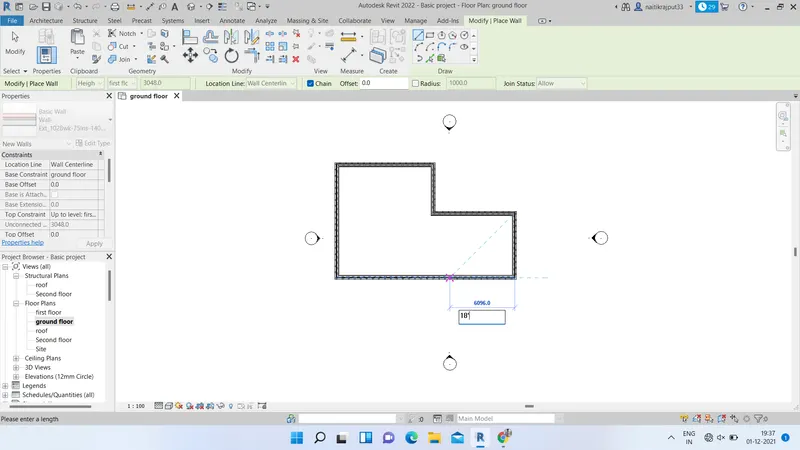
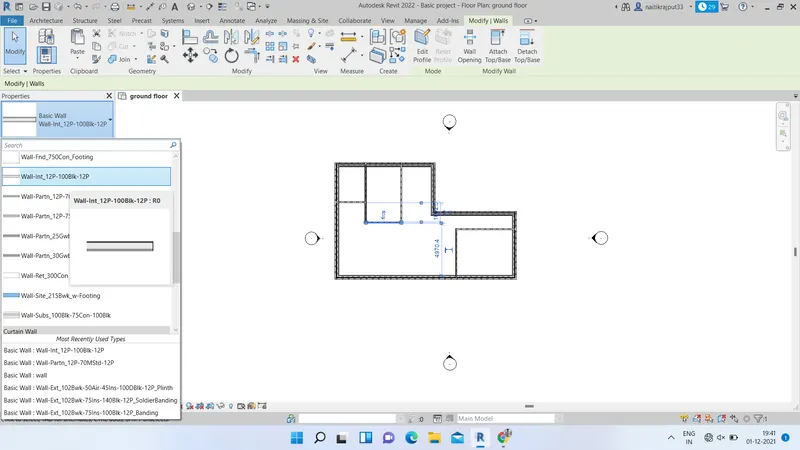
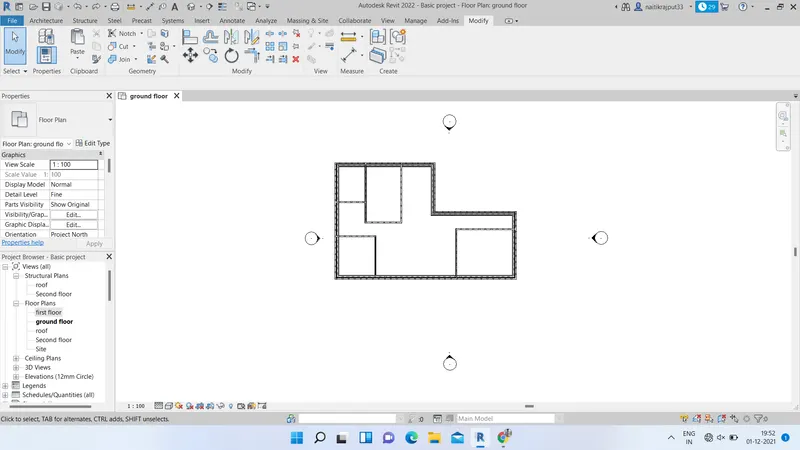
Draw the rooms as desired.
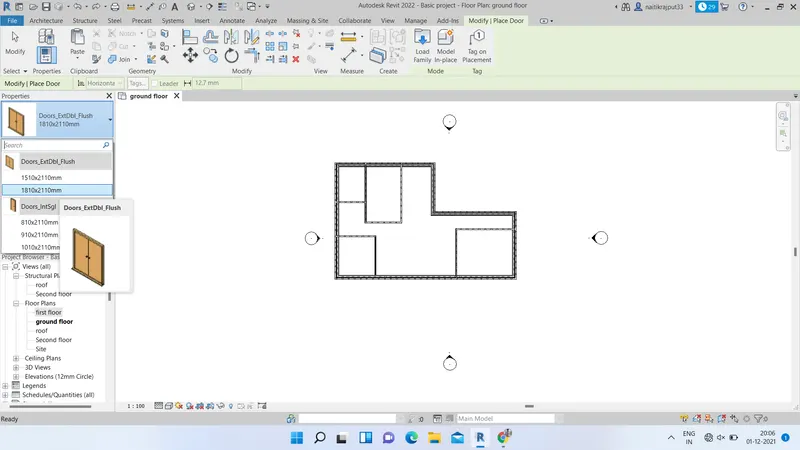
- We can also add doors at desired location by selecting door option from Architectural tab and adding it to desired place. Select the proper doors for rooms.
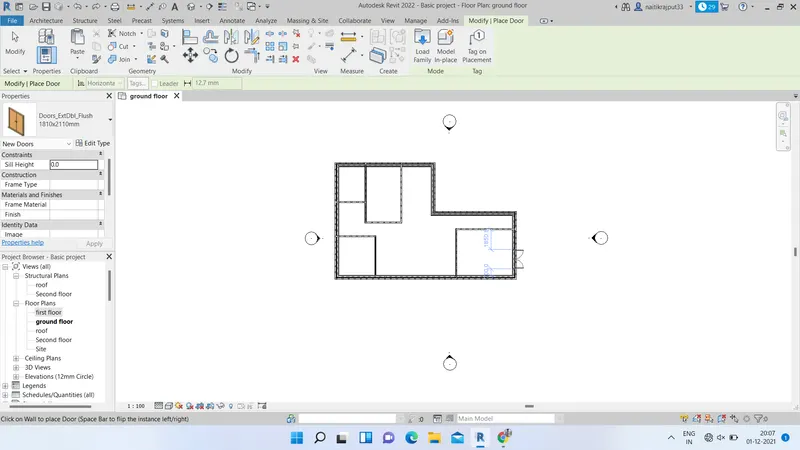
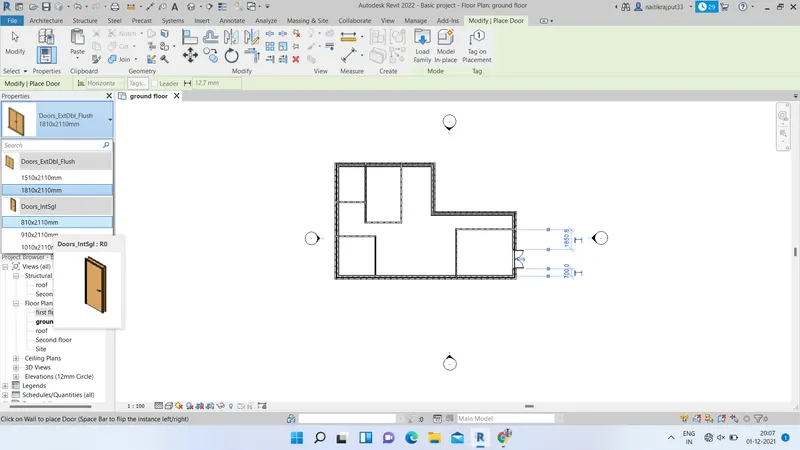
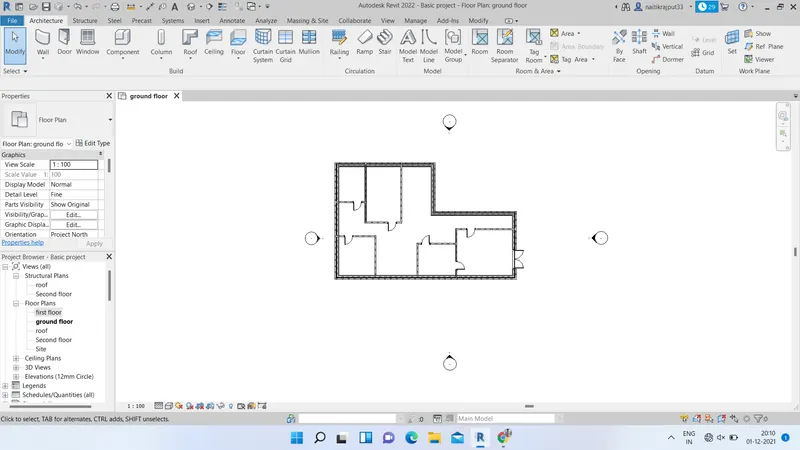
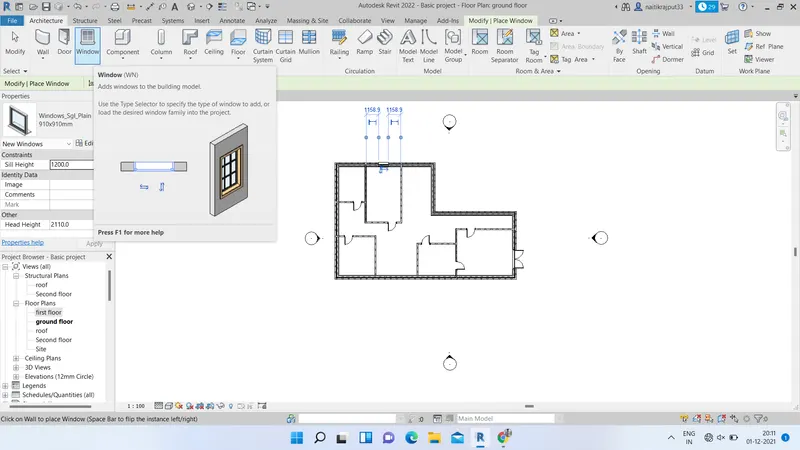
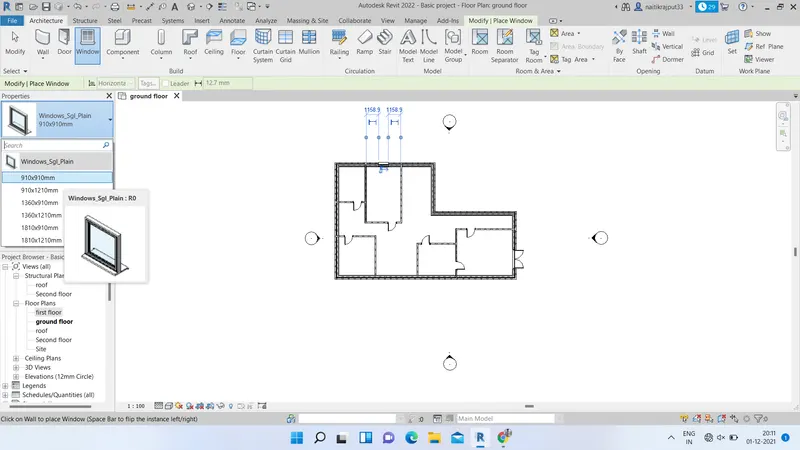
- Similarly Add window by going to architectural -->> window. Add window at desired place.
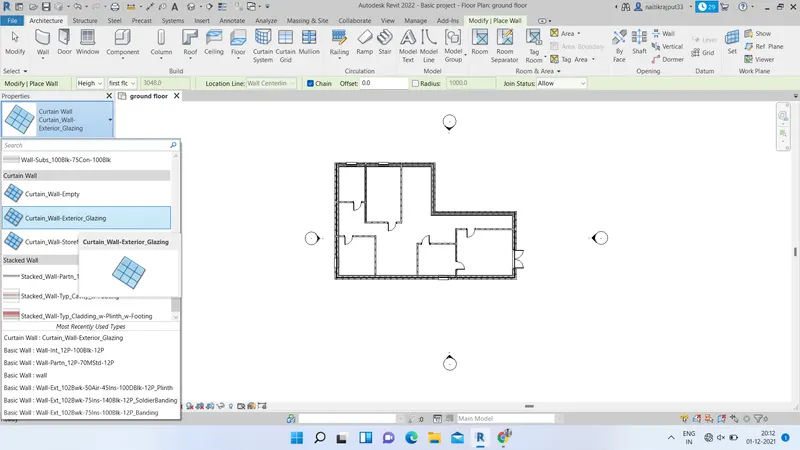
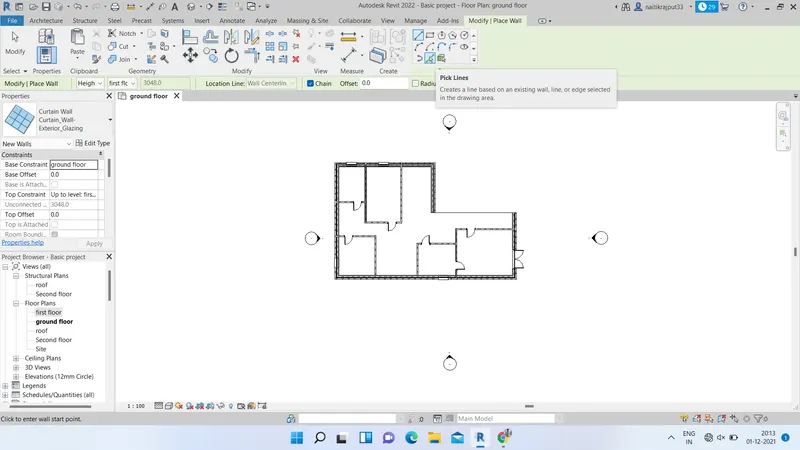
- We can also add curtain wall as desired at a place where desired. Go to architecture-->> wall. select curtain wall from wall type and draw using pick line tool.
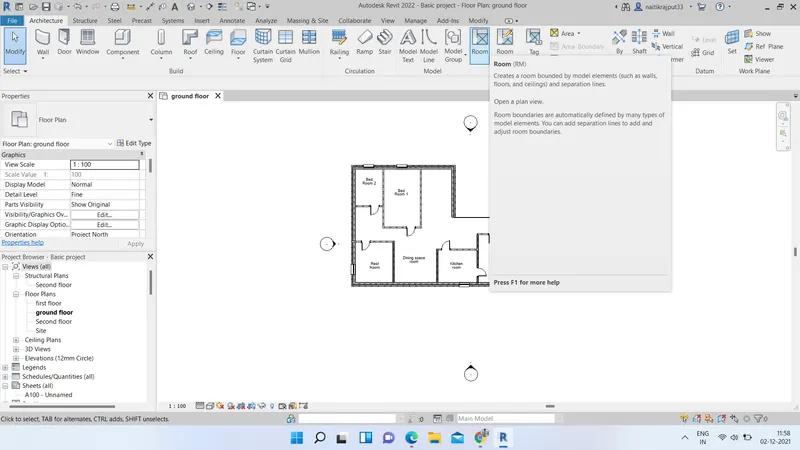
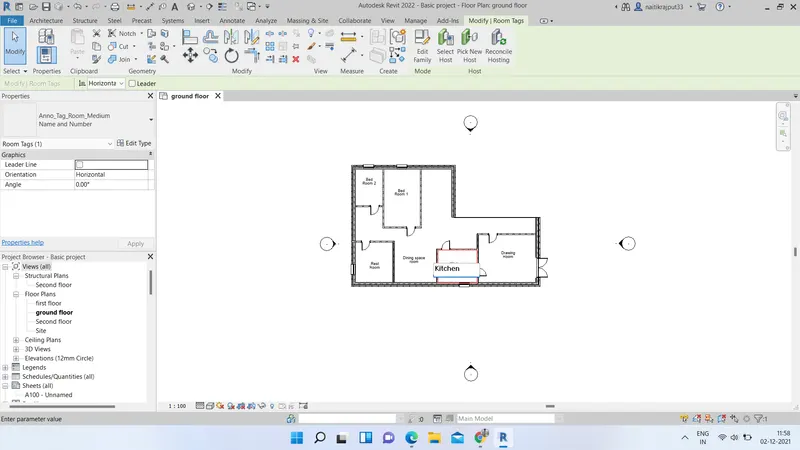
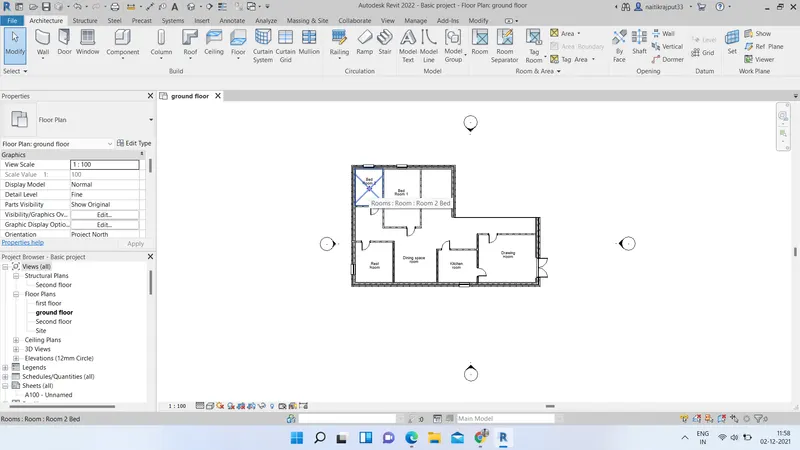
- Now we will give name to rooms. Go to architecure--->>Room. Select the room and give the name as per model.
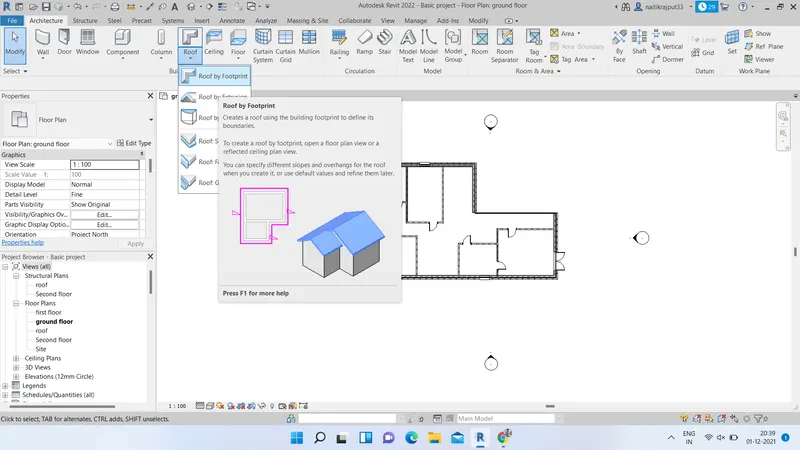
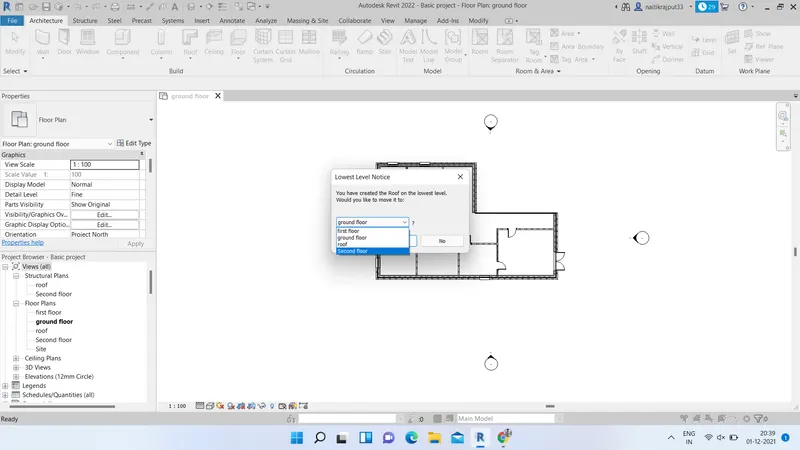
- Now, go to first floor level window. Go to architecture tab--->>>roof option. Select roof by footprint and change the level where roof is to be added in lowest level popup box. Using pick line tool give a layout of roof. Select the desired type and properties using property browser window. Go to View tab and select 3d view to visualize.
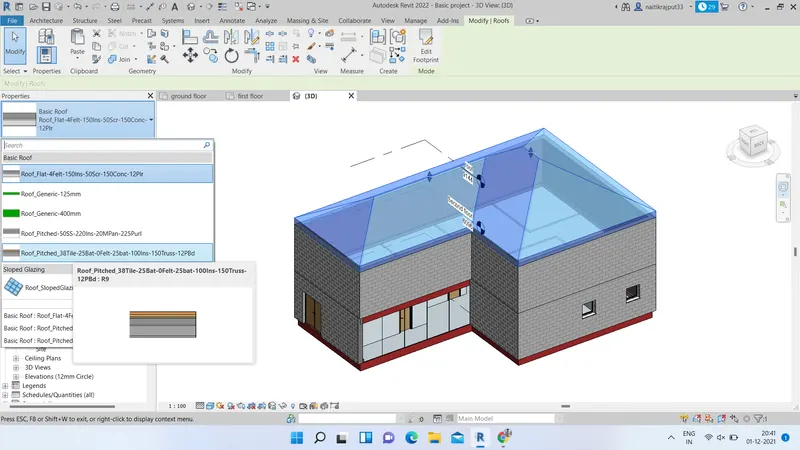
Now, we will different elements needed in a residential unit to our plan using Autodesk families. As we have already loaded families in previous project we will directly use it from family option under project browser window.
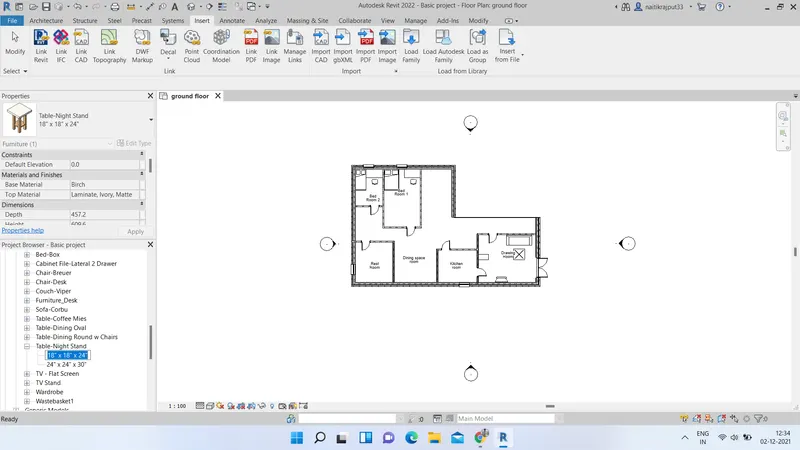
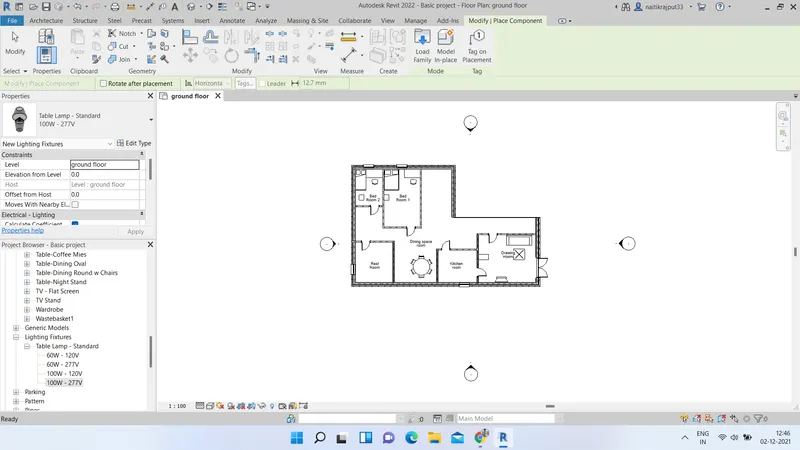
- Go to ground floor level. Go to family option under project browser window. Go to furniture and select a couch and right click-->> create an instance. Place the couch at desired place in drawing room.
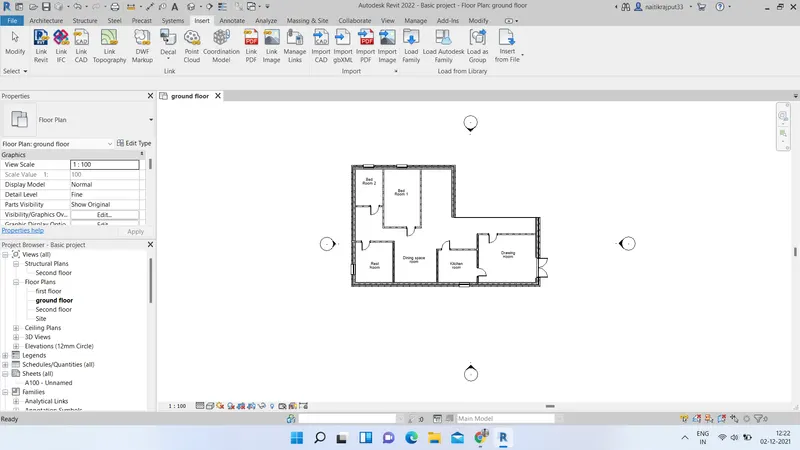
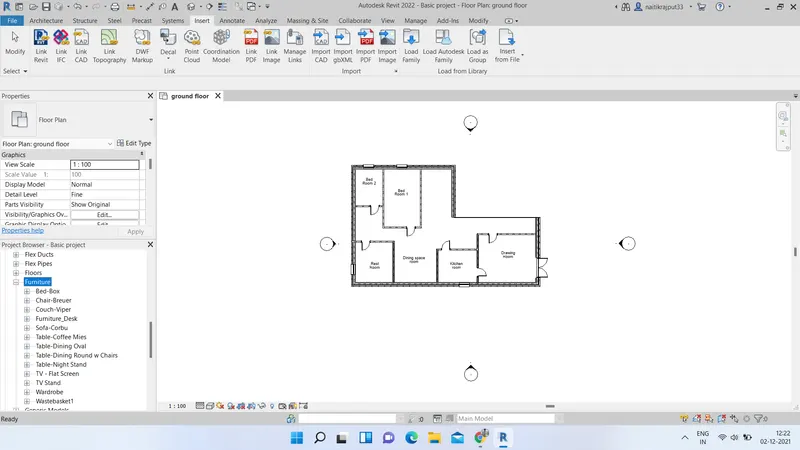
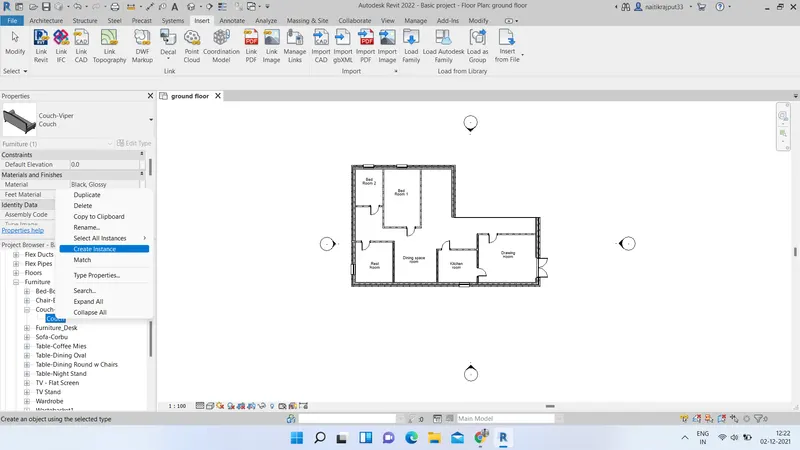
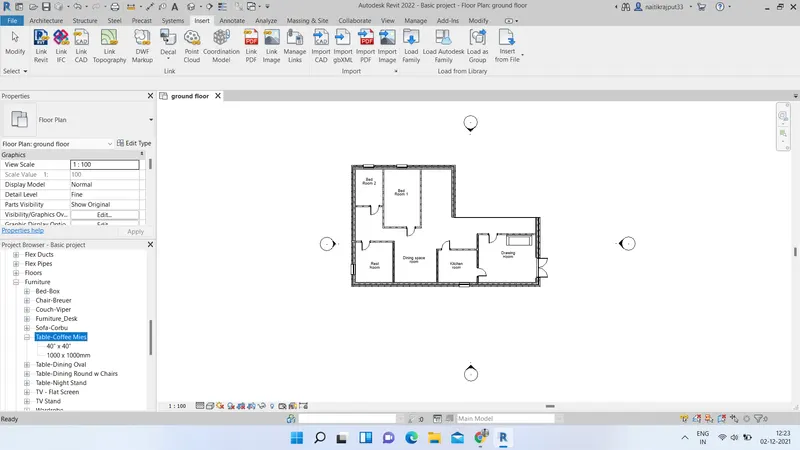
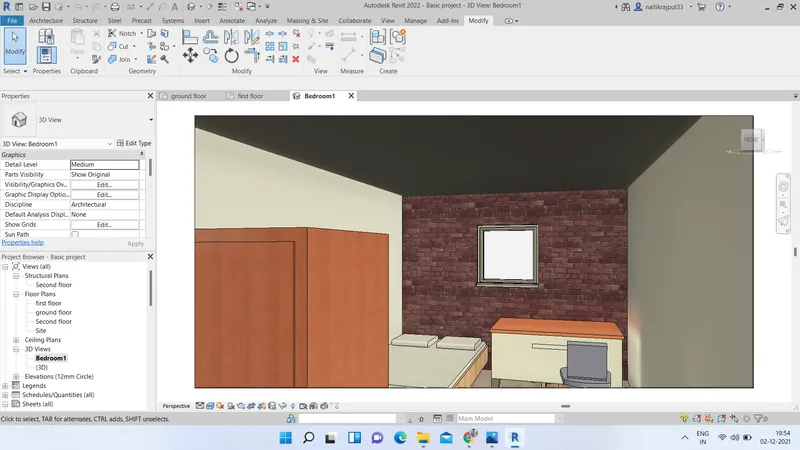
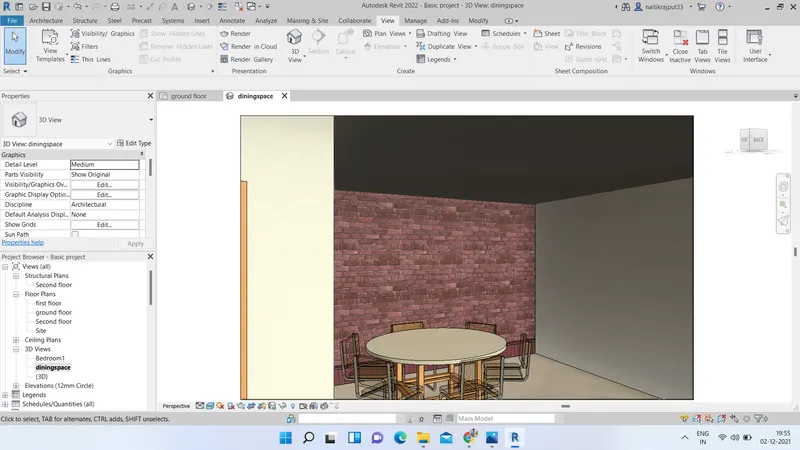
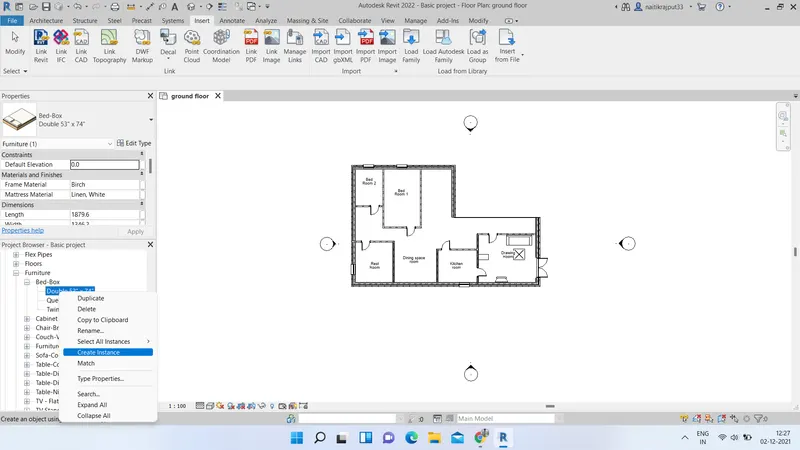
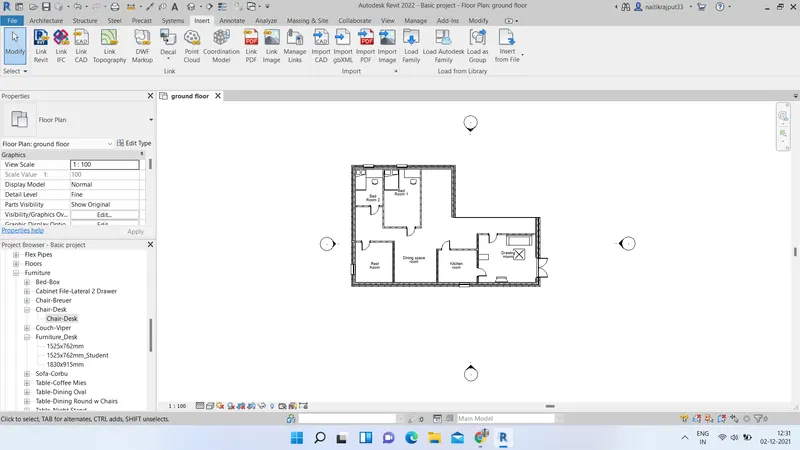
Similarly using different families keep on adding other elements like dining table in dining room, bed sets, study tables, lights in bed room, showers, bath tubs in rest room etc.
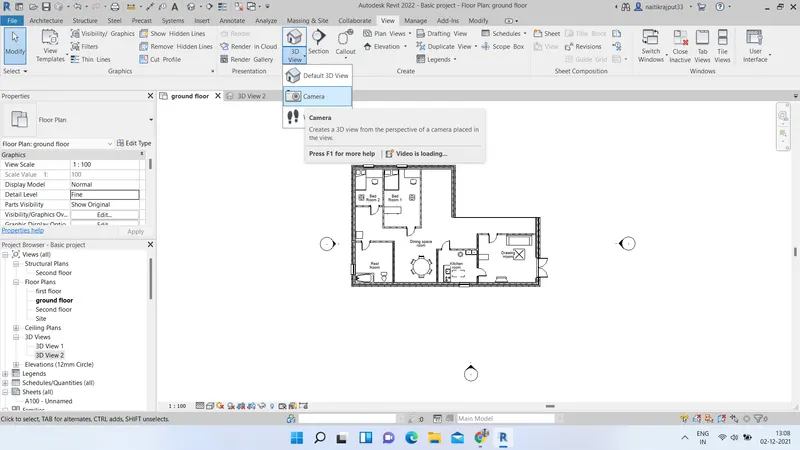
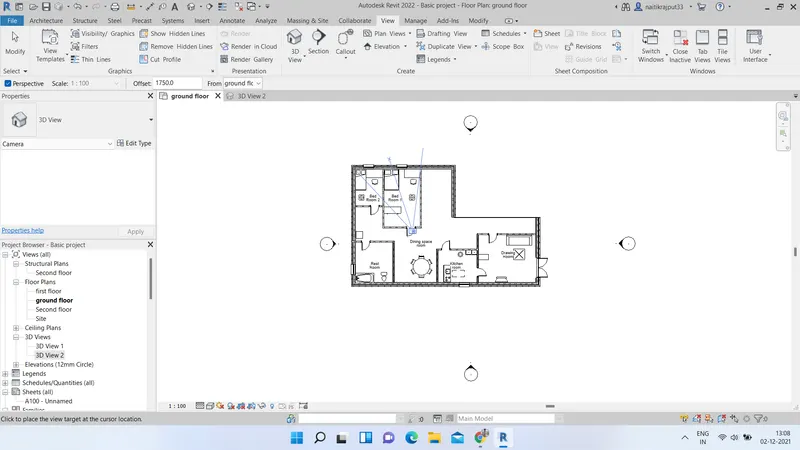
- We can view a desired room using View--->3d view--->> Camera option. place the camera at suitable place and we will get a view as per desired. Rename the view as per the room which we are viewing so as to perfectly visualize each room.
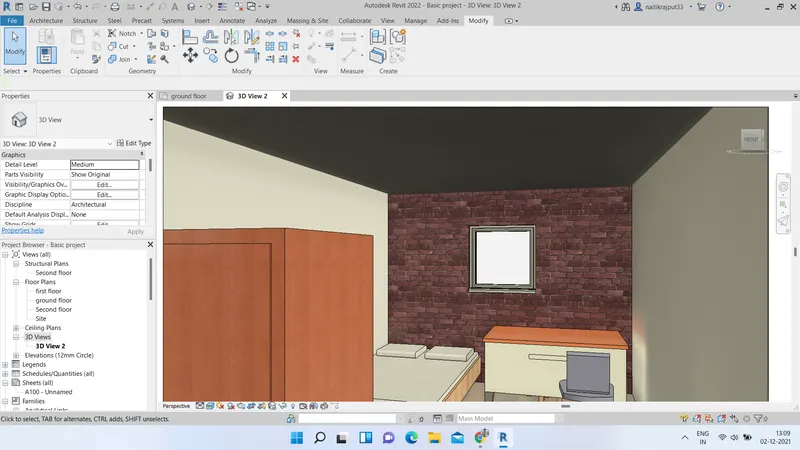
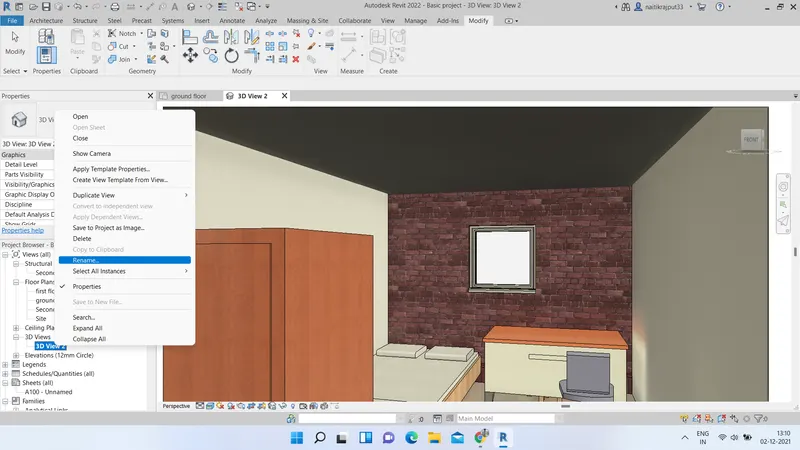
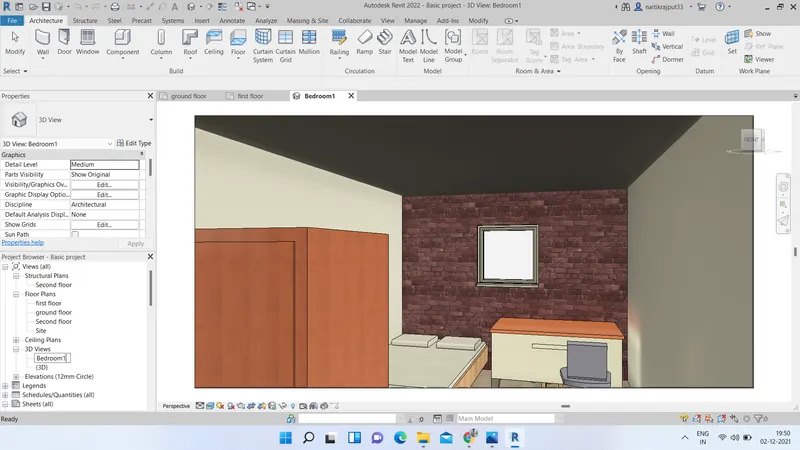
Thus all these steps followed gives us a basic design of a residential layout as per our needs. We can switch between various levels and views to view the results.
Obtained results:-