Introduction to REVIT concepts
1) From the file menu, create a new project (Structural / Architectural / Construction template ) and name the project appropriately.
Procedure:-
- Open Revit application.
- Go to the file menu.
- Select New> project.
- Select the template (Structural / Architectural / Construction)
- Create new project.
- Hence, New project created.
2) Save the new project file. Close and open using icons from file toolbar.
- Go to the file menu.
- Select save and enter the name of file.
- press save button.
- Hence the file is saved.
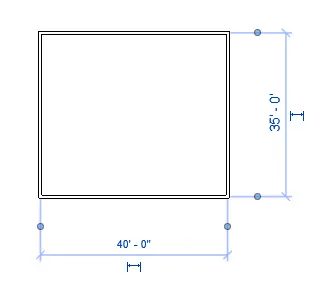
3) From the architecture/ structure toolbar familiarize with options to draw a wall. Create a rectangular layout of walls of about 40’-0” X 35’-0”.
Procedure:-
- Select architectural >wall tool from the toolbar.
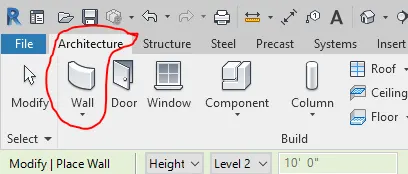
- After selecting wall (Modify/place wall) option appears.
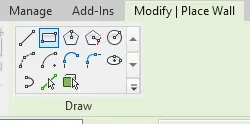
- Using rectangle tool wall is creared of 40' * 35' .
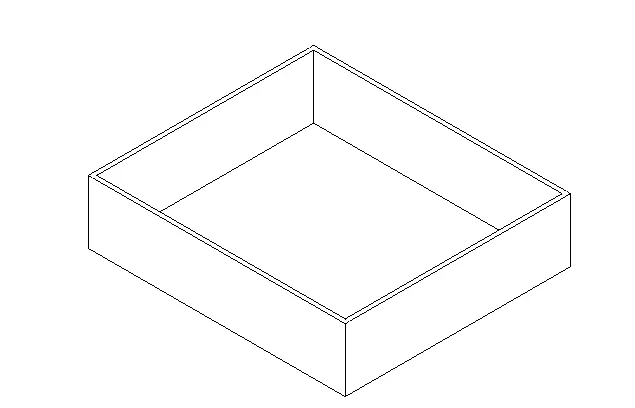
Result:-
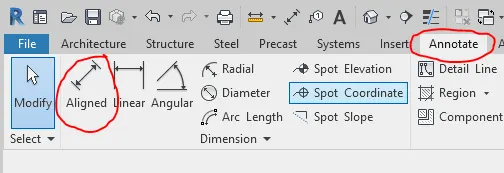
4) From the Annotate toolbar use the aligned option to add dimensions to the layout.
Procedure:-
- Go to the annotate toolbar and select aligned option to give dimensions.
- Select the wall face that need to be dimensionned.
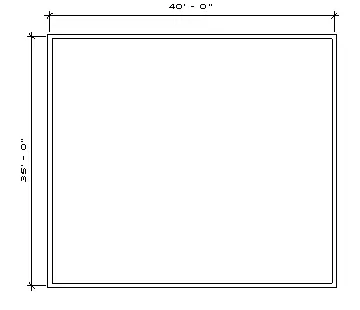
5) Use the properties browser to switch to different wall types.
Procedure:-
- Click the wall whose property need to be changed.
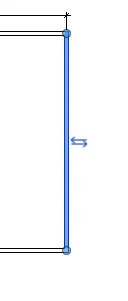
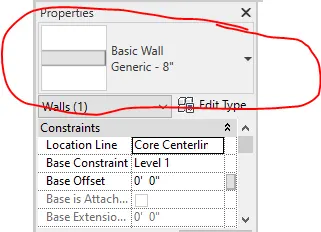
- The property of wall is shown in property tab.
- There we can switch to different wall types.
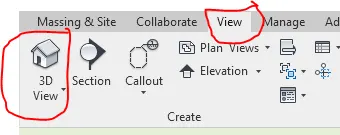
6) Create a 3D view from the view toolbar and save the view with the appropriate name.
Procedure:-
- Go to view tab.
- select 3D view.
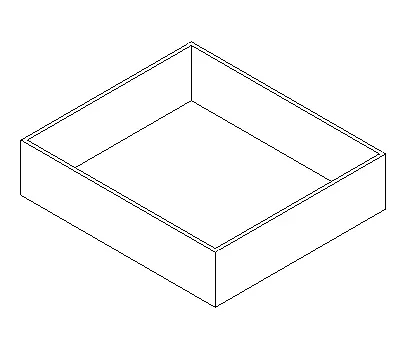
- Save the drawing.
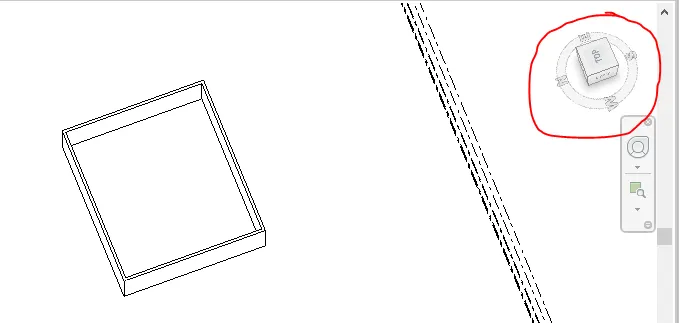
7) Navigate through the 3D model using the view cube. Orbit/pan through the model layout created.
Procedure:-
- Go to view tab.
- select 3D view.
- Select the orbit tool from the navigation button.
- Seect the pan option to pan the drawing.
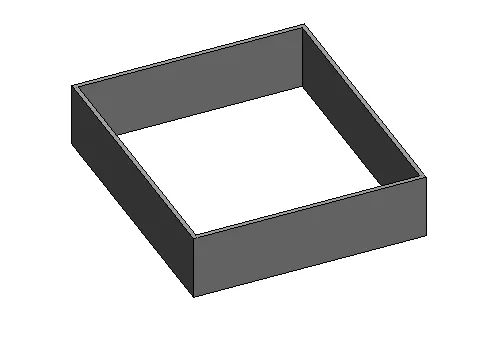
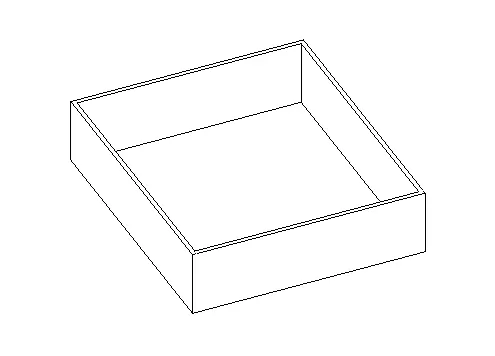
8) Use the visibility settings option below to switch model to shaded, realistic, hidden lines options.
Procedure:-
- Go to visibility setting.
- Select Shaded.
- Select realistic
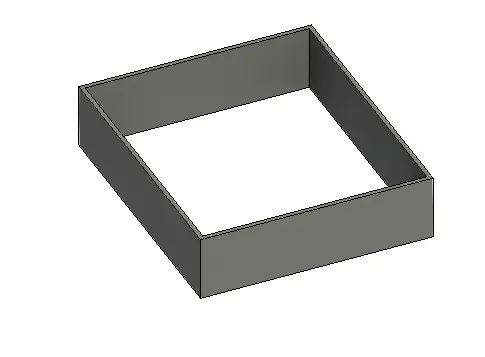
- Select hidden lines
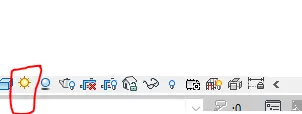
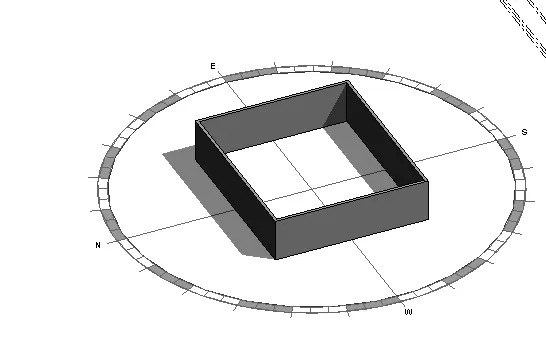
9) Turn the sun path on and off to view shadings in the layout created.
Procedure:-
- Turn the sun path on and off option called sunpath present at bottom of work plane.
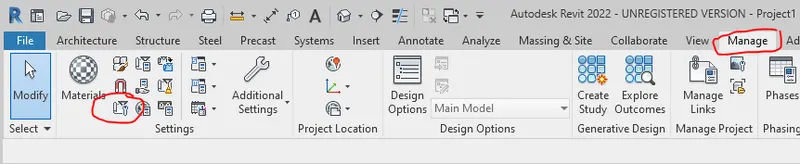
10) Use the Manage toolbar to enter project settings, project name, and project issue date (choose according to your convenience).
Procedure:-
- Go to manage toobar and select project information.
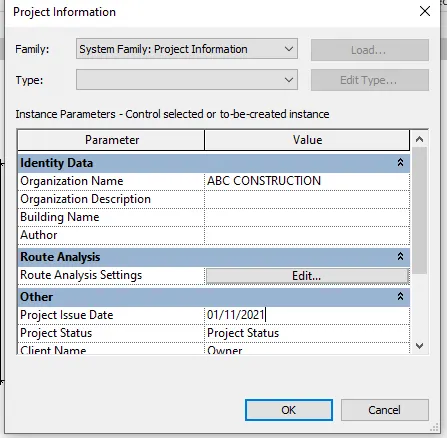
- A dialog box will appear in which project name,project issue date are entered.
11) What is the Analyze toolbar used in Revit? How it is beneficial for design and modeling.
- Analyze tab in revit is used for detail analysis of the structures/layouts.
- It is beneficial for design and anaysis as it is done in real time, it saves the time and it is also cost effective.

12) What are the links that Revit supports to be linked to the model?
- Revit support the following links:-
- link Revit
- link IFC
- link CAD
- link topography etc.

13) Why do you need the Collaborate tab in Revit? How it supports modeling and its efficiency?
- We can use revit in the multipe devices at the same time working on the same project.
- If in one device any change occurs it will reflect in all devices.
- It also shows the history and the records of the changes.
