Introduction to REVIT concepts
Ques 1 - From the file menu, create a new project (Structural / Architectural / Construction template ) and name the project appropriately.
Ans 1 -
Aim - to create a new project of different templates from file menu, and name them correctly.
Procedure - 1 - Open Revit, Click on the NEW tab on the opening page .
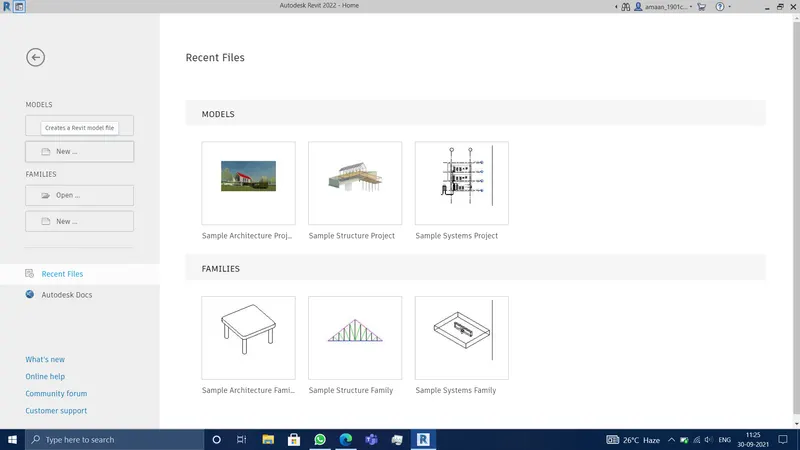
2 - Then Select the desired template from the drop down menu of the NEW PROJECT prompt window.
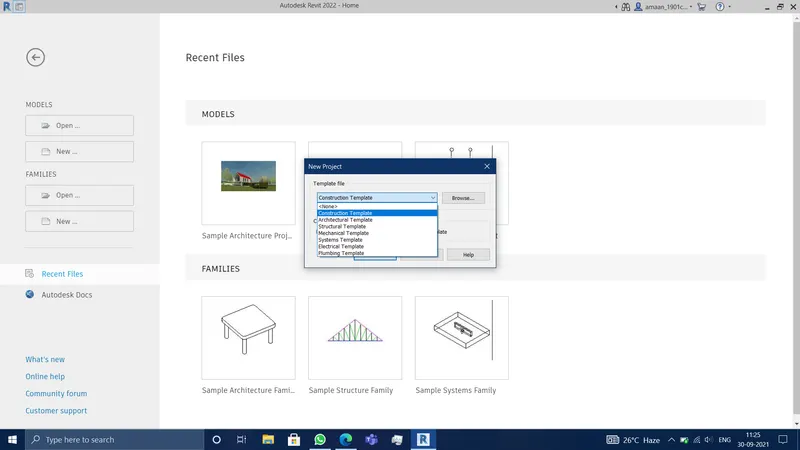
3 - Click on and you will reach to your new project.
4 - Click on the FILE tab on your new revit project .
5 - Click on SAVE AS and select PROJECT and you will be prompted to choose name and location to save your project.
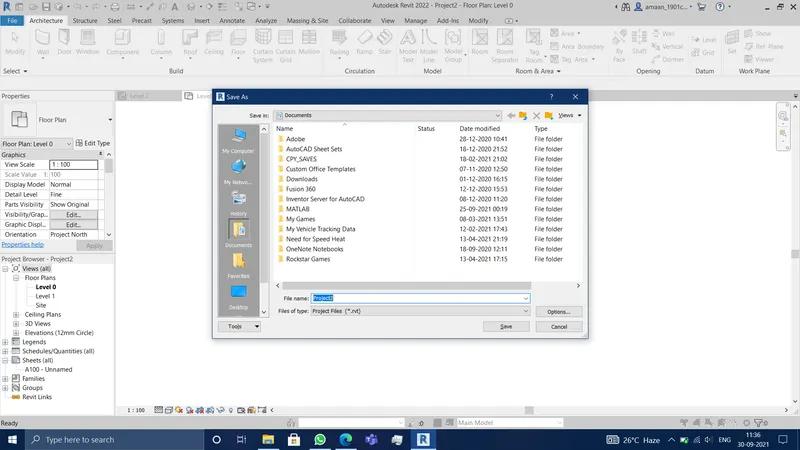
6 - on deciding both name and location, click SAVE and your project will be saved.
RESULT - Created a new project with different templates and named them correctly.
Ques 2 - Save the new project file. Close and open using icons from file toolbar
ans -
AIm - To Save the new project file. Close and open using icons from file toolbar.
procedure -
1 - Click the FILE menu and choose SAVE AS option, you will be prompted to choose name and destination.
2 - Name the file and save it .
3 - Now when you again click on FILE and select OPEN , open window will pop-up . select file you want to open and it will get open.
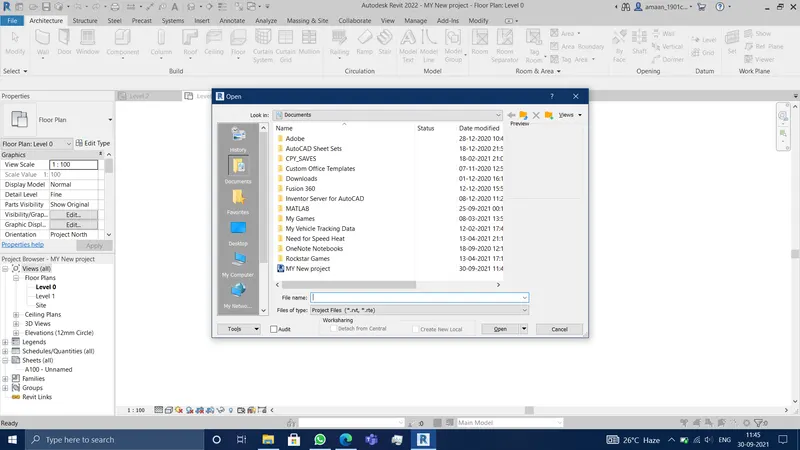
RESULT - i saved the filewith name MY NEW PROJECT and opened it from FILE tab.
ques - 3 - From the architecture/ structure toolbar familiarize with options to draw a wall. Create a rectangular layout of walls of about 40’-0” X 35’-0”
ANS - AIM - To draw the wall of dimensions 40’-0” X 35’-0” in architectural and structural toolbar.
Procedure -
1 - in project click on ARCITECTURE tab click on wall, then specify initial point on drawing page, and extend the cursur up to 40 in horizontal, click then again extend up to 35 in vertical, and follow on creating a rectangle.
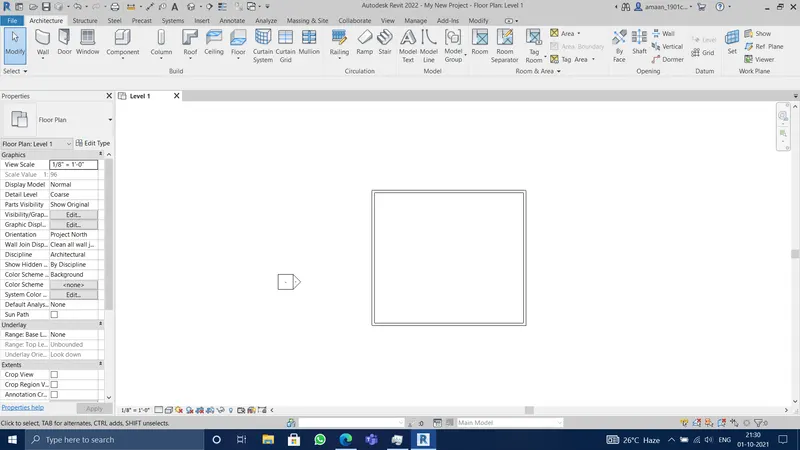
RESULT - i created a architectural and structural wall of given dimentions.
ques 4 - From the Annotate toolbar use the aligned option to add dimensions to the layout
ANS - AIM - to annotate the dimensions on wall.
procedure - 1 - go to ANNOTATE toolbar select Aligned option .
2 - click on both corners of wall, extend prompted dimension line little away from wall .
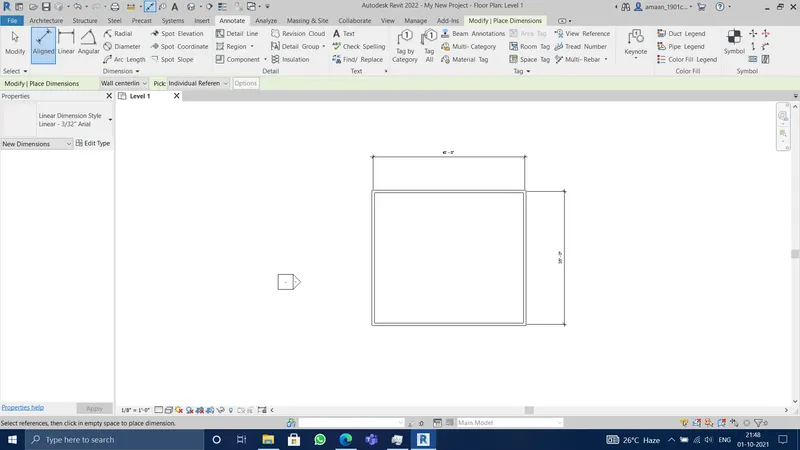
RESULT - I created dimensions on the wall.
Ques 5 - Use the properties browser to switch to different wall types
Ans - aim - TO Change the properties of wall.
PROCEDURE - 1 . select the wall/walls of which you want to change properties.
2 . In the left side on properties select wall type and change it accordingly.
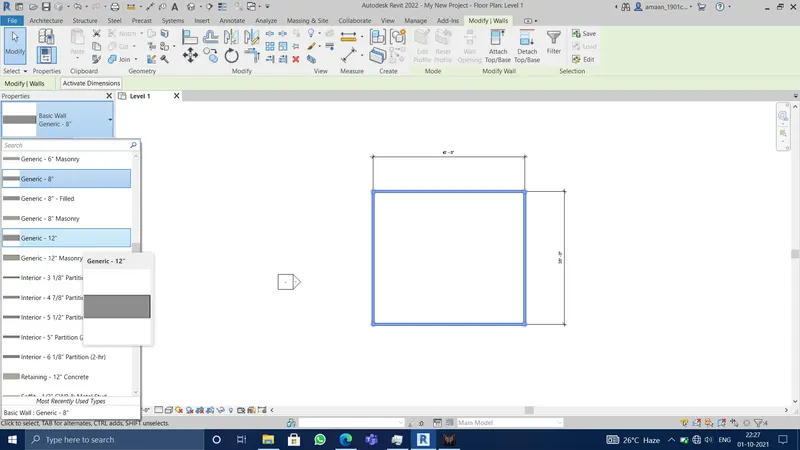
RESULT - I changed the wall type using properties tab.
ques 6 - Create a 3D view from the view toolbar and save the view with the appropriate name
ANS - AIM _ to create a 3D view of the constructed design, with appropriate name.
procedure 1. As t he design is already created , click on VIEW toolbar and select 3D tab, so new 3D tab of the design is created.
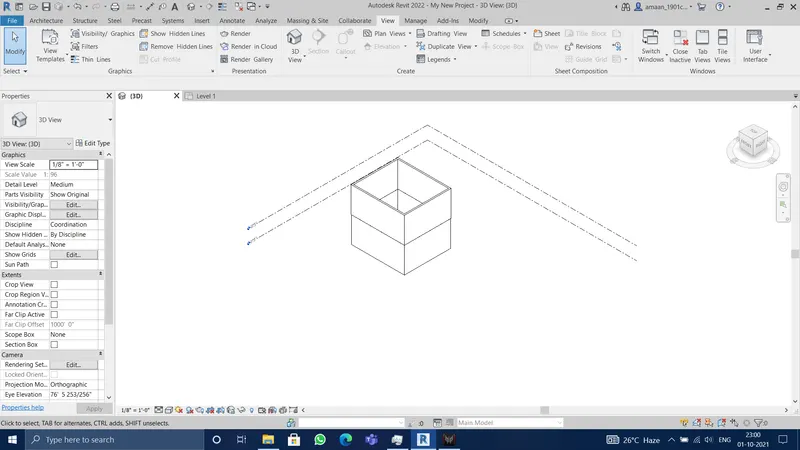
Result - I created a new #D view of the design.
QUES 7 - Navigate through the 3D model using the view cube. Orbit/pan through the model layout created
ANS _ AIM _ to use view cube,orbit/pan and navigate the model.
PROCEDURE - 1. CLick on the cube on the top right corner and change the orientations to visualize the model.
2. click on the FULL NAVIGATION WHEEL and select various options of it and check various angles PAN ZOOM options of it.
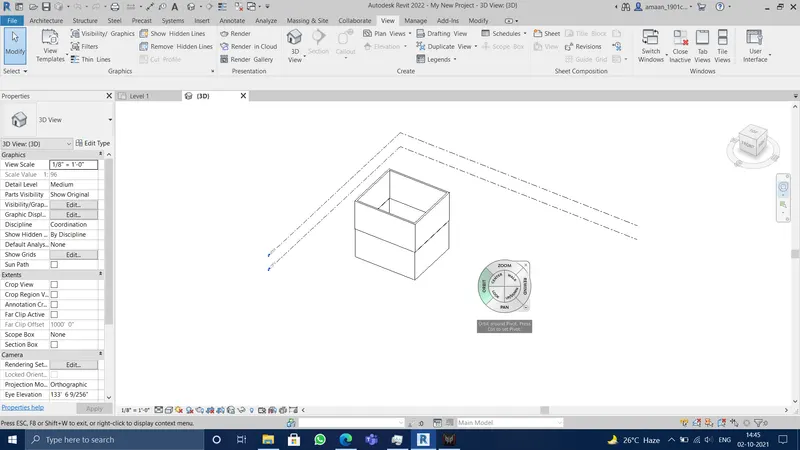
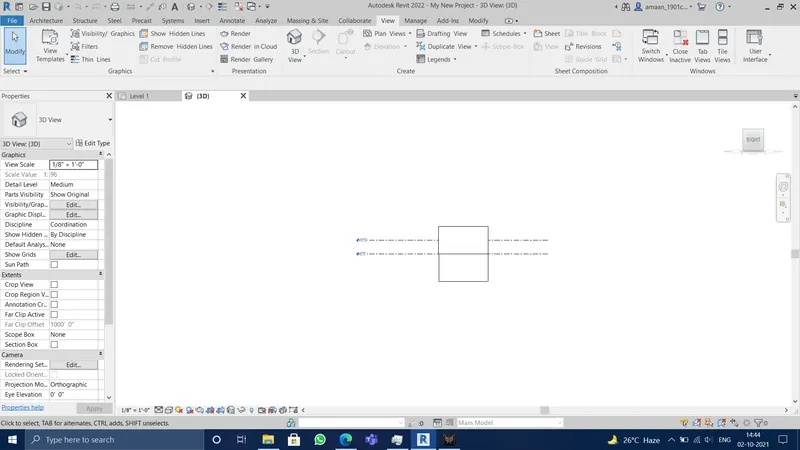
RESULT _ I fully explored the model using 3d views, rotation , zoom, pan etc.
ques 8 - Use the visibility settings option below to switch model to shaded, realistic, hidden lines options
ANS - AIM - to change the visibility settings of model.
PROCEDURE - 1. click on the visibility enu icon button at lower left .
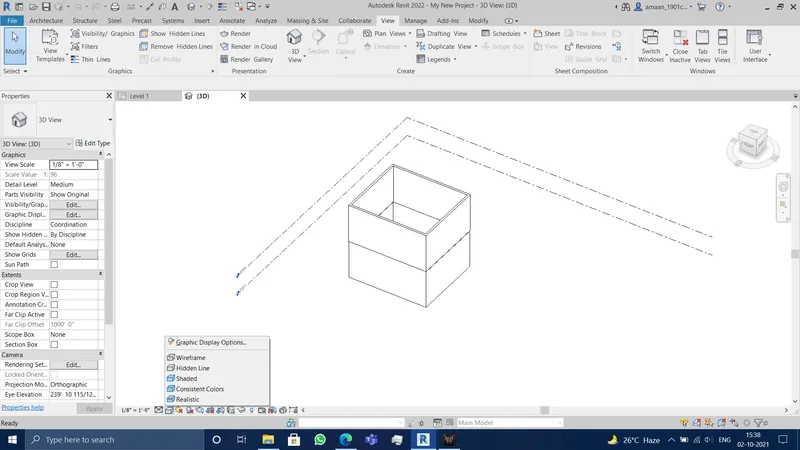
2. select all options one by one and see the changes ,
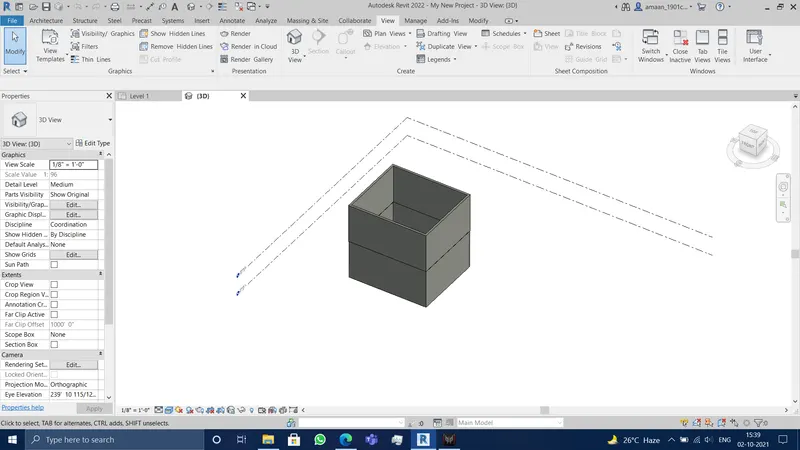
RESULT - I changes the visibility options of model .
QUES 9 - Turn the sun path on and off to view shadings in the layout created
ANS - AIM - to turn sun path on and off to view shadings in the layout created.
PROCEDURE 1 . Click sun path on off option and turn on it. and change position of sun to see the change in shading.
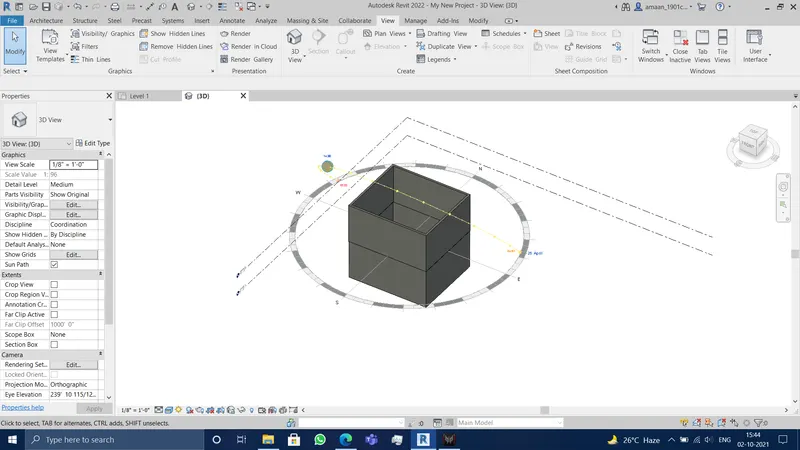
RESULT - I turned the sun path on and off and viewed shadings in the layout created.
QUES -10 - Use the Manage toolbar to enter project settings, project name, and project issue date (choose according to your convenience).
ANS _ AIM - to Use the Manage toolbar to enter project settings, project name, and project issue date.
PROCEDURE - 1. Click on MANAGE palette and select PROJECT INFORMATION tab, and insert properties of project.
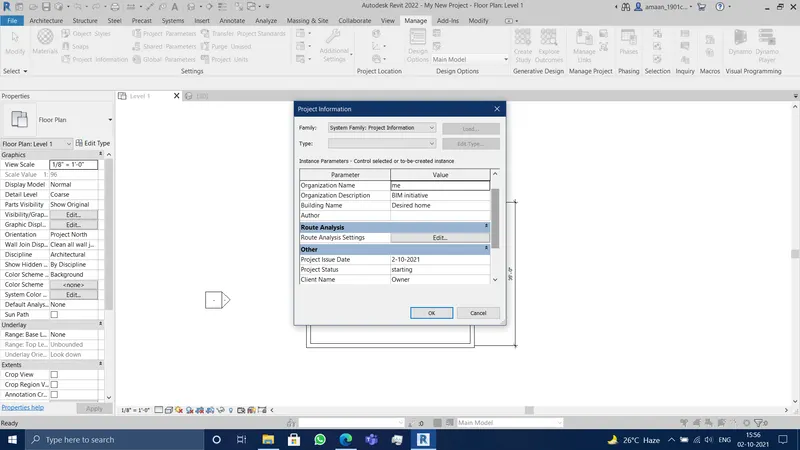
RESULT - I inserted properties of project.
ques 11 - What is the Analyze toolbar used in Revit? How it is beneficial for design and modeling
ANS - analyse toolbar used to check that our model meets all possible load conditions,constraints and by applying loads and rendering the model. this is beneficial because it is an indication od practicality of model.
ques 12 - What are the links that Revit supports to be linked to the model?
ANS - REVIT supports different other revit files,CAD files, IFS files or topography file to insert in it.
QUES 13 - Why do you need the Collaborate tab in Revit? How it supports modeling and its efficiency.
ANS - most of the times different eng. are working on different aspects of same project, so collaboration tab is used to collab their individual works into a single project.