Introduction to REVIT concepts
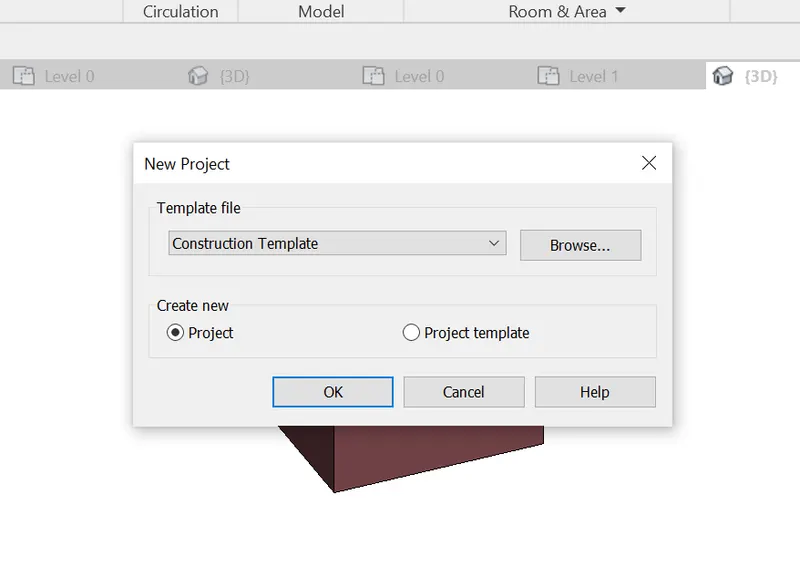
1) From the file menu, create a new project (Structural / Architectural / Construction template ) and name the project appropriately
A)
1)Open the revit
2)click on new project and select the type we need whether (Structural / Architectural / Construction template )
3)And save project name as project1
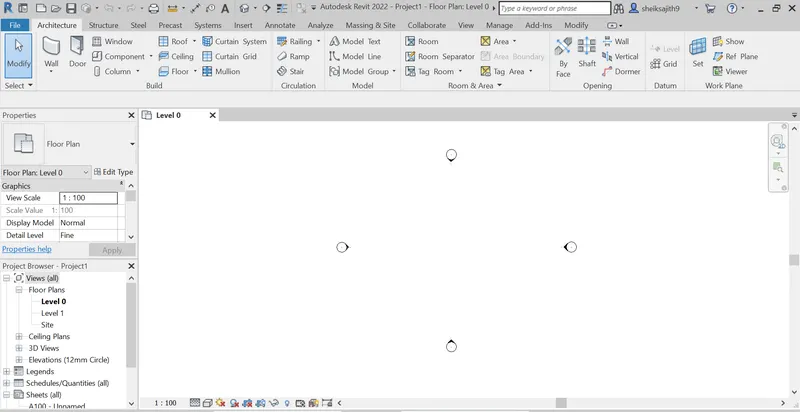
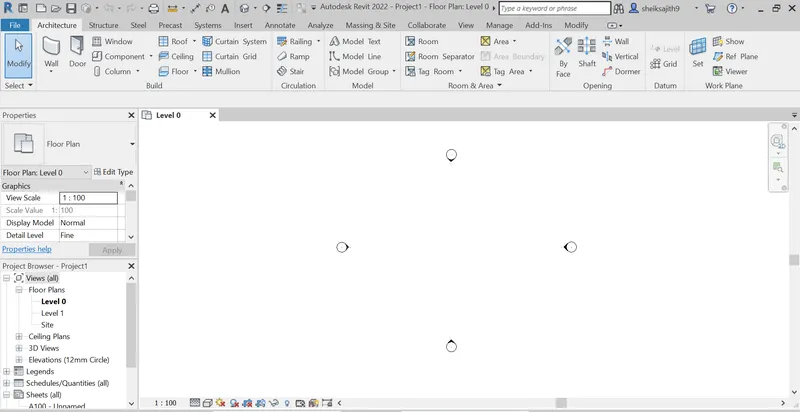
2) Save the new project file. Close and open using icons from file toolbar
A)
1)Open the revit
2)click on new project and select the type we need whether (Structural / Architectural / Construction template )
3) If we want new project go to file and create new .
4)And save project name as project1
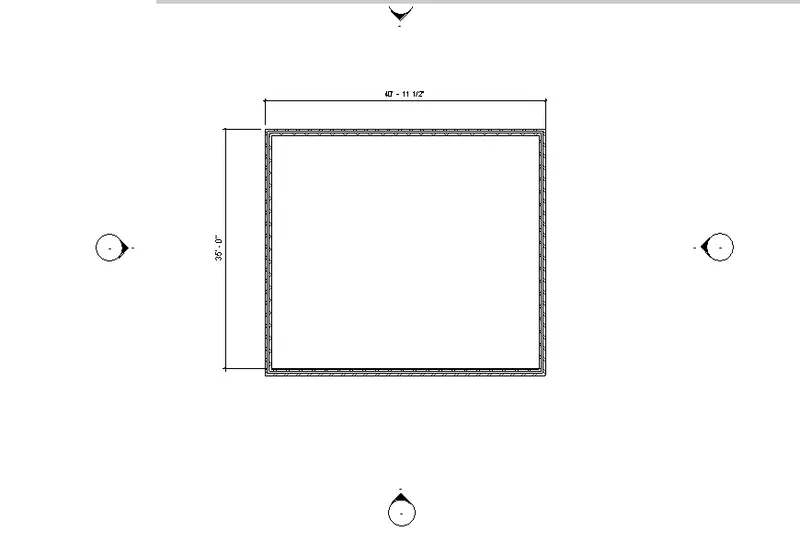
3) From the architecture/ structure toolbar familiarize with options to draw a wall. Create a rectangular layout of walls of about 40’-0” X 35’-0”
A)
1)Open the revit
2)click on new project and select the type we need whether (Structural / Architectural / Construction template )
3)change the units to feets and inches and then draw a wall from struture command and then meanstion the dimentions as 40'x35'
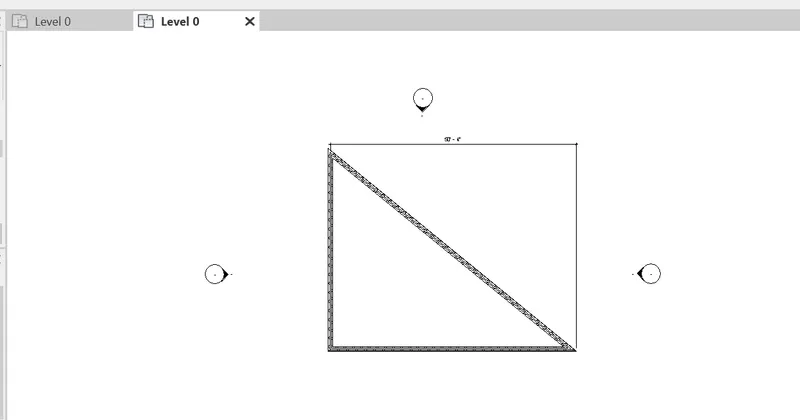
4) From the Annotate toolbar use the aligned option to add dimensions to the layout
A)
1)Open the revit
2)click on new project and select the type we need whether (Structural / Architectural / Construction template )
3)change the units to feets and inches and then draw a wall from struture command and then meanstion the dimentions as aligned one.
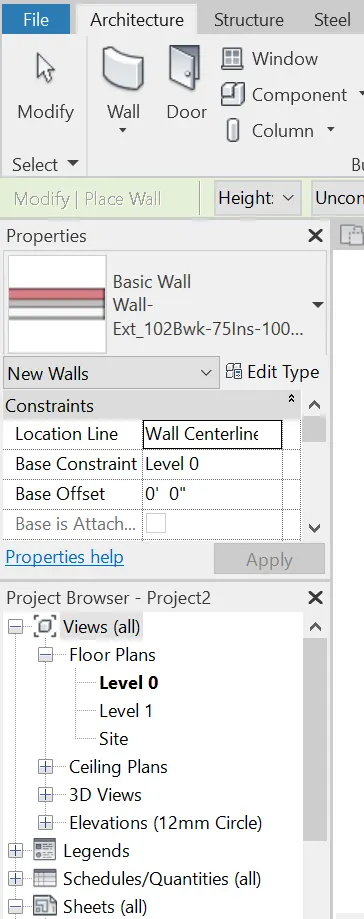
5) Use the properties browser to switch to different wall types
A)
1) on left we will have properties browers
2)we change the dimensions,types ,measurements ....etc
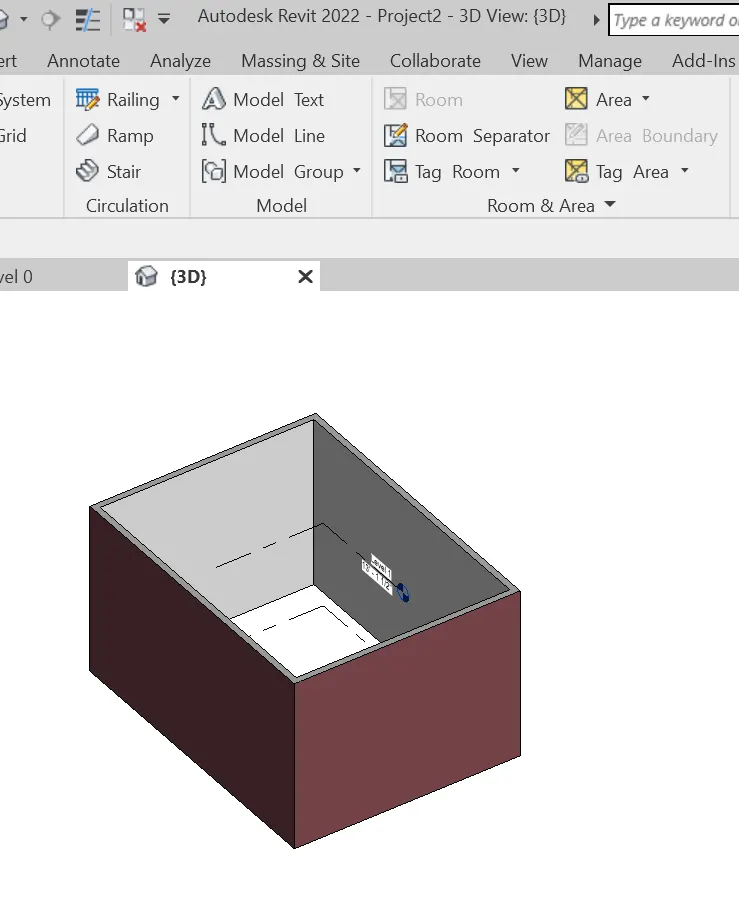
6) Create a 3D view from the view toolbar and save the view with the appropriate name
A)
1)after drawing any wall
2) use 3d icon on top layer
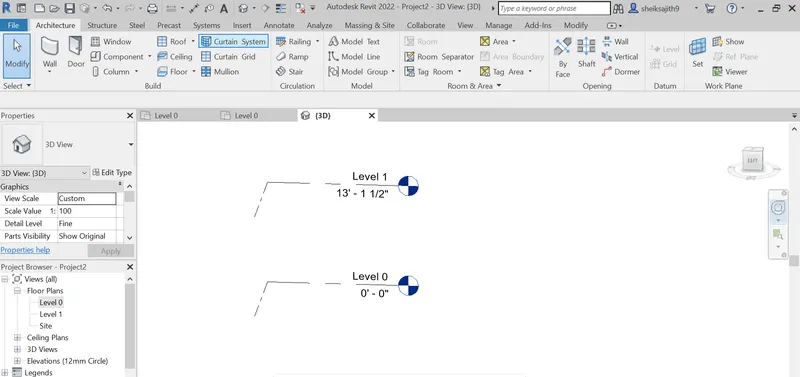
7) Navigate through the 3D model using the view cube. Orbit/pan through the model layout created
A)
1)to view this we need to change to 3d view and then on left we will get this orbit/pan commands
2) using this orbit we can rotate our drawing to any view.
3)using this pan we can move our drawing from one place to another place.
8) Use the visibility settings option below to switch model to shaded, realistic, hidden lines options
A)
1)after drawing any walls keep it in 3d veiw
2) and one left last side we can see the tpes we need to view the drawing switch model to shaded, realistic, hidden lines options
1) realistic view;
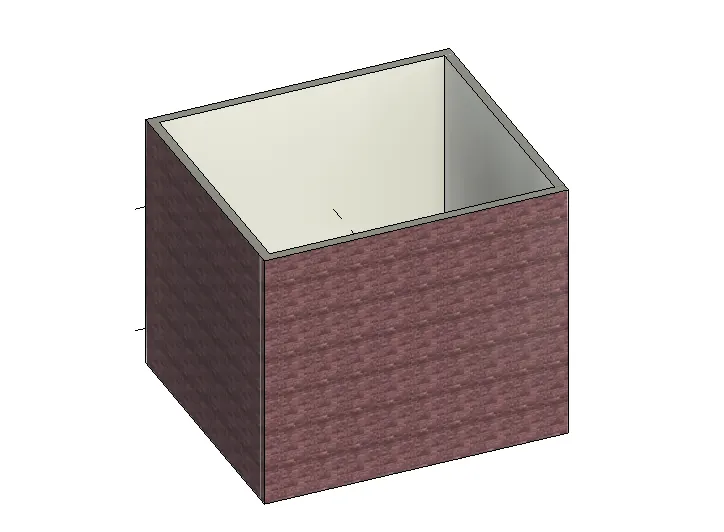
2)shaded veiw ;
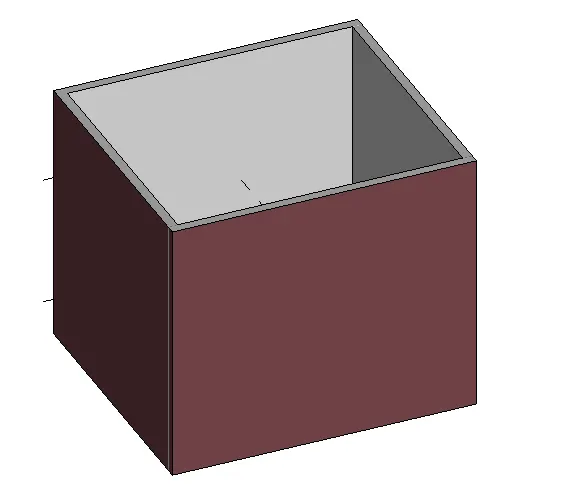
3)hidden lines option;
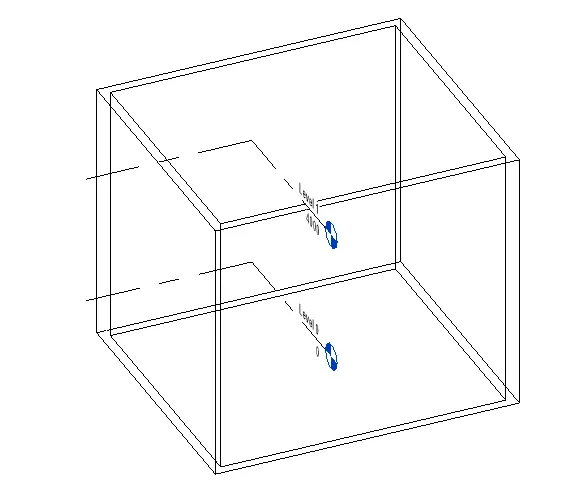
9) Turn the sun path on and off to view shadings in the layout created
A)
1) on left bottom part we can see the sun path on and off options .
a)when sun path is on ;
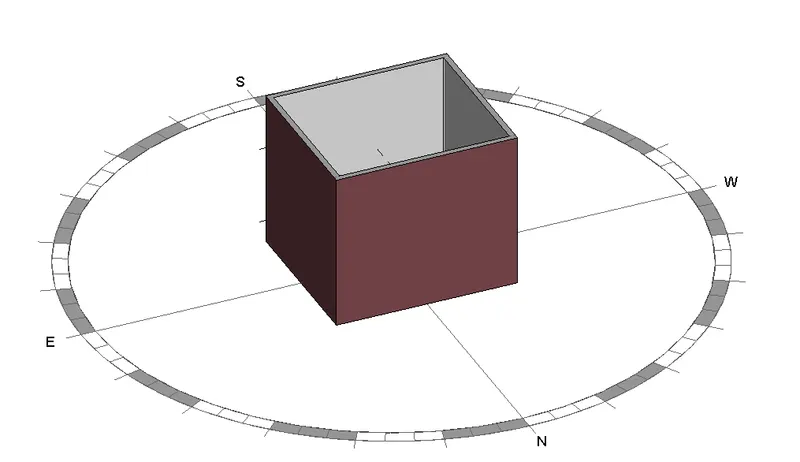
b) when sun path is off ;
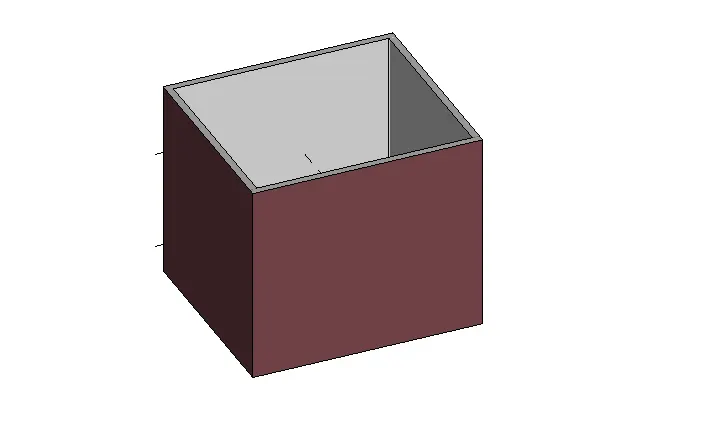
10) Use the Manage toolbar to enter project settings, project name, and project issue date (choose according to your convenience).
A)
1) before opening a new we can arrange the project types require as per we require.
2) we and change this thype of project names.
11) What is the Analyze toolbar used in Revit? How it is beneficial for design and modeling
A)
- Analyze toolbar is help to create revit models this tool bar consists of many other option which help in load combination boundary conditions load case adjustment and support systems are one amoung to tool under this analyze tool bar where we got to adjustment the model is added support to present models it also verifies the analytical and physical model for consistency
- Space separation space nameing,space tagging also option available assigning names and number the artitecture rooms colour fit the optimization are the tools which helps to know how to the present model.
12) What are the links that Revit supports to be linked to the model?
A)
When you link a model into a project, Revit opens the linked model and keeps it in memory. The more links a project contains, the longer it can take to open.
Linked models are listed in the Revit Links branch of the Project Browser.
You can convert linked Revit models to groups, and you can convert groups to linked Revit models. See About Converting Groups and Linked Models. You can also mirror linked Revit models. See Mirror Elements.
- About When to Link Models
- About Dimensions and Constraints in Linked Models
You can use elements in the linked model as references for dimensions and alignment. - About Repeating a Linked Model in the Host Model
A linked model can be copied any number of times in a host project. - About Nesting Linked Models
When you link a model that contains other linked models, the links become nested. - About Phases and Linked Models
When you link a Revit model that has more than one phase, phases in the host model automatically map to phases in the linked model. - About Transferring Project Standards Between Linked Models
If you open the host model, you cannot open the linked model in the same Revit session. - About Linking and Worksharing
If you enable worksharing, your links are contained in worksets. - About Directory Paths for Linked Models
A relative path defines the position of a linked file in a working directory such as a project folder. Its position is defined by its relative location. An absolute path defines the location of a linked file on a disk or network drive
13) Why do you need the Collaborate tab in Revit? How it supports modeling and its efficiency
A)
Once you set up these projects you should have the ability to initiate this model. If a reply solves your issue, please remember to click on "Accept as Solution". This will help other users looking to solve a similar issue.
supports modeling and its efficiency ;
1)It keeps all parties updated with current project via worksharing backed by revit clouding
2)it allows key design feauters to be coummunicated effientatley