Introduction to REVIT concepts
1):
Aim: To create a new project (Structural / Architectural / Construction template) and name the project appropriately.
Introduction: To create a new project (Structural / Architectural / Construction template) and name the project appropriately. By using Revit.
Procedure:
Step1:
- Open the revit software
- From the file menu, click on New.>> project
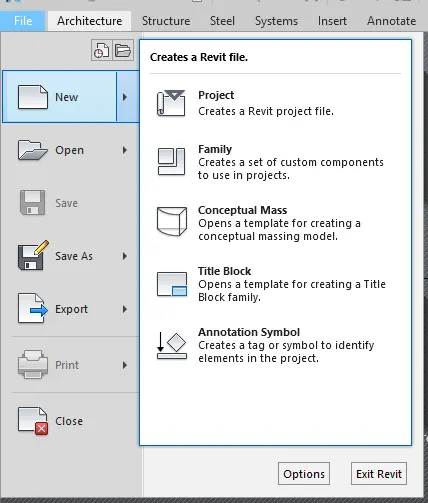
Step2:
- From the template file select as architectural then click on ok.
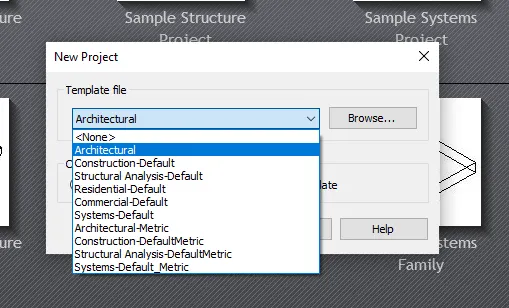
- Similarly we can create all the required templated files
Result:
- Revit work space will appears as architectural imperial format
2):
Aim: To Save the new project file. Close and open using icons from file toolbar
Introduction: To Save the new project file. Close and open using icons from file toolbar
Procedure:
Step1:
- After opining the revit new project workspace.
- Press ctrl+s for saving the file first select the location to save then click on the file name and we can give name to the file as shown.
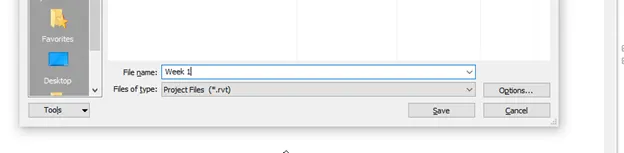
- New file with the name week 1 is created at given location.
Step2:
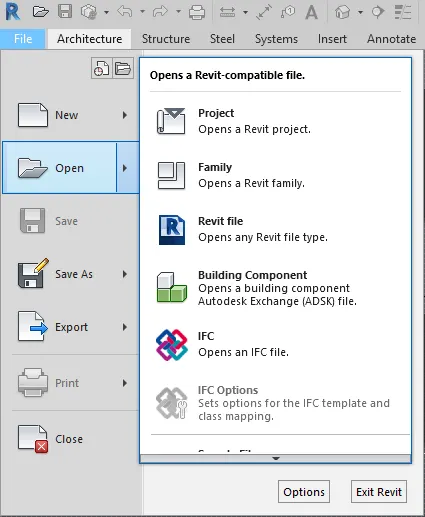
- To open the save file in revit by using icon from the tool bar
- In the file menu, click on open>>project>>select the location you save the file.
Step3:
- To close the file in revit by using icon from the tool bar
- In the file menu, click on close icon to close file.
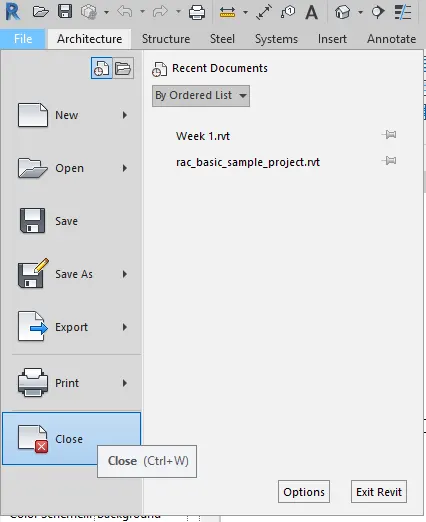
Result:
- The project file can be save, open, and close by using file menu.
3):
Aim: To create a rectangular layout of walls of about 40’-0” X 35’-0”.
Introduction: To create a rectangular layout of walls of about 40’-0” X 35’-0”. By using revit
Procedure:
Step1:
- From the toolbar select the architectural >wall.
- Take the basic wall of 8”
- Click on workspace move the mouse on the direction and give value
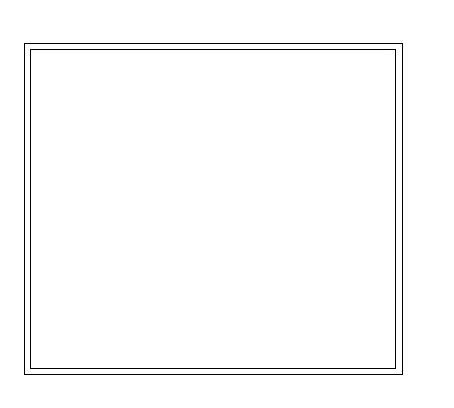
Result:
- Wall of 40’x35’ is created as shown.
4):
Aim: From the Annotate toolbar use the aligned option to add dimensions to the layout.
Introduction: From the Annotate toolbar use the aligned option to add dimensions to the layout. By using revit.
Procedure:
Step1:
- From the toolbar select the annotate bar click on aligned tab
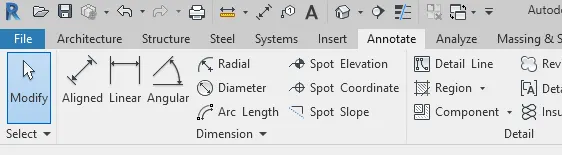
Step2:
- from the toolbar select the aligned dimension
- click on the first point and second point for the dimension
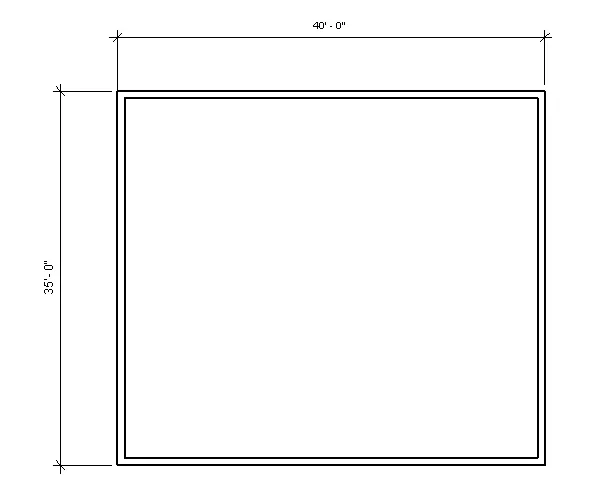
Result:
5):
Aim: To use the properties browser to switch to different wall types.
Introduction: To use the properties browser to switch to different wall types. By using Revit.
Procedure:
Step1:
- select the wall then, at the left side property browser will be display
- from the browser we choose the different type of wall as per the requirement.
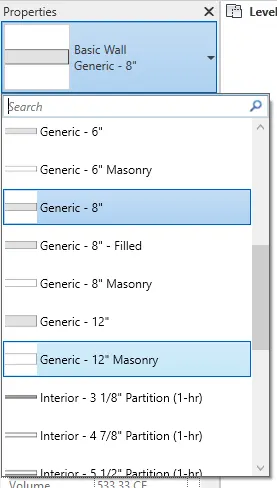
- To switch the wall type select the wall and select the different wall from the property browser
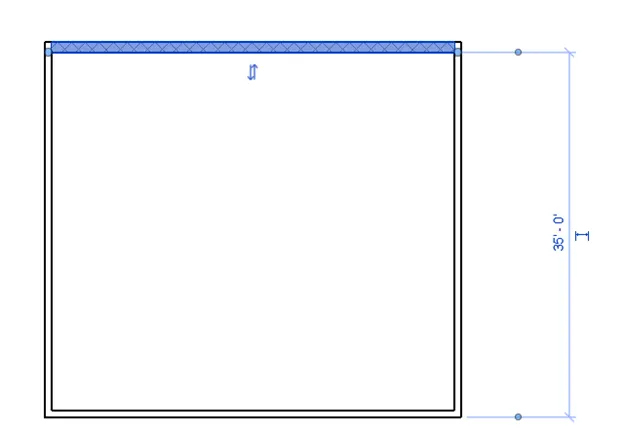
Result:
6)
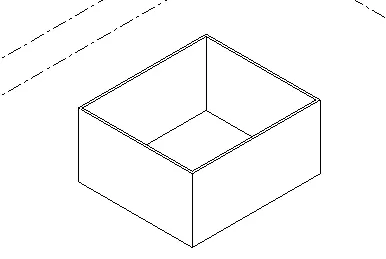
Aim: To create a 3D view from the view toolbar and save the view with the appropriate name.
Introduction: To create a 3D view from the view toolbar and save the view with the appropriate name.
Procedure:
Step1:
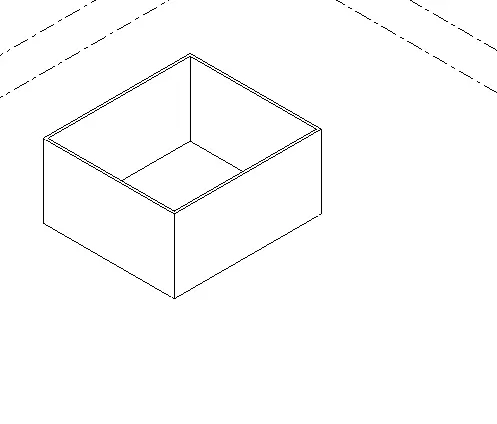
- From the toolbar click on the view tab
- Select the 3D view
Step2:
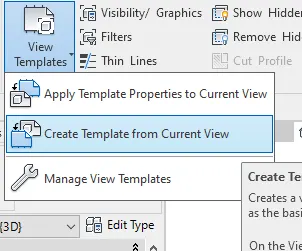
- From the view templates select the create new template from the current view
- Then name the view as view 1.
- The view can be created and can be taken form the apply template property to current view.
Result:
7):
Aim: To navigate through the 3D model using the view cube.
Introduction: To navigate through the 3D model using the view cube. By using revit.
Procedure:
Step1:
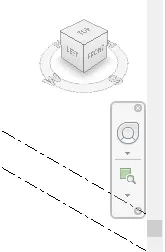
- To view click on the view cube at right top of the workspace
Step2:
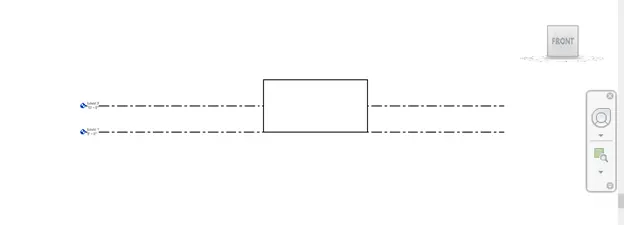
- To change the view click on the different view
- Select the front view from the view cube
Step3:
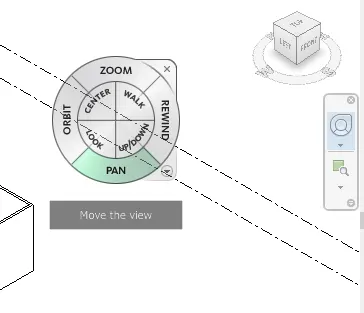
- To navigate the view click on full navigation wheel
- From the navigation wheel we can use the pan, orbit, zoom the 3D model
Step4:
- From the wheel click on the orbit to orbit the 3D model
- Similarly click on the pan, zoom and other option from the navigation wheel
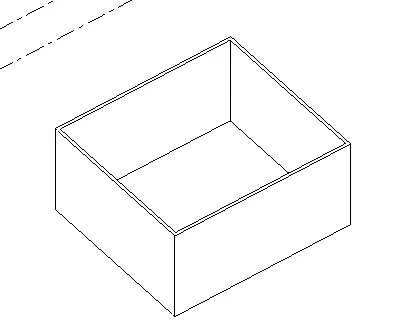
Result:
Use of navigation wheel and view cube is shown
8):
Aim: To use the visibility settings option below to switch model to shaded, realistic, hidden lines options.
Introduction: To use the visibility settings option below to switch model to shaded, realistic, hidden lines options. By using revit.
Procedure:
Step1:
- From the bottom toolbar of the work space click on visual style.
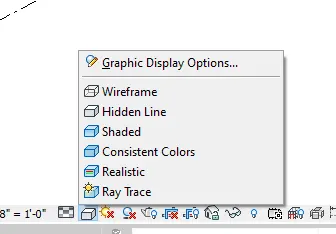
Step2:
- For the hidden line view select the hidden line
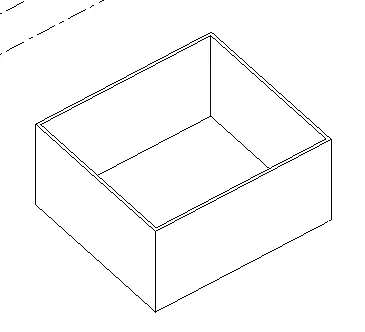
Step3:
- For the shaded view select the shaded
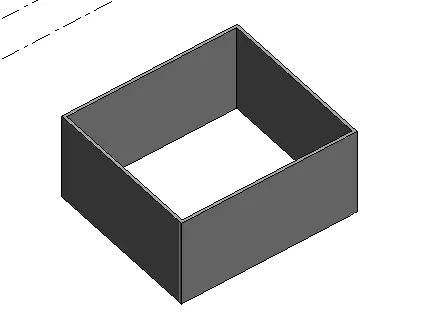
Step4:
- For the realistic view select the realistic
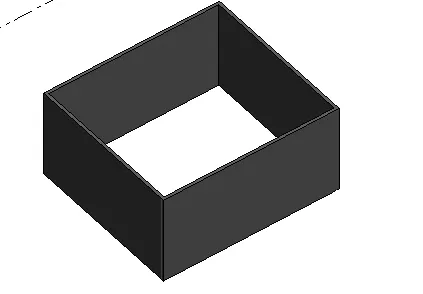
Result:
- visibility settings option are done by using to switch model to shaded, realistic, hidden lines options
9):
Aim: To use sun path on and off to view shadings in the layout created.
Introduction: To use sun path on and off to view shadings in the layout created. By using revit
Procedure:
Step1:
- from the bottom toolbar of the workspace click on the sun icon
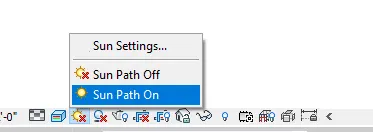
Step2:
- select the sun path on and set the time setting
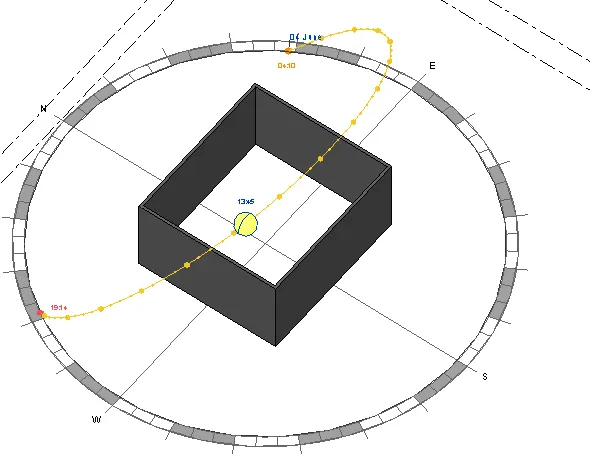
Step3:
- similarly select the sun path off
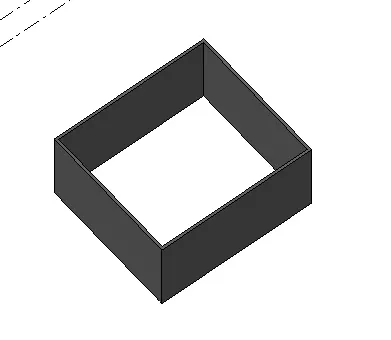
Result:
- use of sun path on/off is done.
10):
Aim: Using the Manage toolbar to enter project settings, project name, and issue date.
Introduction: Using the Manage toolbar to enter project settings, project name, and issue date. By using revit
Procedure:
Step1:
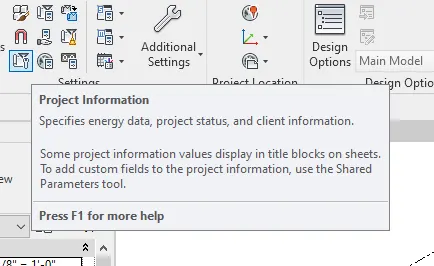
- From the toolbar click on the manage
- Then select the project information icon bar as shown.
Step2:
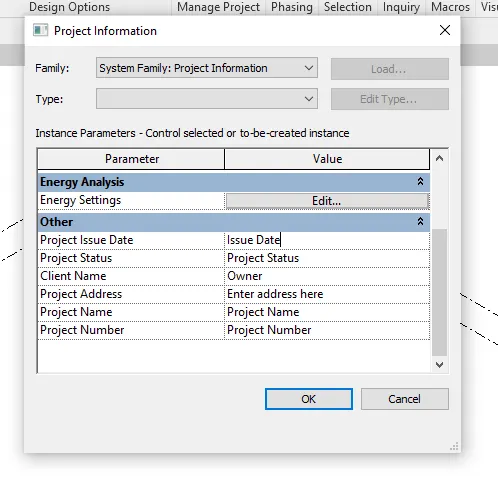
- The project information box will display
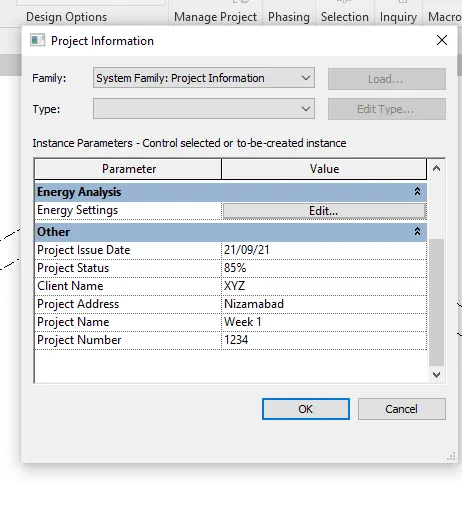
- We change or fill the required information such as project issue date, project status, clint name, project number as shown
Result:
11):
Aim: To Analyze toolbar used in Revit and beneficial for design and modeling.
Introduction: To Analyze toolbar used in Revit and beneficial for design and modeling. By using revit
Procedure:
Step1:
- From the toolbar click on the analyze bar
- List of analysing tools icons will appears

Step2:
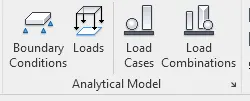
- Analytical model
- Boundary condition: define point, line and area of boundary to model
- Loads: apply point, line area load to a model
- Load case: add and edit load case for analytical model
- Load combination: add and load combination for analytical model
Step3:
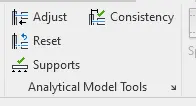
- Analytical model tools
- Adject: some adjustment of analytical model may require before structure model is transfer to analysis location
- Rest: reset the analytical model alignment method to auto- defect
Result:
- Analyze toolbar used to calculate the load and load combination and can find the result for pass and fail of the model in analysing the project
12):
Aim: To use of link that support in revit.
Introduction: To use of link that support in revit.
Procedure:
Step1:
- From the insert toolbar we can insert the different links to revit

Step2:
- Link revit: it allows other revit model to current revit model
- Link IFC: it allows the current project to reference to additional design work
- Link cad: it allows to link a cad file to current revit file
Result:
- From the toolbar insert can insert any other file to current revit project
13):
Aim: Use of collaborate tab in Revit and its supports modeling and its efficiency
Introduction: Use of collaborate tab in Revit and its supports modeling and its efficiency. In revit
Procedure:
Step1:
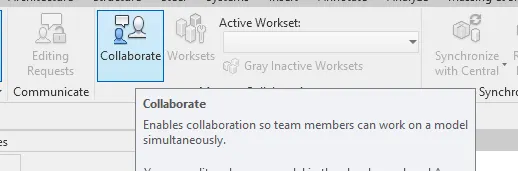
- It enables the collaboration so team members can work on a model simultaneously
Result:
- By using the collaborate efficiency of modeling is heigh as work can be done in short time
- It help the team members of different discipline to work the same project.