Introduction to REVIT concepts
1.
Aim: -
- From the file menu, create a new project (Structural / Architectural / Construction template ) and name the project appropriately
Procedure: -
- Open the Revit Software
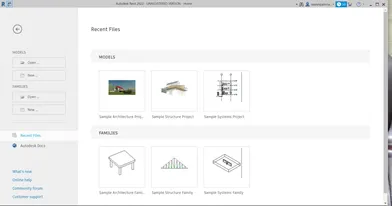
- Select the New Option
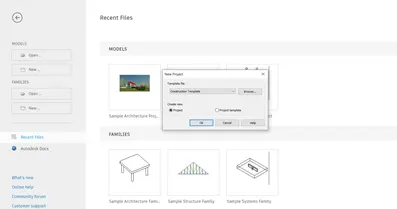
- Select the template as per Requirement
- Save the Project as Week Challenge-1
- Press Ok
Result: -
2.
Aim: -
- Save the new project file. Close and open using icons from file toolbar
Procedure: -
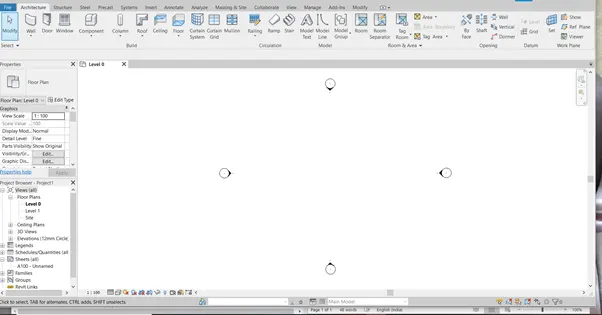
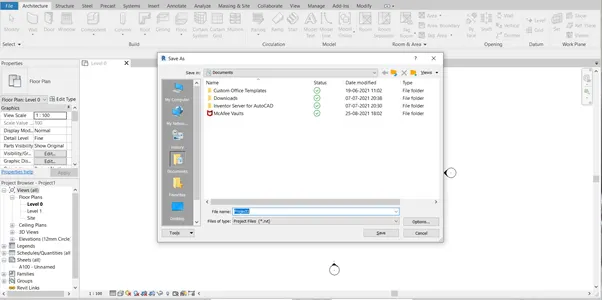
- Click on the File from Menu bar
- Click on Save Option From the Menu and Click on the Option where you can Save your File
Result: -
3.
Aim: -
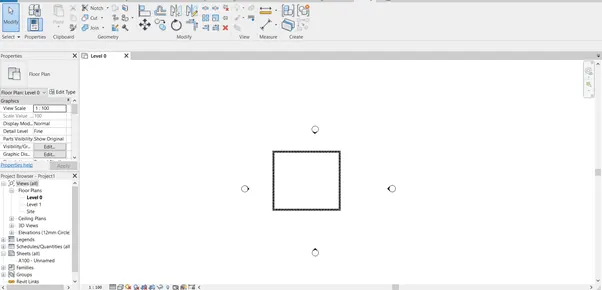
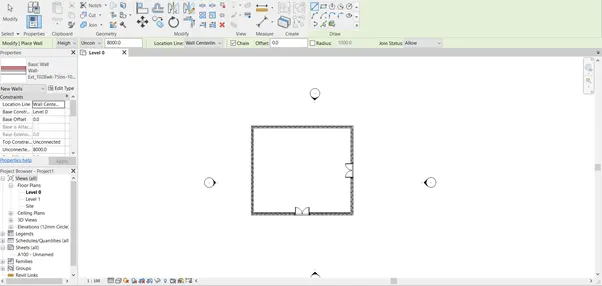
- From the architecture/ structure toolbar familiarize with options to draw a wall. Create a rectangular layout of walls of about 40’-0” X 35’-0”
Procedure: -
- Create a New Project and then select the Template as Architectural
- Click on the Wall Option and Specify the First Point
- Move the Cursor to Horizontal Direction give the Length as 40’ and press Enter
- Move the Cursor to Vertical Direction Give the Length as 30’ and Press Enter
- Repeat the Procedure until Completion Press Enter
Result: -
4.
Aim: -
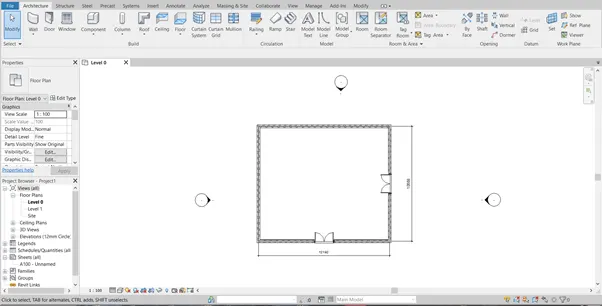
- From the Annotate toolbar use the aligned option to add dimensions to the layout
Procedure: -
- Select the Annotate tab From the Ribbon tab
- Click on the Aligned option From the annotate Tab

- Place the Cursor on one End of the Line and Move it to Other Wend of the Line to Get dimensions
Result: -
5.
Aim: -
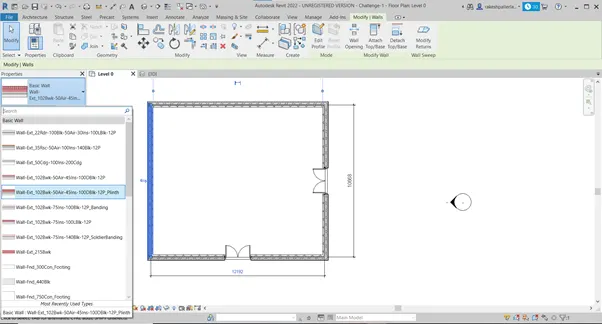
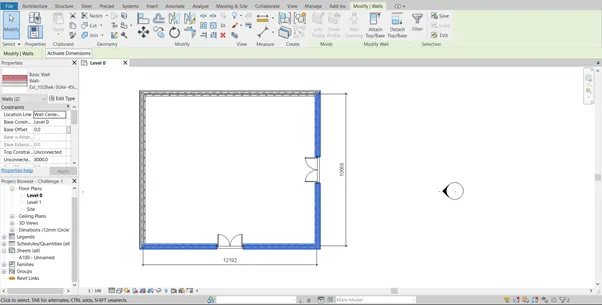
- Use the properties browser to switch to different wall types
Procedure: -
- Select the Desire Wall from the Properties Which appear on the Left
- Select the Different Types of walls
Result: -
6.
Aim: -
- Create a 3D view from the view toolbar and save the view with the appropriate name
Procedure: -
- Select the View Command from the Ribbon tab
- Select the 3d View from the view Tab
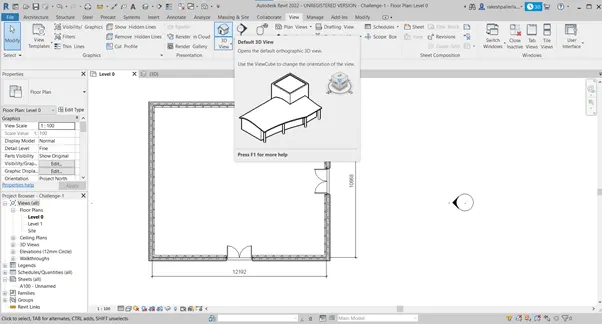
- Under 3D View , Rename the Current tab Press Enter
Result: -
7.
Aim: -
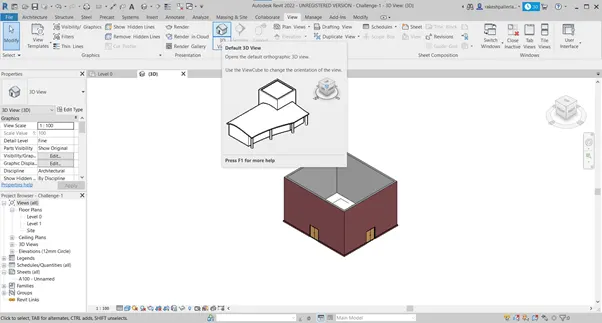
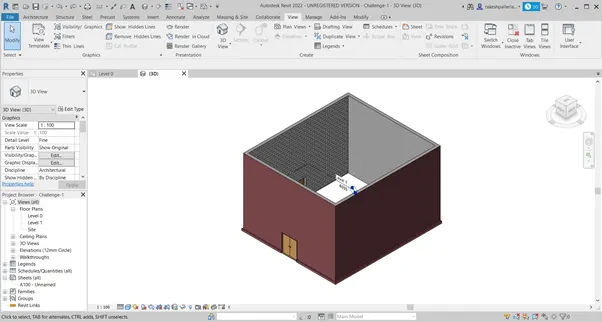
- Navigate through the 3D model using the view cube. Orbit/pan through the model layout created
Procedure: -
- Select the 3D View and Click on the Navigation wheel Which its present on the right of the Corner
- Select the View to Look in the Desired Direction
- Move the Object in any Direction Move the Object in 360 degrees
Result: -
8.
Aim: -
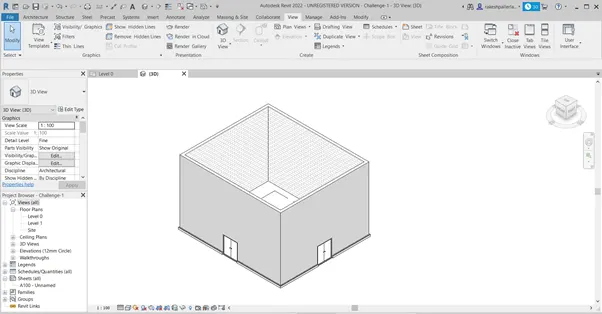
- Use the visibility settings option below to switch model to shaded, realistic, hidden lines options
Procedure: -
- Select the View Command from the Ribbon tab
- Select the 3d View from the view Tab
- At the Extreme Bottom there is as Icon as Shown in the Below Figure
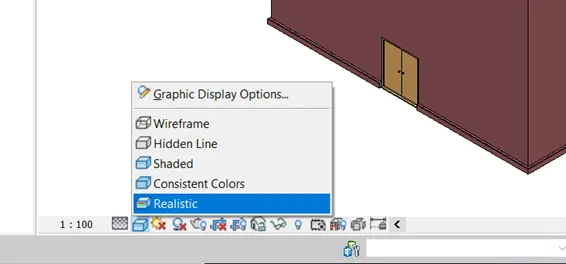
- Change to Respective Views as Required
Result: -
- Shaded View
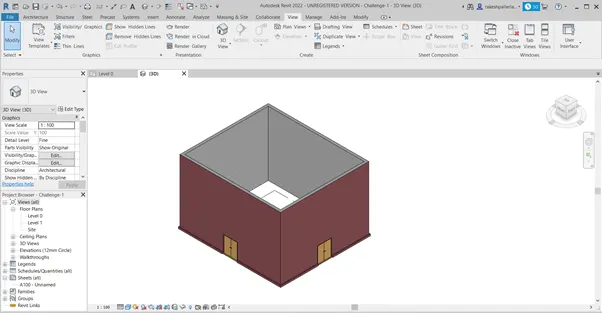
- Realistic
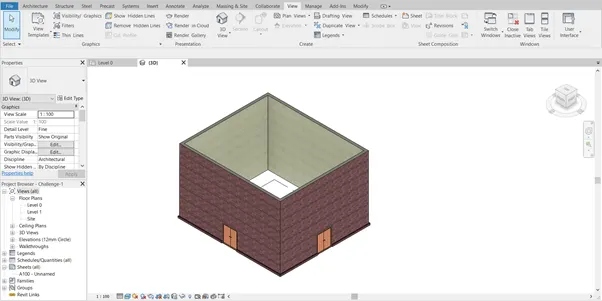
- Hidden Line
9.
Aim: -
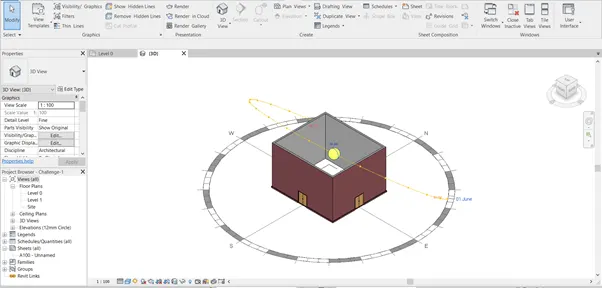
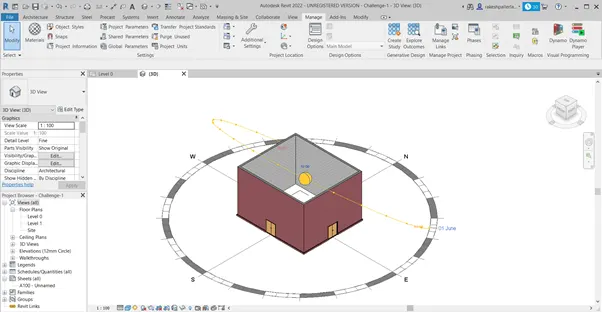
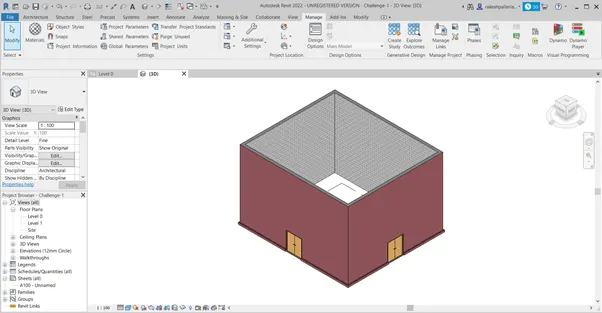
- Turn the sun path on and off to view shadings in the layout created
Procedure: -
- At the Extreme Bottom there is as Icon as Shown in the Below Figure
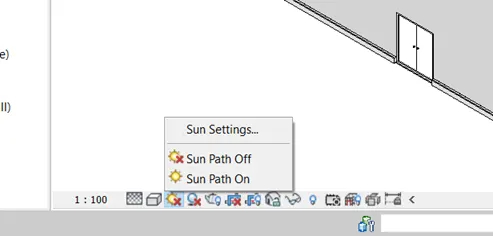
- From the Dialogue Box Click on Sun Path on
Result: -
- Turn the sun path on
- Turn the sun path off
10.
Aim: -
- Use the Manage toolbar to enter project settings, project name, and project issue date (choose according to your convenience)
Procedure: -
- Click on the Manage tool bar from the Ribbon tab

- Go to the project Information, Write the Details of the Project Such as name and Issue Date Etc.,
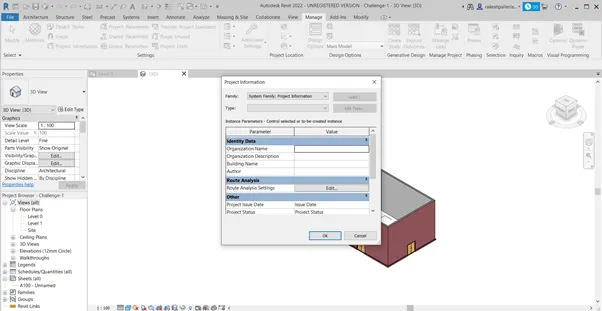
Result: -
11.
Ans: -
- Analyze tool Bar is Revit Consist of Tool for detailed analysis of the Structures /Layout Created An Model Is Created using Analyze tab
- Some of the Components of analyze tabs are as Shown in Figure

- Boundary Conditions
- Loads
- Load Cases
- Load Combinations
- Adjust
- Reset
- Support
- COnsistency Etc.,
12.
Ans: -
- In Revit Other Models Can be Linked to the Current Model that is under Production, The Linking of Models Helps to Create an Optimized and Efficient in Revit. The Links Supports in revet are Follow Below

- Link Revit :
- Link IFC
- Link Cad
- Link topography
- Link DWF Markups
- Link Decals
- Link Point Cloud
13.
Ans: -
- Why do you need the Collaborate tab in Revit? How it supports modeling and its efficiency
- Revit Provides Several Different Ways to Collaborate With Team Members Who are also using the Software

- Helps Link Multiple Revit Models to Gather, Simultaneously allowing other team Members to work in the Baground
- Users on the Same local Area network Can Work together in the Same Revit Model Using Revit Work Sharing
- When Collaboration Needs to Occur among Users Who are not in the same Geographic Location, Use Revit Server or Revit Cloud Work Sharing
- Revit Server Connects Offices Who Share a Network bur are not in the Same Geographic Location
- Revit Cloud Work Sharing , You can Use Revit Server to Collaborate across a Wide area network (WAN) or File Based Work Sharing to Collaborate Across a Local Area network (LAN)