Introduction to REVIT concepts
16/07/21
Answer
Aim
To create the new project and provided the name using the Revit
Introduction
We can use the Revit, In all kinds of the following
- Architecture
- Structural
- Electrical
- MEP
- HVAC
these are the accept we can use the Revit software.
And also we can use for the Analysis and estimation purpose.
Procedure
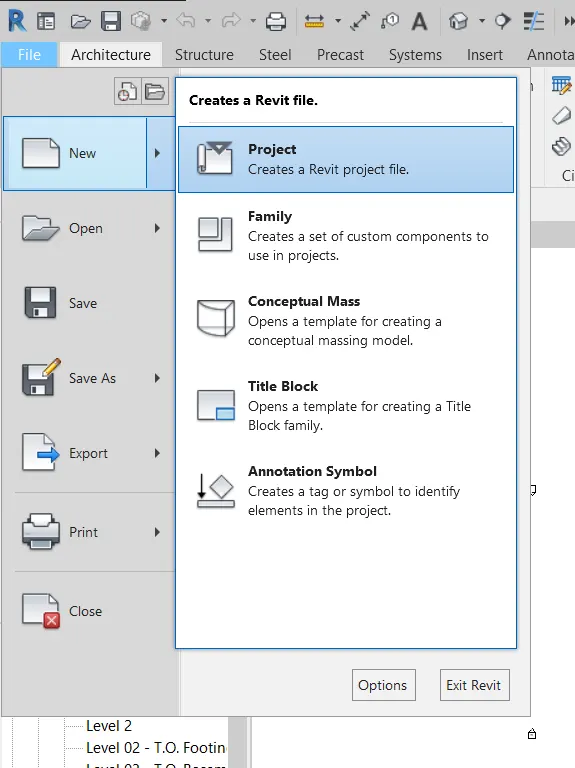
1) From the file menu, create a new project (Structural / Architectural / Construction template ) and name the project appropriately
- file menu> new option> project we can create
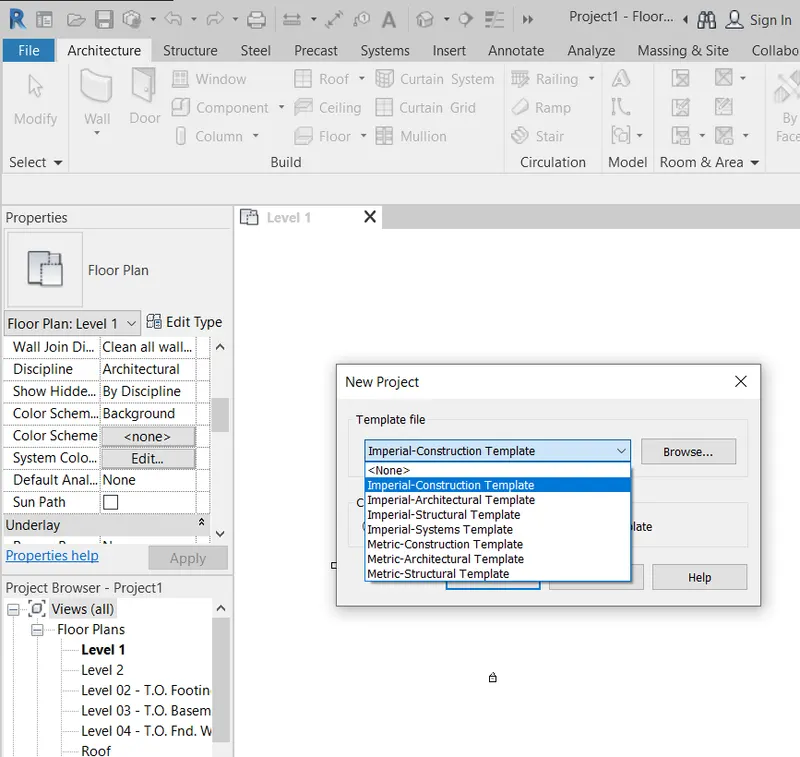
- while clicking the file, we can use the imperial or metric type for the measurement.
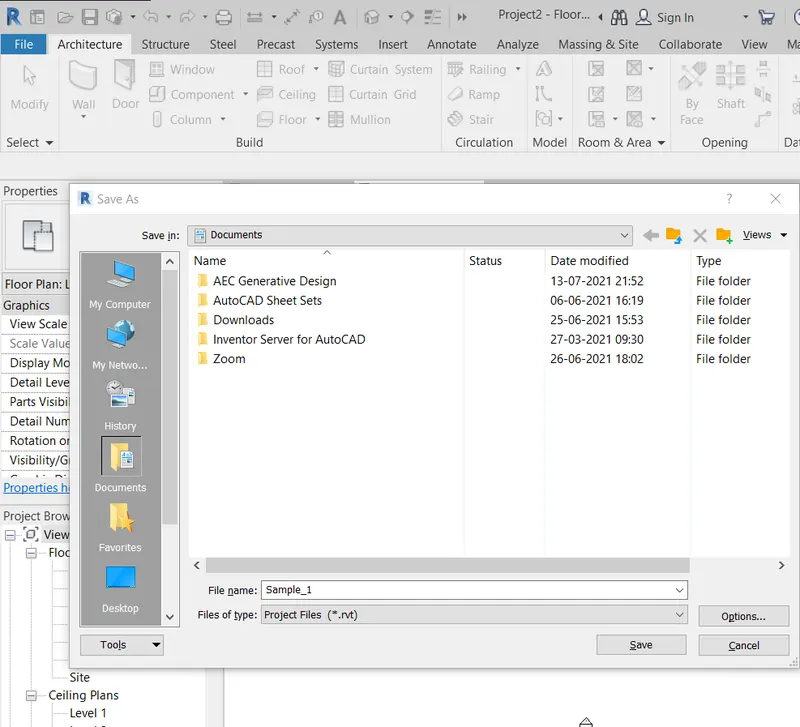
- While saving the file we can define a Name for the File
2) Save the new project file. Close and open using icons from the file toolbar
- While Saving the File we can use the SAVE icon from the toolbar or Ctrl+S.
- We can use the open icon for the toolbar for opening the file.
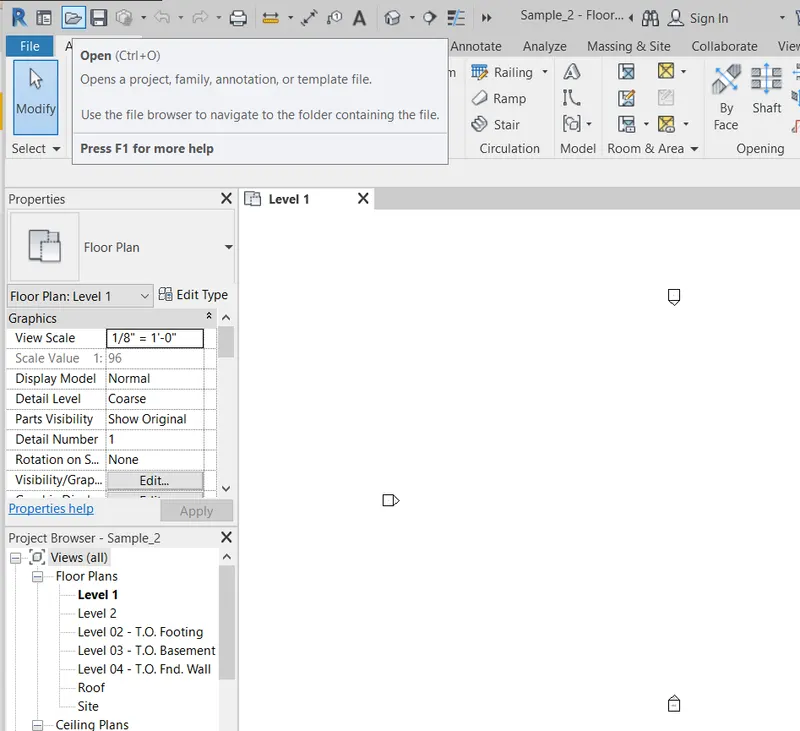
- or We can use the file menu> open option also.
- we can close the current file by using the File>Close
- Or we can use the close button in the right corner of the page.
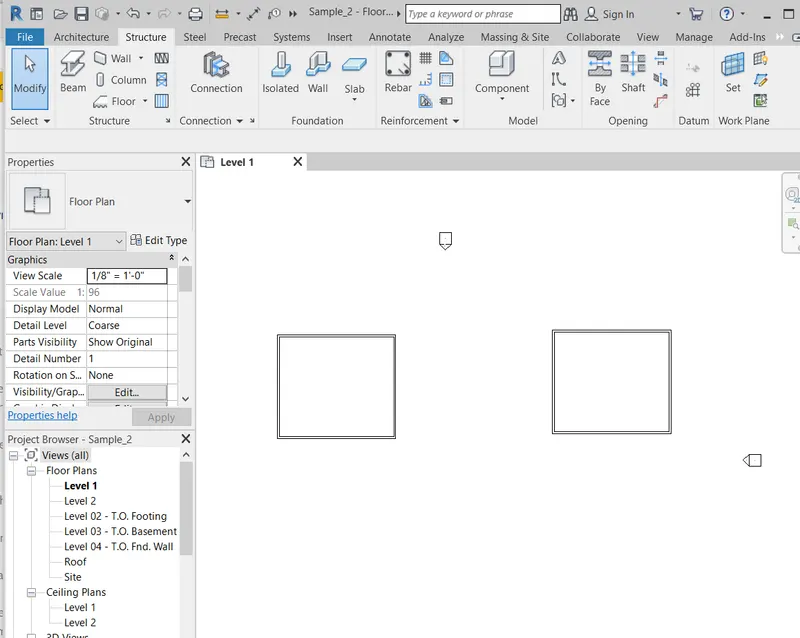
3) From the architecture/ structure toolbar familiarize yourself with options to draw a wall. Create a rectangular layout of walls of about 40’-0” X 35’-0”
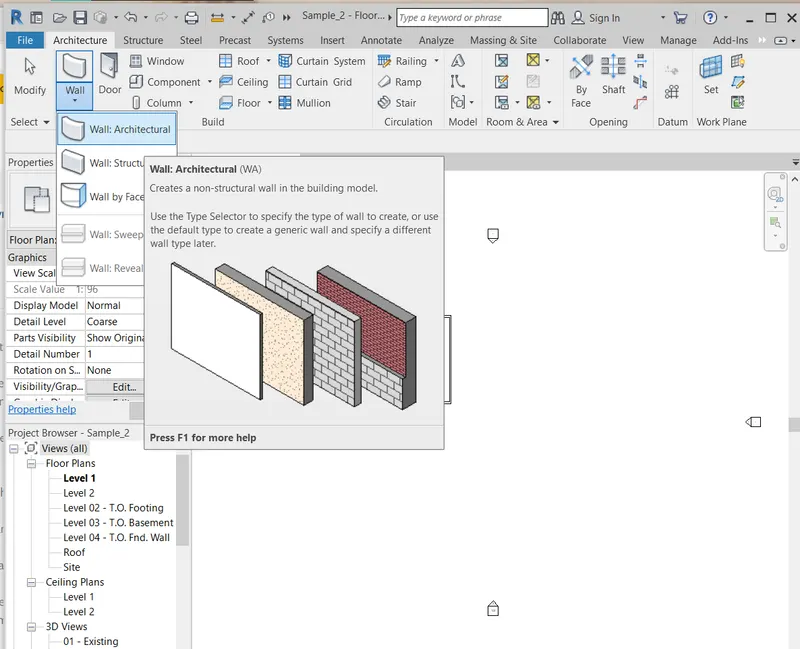
architecture wall
- Create the wall by using architecture menu> wall option
- for the Size of the 40' x 35''
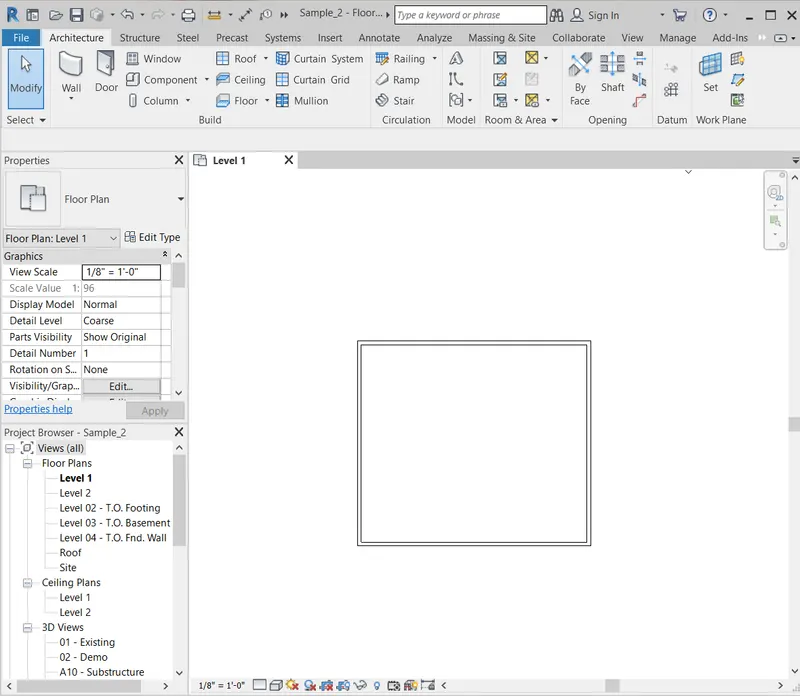
structure wall
- Create the wall by using structural menu> wall option
- for the Size of the 40' x 35''
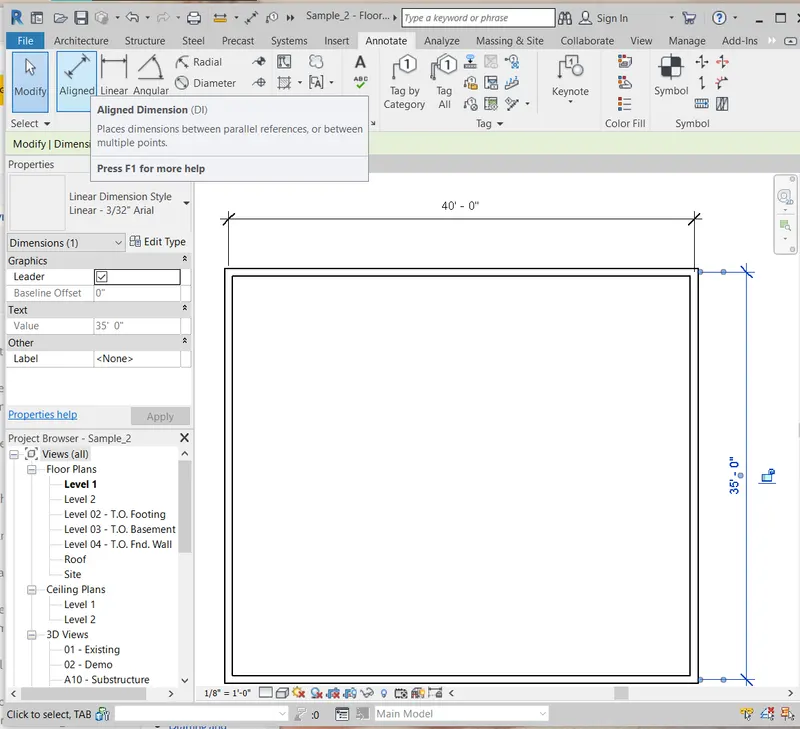
4) From the Annotate toolbar use the aligned option to add dimensions to the layout
Annotate toolbar
Aligned Dimension option help to provide the dimension for the given object.
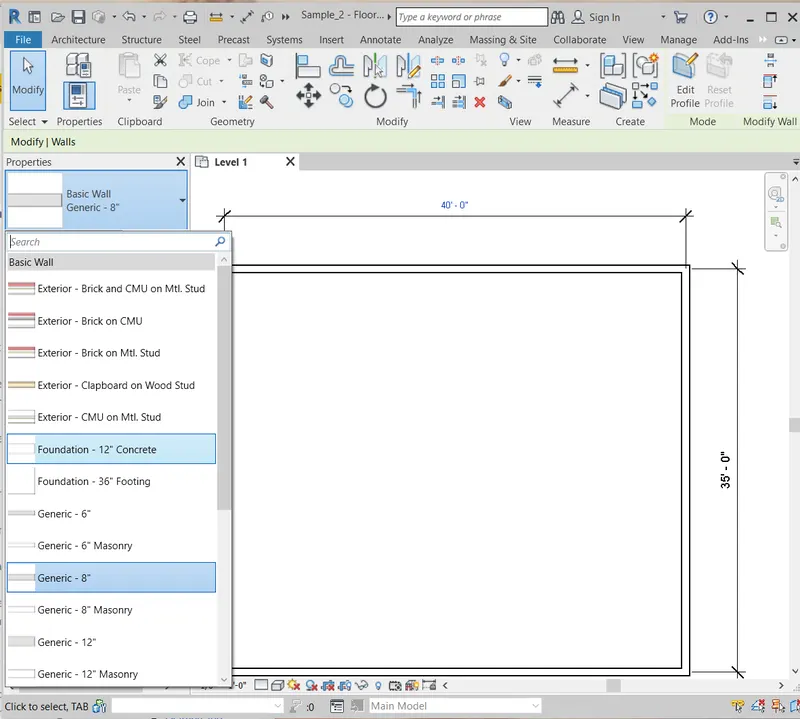
5) Use the properties browser to switch to different wall types
properties browser
As we draw the diagram, we can change the wall types using the properties browser option on the left panel
Types of the wall are
- Exterior
- foundation
- generic
- current
- stacked
the three types are sub-divided into several types
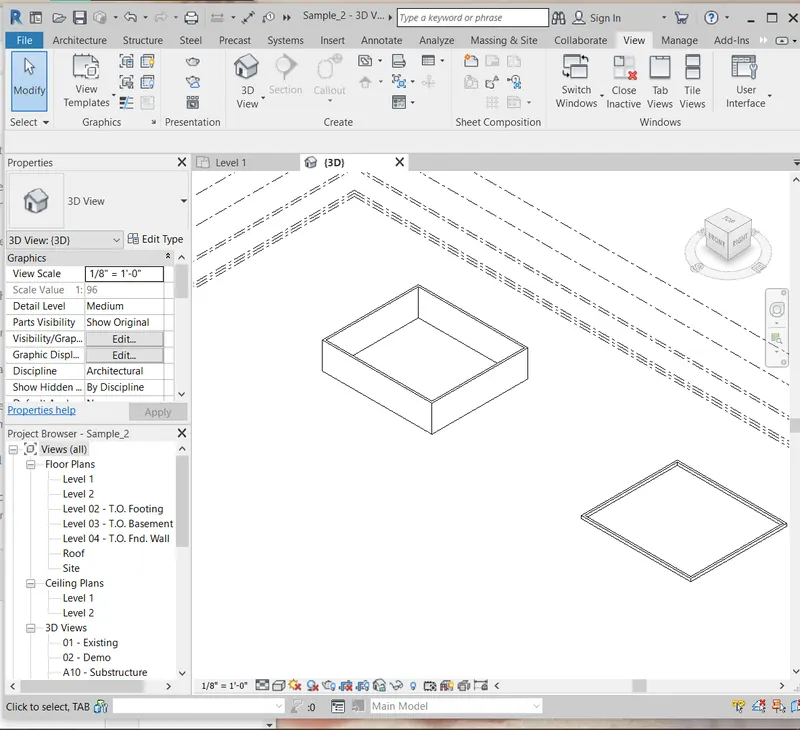
6) Create a 3D view from the view toolbar and save the view with the appropriate name
view toolbar
create tab>3D view
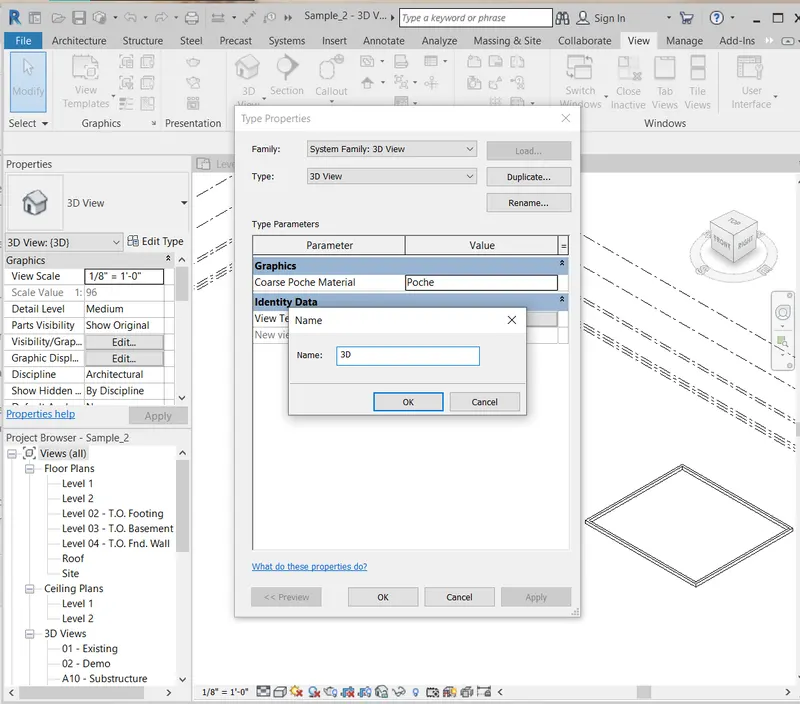
Rename
View as SW iSometric
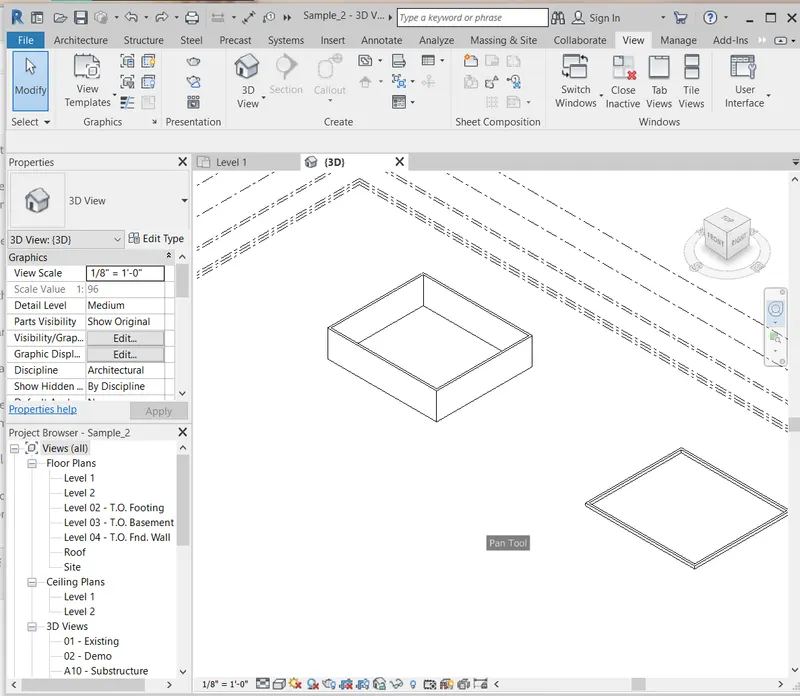
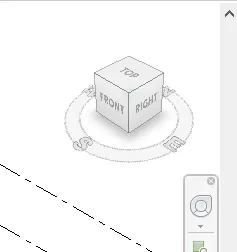
7) Navigate through the 3D model using the view cube. Orbit/pan through the model layout created
help for the full navigation wheel we can,
Orbit option We can use
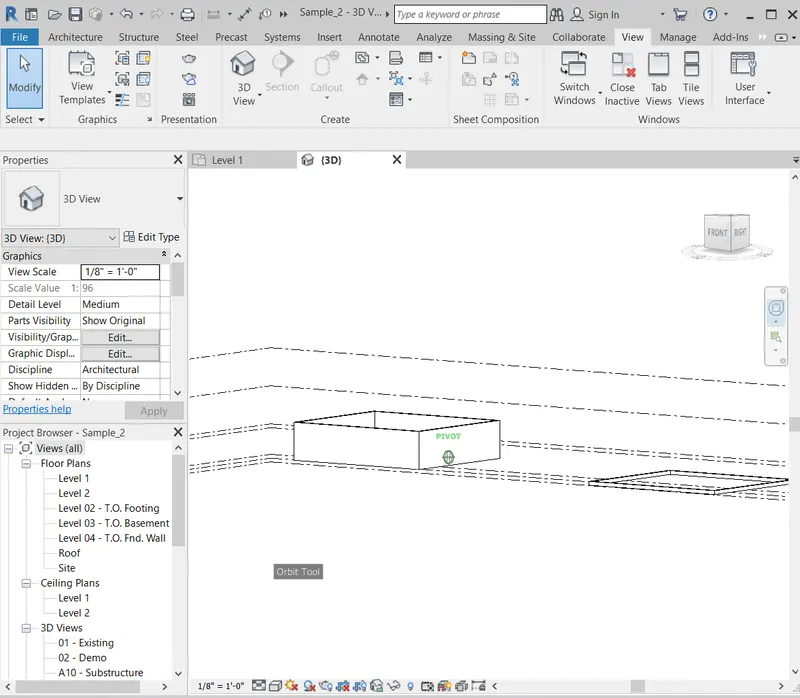
Pan option we can use
8) Use the visibility settings option below to switch model to shaded, realistic, hidden lines options
visual style icon
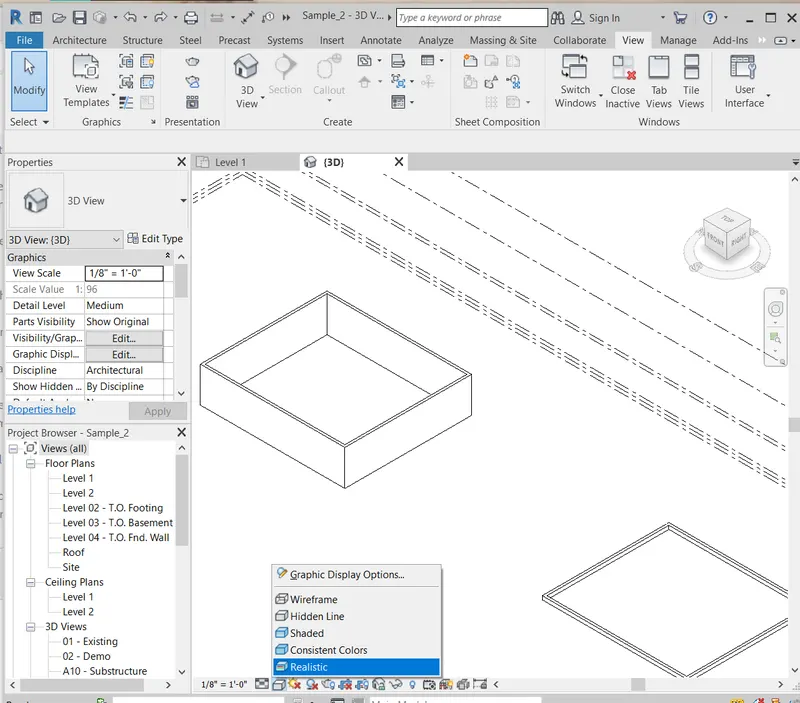
- Realistic
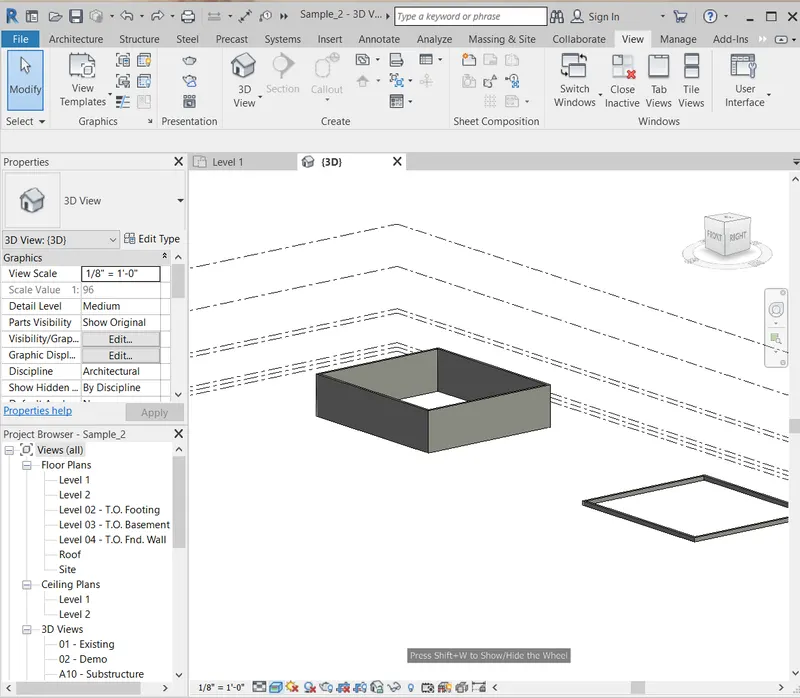
- Wireframe
- Shaded
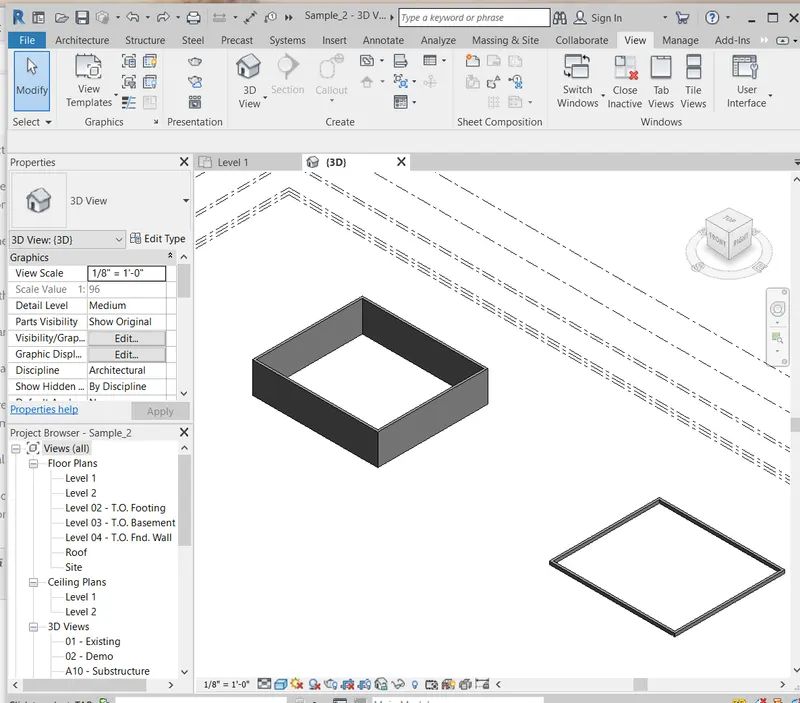
- Hidden lines
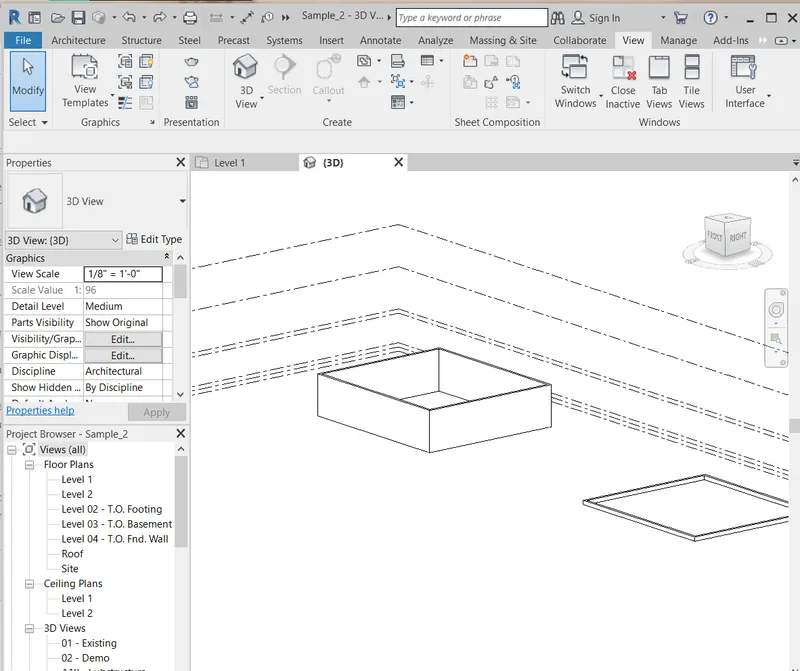
- consistent colors
these are the option we can use in the visibility settings option.
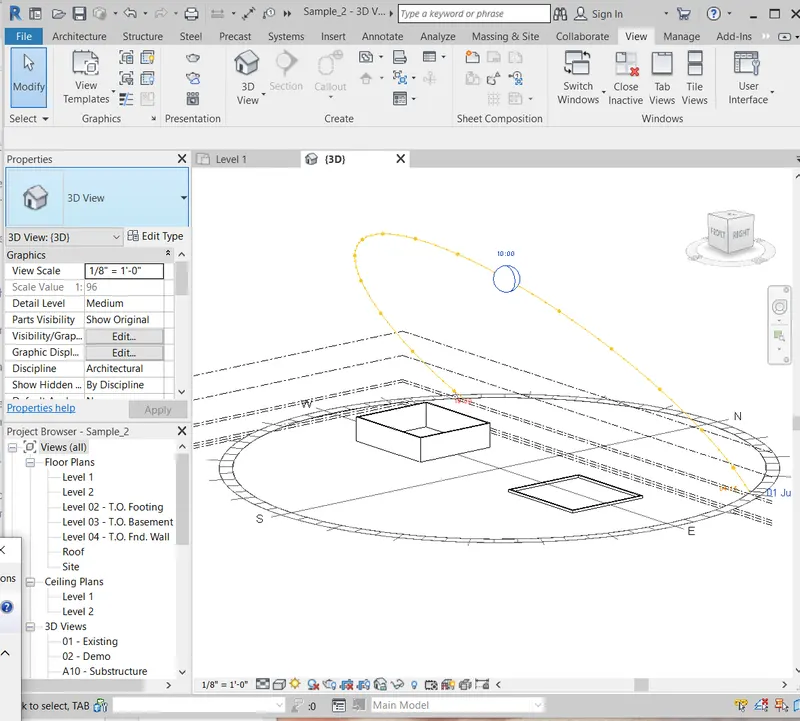
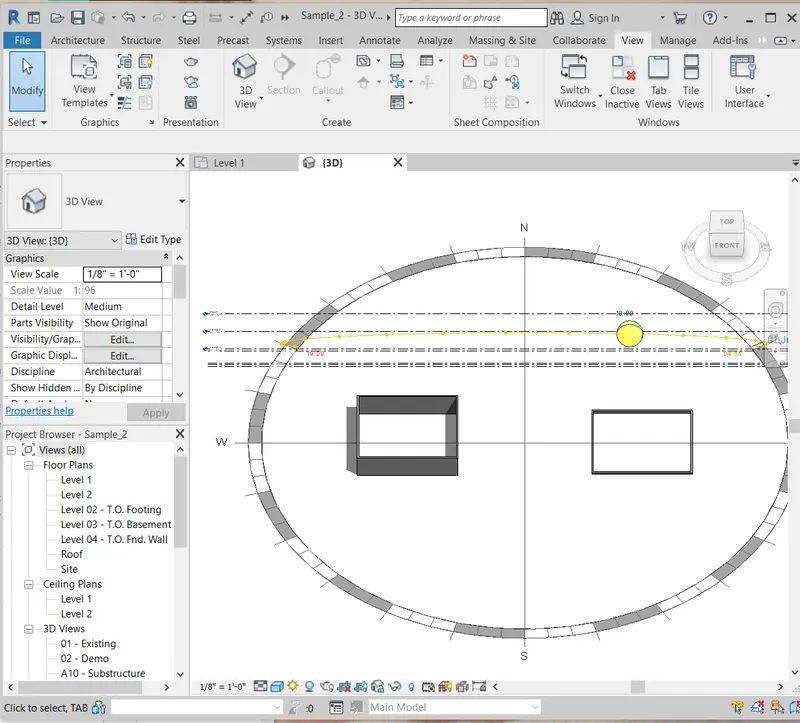
9) Turn the sun path on and off to view shadings in the layout created
sun path on icon
- we can use the Sun on, for the effect of the sunlight.
- Samewise we can Shadow off option for the shadow on.
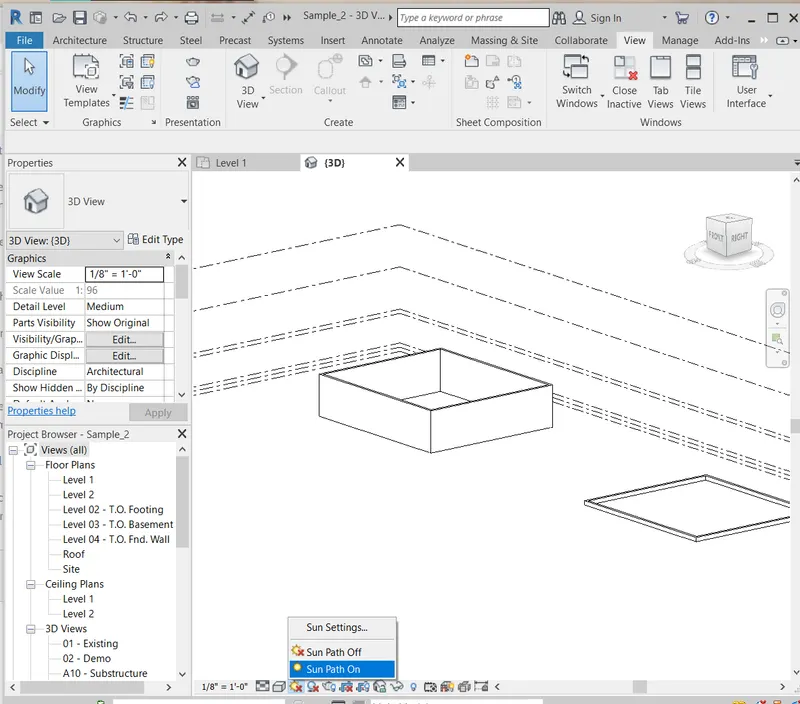
sun path off icon
- we can use the Sun off, for the effect of the sunlight off.
- Samewise we can Shadow off option for the shadow off.
10) Use the Manage toolbar to enter project settings, project name, and project issue date (choose according to your convenience).
Manage toolbar
We are having the Project Information option in the Setting tab.
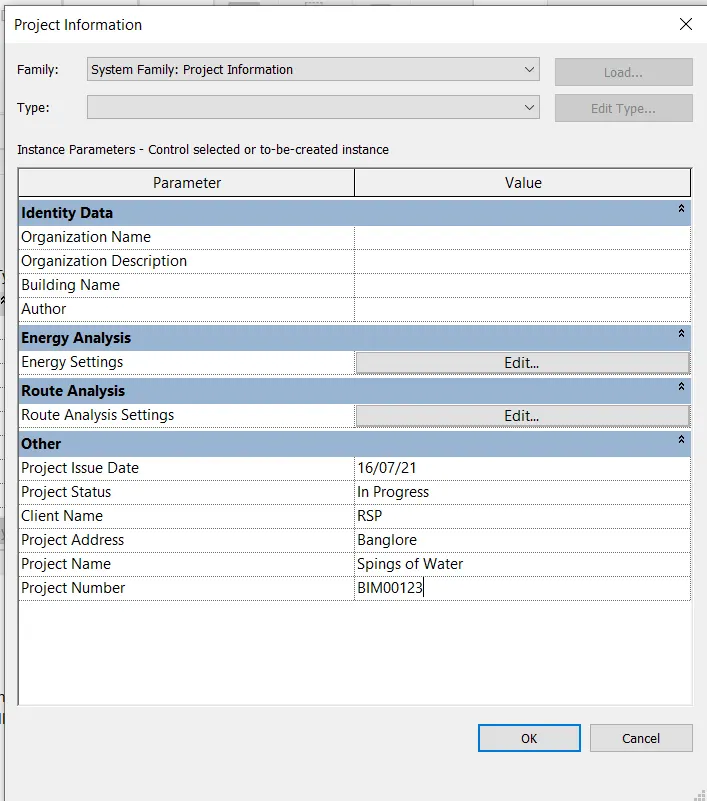
Project Information dialog box opens
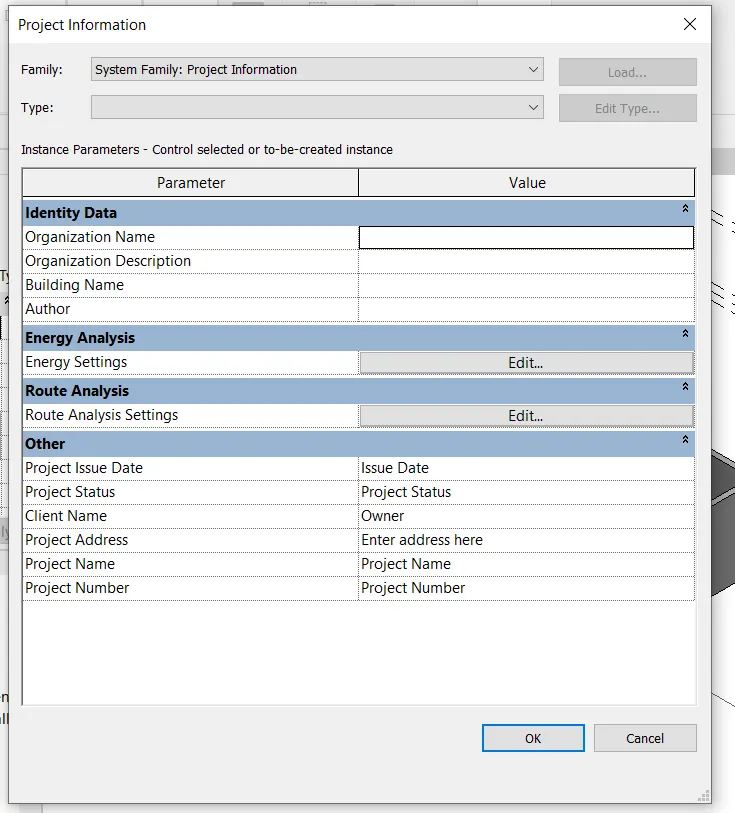
- enter project settings
- project name
- project issue date
11) What is the Analyze toolbar used in Revit? How it is beneficial for design and modeling
- Analytical model
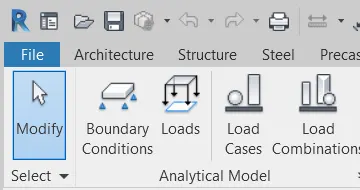
We can apply the boundary condition to test the object stability
- Analytical model tool
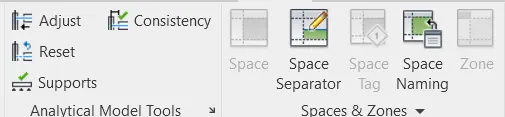
we can adjust or reset the condition
- Report Schedule
pressure control, heat, and cooling load, quantities.
- Check system

Duct, Circuit, pies we check the connection.
- Energy optimization
Location,system-Zone, Energy model, etc
12) What are the links that Revit supports to be linked to the model?
- Link Revit
- Link IFC
- Link CAD
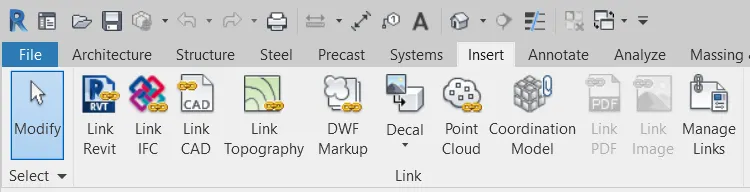
- Link Revit
We can link the Revit number of files together
- Link IFC
industry foundation class, we drown the information from the vendor
- Link CAD
We can link the Cadd number of files together
- Link Topography'
We can link the topography as particular in the actual size.
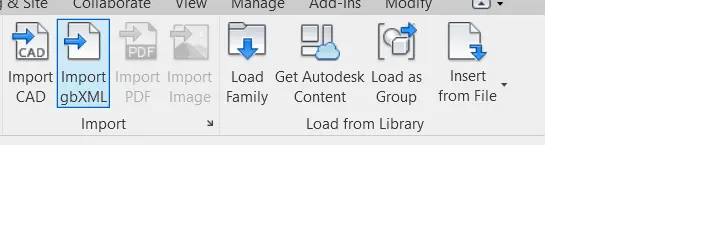
We can import and load the information for the various files into one file.
13) Why do you need the Collaborate tab in Revit? How it supports modeling and its efficiency
LAN
- we can connect through physical LAN to disturb the information for the single CPU
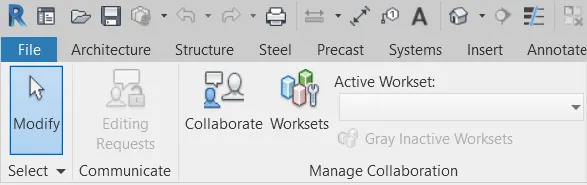
Cloud Sharing
- we can use the Data from the stored area to the multiple Server to disturb the information in the multiple place.
