Introduction to REVIT concepts
1.ans
AIM: From the file menu, create a new project (Structural / Architectural / Construction template) and name the project appropriately
procedure:
open Revit 2023 software and select the new
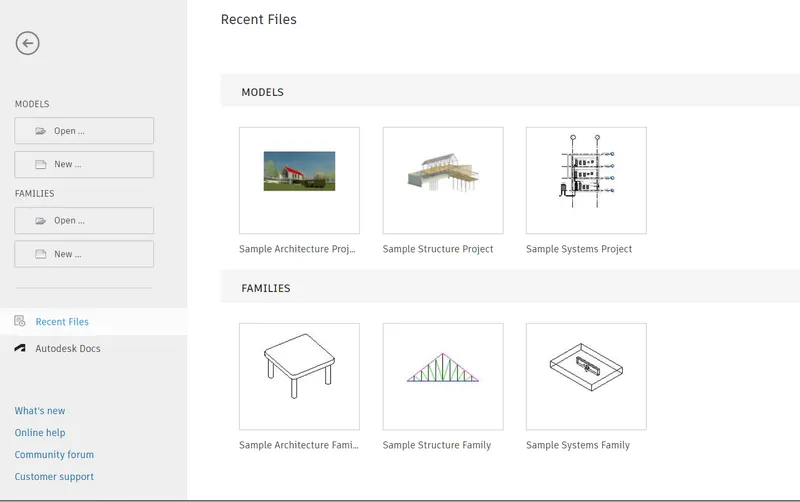
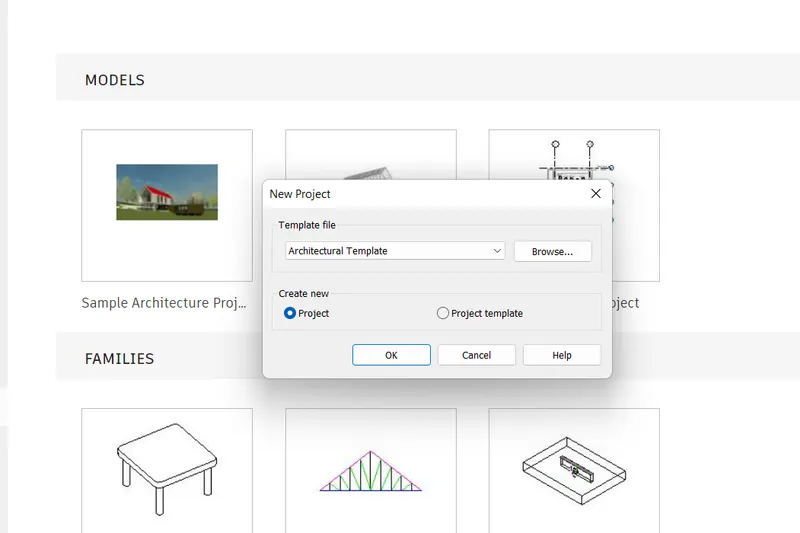
in the ribbon tool bar click the file and save the tempelate with approperiate name
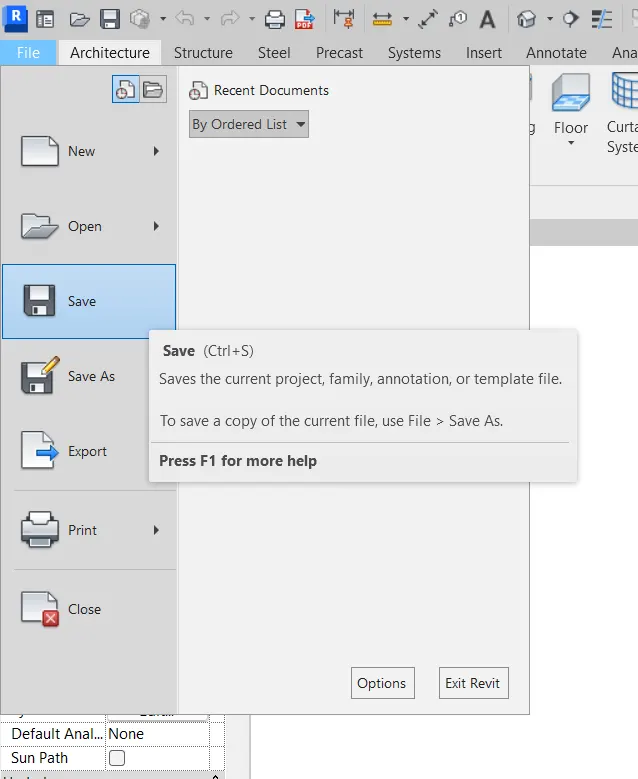
save the file
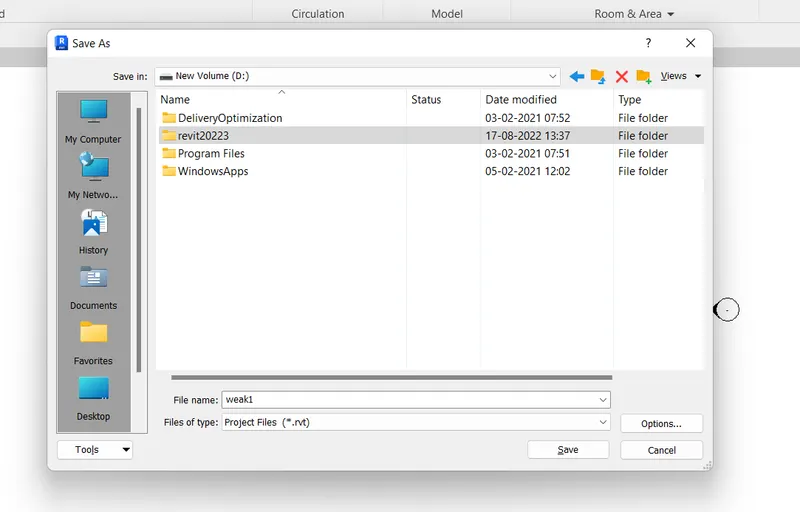
2.ans
aim:2) Save the new project file. Close and open using icons from file toolbar
procedure:
Save the new project file. Close and open using icons from file toolbar
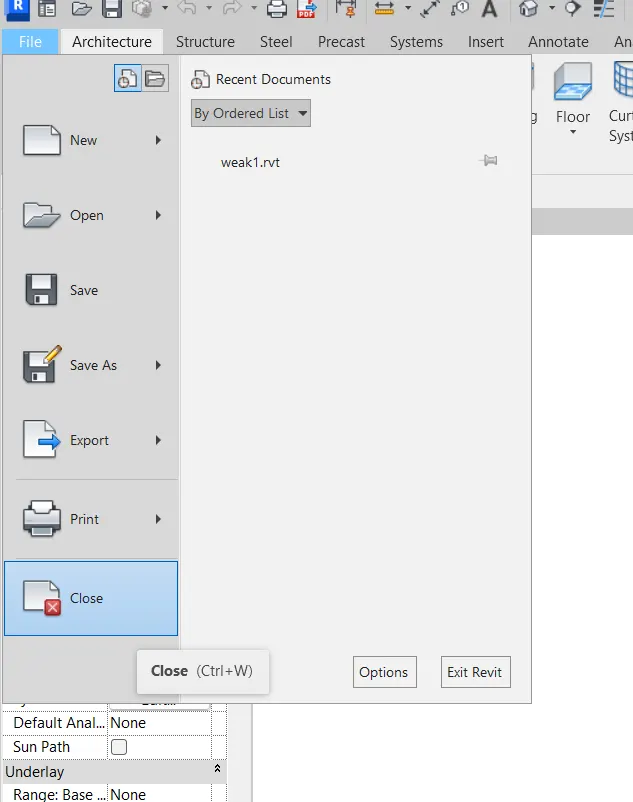
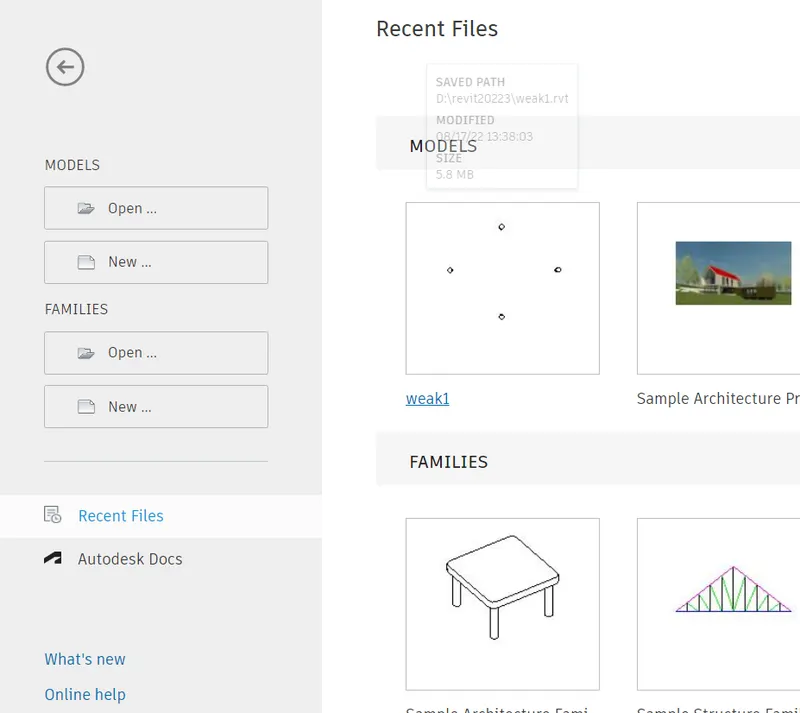
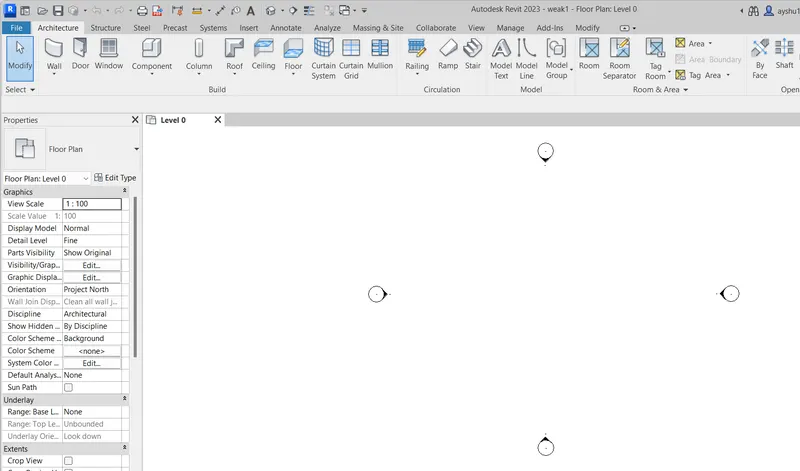
click the save file and open it
3.ans
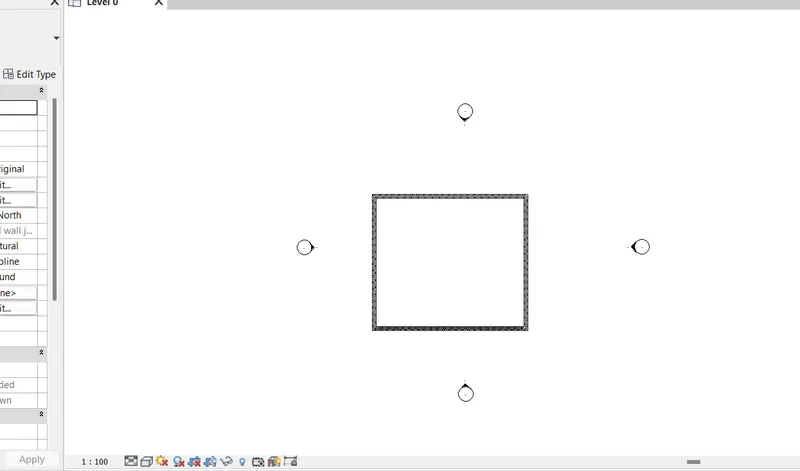
aim: to create from the architecture/ structure toolbar familiarizes with options to draw a wall. Create a rectangular layout of walls of about 40’-0” X 35’-0
procedure:
1.select the wall architecture in ribbon tool and draw the rectangle shape of wall is 40'0"x30'0"
RESULT:
4.ans
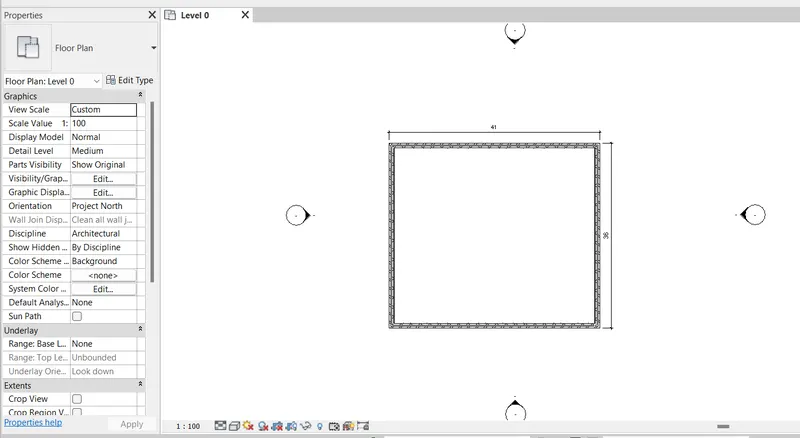
aim: From the Annotate toolbar use the aligned option to add dimensions to the layout
procedure:
select the annotate and click on the aligned and added the dimensions
5.ANS
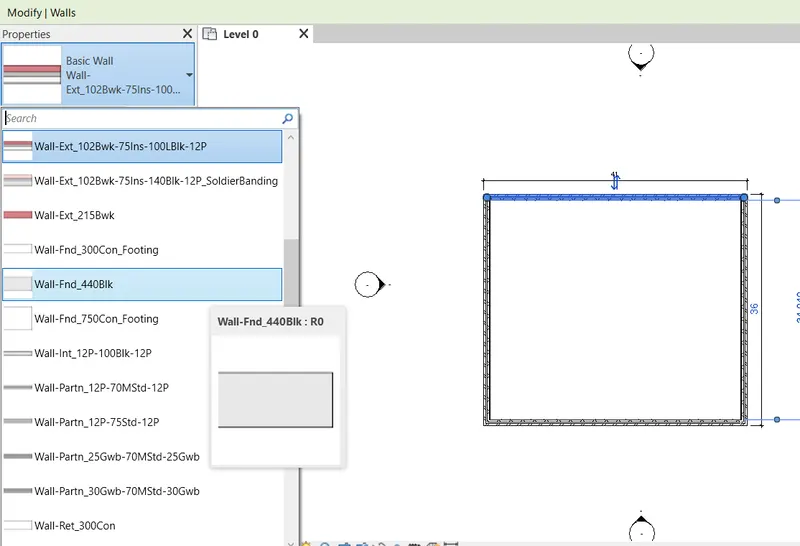
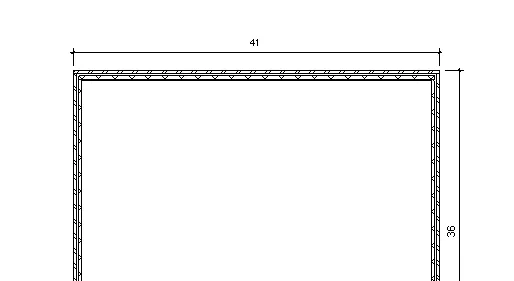
AIM: Use the property browse to make different wall types
procedure :
go the model work space and select the wall
next goo to property browser and select the required wall type and size
RESULTS :
6.ANS
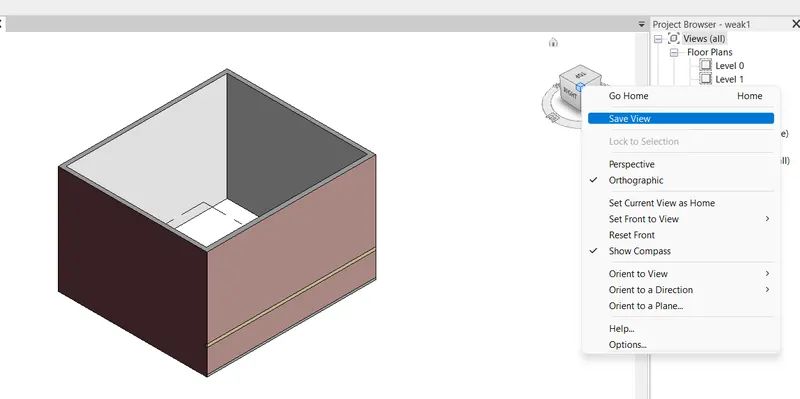
AIM: save the view in 3d view in Revit
procedure:
the top the ribbon tool bar selects the default 3d view
and go to the view and select the corner and saved by the view name
7.ans
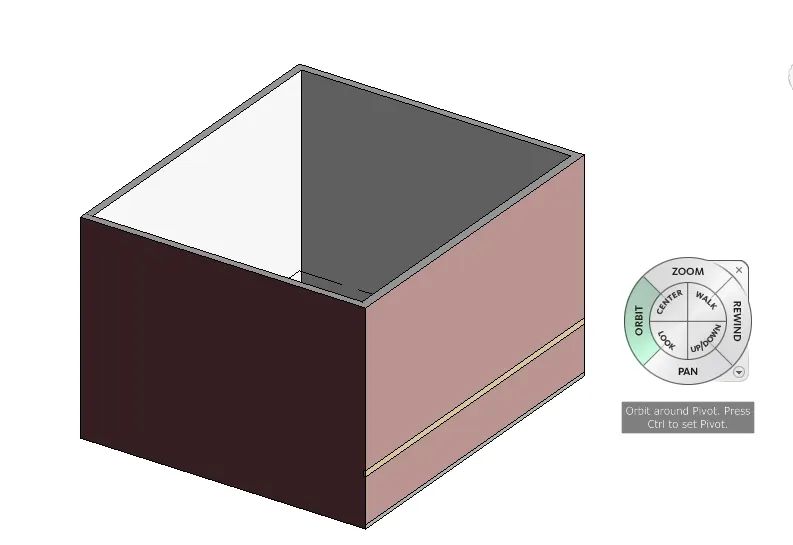
AIM: Navigate through the 3D model using the view cube. Orbit/pan through the model layout created
POCEDURE:
using the navigate tool bar to zoom are orbit view pan and it' to the required view position
8.ANS
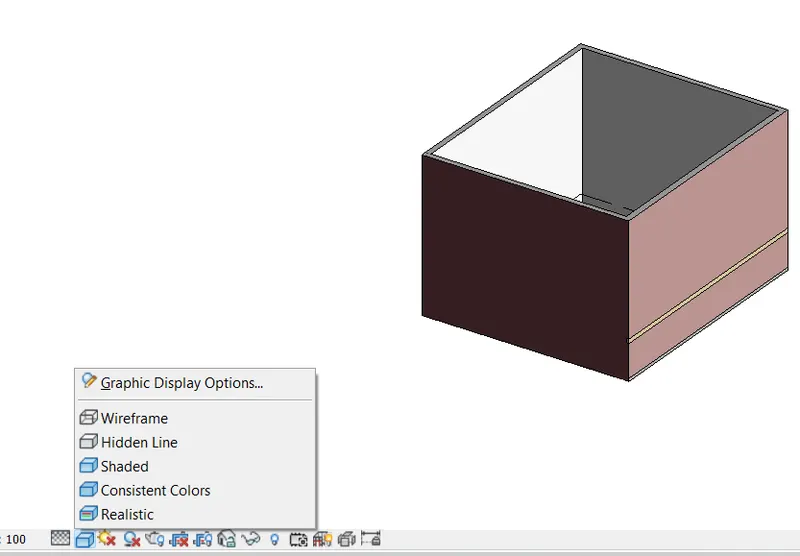
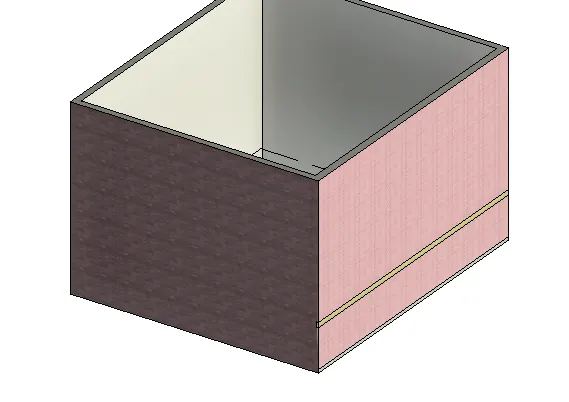
AIM: Use the visibility settings option below to switch model to shaded, realistic, hidden lines options
procedure:
in the view tool bar select the visual styles
results:
9.ANS
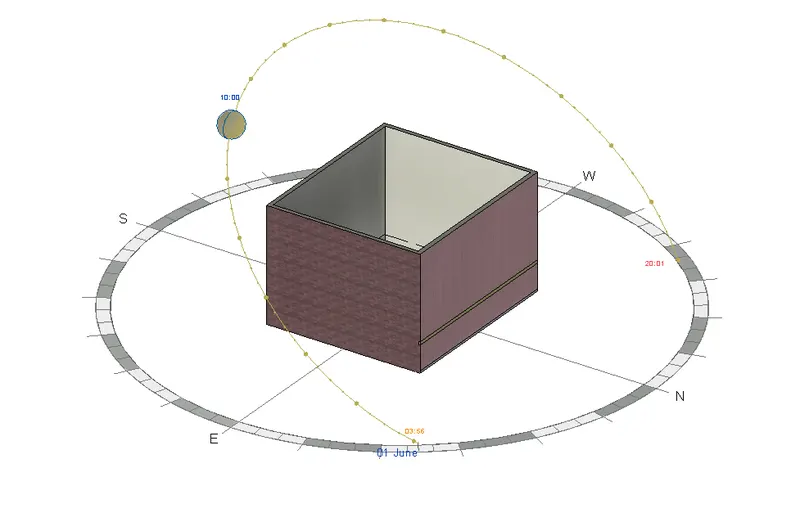
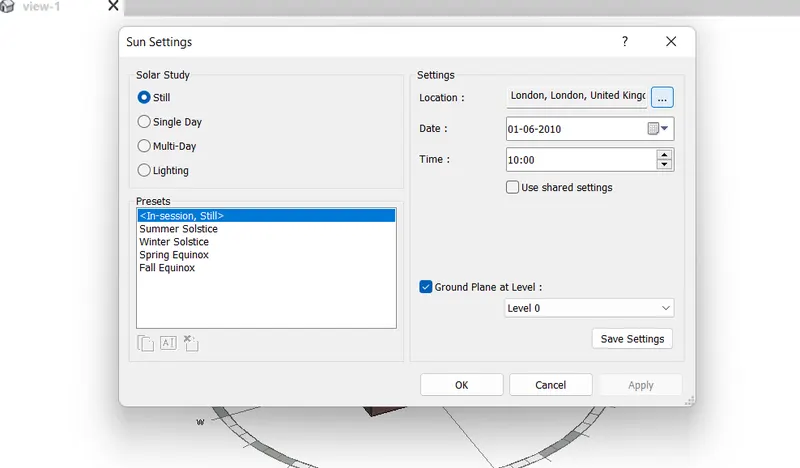
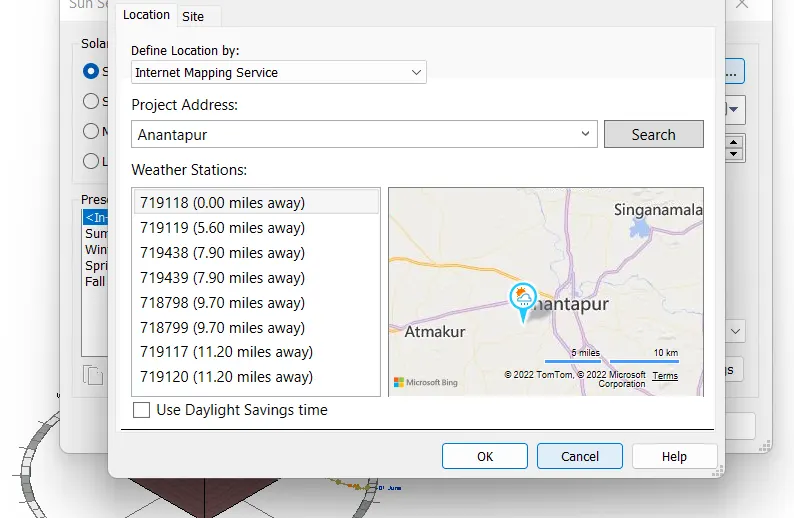
AIM: Turn the sun path on and off to view shadings in the layout created
PROCEDURE:
select tee sun path in the view tool bar and set the sun path is on and set the internet mapping using to set the work place location
result :
10.ans
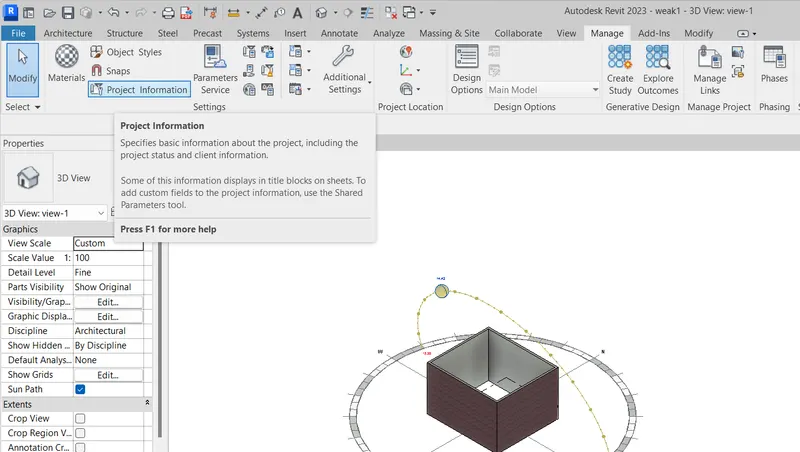
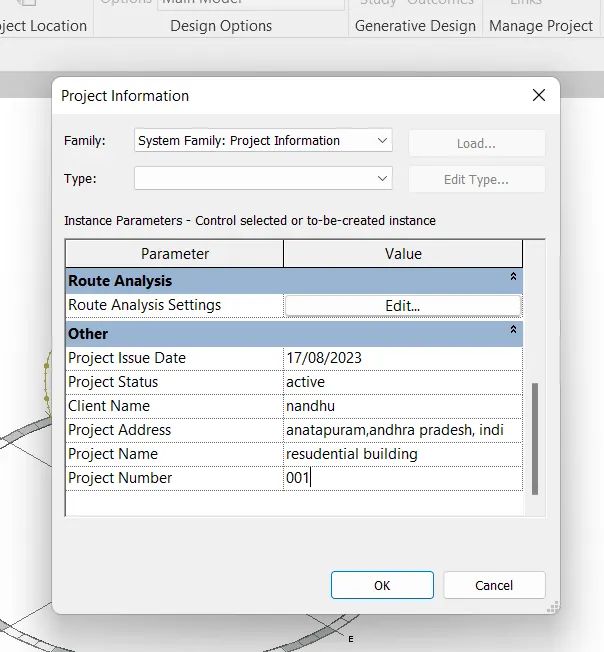
AIM: Use the Manage toolbar to enter project settings, project name, and project issue date
procedure:
go mange tool bar and select the project information set the details
11. ANS
AIM: What is the Analyze toolbar used in Revit? How it is beneficial for design and modeling
PROCEDURE:

IN the analyze tool bar is used analyze load bearing capacity of structures
by giving the different type of loads point load line load etc..
12. What are the links that Revit supports to be linked to the model
ANS.

in the insert tab the linked the different type of files can be linked Revit
Links that Revit supports to be linked to the model:
Link Revit: links another Revit model to the current model.
Link IFC: Links an IFC file to the current project to reference its information for additional design works. If you later make
changes to the original IFC file and reload the link, the project updates to reflect the IFC file changes.
Link CAD: links a CAD to the current Revit project. Linking is similar to having an xref in AutoCAD. When the original linked file changes, these changes are reflected in the file when you reload the project.
Link topography: links existing topography to the current revit model. This tool is used when a civil engineer has created topography using civil engineering softwares, such as Autodesk civil 3D and you want to use the topography to provide context for the building model.
DWF markup: Links marked up DWF files to revit projects so that the mark ups can be seen in the corresponding sheets.
Decal: Places an image on the surface of a building model for rendering. Decals can be placed on a flat or cylindrical
surfaces in 2D & 3D orthographic views.
Point cloud: Links a point cloud file into current project.
Coordination model: Links a NWD or NWC file to provide context for the revit model.
13.
Collaborate tab in revit:
Collaboration tab in revit enables worksharing. Through work sharing, users on same Local Area Network(LAN) can work
together in same Revit model.
Multiple revit models can be linked together, allowing to work in context.
When there is a need fro collaboration to occur among users who are not in the same geographic location, use Revit server
or Revit Cloud Worksharing.
Enabling worksharing involves creating a master proect model, known as a central model, from an exsting model.
The central model stores the current ownership information for all worksets and elements in the project, and acts as the
distribution point for all changes made to the model.
All users should have their own copy of the central model, edit locally in this workspace, and then synchonize with central
to publish changes to the central model so that other users can see their work.
- Revit is really useful for MEP engineers who need to collaborate with other disciplines. It supports the modelling as:
It keeps all parties updated with the current project via Worksharing backed by Revit cloud services.
It allows key design features to be communicated effectively via visual templates and colorfills.
It allows the user to divide model into worksets, which an be made editable or not editable by the current user to avoid
confusions and lessen computing load.
It allows user to define parameters as the design progresses, to make model-wide changes quick and easy.