Introduction to REVIT concepts
Ans1:
- Open the Revit application
- Revit interface will look like as below
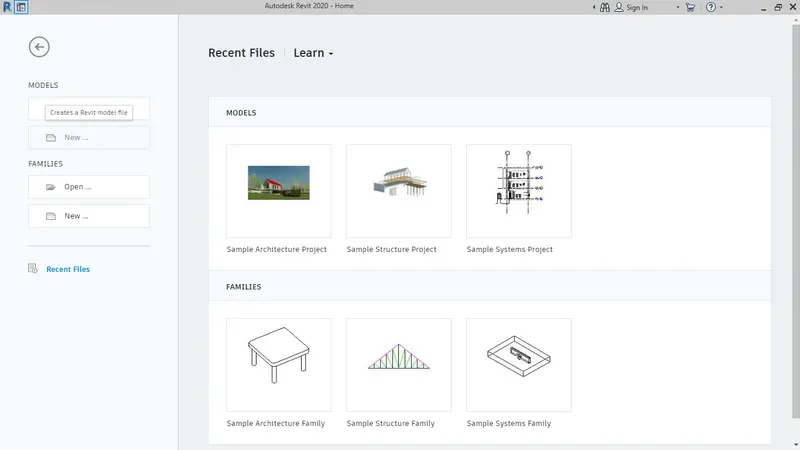
To open new file
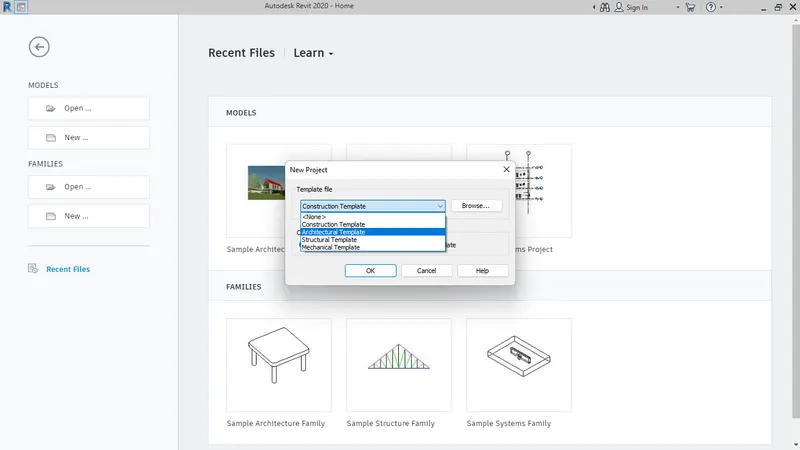
- in the left side new option.Click on the new
- Now select the template and click on ok
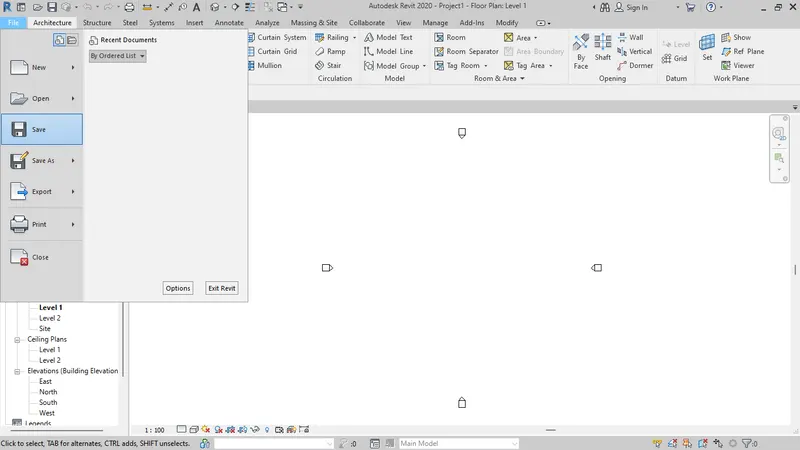
- New project file will open
- Go to file tab and click on save option
- Give the name you want
Ans2:
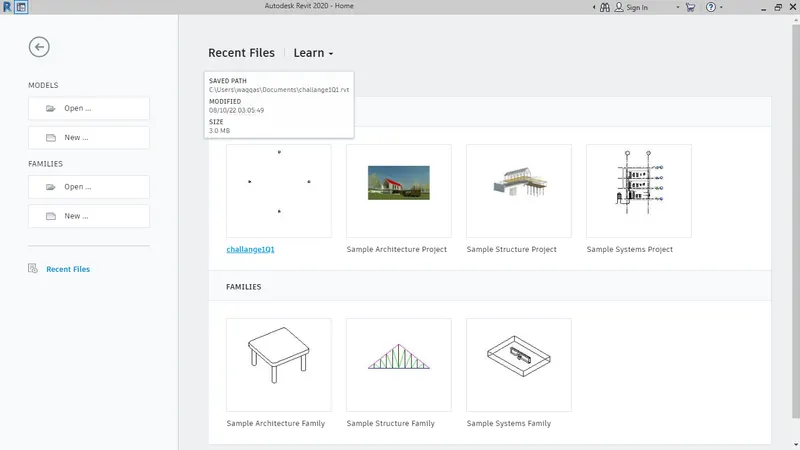
- In previous question I have saved the project file
- Go to the file tab and there will be close option Click on that
- When you close the file, saved file will show on recent file
- Click on the file it will open
Ans3:
- Open new file with architecture template
- Go to architecture tab from main menu bar
- Click on the wall
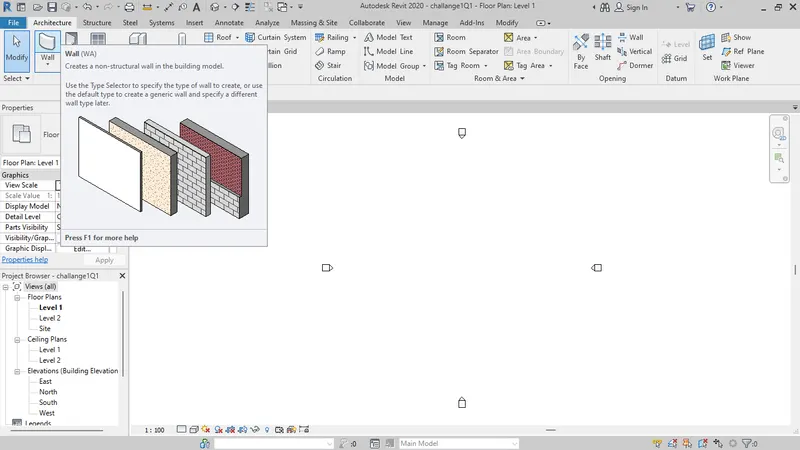
- Select the line
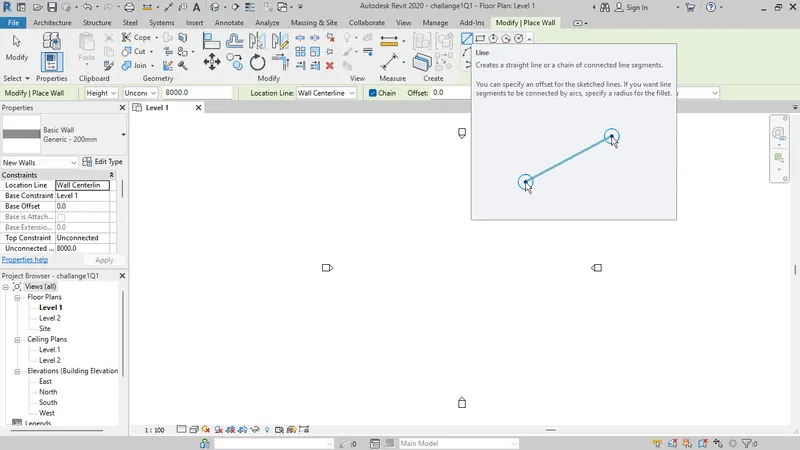
- Click anywhere to start the wall
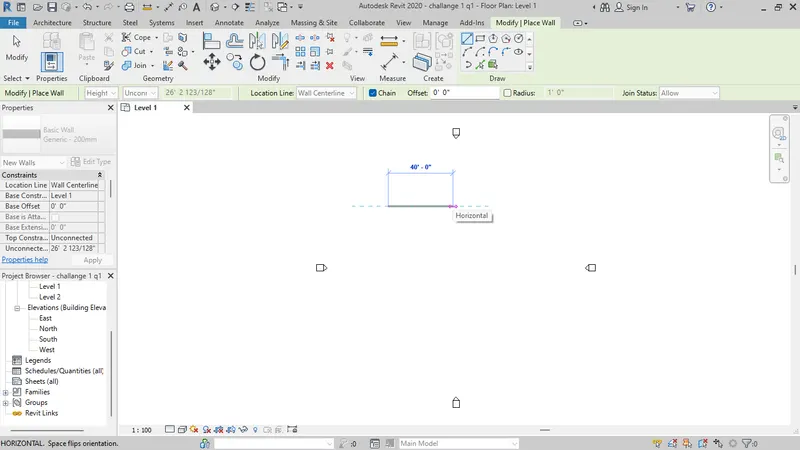
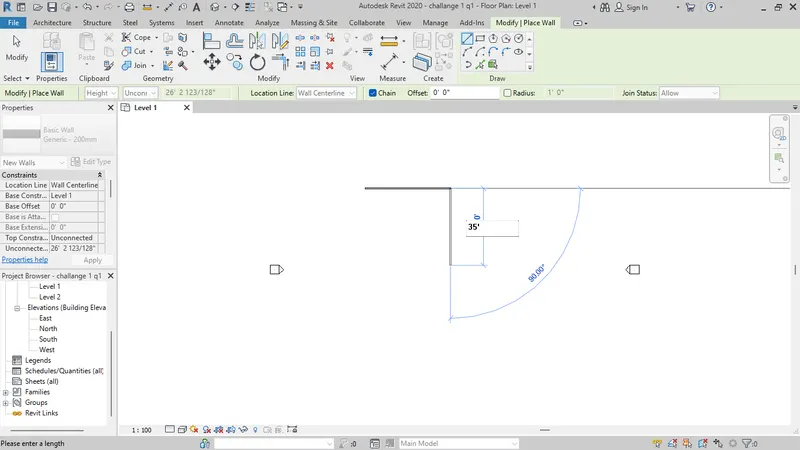
- Drew the wall in rectangular
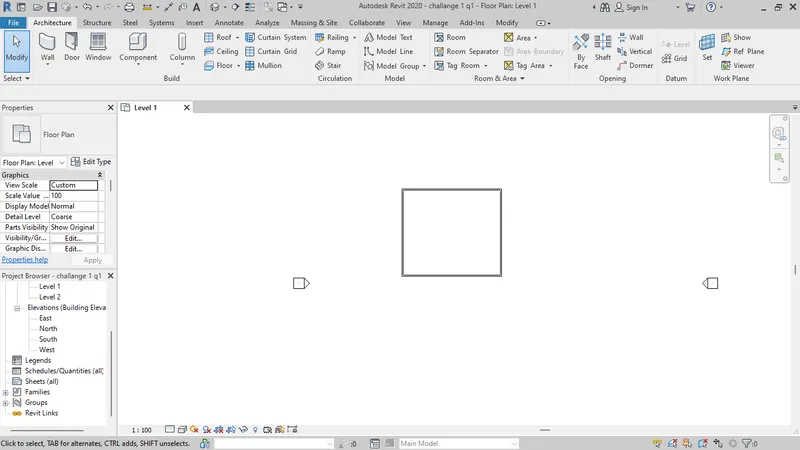
Ans4: To dimension wall
- Go to the annotate tab
- Select the aligned
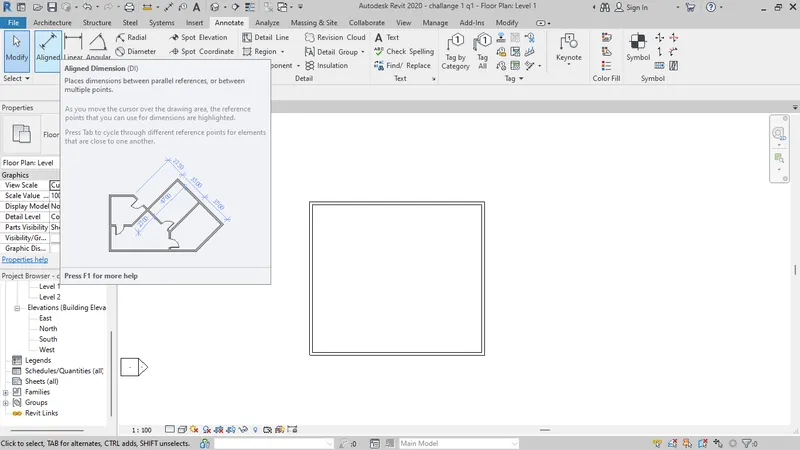
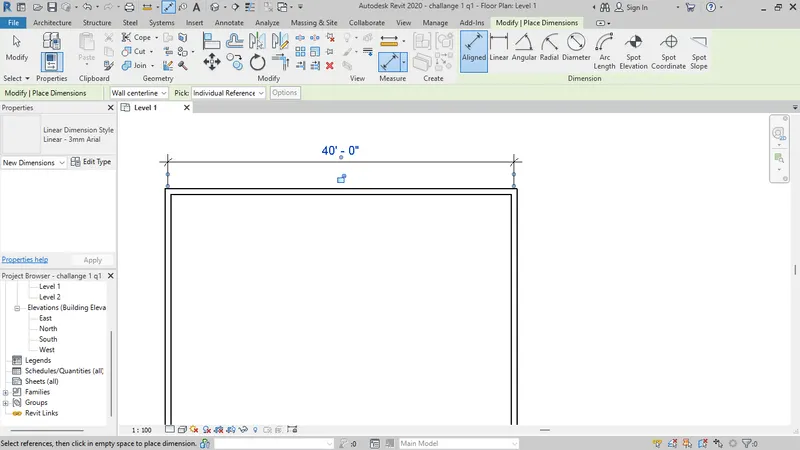
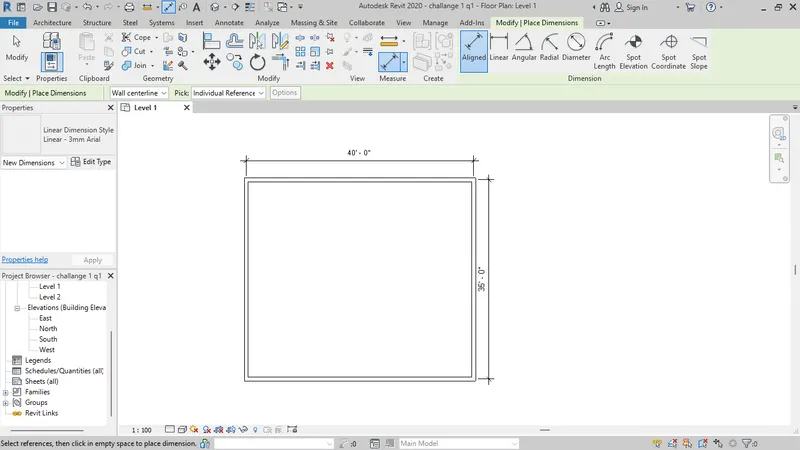
- After selecting aligned click on first wall corner
- Click second wall distance will be shown between botth walls
Ans5:
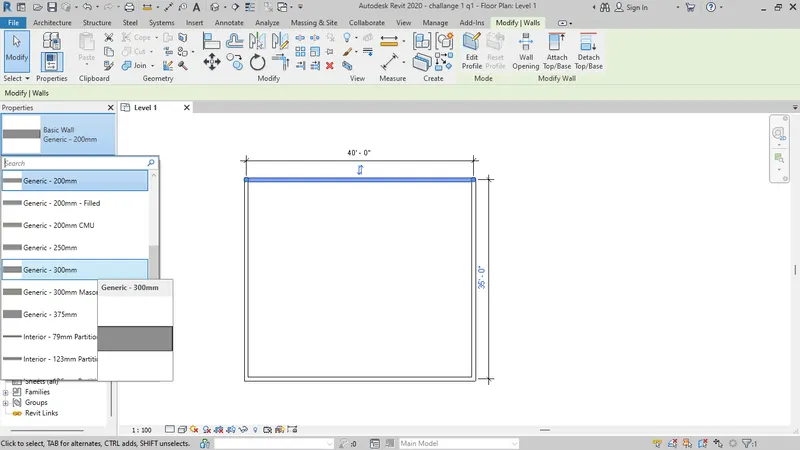
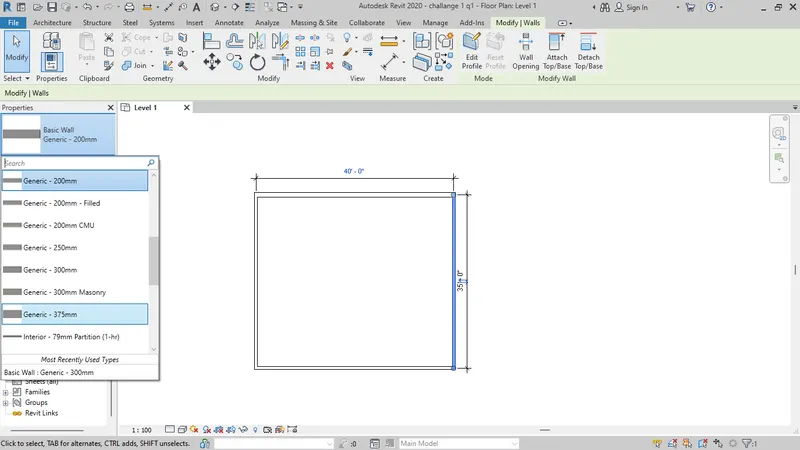
- To change the wall property select the wall
- In left corner properties of wall will show
- If properties not showing in corner give command PP
- Click on properties of wall there will be different type of wall will show
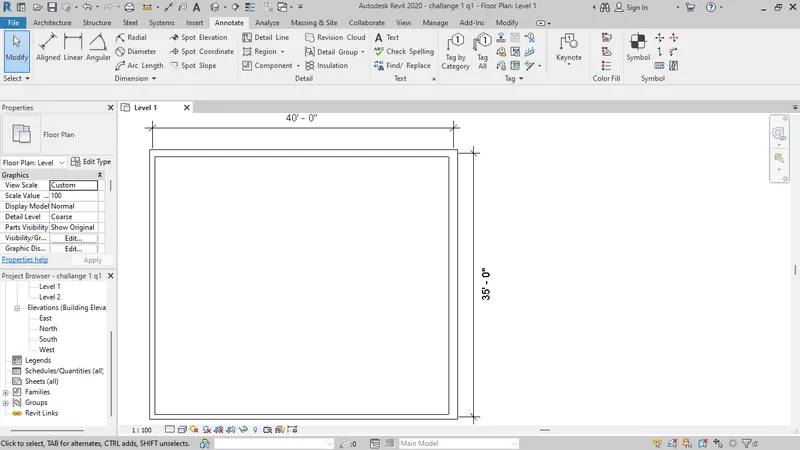
- You can select any wall property you want
Ans6: To create a 3d view
- In top panel of Revit default 3d view will be there
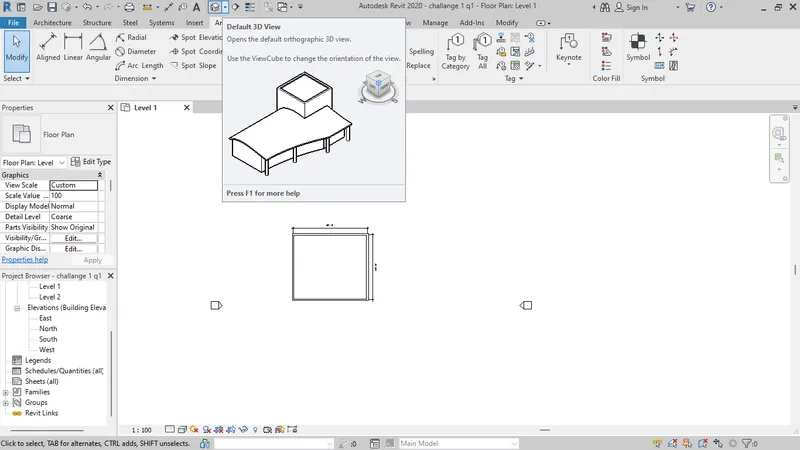
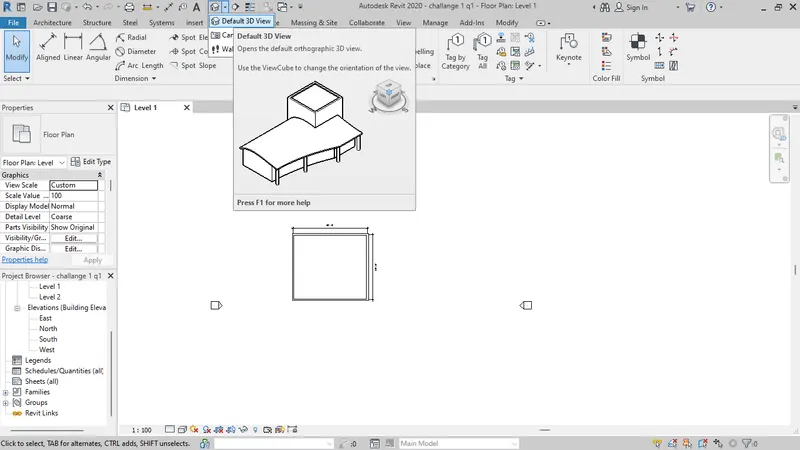
- Click on defaul 3d view
- As you can see below fig 3d view
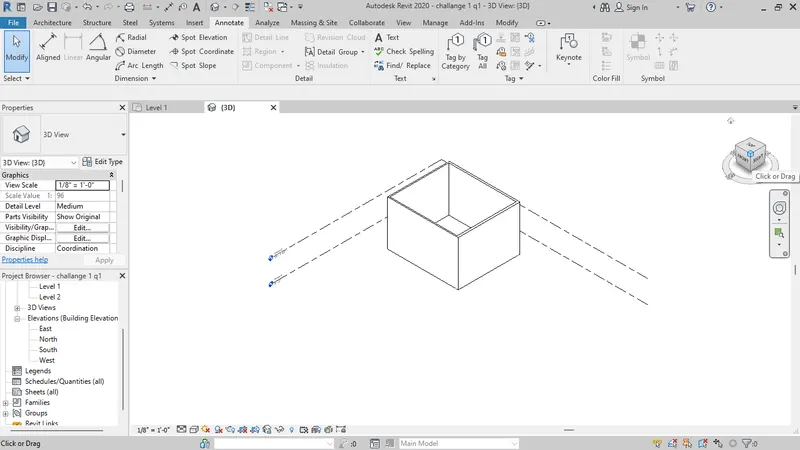
- You can also save
- On view cube Click right key from the mouse
- In there option of save view will there click on that
- When you click on save view it going to ask for view name
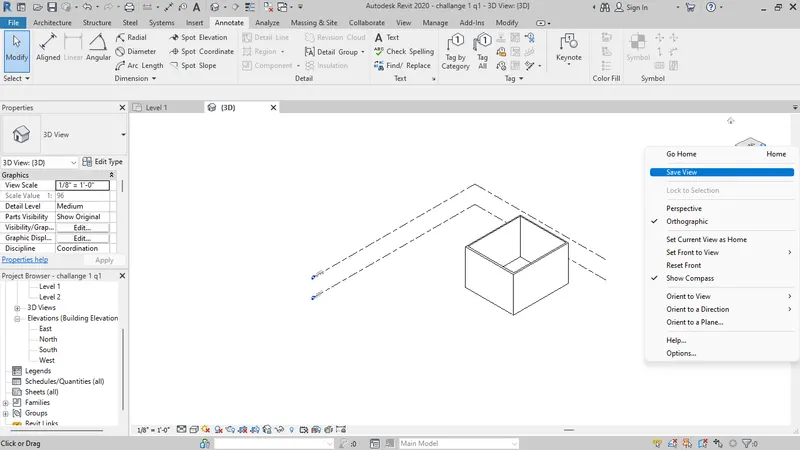
- You can give name
- I have given name v1
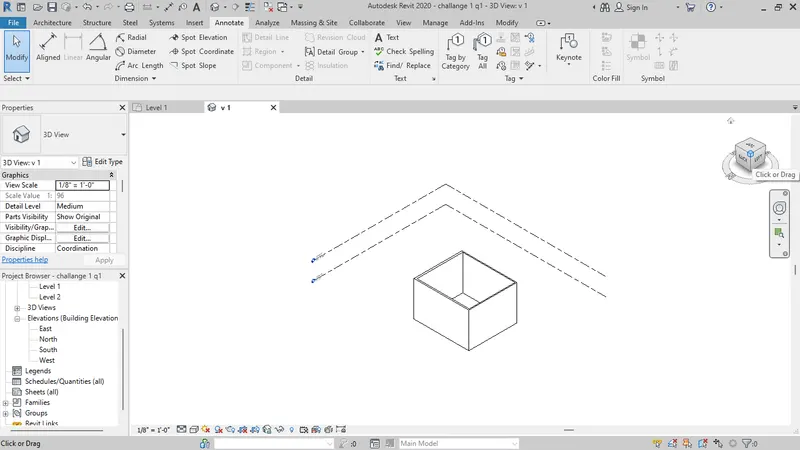
Ans7:
- In the right side navigation bar will be there
- Click on navigation
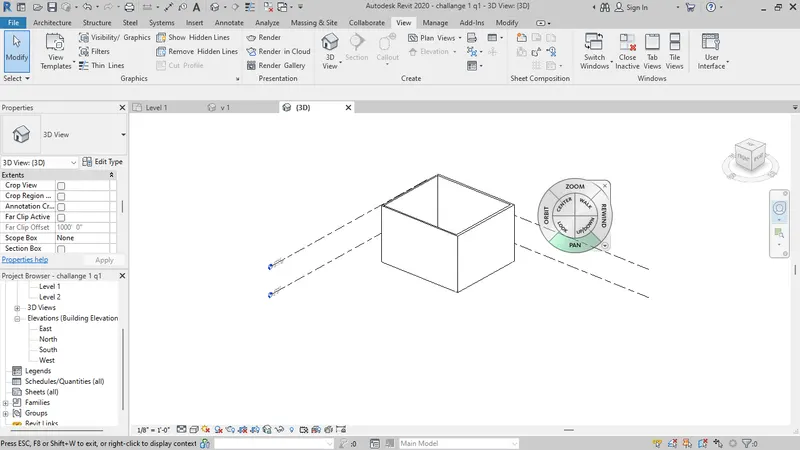
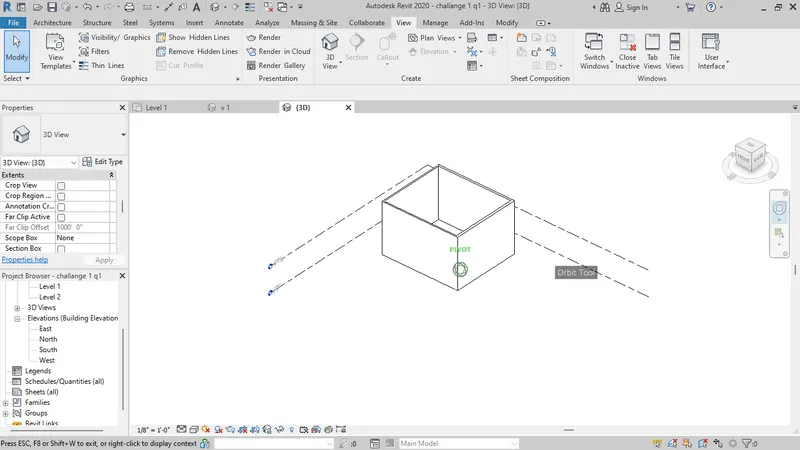
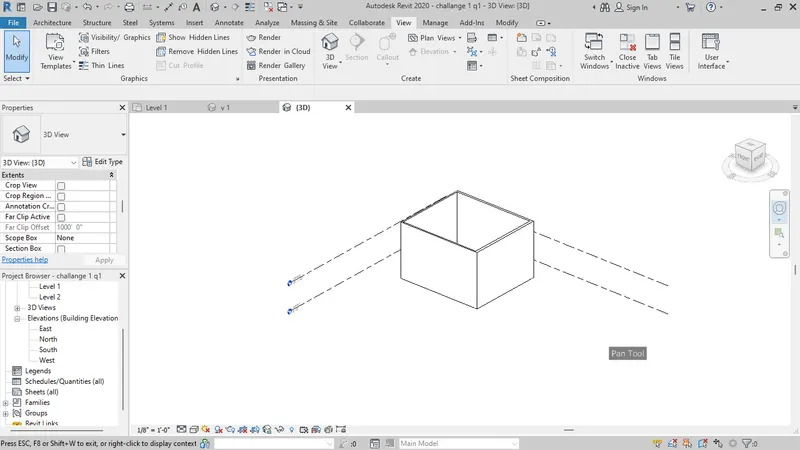
- A wheel box will open and some option will be there like orbit,zoom,pan etc.
- Click on orbit from right key mouse and hold it
- Similarly we do for pan
Ans8:
- in Bottom panel visibility option will be there
- Click on that there option like shaded, Realistic etc.
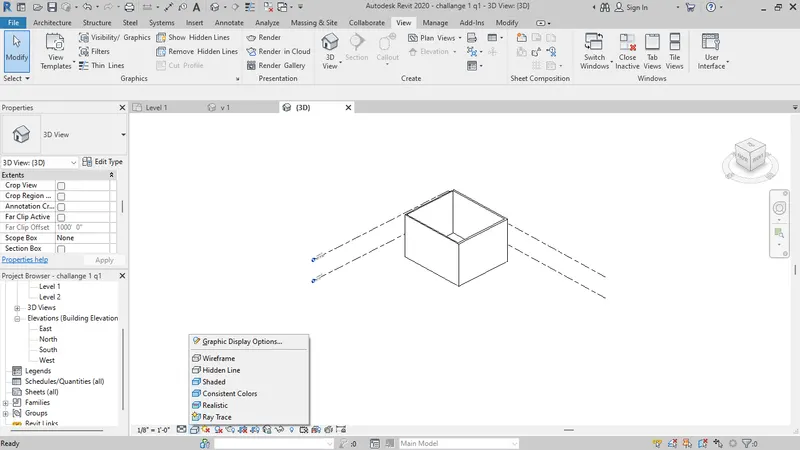
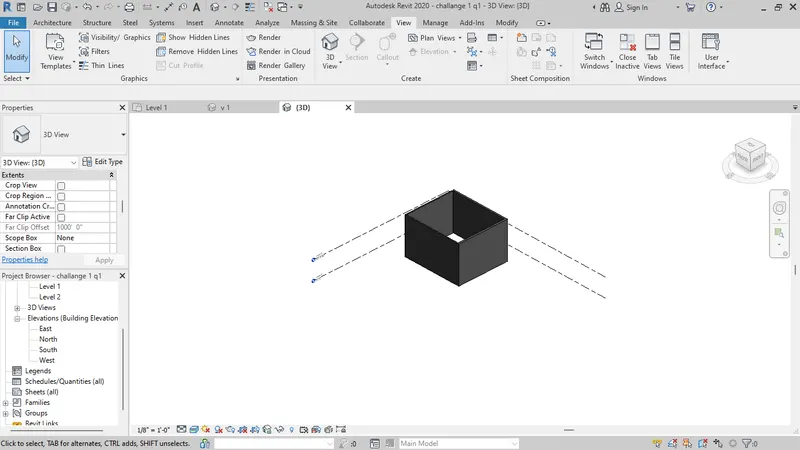
- Click on the realistic
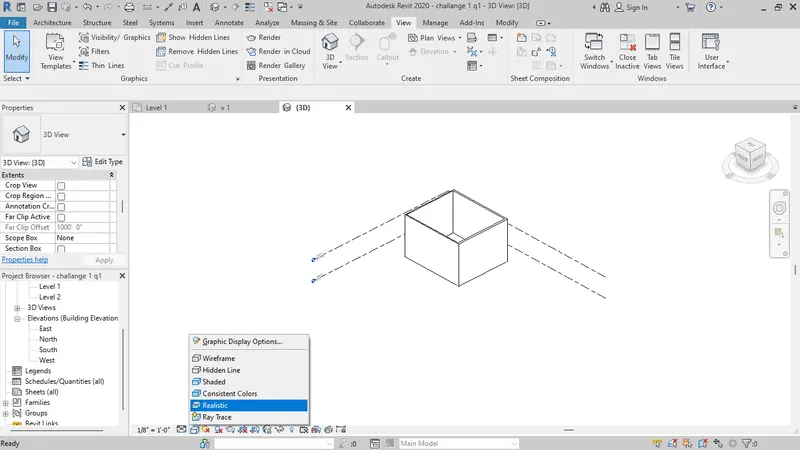
- When click on realistic it will look like as below fig.
Ans9:
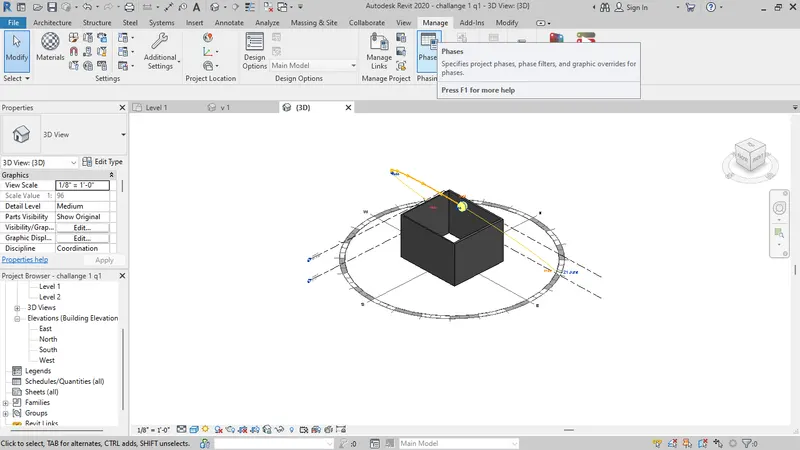
- Sun path is also in the bottom panel
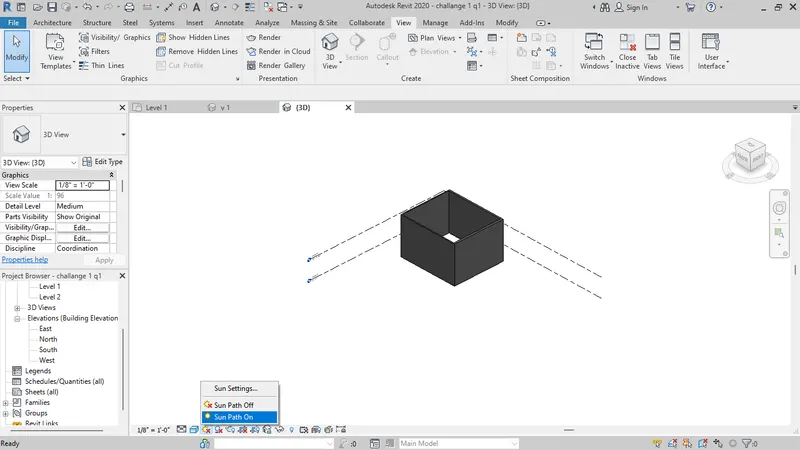
- You can click on sun path Option turne On
Ans10:
- Go to manage tab
- There will Project Information option in setting click on that
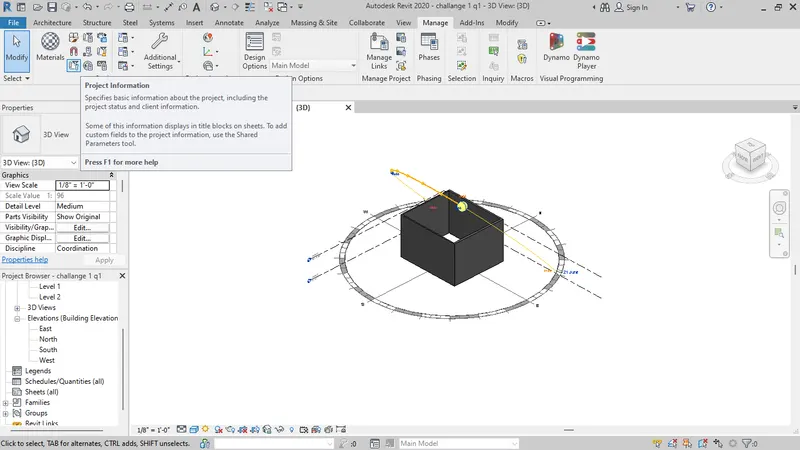
- There will pop screen will open
- In that you can change the Project name, issue date.
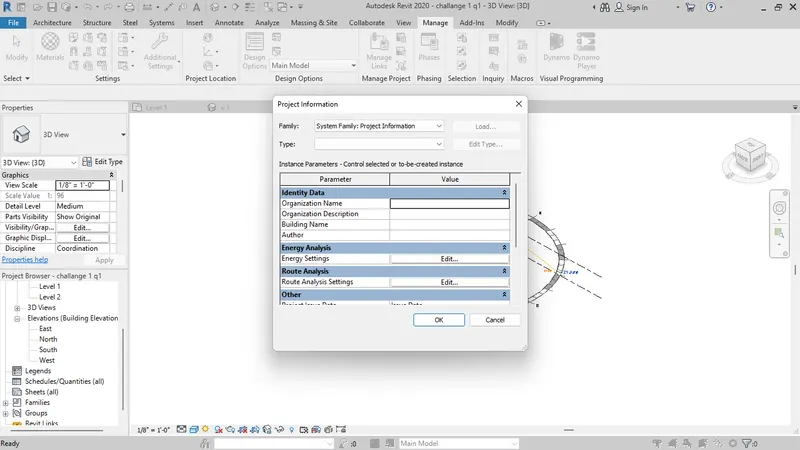
- As you can see below figs. I have change name, date etc.
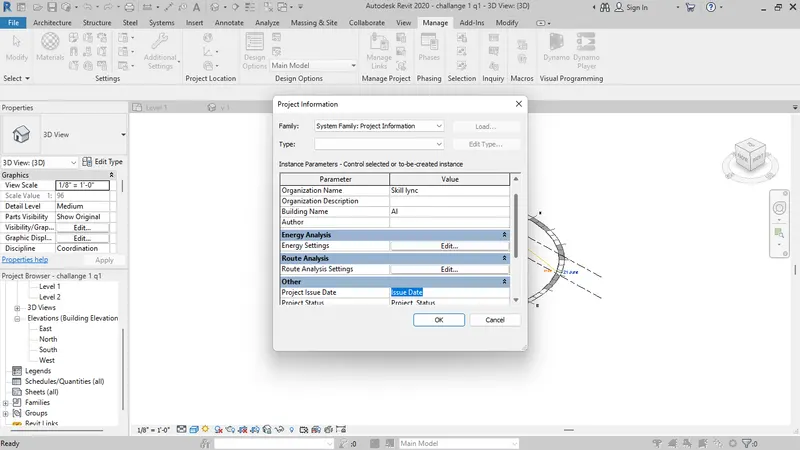
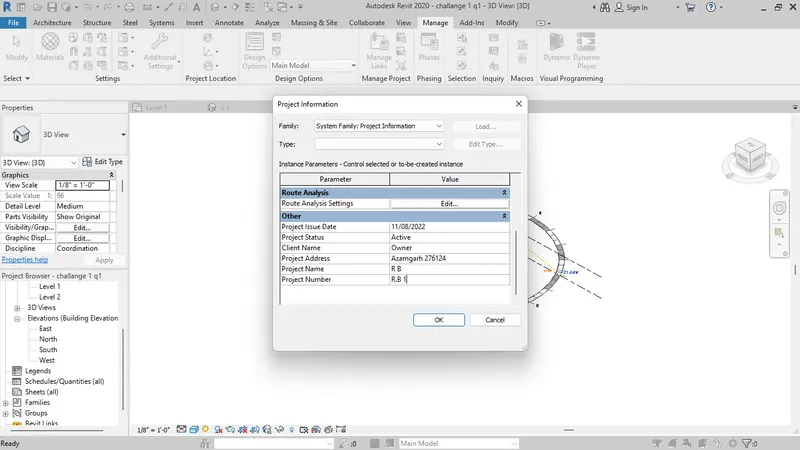
Ans11: Analyze toolbar used in Revit and beneficial for design and modeling: Analyse toolbar helps you to perform analysis on our structural building. The boundary conditions enable you to define point line and area boundary conditions in an analytical model.
Ans12:
- Link Revit: Links one revit model to the other or the current revit project.
- Link CAD: links CAD file to the present revit project.
- Link IFC: Links an IFC file to the current project for the information that is requried for additional design work.
- Link Topography: It links the existing topography to the present revit model.
- Link Image: It allows us to link an image for the progressing revit model.
- Manage links: It manages the links such as CAD, mark up the DWF files and all the BIM works that are related to the present file.
- Link PDF: It allows us to link an image for the progressing revit model.
- Coordination Model: It links up a NWD or NWC file to extract content for the revit model.
- DWF Markup: It links the markes up DWF files into the present revit project so that we can see mark-ups in the corresponding sheets.
- Point Cloud: It links a point cloud file to the current revit project.
Ans13:
In collaboration tab Revit provides several different ways to collaborate with team members who are also using the software. You can link multiple Revit models together, allowing team members to work in context. Through worksharing, users on the same local area network (LAN) can work together in the same Revit model.