Introduction to REVIT concepts
1.)
Aim
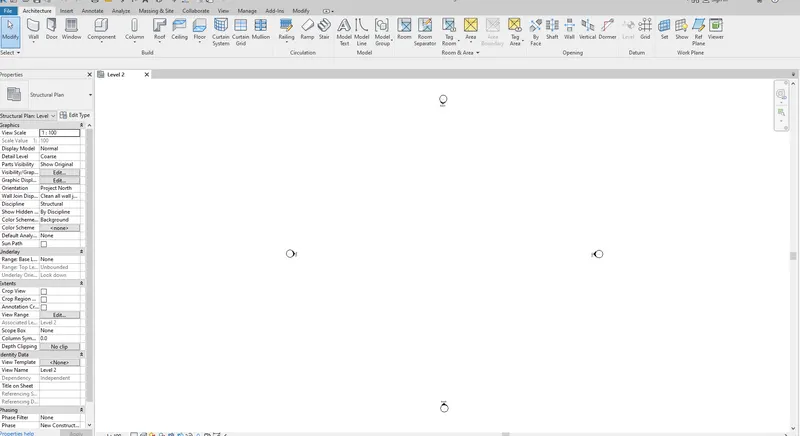
- From the file menu, create a new project (Structural / Architectural / Construction template ) and name the project appropriately
Procedure
- open the revit
- click the new tab
- select the any template (construction,structure,arch)
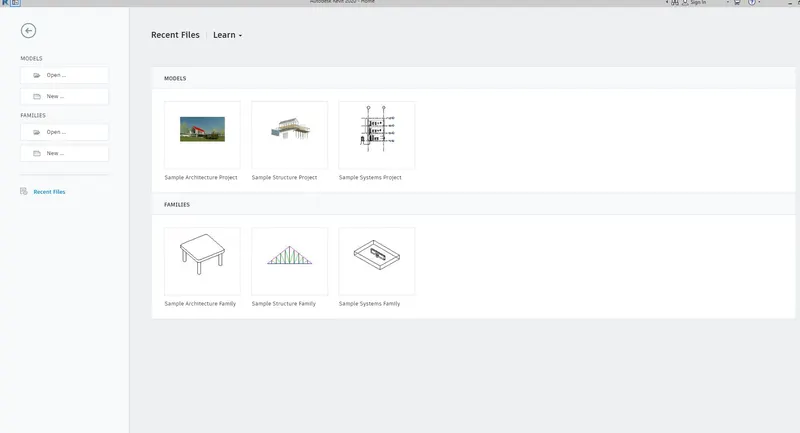
Result
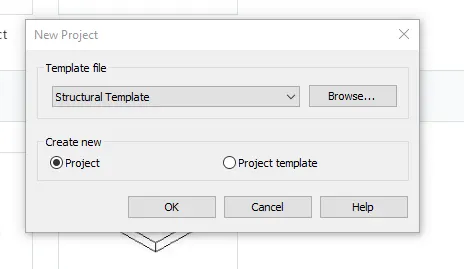
2.)
Aim
- Save the new project file. Close and open using icons from file toolbar
procedure
- And save the project as shown
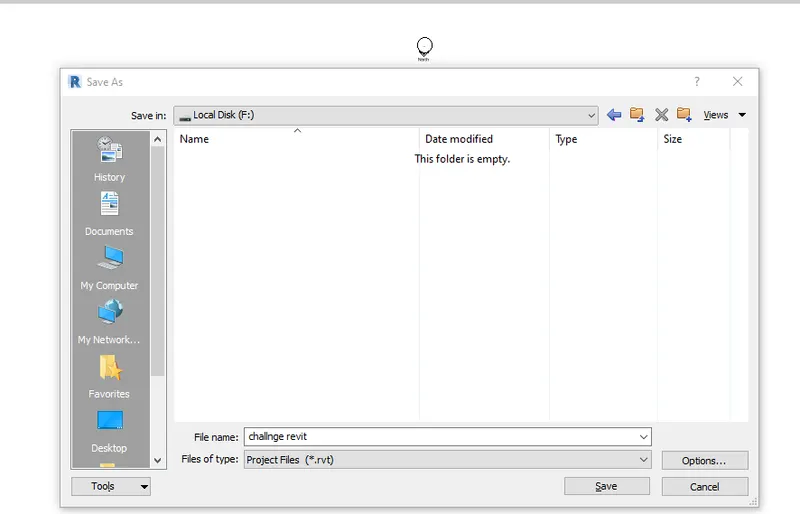
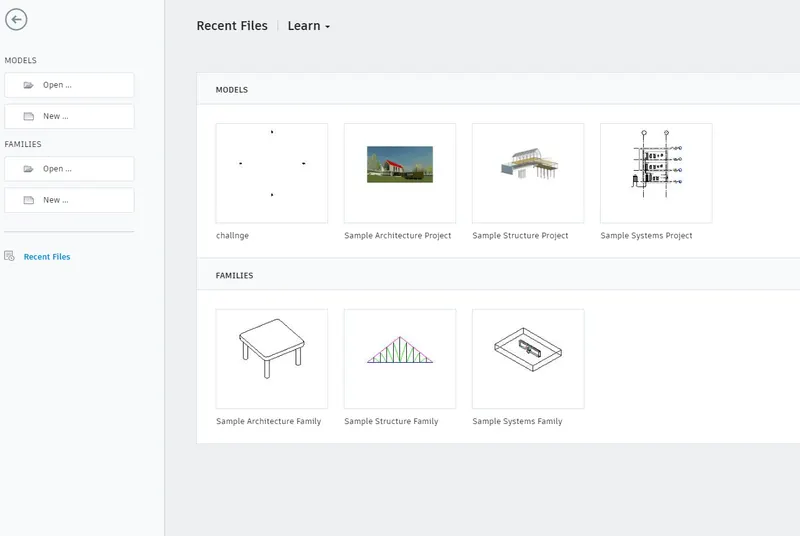
Result
3.)
Aim
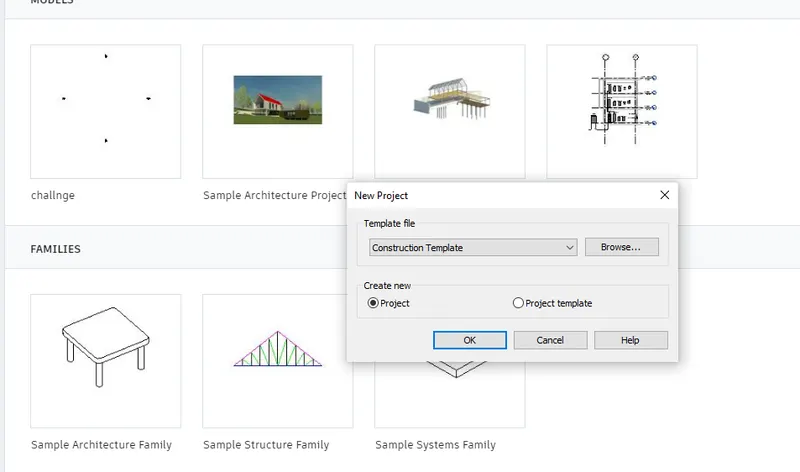
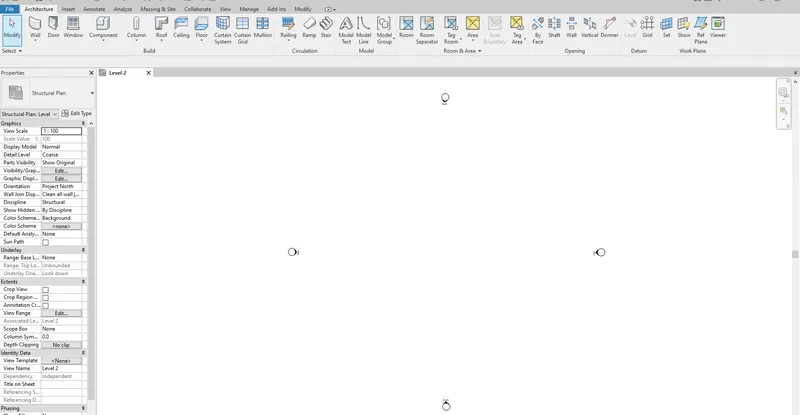
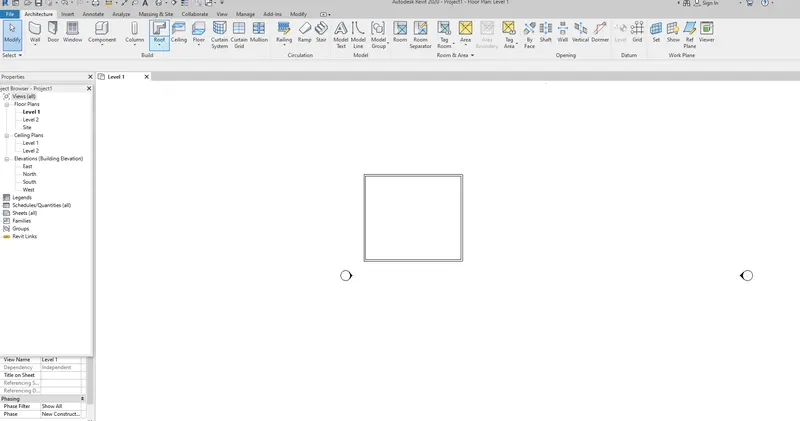
- From the architecture/ structure toolbar familiarize with options to draw a wall. Create a rectangular layout of walls of about 40’-0” X 35’-0”
procedure
- open the revit
- take any templates
- Draw a wall of 40',35'
Result:
4.)
Aim
- From the Annotate toolbar use the aligned option to add dimensions to the layout
procedure
- open the revit
- Draw the rectangle wall
- open the annoatative tab
- put the linear dimensions
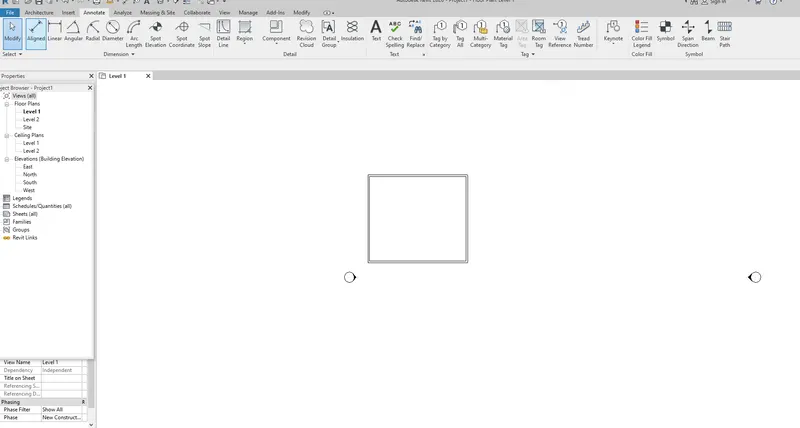
Result
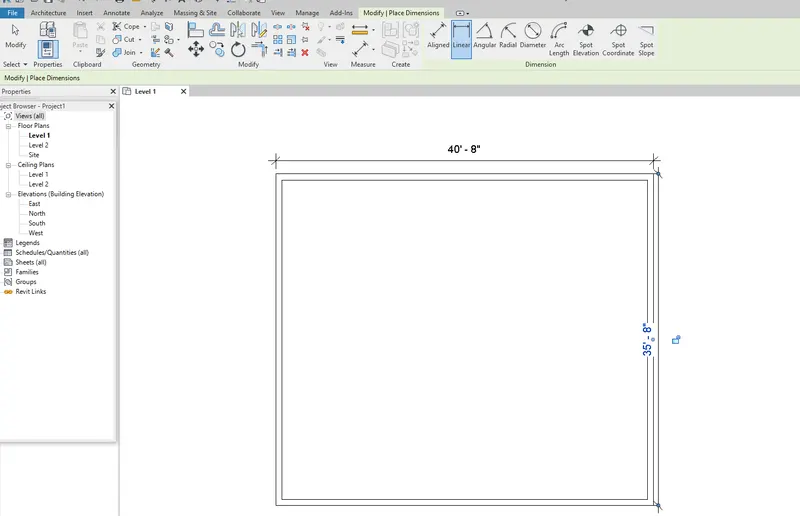
5.)
Aim
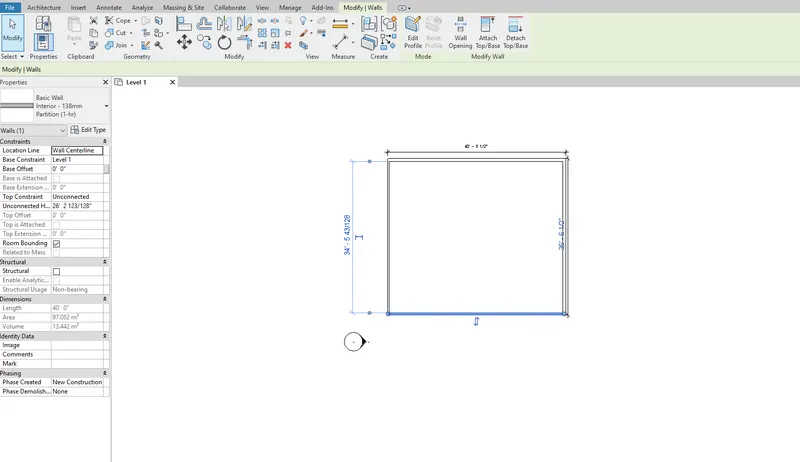
- Use the properties browser to switch to different wall types
procedure
- Open the revit
- Draw the rectangle wall
- Move to the properties and change the wall style and dimesions
- Repeat the process
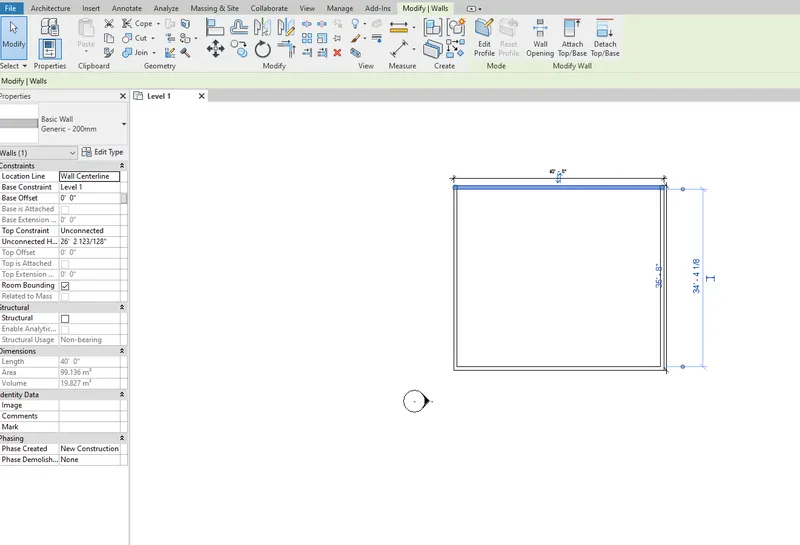
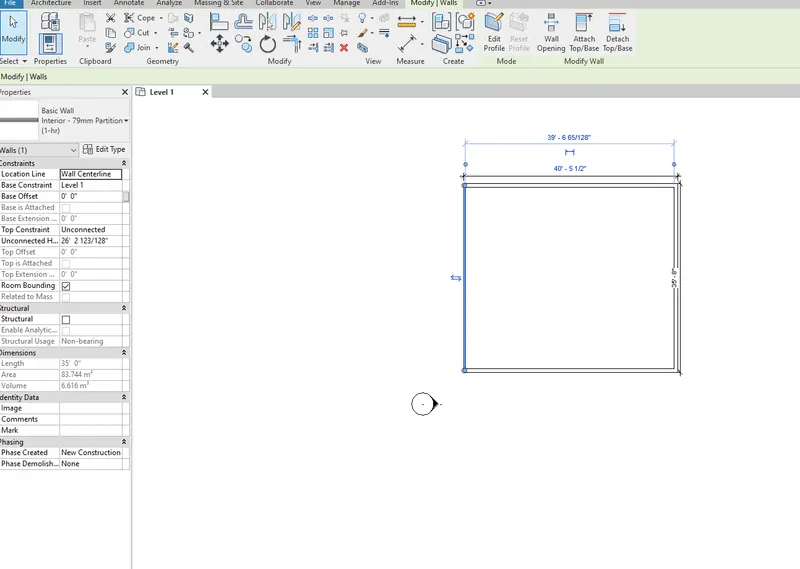
Result
6.)
Aim
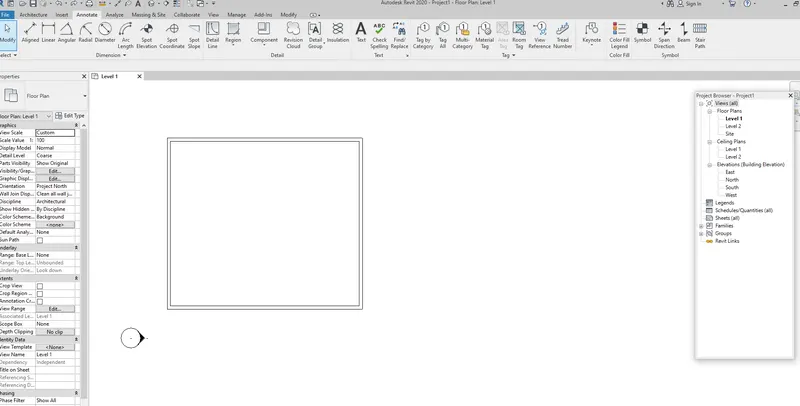
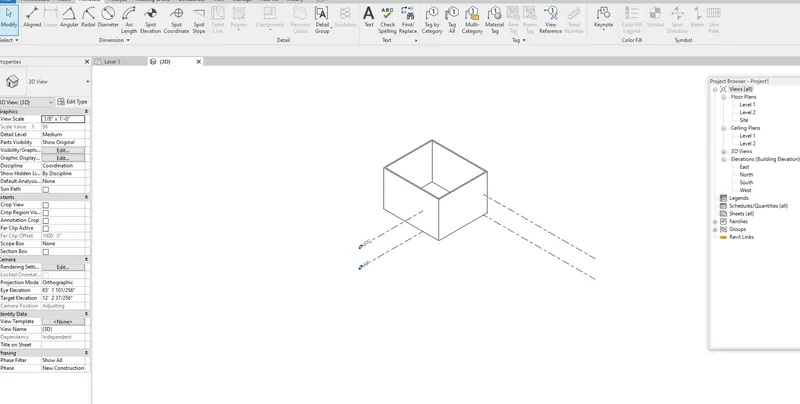
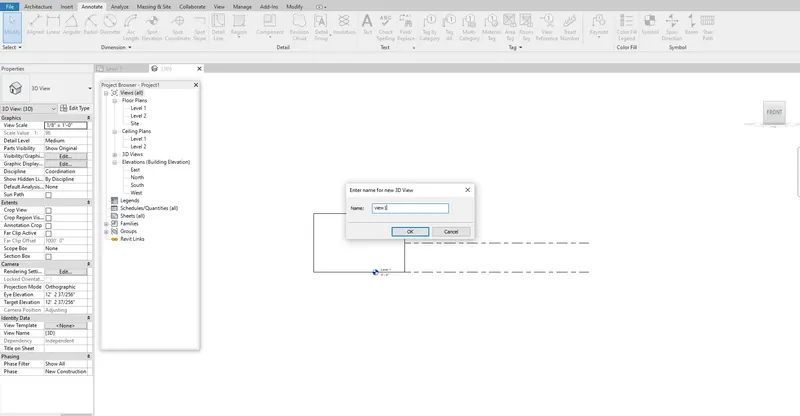
- Create a 3D view from the view toolbar and save the view with the appropriate name.
procedure
- Open the revit
- Draw the rectangle wall
- And save with new new views
- using the cube save proper views
Result
7.)
Aim
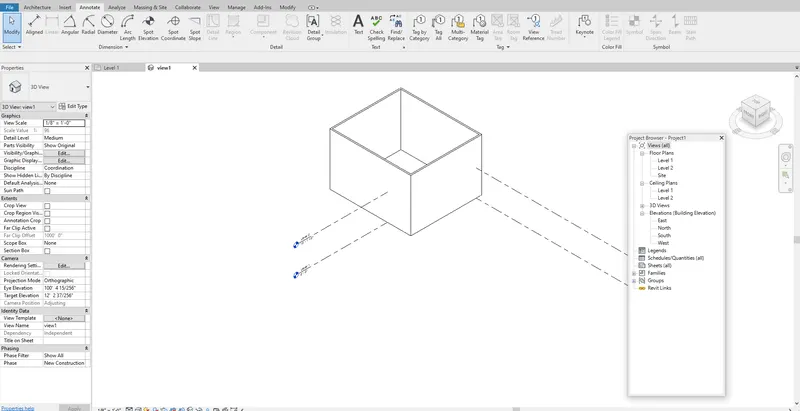
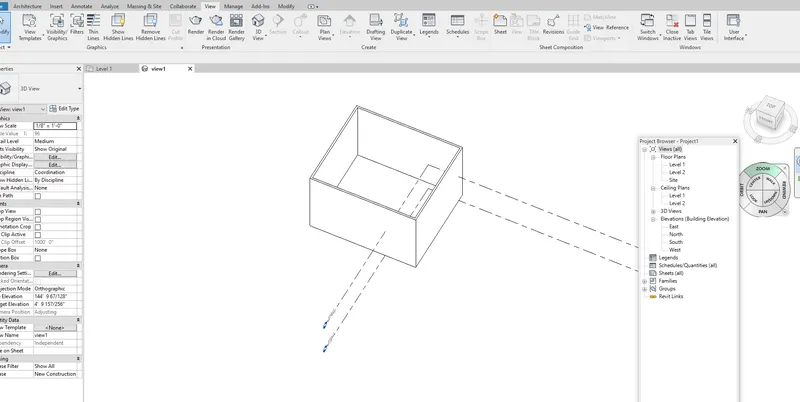
- Navigate through the 3D model using the view cube. Orbit/pan through the model layout created.
Procedure
- Open the revit
- Creat the rectangle wall
- Move to the view
- And add the navigation tool bar
Result
8.)
Aim
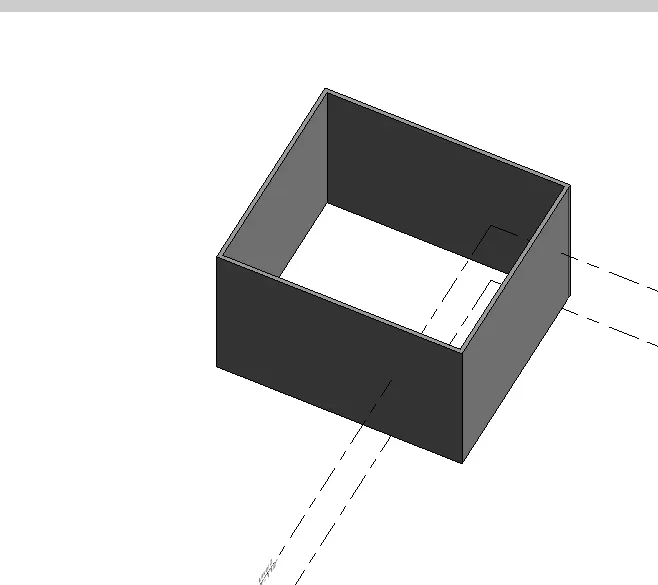
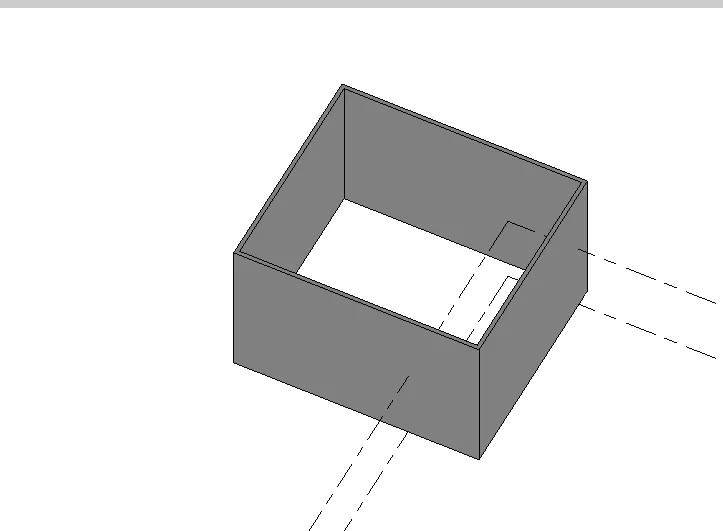
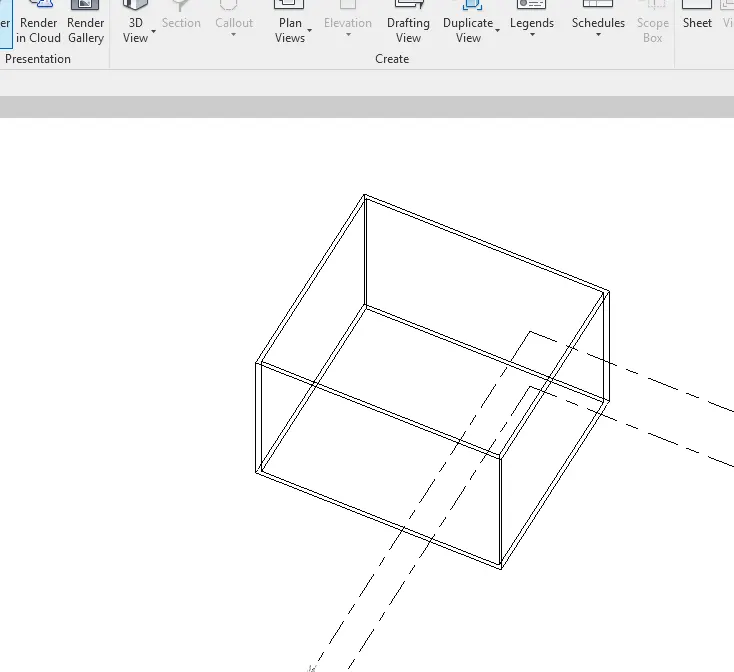
- Use the visibility settings option below to switch model to shaded, realistic, hidden lines options.
Procedure
- Open the revit
- Creat the rectangle wall
- Move to the view
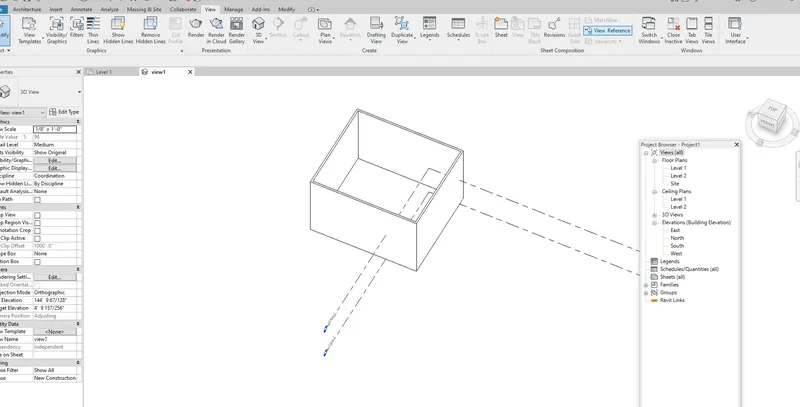
- Go to the bootom bar and change the visual sttyles
- To the realistic,wired,etc
Result
9.)
Aim
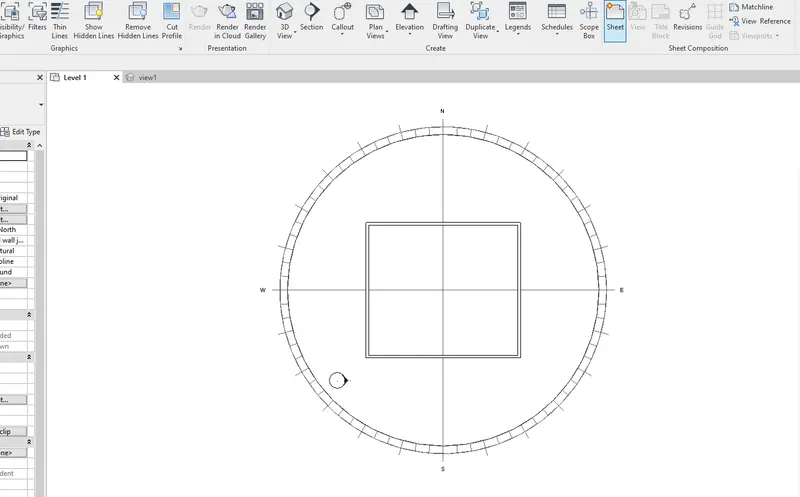
- Turn the sun path on and off to view shadings in the layout created
Procedure
-
- Open the revit
- Creat the rectangle wall
- Move to the view
- Move to bbottom bar and off and On th e sunlight
10.)
Aim
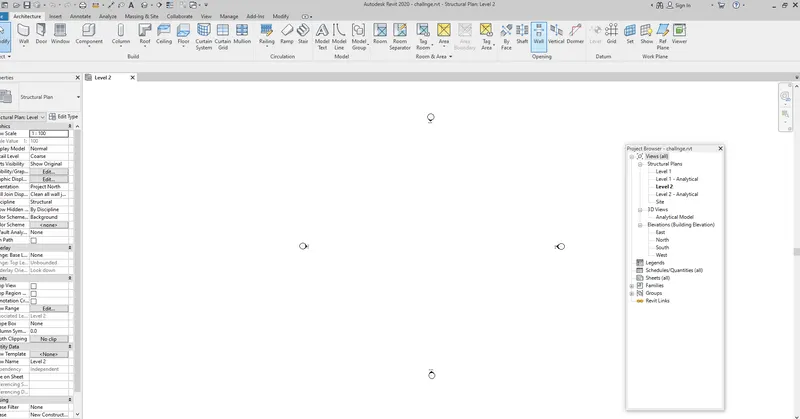
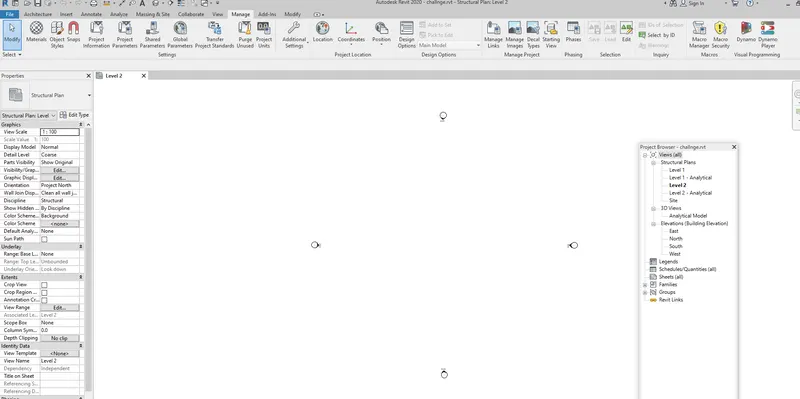
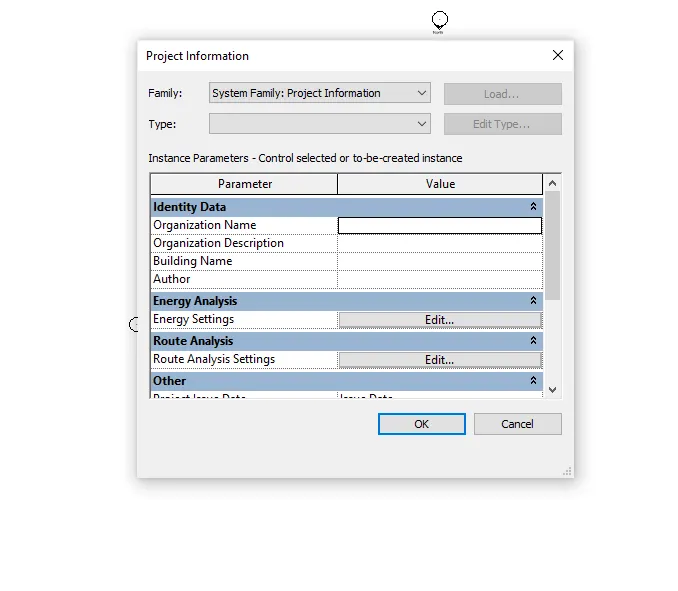
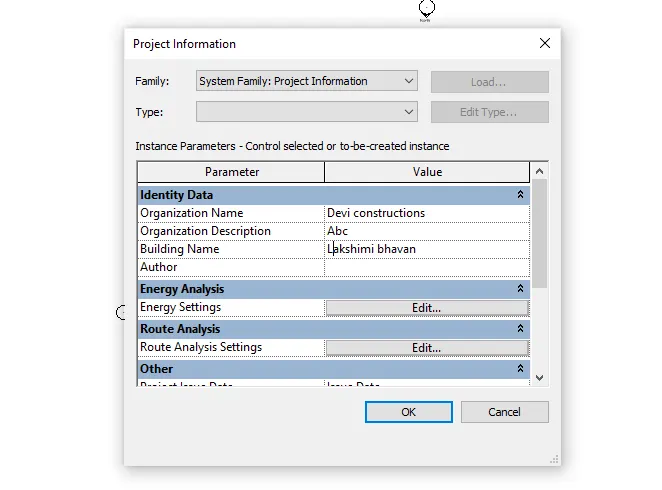
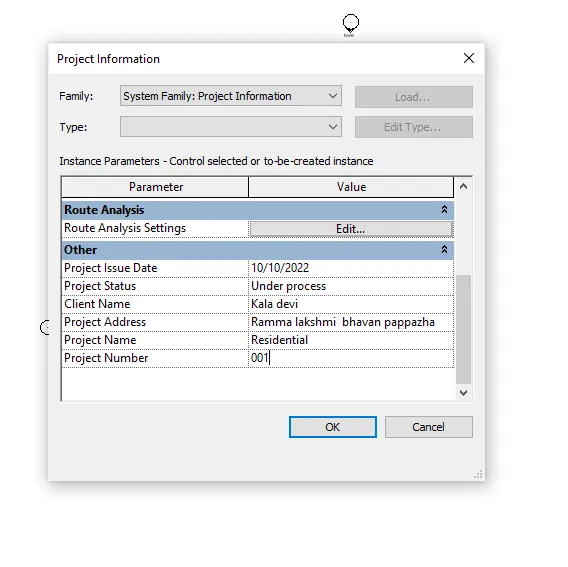
- Use the Manage toolbar to enter project settings, project name, and project issue date (choose according to your convenience).
procedure
- Open the revit
- Go to the manage tool
- There project information
- Type the needed information
Result
11.)
- Analyze tab is a dedcicated tab
- Used to perform structural anlysis of a building
- Boundary construction
- In an alytical manner
- Load option add point load
- Load casses
- Load combination which include formulaq ,type etc..
12.)
- When you link the models into a project.revit opens the link models and keep in memory
- Longer it can open
- Threy are listed in the project browser
- This supports noumber of links as it shown in the figure.
13.)
- To work together
- Cloud sharing
- Work sharing
- central model
which helps to work together also provide good efficiency.