Introduction to REVIT concepts
1) From the file menu, create a new project (Structural / Architectural / Construction template ) and name the project appropriately
Aim:
To create a new project from the file menu in Architectural template by using the Revit software
Introduction:
From the file menu, create a new project (Structural / Architectural / Construction template ) and name the project appropriately
Procedure:
- Open the Revit software
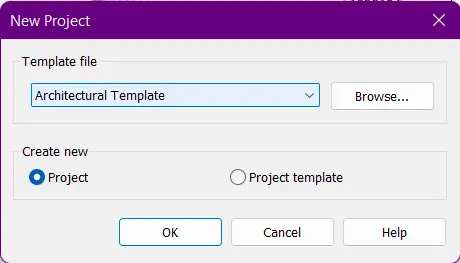
- Click New button and select the template of Architectural and then select the Ok button
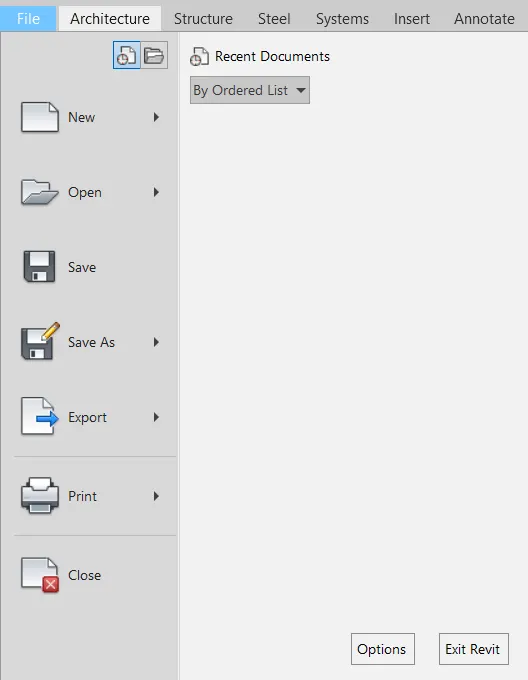
- Here, Save the file using the File manu and give the name Project1
- And click Save button
Result:
The creation of New project in File menu is created by using the Revit software successfully
2) Save the new project file. Close and open using icons from file toolbar
Aim:
To save the new file and close using the file toolbar using the Revit software
Introduction:
Save the new project file. Close and open using icons from file toolbar
Procedure:
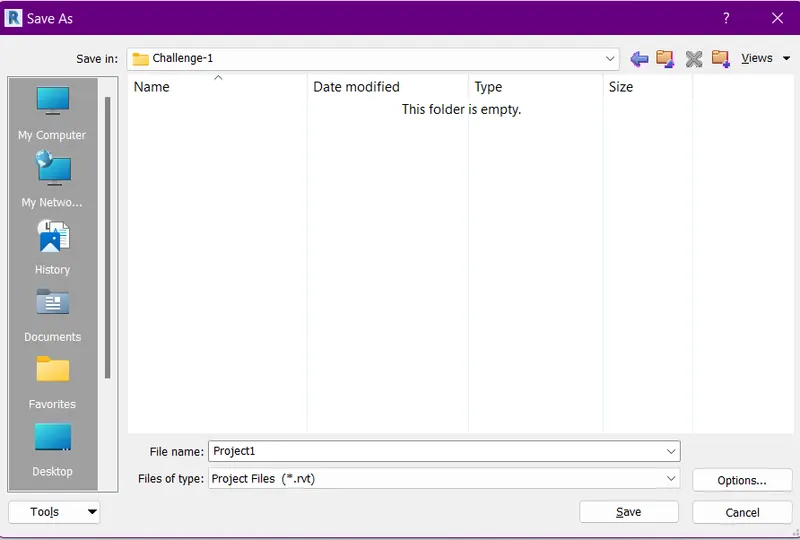
- Save the new file of revit project file
- By the name of Project1 and the Files of type is Project files (*.rvt)
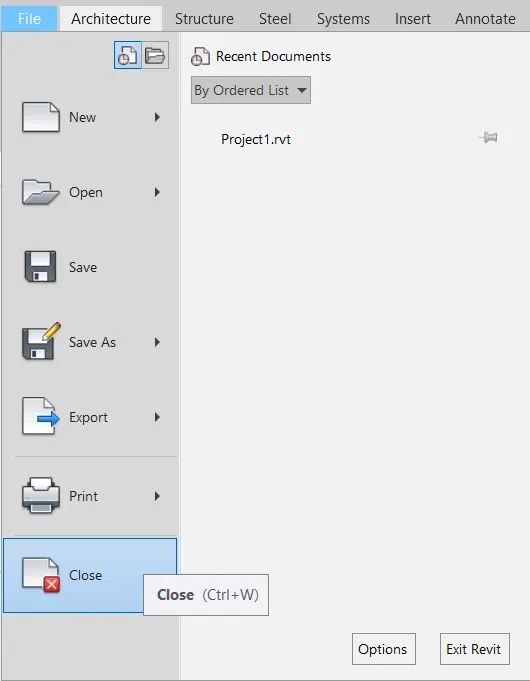
- Here, I have close this file using the File menu toolbar
- And click the file using the option of Close
- Then the revit file is closed
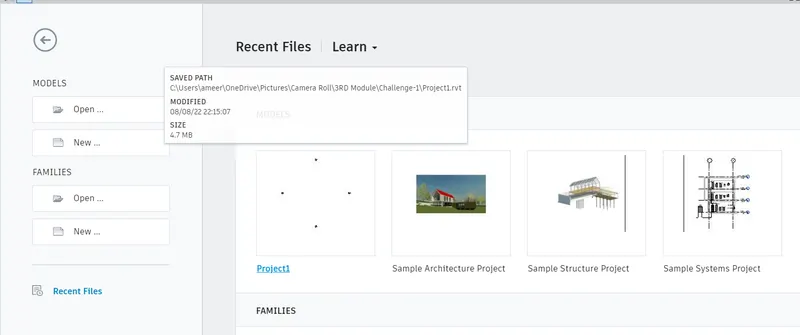
- Then using the Start menu screen in the click the Project1 file and Open this revit file
- Finally edit the project as i want
Result:
The process of Save, Close and Open is know how to do by using the Revit software successfully
3) From the architecture/ structure toolbar familiarize with options to draw a wall. Create a rectangular layout of walls of about 40’-0” X 35’-0”
Aim:
To create a wall with use of Architectural wall in the Architecture tab and create a layout of wall of the dimension of 40'-0" x 35'-0" by using the Revit software
Introduction:
From the architecture/ structure toolbar familiarize with options to draw a wall. Create a rectangular layout of walls of about 40’-0” X 35’-0”
Procedure:
- First of all after open the project the wall will create by using the wall option
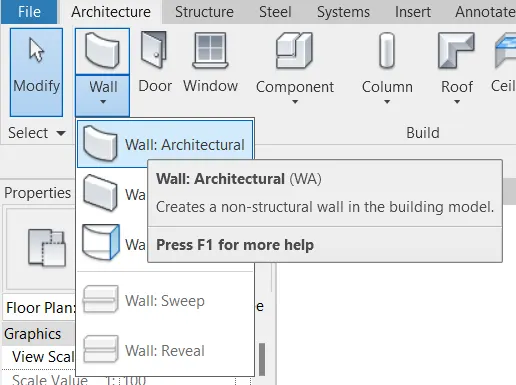
- This option is in the Architecture Tab and click the Wall option
- Then click the Wall:Architecture option
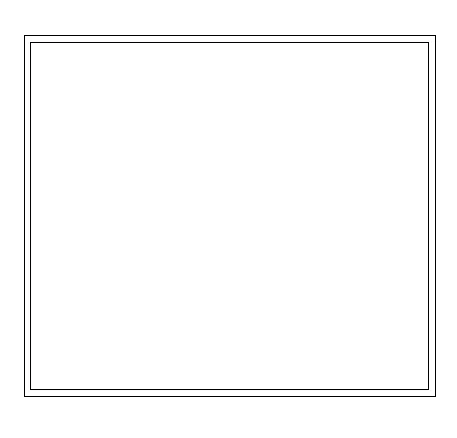
- And then create a layout of the wall in the dimension of 40’-0” X 35’-0”
Result:
The creation of wall with use of Wall:Architecture option in the Architecture tab and layout of the size given in the question is created successfully
4) From the Annotate toolbar use the aligned option to add dimensions to the layout
Aim:
To use the Annotate Toolbar in new file project by using the Revit software
Introduction:
From the Annotate toolbar use the aligned option to add dimensions to the layout
Procedure:
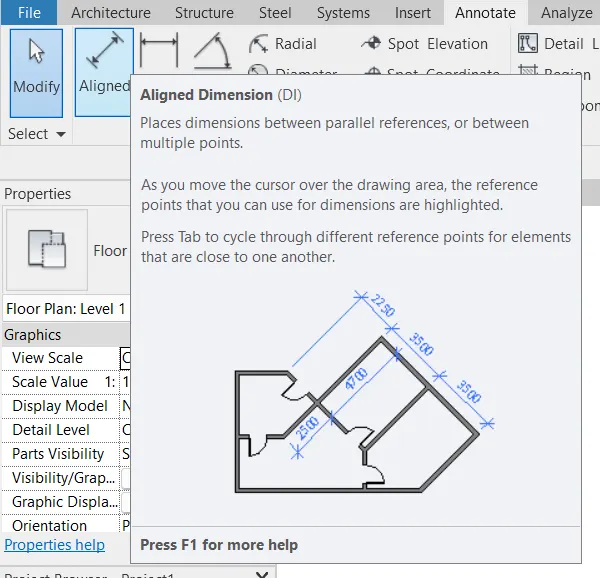
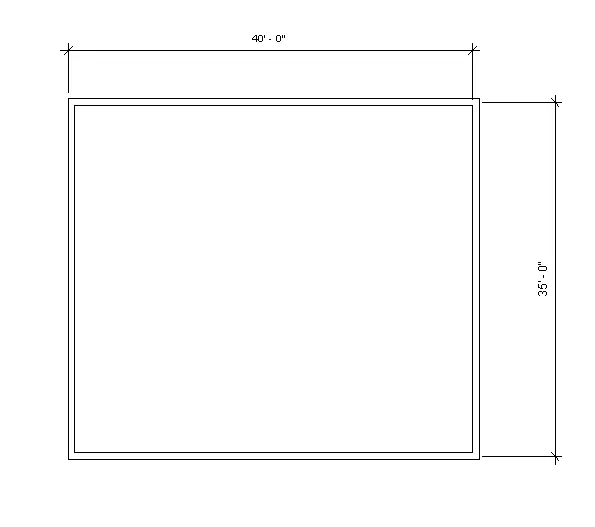
- Here, using the Aligned option int the Annotate toolbar tab for create a annotation for the wall layout drawing
- Select the Aligned option and click layout outer line and added the annotaion in the layout drawing
Result:
The Annotate toolbar use the Aligned option to add dimensions to the layout using the Revit software successfully
5) Use the properties browser to switch to different wall types
Aim:
To use the properties browser to switch to different wall types in newly created layout drawing using the Revit software
Introduction:
Use the properties browser to switch to different wall types
Procedure:
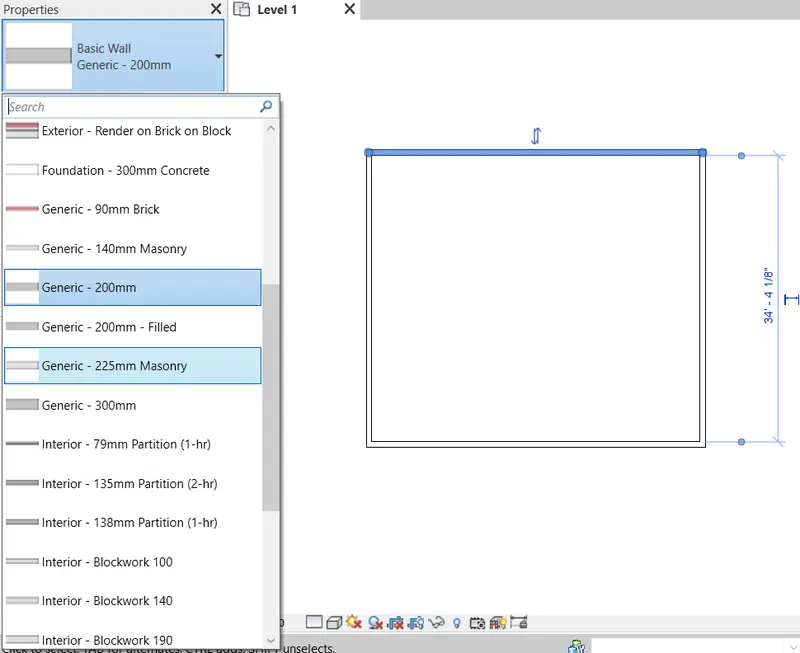
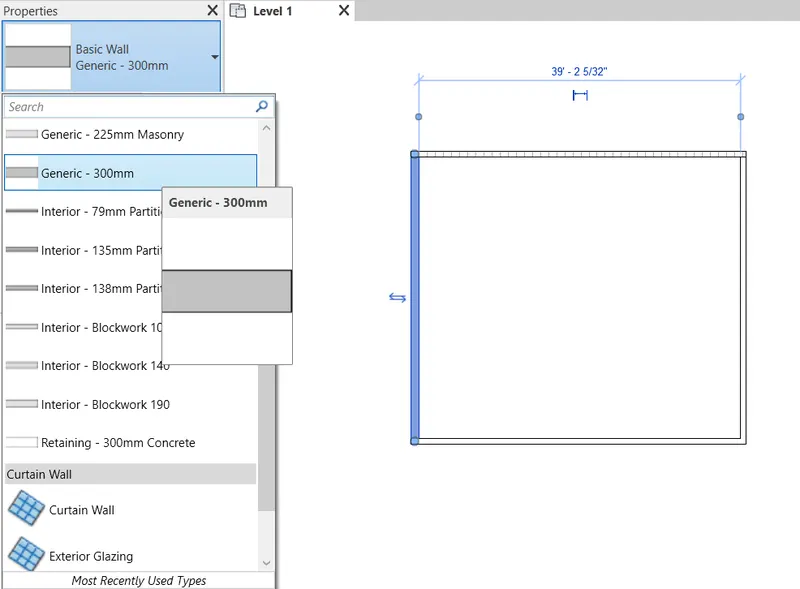
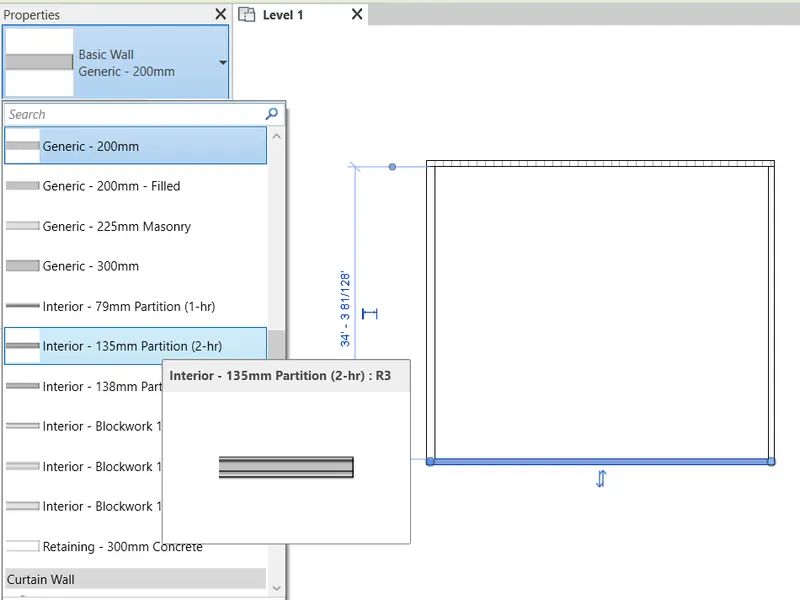
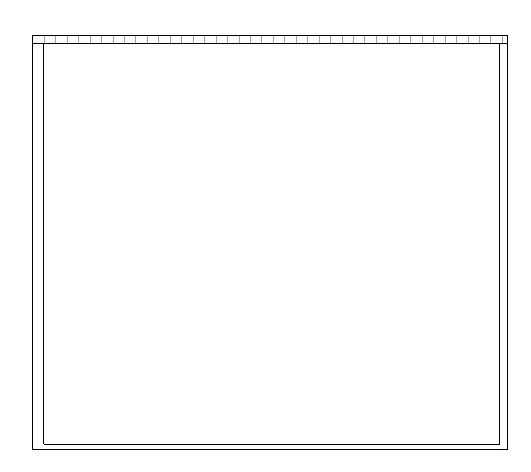
- Here I am used the different types of walls
- First click the any side Wall in the workspace
- And use of Properties browser I change the size of the wall which one I want
- The different walls are taken as shown in below figures
Result:
The use in properties browser to switch to different wall types in newly created layout drawing using the Revit software is successfully
6) Create a 3D view from the view toolbar and save the view with the appropriate name
Aim:
To create a 3D view from the view toolbar and save the view with the appropriate name using the Revit software
Introduction:
Create a 3D view from the view toolbar and save the view with the appropriate name
Procedure:
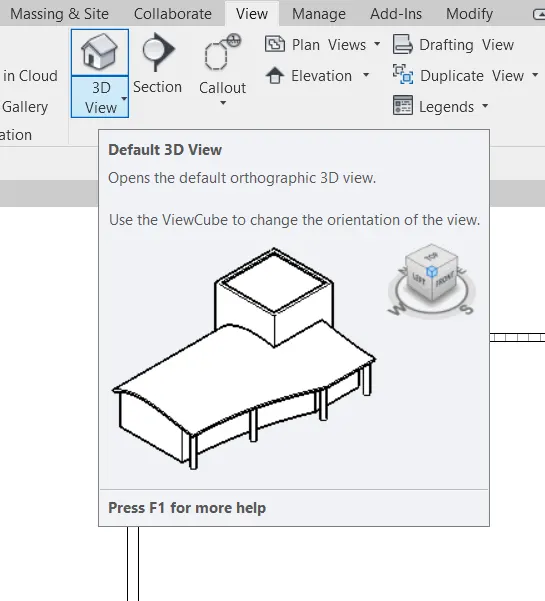
- Here, using the View toolbar and click the 3D View for see the 3D view of the layout drawing
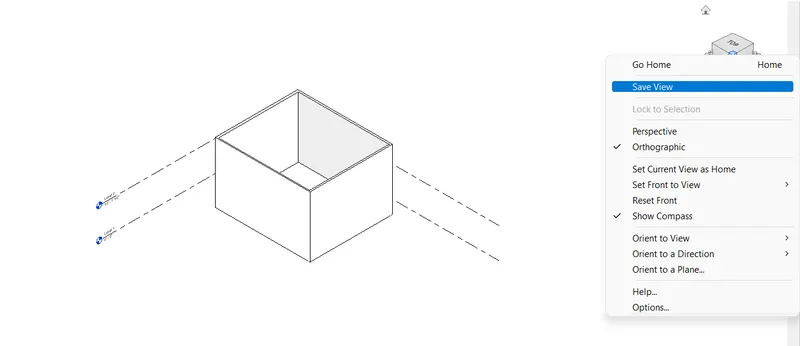
- Right click the 3D view cube and click the Save view
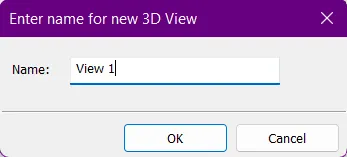
- And give the name of the view is View 1
Result:
The creation of 3D view from the view toolbar and save the view with the appropriate name using the Revit software successfully
7) Navigate through the 3D model using the view cube. Orbit/pan through the model layout created
Aim:
To use the Navigate through the 3D model using the view cube. Orbit/pan through the model layout created using the Revit software
Introduction:
Navigate through the 3D model using the view cube. Orbit/pan through the model layout created
Procedure:
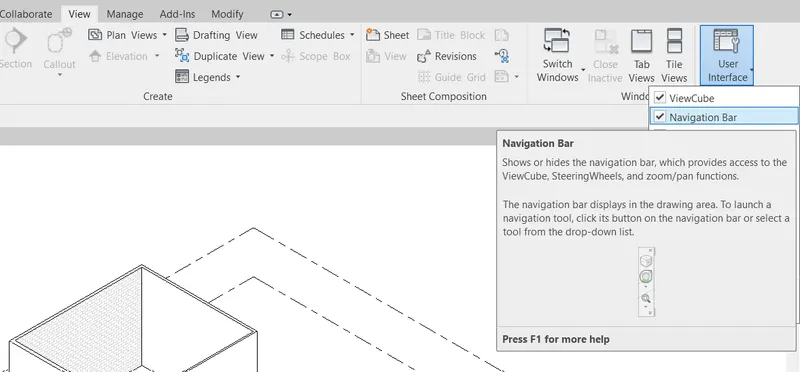
- Click the View toolbar and select the User Interface option
- And select the Navigation Bar
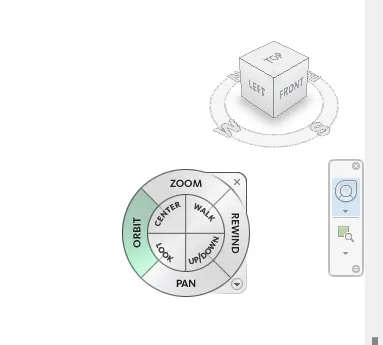
- The Navigation bar will appear in the workspace
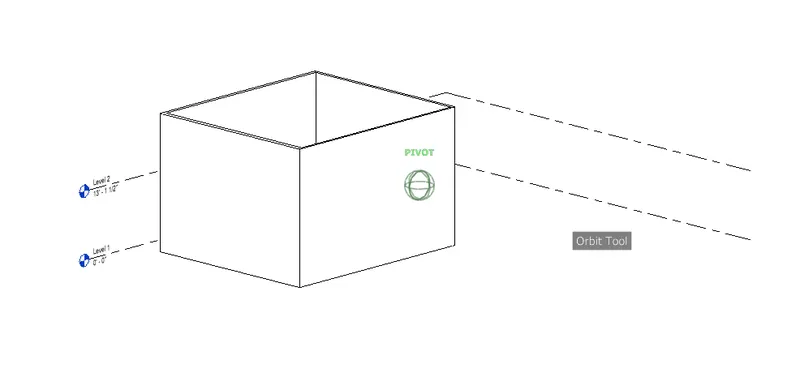
- Use the Orbit/Pan option and use the orbit tool in the 3D view of the building
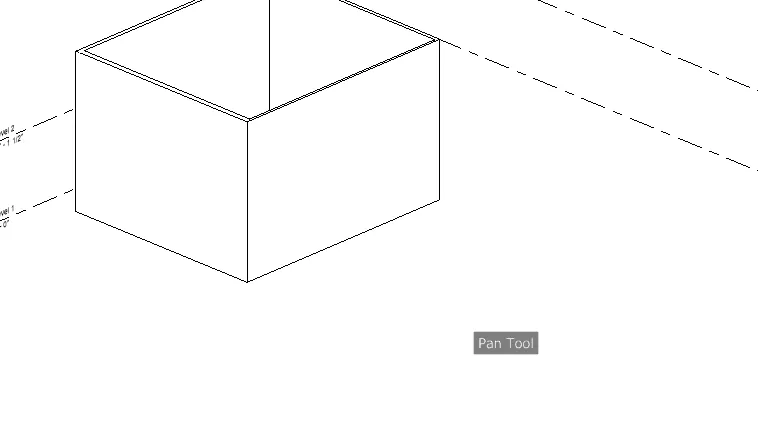
- Use the Pan tool option and pan the building
Result:
The use of Navigate through the 3D model using the view cube. Orbit/pan through the model layout created using the Revit software successfully
8) Use the visibility settings option below to switch model to shaded, realistic, hidden lines options
Aim:
To use the visibility settings option below to switch model to shaded, realistic, hidden lines options using the Revit software
Introduction:
Use the visibility settings option below to switch model to shaded, realistic, hidden lines options
Procedure:
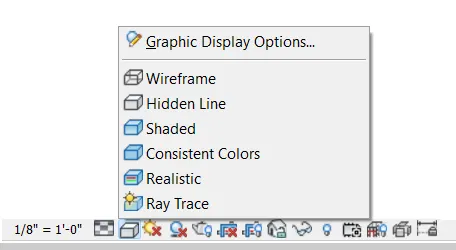
- Here, select the Graphic Display Option tool
- And select the option which one is I want
- First select the Shaded option
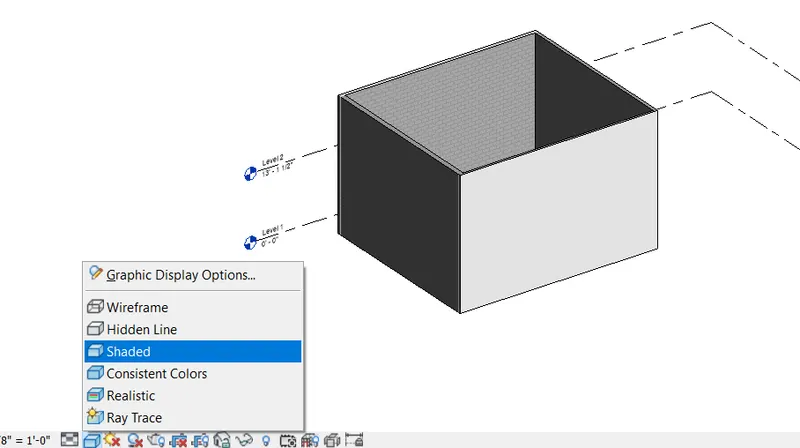
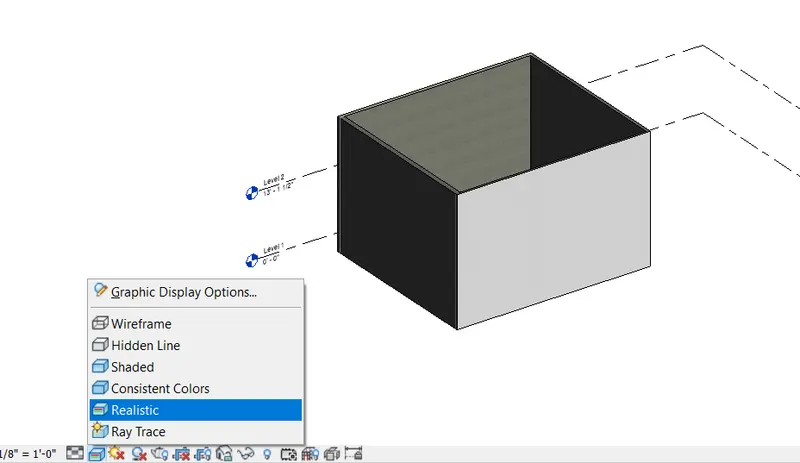
- Then select the Realistic option, this view is as shown in below figure
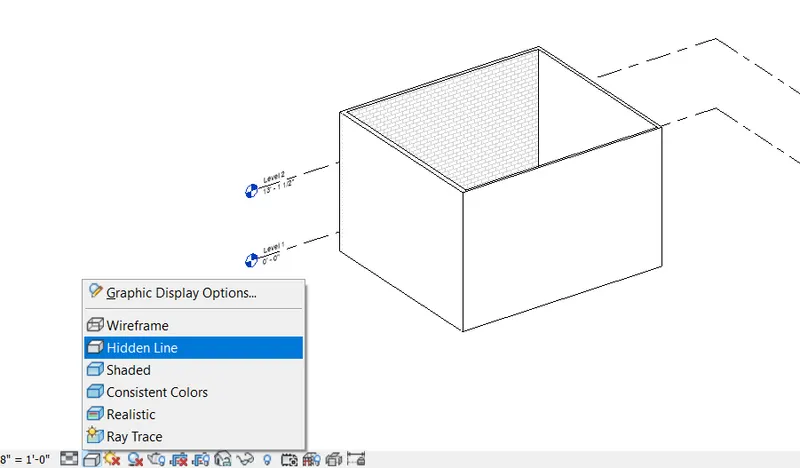
- And then select the Hidden line, the view of the drawing is as shown in below
Result:
The use of visibility settings option below to switch model to shaded, realistic, hidden lines options by using the Revit software successfully
9) Turn the sun path on and off to view shadings in the layout created
Aim:
To turn the sun path on and off to view shadings in the layout created using the Revit software
Introduction:
Turn the sun path on and off to view shadings in the layout created
Procedure:
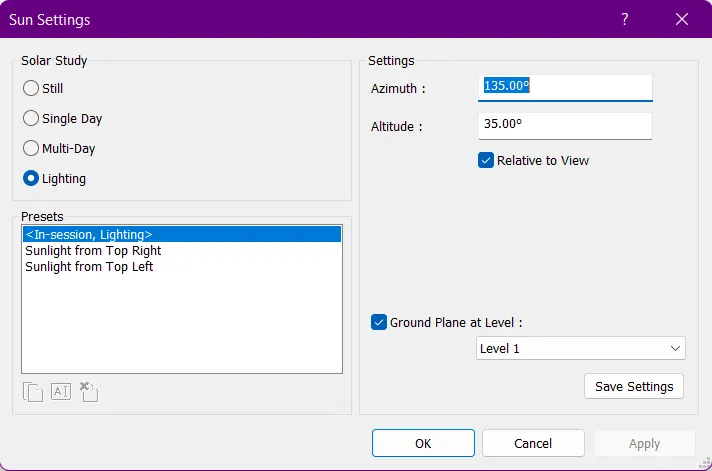
- Select the Sun setting option in the workspace
- And select the Sun Path On and Off option
- The sun path option is create the as I want
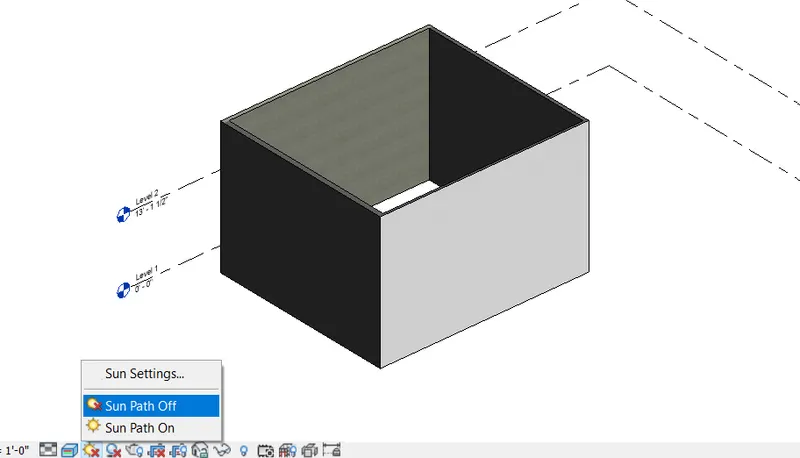
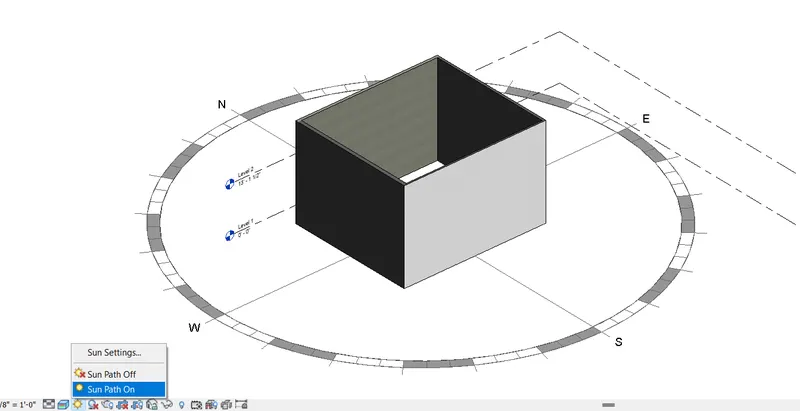
- Here the Sun setting option is shows the sun path will appear
- Then click Ok button
- The sun path is created
Result:
Turn the sun path on and off to view shadings in the layout created by using the Revit software successfully
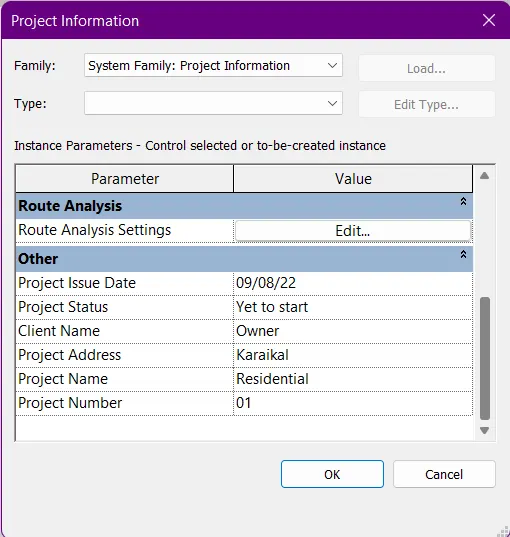
10) Use the Manage toolbar to enter project settings, project name, and project issue date (choose according to your convenience).
Aim:
To use the Manage toolbar to enter project settings, project name, and project issue date using the Revit software
Introduction:
Use the Manage toolbar to enter project settings, project name, and project issue date (choose according to your convenience)
Procedure:
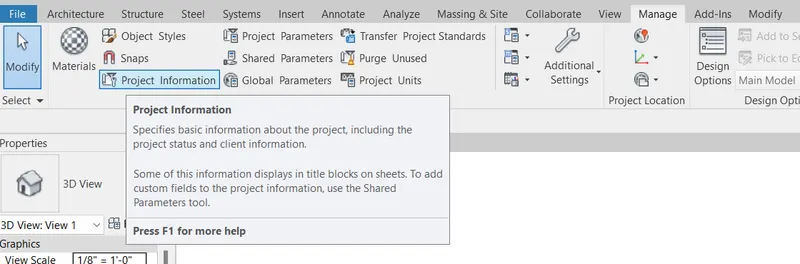
- Here, select the Manage toolbar
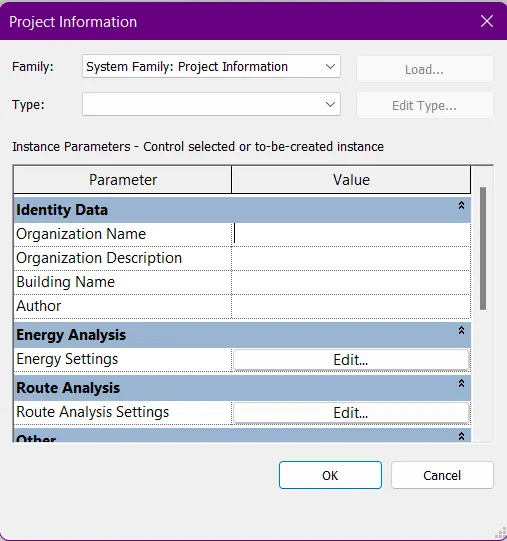
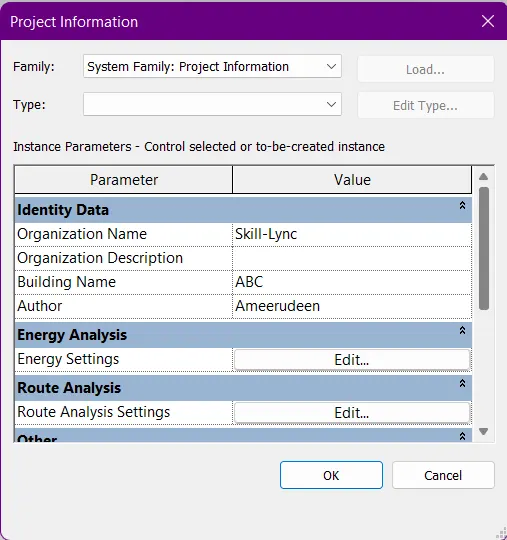
- And select the Project Information and give the project settings, project name, and project issue date (choose according to your convenience)
- The Project information is give as I want
- The project information is created as given in below figures
Result:
Use the Manage toolbar to enter project settings, project name, and project issue date by using the Revit software software
11) What is the Analyze toolbar used in Revit? How it is beneficial for design and modeling
- Analyze toolbar is available in the revit software is dedicated tab called analyze
- In this analyze tab used to perform structural analysis of the building. It has various option to analyze the structure
- Enable the analyze process
- Here, we can load the building as our wish and analyze the stucture
- It has boundary condition and load and ect options in this tab for analyze the structure
- The Analyze toolbar is shown as below figure

12) What are the links that Revit supports to be linked to the model?
Topics in this section
- About Adding Links that Require an Upgrade
When you link a Revit model to the current model, a message displays if the linked model needs to be upgraded to the current software release. - Video: Link Models
Link models to coordinate the design when collaborating across disciplines. - Link One Model to Another
Open an existing model, and link another model to it. - Show or Hide Nested Models
When linked models are nested, you can control the display of the nested models. - Map Phases Between Linked Models
You can manually set up a correspondence between phases in the host model and phases in the linked Revit model. - Copy a Linked Model in the Host Model
You can copy a linked model to create multiple instances in the host model. - Copy Elements from a Linked Model
Elements from linked Revit models can be copied to the clipboard and then pasted into the host model. - Select Elements in a Linked Model
When working with a linked model, you can select individual elements that are part of the link.
13) Why do you need the Collaborate tab in Revit? How it supports modeling and its efficiency
Collaborate:
- Work together
- Cloud sharing
- Work sharing
- Central Model
- The multiple revit model can be linked together allowing to work in contacts. When there is a need for collaboration to occur among users who are not in the geogrophical location. By using revit software they can use multiple people can work together in the single project without any disturbance
- Revit is more usefull for work sharing via cloud sharing. It is predesign future to be communicate a effectively via visual template
- It is known as central model from existing. The central model stores the current ownership information for all works and elements in project and act as the distribution point for all changes to the model. So, all the users should have own copy in central model. They can carry locally in this worksapce anf they can also cenralize with publish changes the central model