Introduction to REVIT concepts
1.From the file menu,create a new project (structural/architectural) and name the project appropriately.\
AIM:-create a new project (structural/architectural) and name the project appropriately.
INTRODUCTION:- revit is an autodesk product and is a building information modelling software for architects,landscape architects,structural enginears,electrical etc.
PROCEDURE:-
STEP-1:- open revit
click the windows button and type revit and press enter
Once the revit is open ,the home page is as follows
STEp-2
creating architectural template
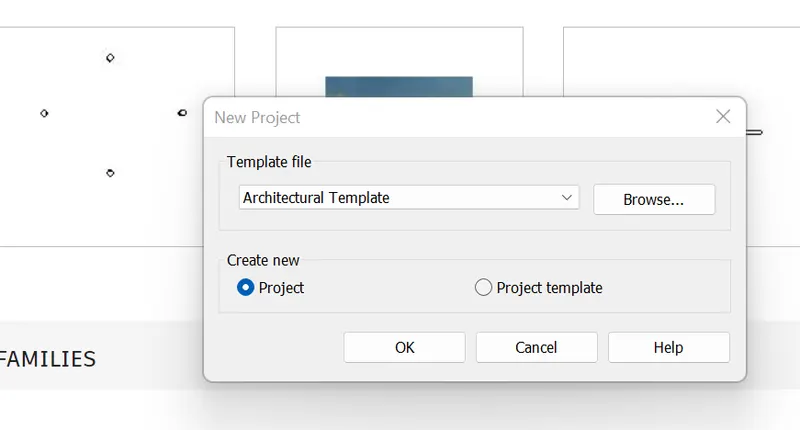
Step-3
go to file menu and save it.
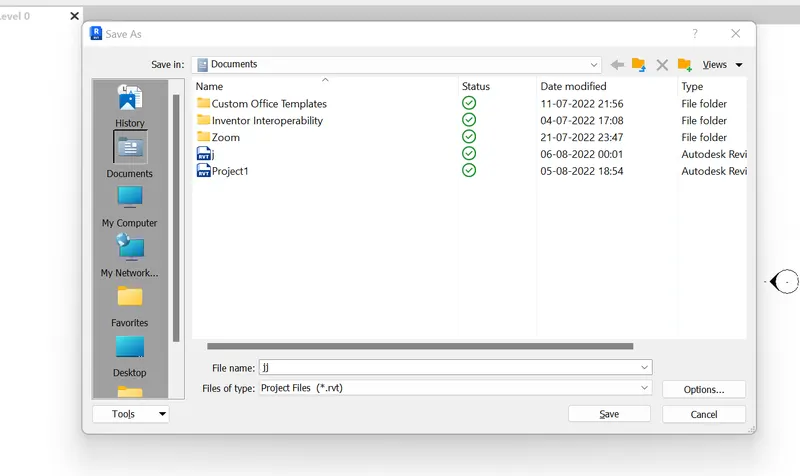
RESULT:-
2. SAve the new project file.close and open using icons from the file toolbar
AIm:- to create new project ,close and open using icons from the file tolbar
introduction:-revit is an autodesk product and is a building information modelling software for architects,landscape architects,structural enginears,electrical etc.
PROCEDURE:-
Step-1 :- open revit
Step-2 draw any drawing
- draw a wall and give required dimensions into it
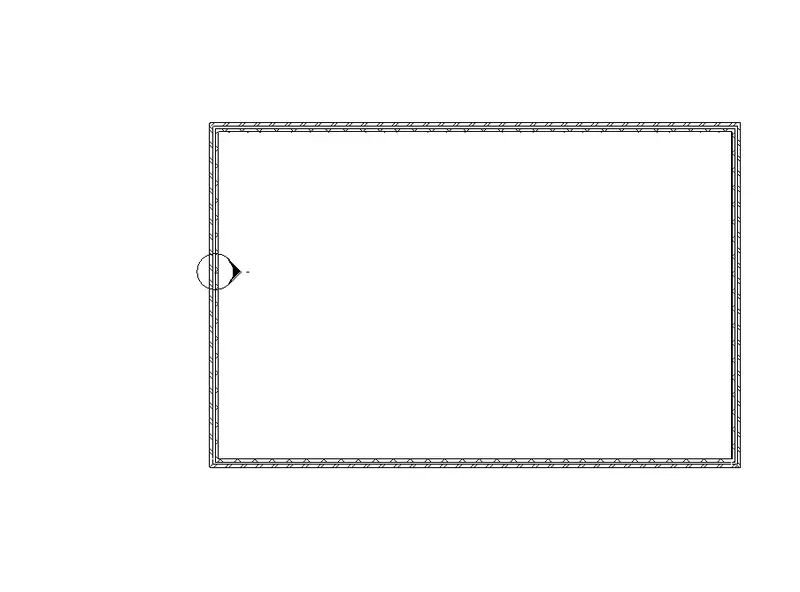
Step-3 save the file and give the name jj
Result:-
3. From the architectural /structural toolbar familarise yourself with options to draw a wall. create a rectangluar layout of walls of about 40'*35'
AIM:- to create an architectural structural toolbar familarise yourself with options to draw a wall. create a rectangluar layout of walls of about 40'*35'
Introduction:--revit is an autodesk product and is a building information modelling software for architects,landscape architects,structural enginears,electrical etc.
Procedure:-
STEP-1 open revit and create a new file
Step-2 create architectutral wall
Step -3 give dimensions to it by going into annotate tab
result:-
4. from the annotate toolbar use the aligned option to add dimensions to the layout
Aim;-use annotate toolbar use the aligned option to add dimensions to the layout
Introduction:--revit is an autodesk product and is a building information modelling software for architects,landscape architects,structural enginears,electrical etc.
procedure:-
STEP-1 open revit and create a new file
Step-2 create architectutral wall
STEp-3 go tto annotate and select aligned option
REsult:-
5. Use the properties browser to switch to different wall types.
Aim;-to change the wall type using properties browser
Introduction:--revit is an autodesk product and is a building information modelling software for architects,landscape architects,structural enginears,electrical etc.
procedure:-
STEP-1 open revit and create a new file
Step-2 create architectutral wall
STEP-3 go to properties browser to switch to different wall types
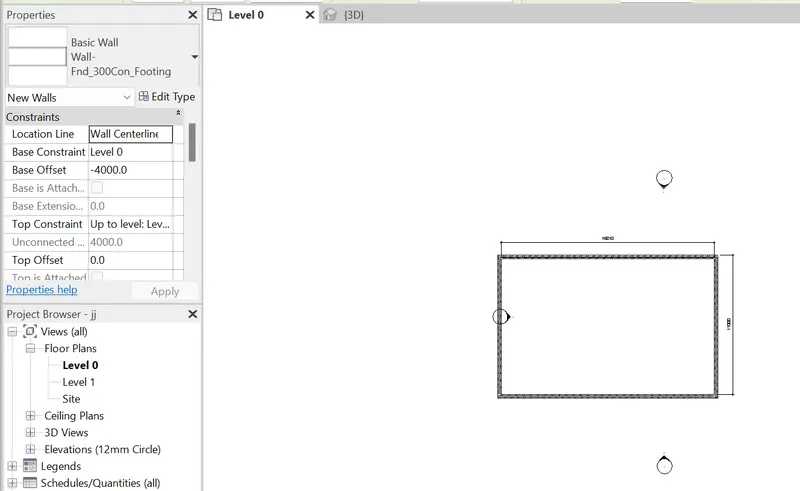
RESULT:-
6. create a 3d view from the view toolbar and save the view with appropriate name.
AIM:- to create 3d view from view toolbar and save the view with appropriate name
Introduction:--revit is an autodesk product and is a building information modelling software for architects,landscape architects,structural enginears,electrical etc.
procedure:-
STEP-1 open revit and create a new file
Step-2 create architectutral wall
Step-3 go to 3d menu and give 3d shape
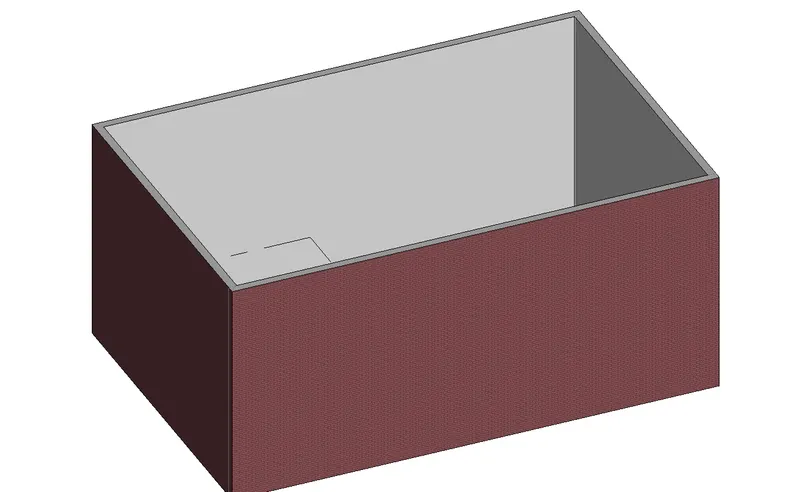
RESULT:-
7.AIM:- to navigate throught 3d model using view cube .orbit/pan through the model layout created.
Introduction:--revit is an autodesk product and is a building information modelling software for architects,landscape architects,structural enginears,electrical etc.
procedure:-
STEP-1 open revit and create a new file
Step-2 create architectutral wall
Step-3 go to 3d menu and give 3d shape
STEp-4 orbit/pan through the model layout created
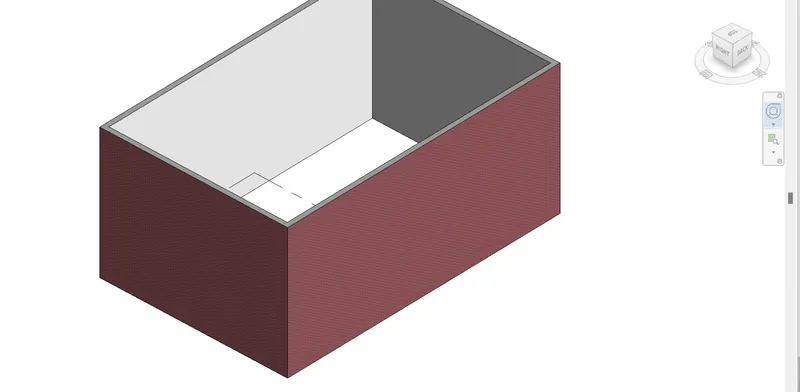
RESULT:-
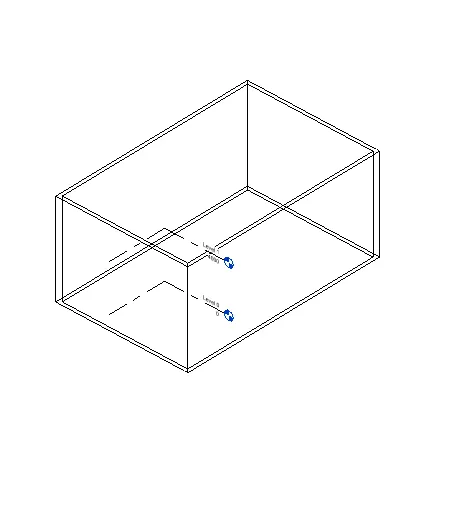
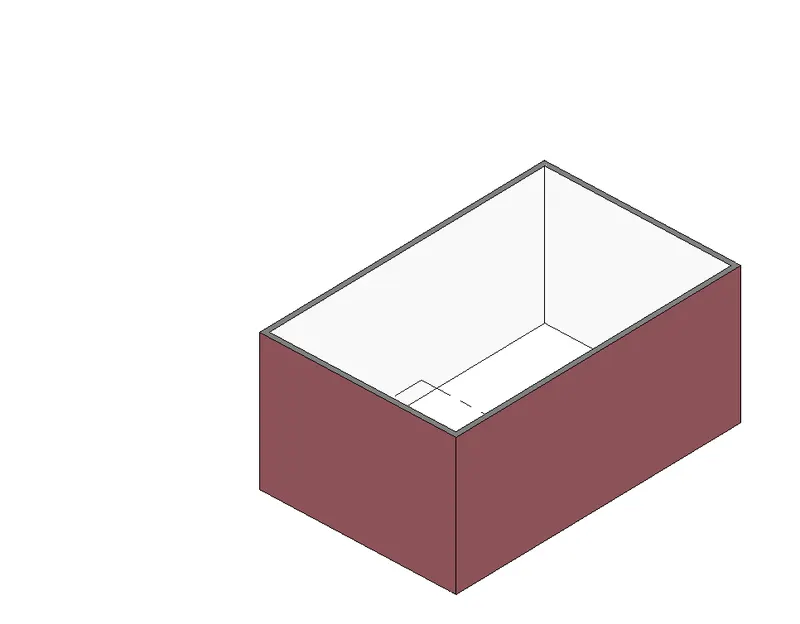
8.TO USE visibility setting option below to switch model to shaded ,realistic ,hidden lines options
AIM:- to switch model view to shaded ,realistic,and hidden lines options using visibility options.
9. AIM:- turn the sun path on and off to view shading in layout created
Introduction:--revit is an autodesk product and is a building information modelling software for architects,landscape architects,structural enginears,electrical etc.
procedure:-
STEP-1 open revit and create a new file
Step-2 create architectutral wall
Step-3 go to 3d menu and give 3d shape
STEP-4 go to visibillity options and give diferent shades ,realistic etc
STEp-5 turn the sun path on
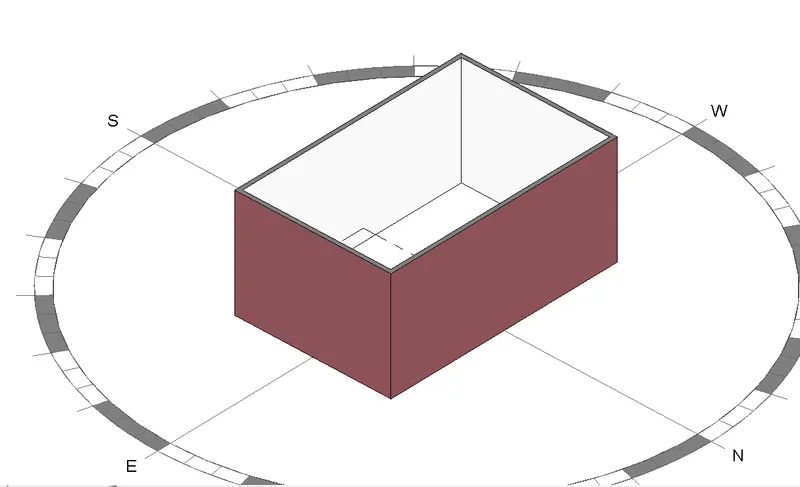
10.AIM :- use the manage toolbar to enter project setting ,project name ,an project isue date
Introduction:--revit is an autodesk product and is a building information modelling software for architects,landscape architects,structural enginears,electrical etc.
procedure:-
STEP-1 open revit and create a new file
Step-2 create architectutral wall
Step-3 go to 3d menu and give 3d shape
STEP-4 go to visibillity options and give diferent shades ,realistic etc
Step-5 go to manage toolbar and go to project information
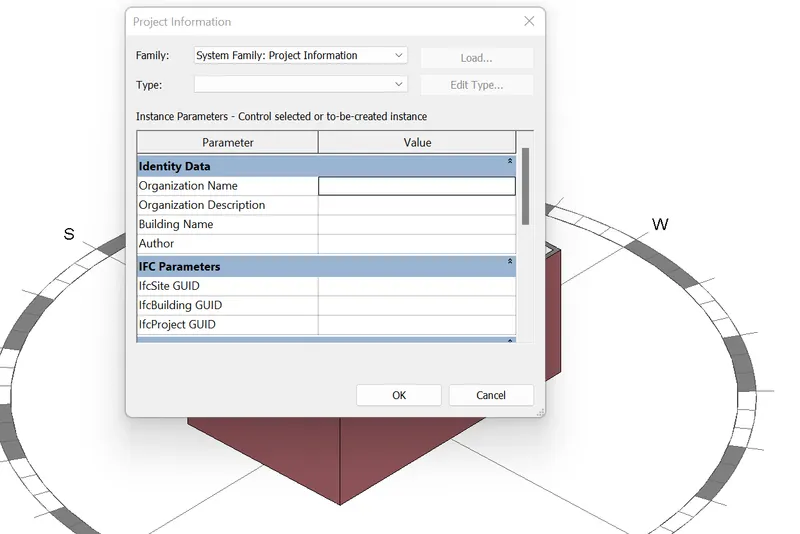
11 aim:- what is the analyse toolbar used in revit ? how it is beneficial for design and modelling?
ans:-Analyse tab is revit consist of tools for detailed analaysis of structure / layout created.
1. Analytical model:- Adding boundary conditions,types of load such as point,and load combinations and area conditions
2.Analaytical model tools:- It contains tools to adjust the analaytical model,check for consistency reset the model and check the member supports.
3. Spaces and jones:- the toolbar is used to create space separators. space separators are drawn to separate different rooms of plan to differentiate the rooms
- 4. reports and schedules:-
- Heating and cooling loads report
- duct pressure loss report
- Pipe pressure loss report
- panel schedules
4.REports and schedules
5.Check systems
6.colour fill
7Energy optimisation
12.What are links that revit supports to be linked to model?
Ans:- LInk revit
- Link IFC
- LINK CAD
- LINK topography
- LINK DWF markups
- LINK decals
- LInk point clouds
13. WHy do you need the collabarate tab in revit? how it supports modelling and its efficiency?
ANS:- helps link multiple revit models together ,simuntaneously allowing other team members to work in the background
- Users on the same local area netwok can work together in the same revit model using revit work sharing
- wHEN Collabaration needs to occur among users who are not in the same geographic loacation ,use Revit server or revit cloud work -sharing
- revit server conncets offices that share a network but not in the same geographic location
- revit cloud work-sharing in the cloud -based service that allows any revit users inside or outside a network to collabarate on a revit model
- As the revit cloud work -sharing service helps to author revit models in the cloud concurrently with othe team members.