Introduction to REVIT concepts
Q1. From the file menu, create a new project (Structural / Architectural / Construction template) and name the project appropriately
Ans: The step by step procedure is as follows:
- Open Revit software
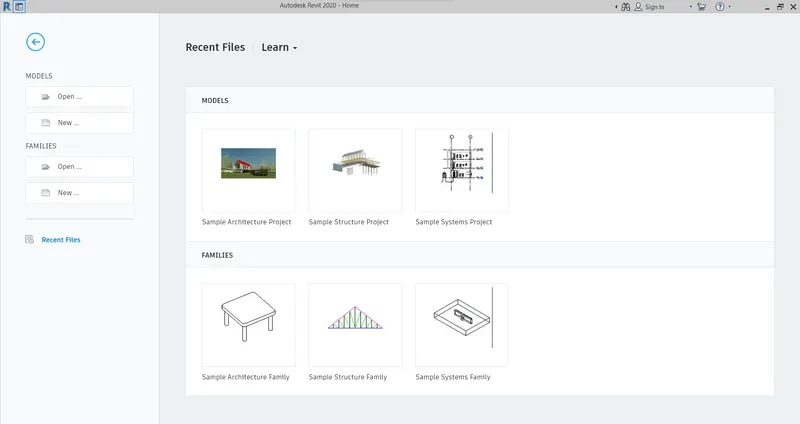
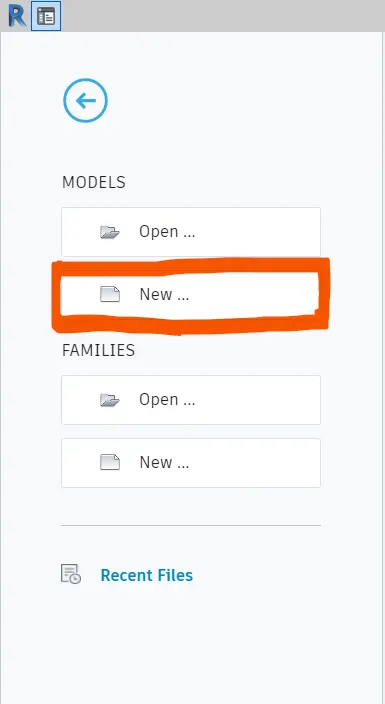
- Click 'New' on the Revit software
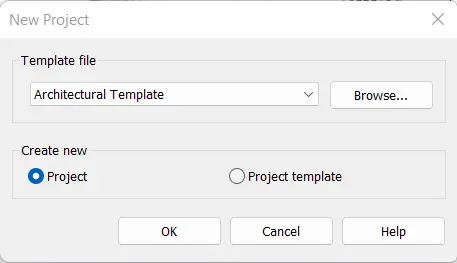
- Select 'Architectural Template' as the template file on 'New Project' and click 'OK'
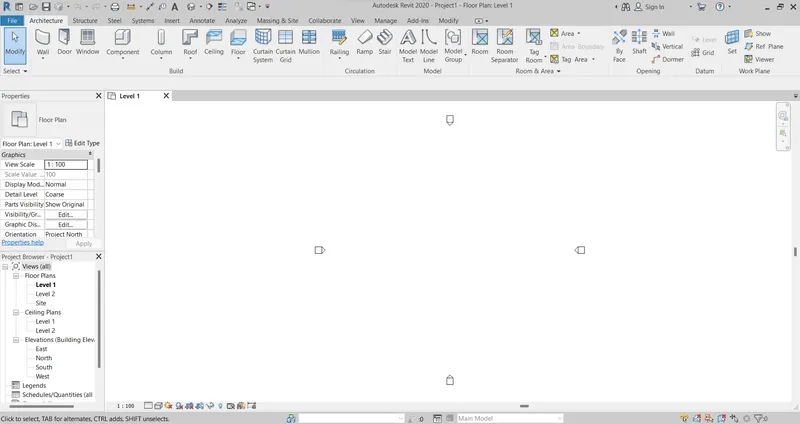
- Click 'File' menu and click 'Save'
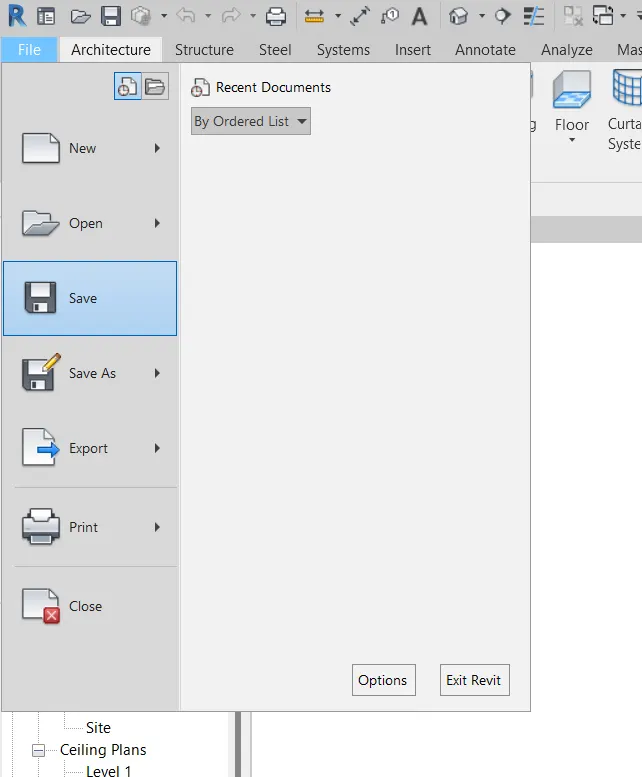
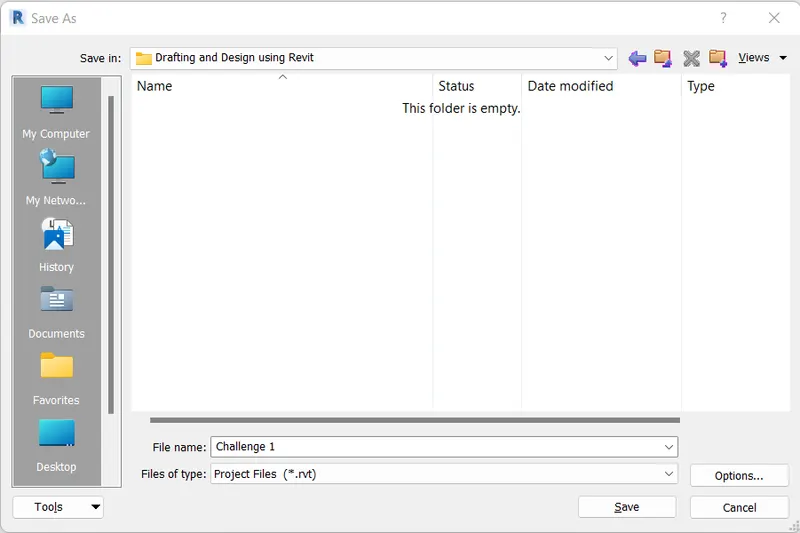
- Select the destination folder, change the file name as 'Challenge 1' and click 'Save'
Q2. Save the new project file. Close and open using icons from file toolbar
Ans: The new project file 'Challenge 1' is already saved. The step by step procedure is as follows:
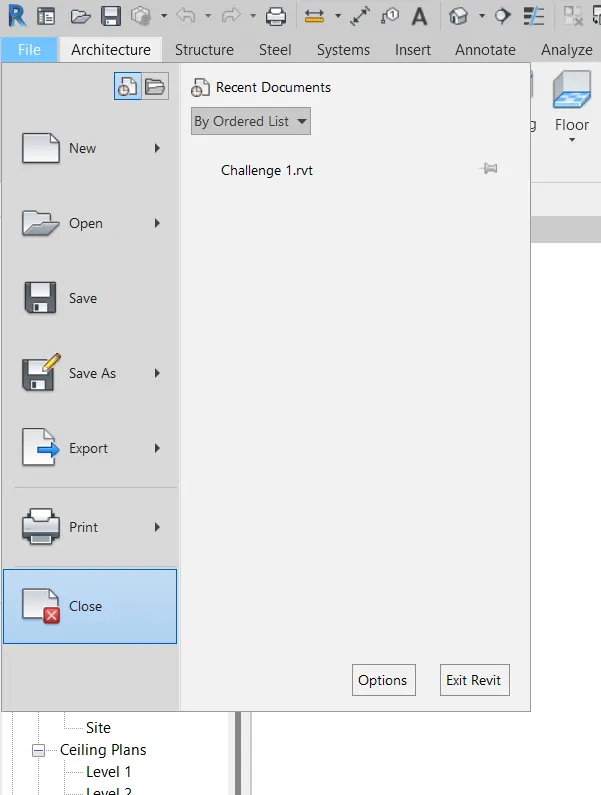
- Click 'File' menu and click 'Close'
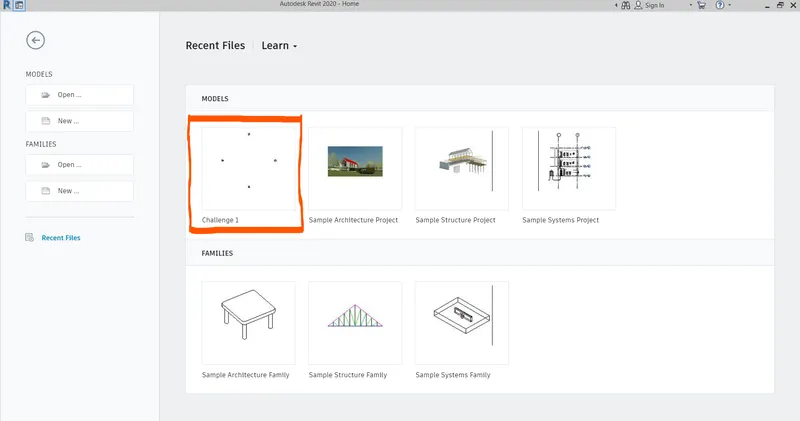
- Select 'Challenge 1' in the models in the recent files
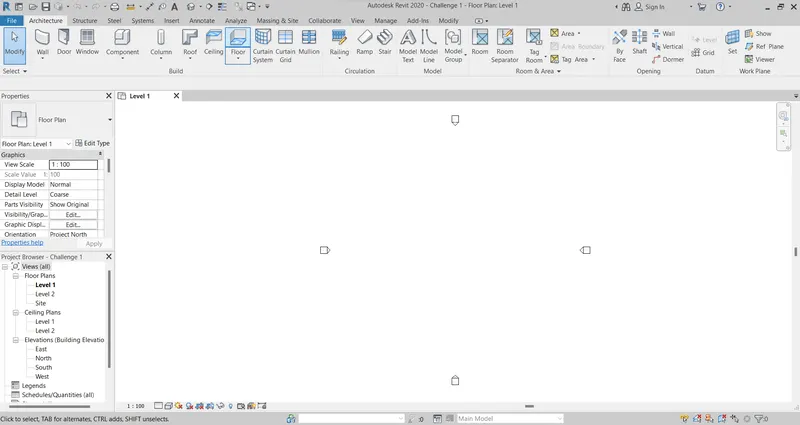
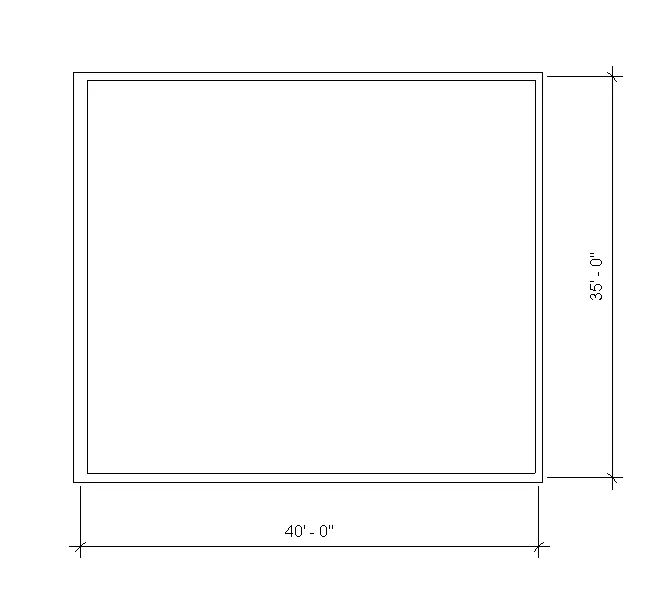
Q3. From the architecture/ structure toolbar familiarize with options to draw a wall. Create a rectangular layout of walls of about 40’-0” X 35’-0”
Ans: The step by step procedure is as follows:
- Click 'Wall' on the 'Architectural' tab
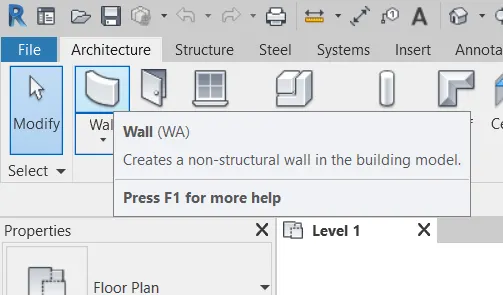
- Click 'Rectangle' on the 'Draw' panel
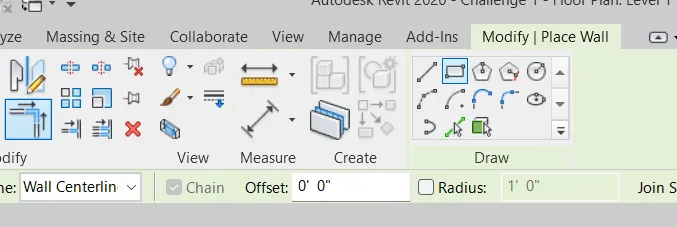
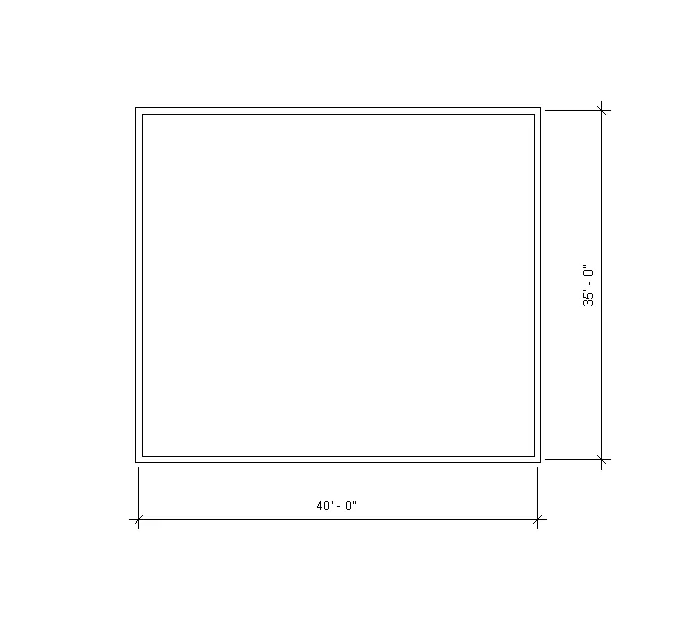
- Draw a rectangle of 40'-0"x35'-0"
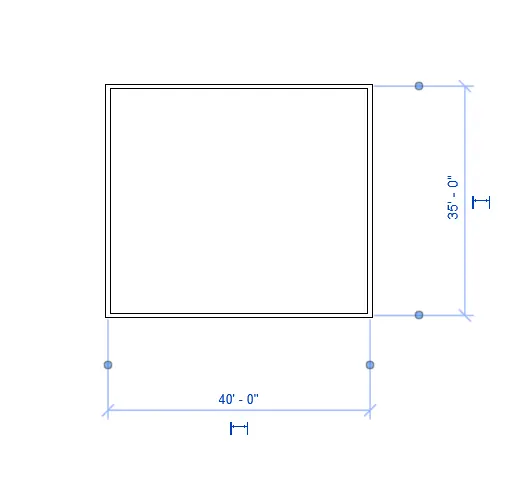
Q4. From the Annotate toolbar use the aligned option to add dimensions to the layout
Ans: The step by step procedure is as follows:
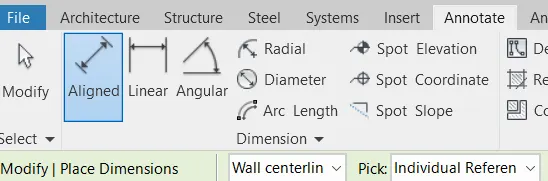
- Click 'Aligned' on the 'Annotate' tab
- Specify the two ends for both the sides
Q5. Use the properties browser to switch to different wall types
Ans: The step by step procedure is as follows:
- Click any of the wall
- Go to property browser
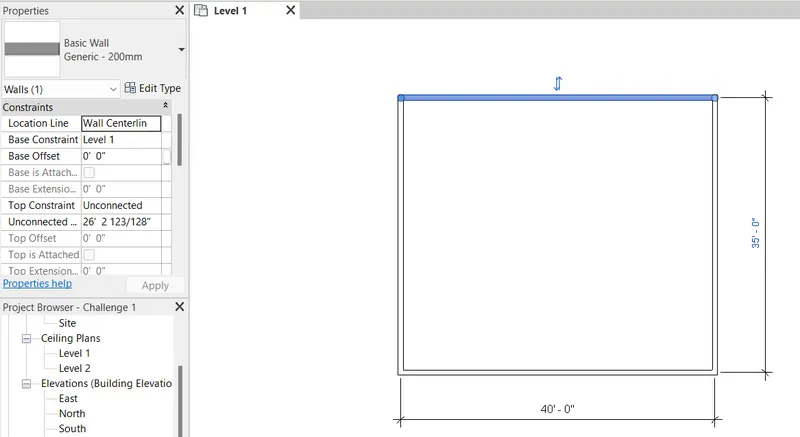
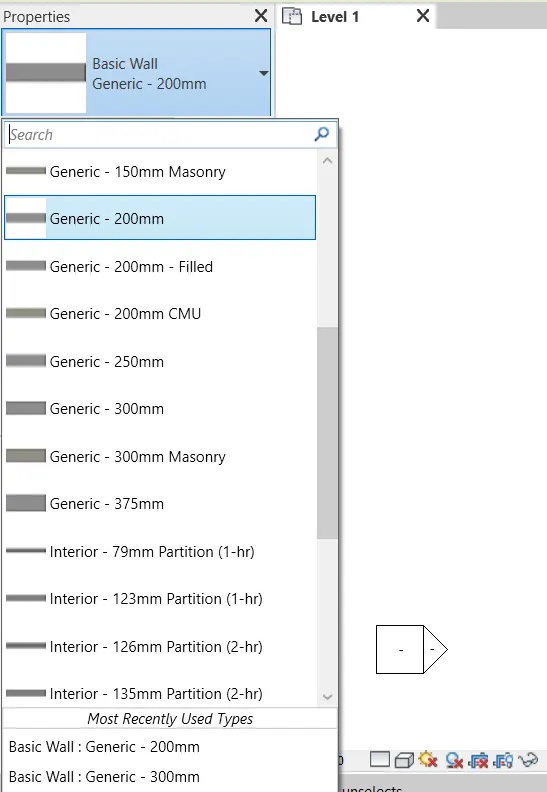
- Assign different types using the property browser
Q6. Create a 3D view from the view toolbar and save the view with the appropriate name
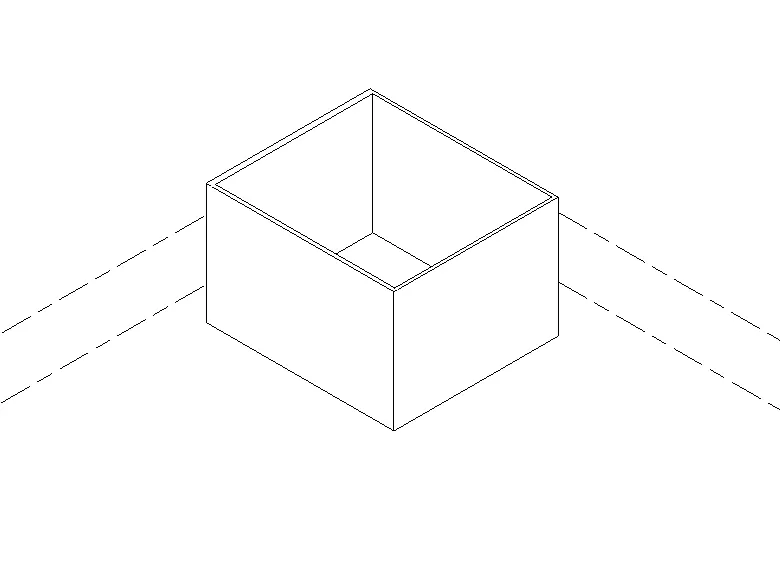
Ans: The step by step procedure is as follows:
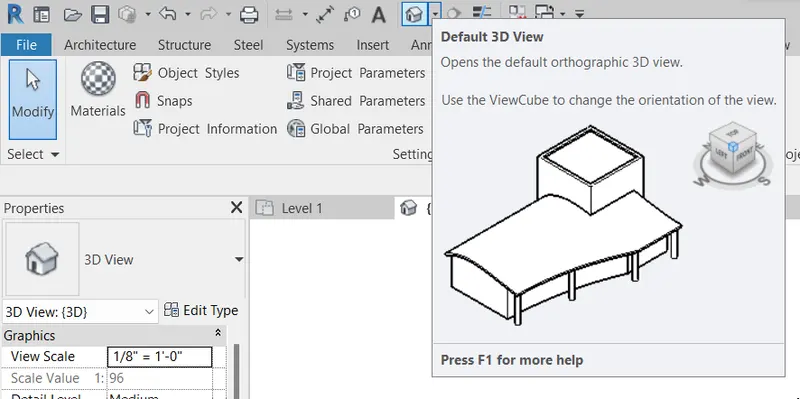
- Click the 'Default 3D View' on the top
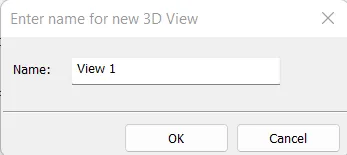
- Right click on the 'View Cube' and click 'Save View'
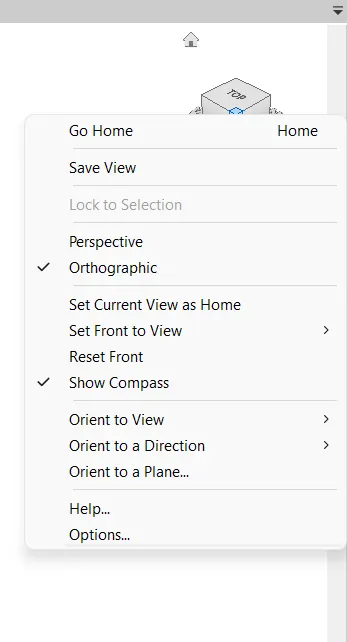
- Give a name 'View 1' and press 'OK'
Q7. Navigate through the 3D model using the view cube. Orbit/pan through the model layout created
Ans: The step by step procedure is as follows:
- Click 'Full Navigation Wheel' on the Navigation bar
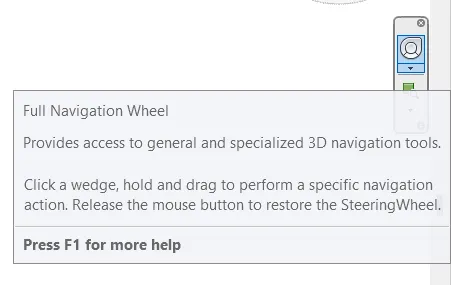
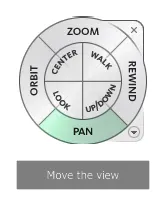
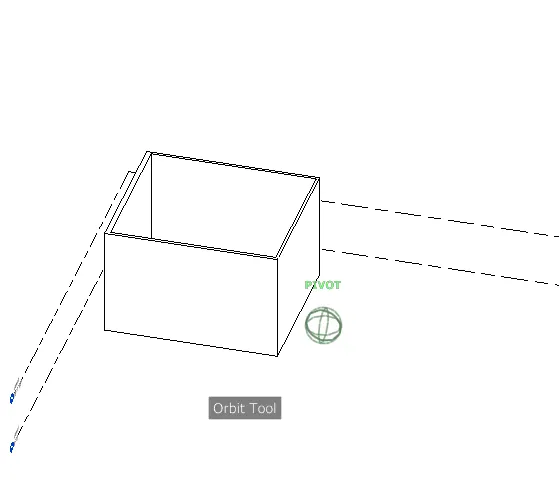
- Using the 'ORBIT' and 'PAN' navigate through the 3D model
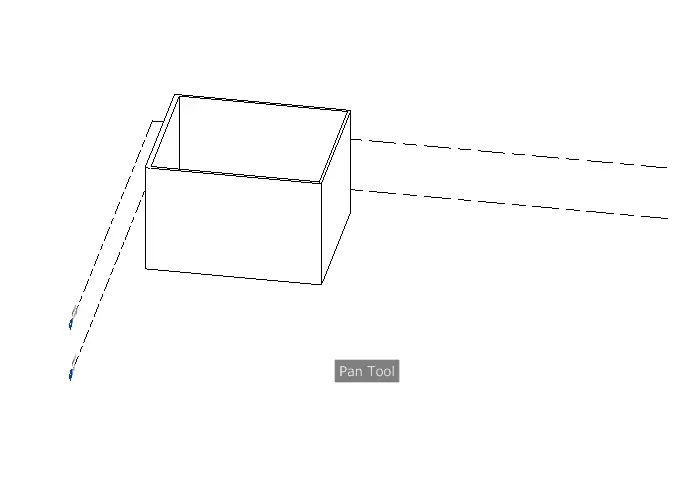
Q8. Use the visibility settings option below to switch model to shaded, realistic, hidden lines options
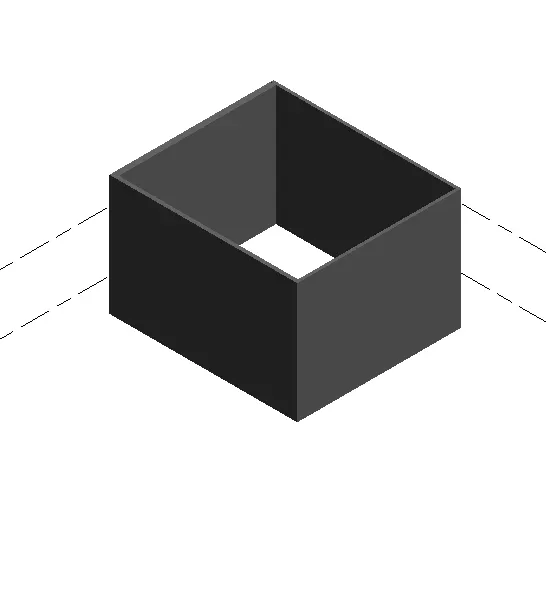
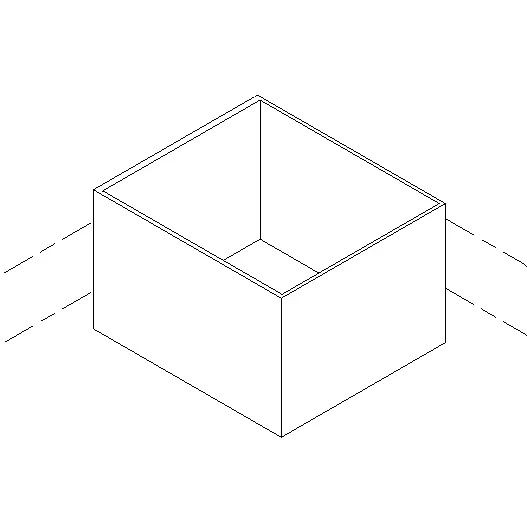
Ans: The step by step procedure is as follows:
- Click 'Visual Style' in the bottom tool bar

- Visual Style: Shaded
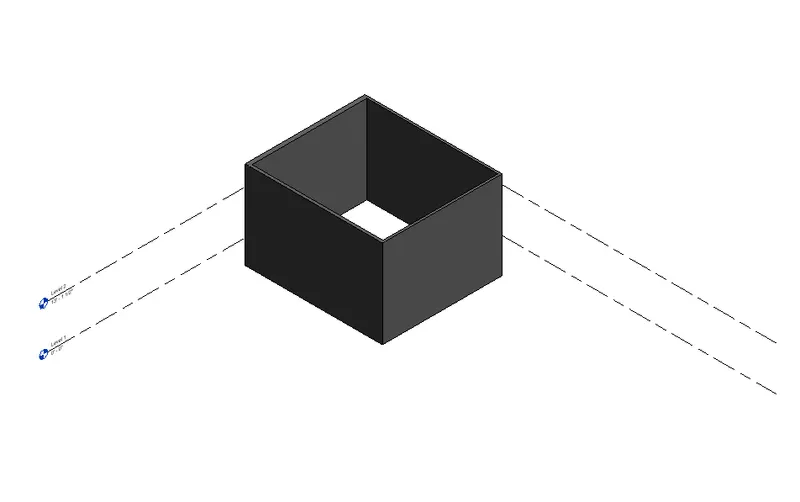
- Visual Style: Realistic
- Visual Style: Hidden Line
Q9. Turn the sun path on and off to view shadings in the layout created
Ans: The step by step procedure is as follows:
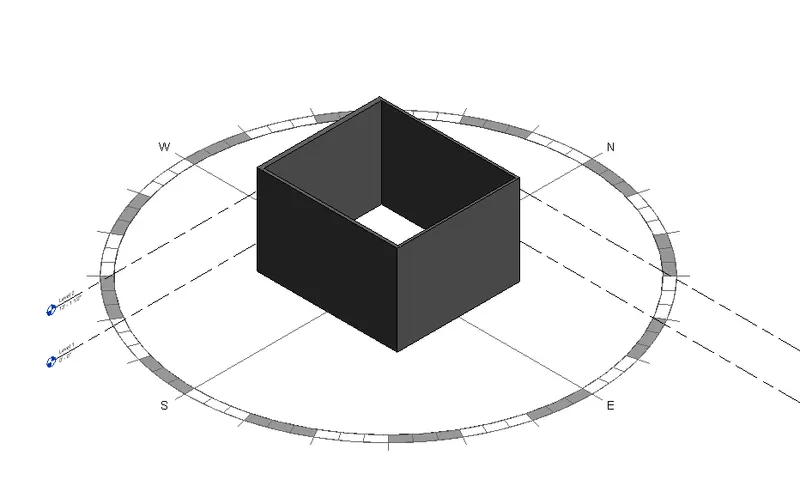
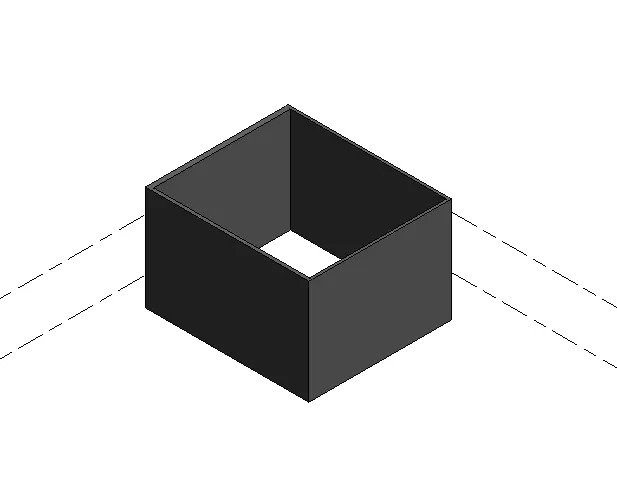
- Click 'Sun Path' in the bottom tool bar
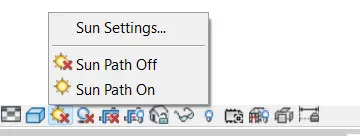
- Sun Path: On
- Sun Path: Off
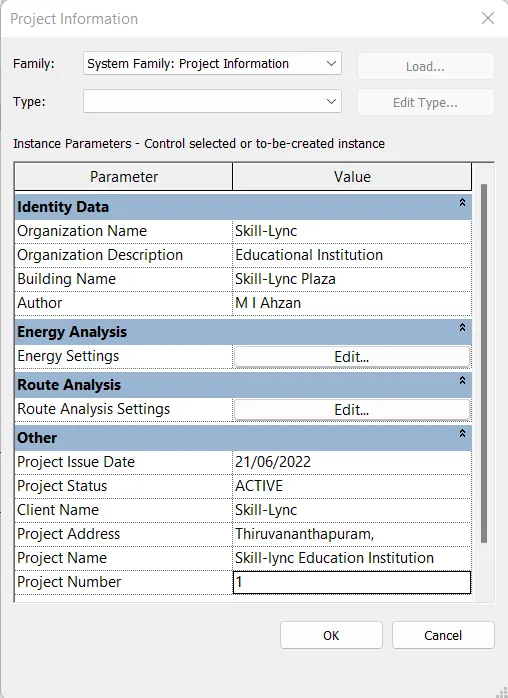
Q10. Use the Manage toolbar to enter project settings, project name, and project issue date (choose according to your convenience).
Ans: The step by step procedure is as follows:
- Click 'Project Information' in the 'Manage' tab
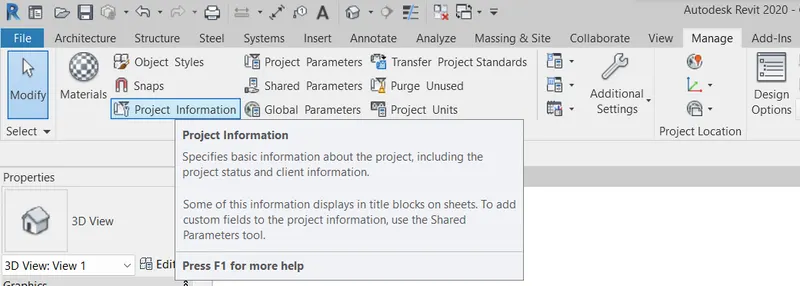
- Edit the information according to convenience and click 'OK'
Q11. What is the Analyze toolbar used in Revit? How it is beneficial for design and modeling
Ans: Analyze toolbar is a dedicated tab called 'Analyze' tab. In Analyze tab, can be used to perform structural analysis of the building. It has various options to enable the analysis process. Basic analytical tools under Analyze tab are:
- Boundary Conditions: It enables to define the points, lines and area boundary condition in an analytical model
- Load: It applies point line and area load to a model.
- Load Cases: It adds and edits the load cases for the analytical model
- Load Combination: It can adds and edits the load combination for the analytical model
Analyze toolbar is beneficial for design and modeling because it allows structural engineers to analyze and check structure from within the Revit.
Q12. What are the links that Revit supports to be linked to the model?
Ans: Linking models is primarily intended for linking separate buildings, such as those that compose a campus. It can link architectural models, structural models, and MEP models. It can link Revit LT models to other Revit LT models. It can also link Revit models to Revit LT models.
Q13. Why do you need the Collaborate tab in Revit? How it supports modeling and its efficiency
Ans: The collaboration tab in Revit enables the work sharing. Through work sharing, users on same local area network can work together in a same Revit model. So, Collaborate tab in Revit is much needed.
Collaborate tab supports modeling and its efficiency through,
- Work together: Multiple Revit models can be linked together, allowing to work in context on a single project.
- Cloud sharing: It allows different people to work in a project by cloud sharing
- Work sharing: Creating master model known as central model from existing model
- Central model: It stores the current ownership information for all worksets and elements in the project and act as the distribution point for all the changes made to the model.