Introduction to REVIT concepts
1)
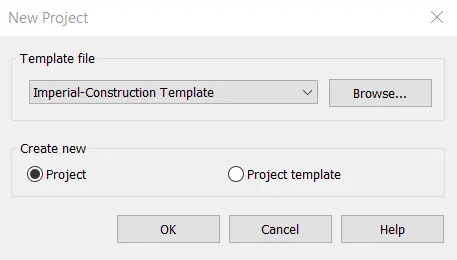
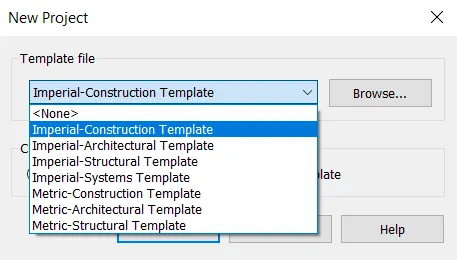
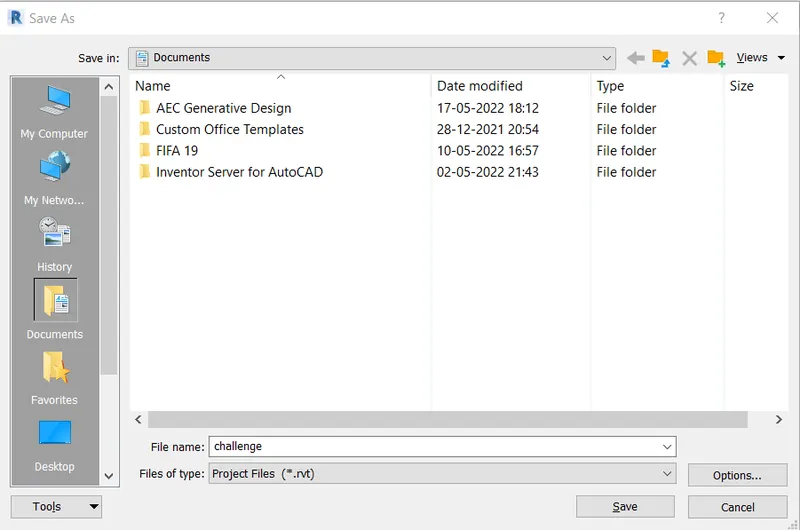
2)
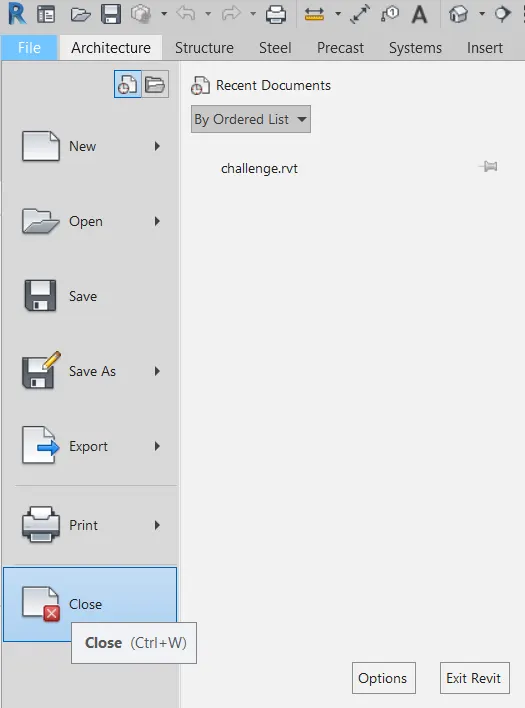
3)
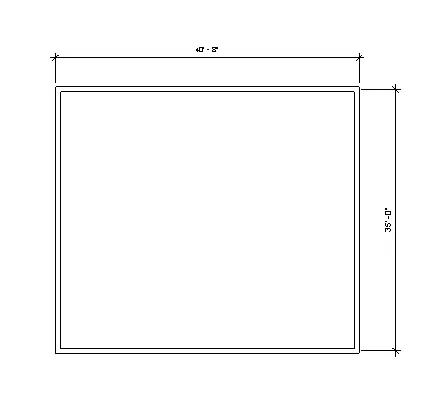
- A wall of required dimensions is created by selecting Wall option from the Architecture panel.
4)
- The created wall is then dimensioned using Aligned dimension option from the Annotate panel.
5)
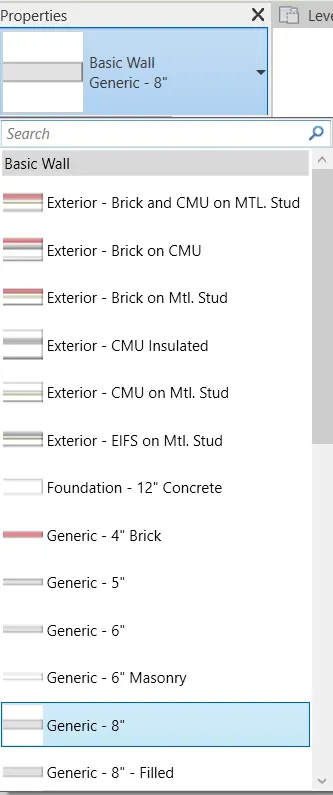
- The type of wall is changed from the Properies Browser after selecting the required wall and choosing a wall type from the dropdown.
6)
- In the Toolbar Default 3D view icon is selected.
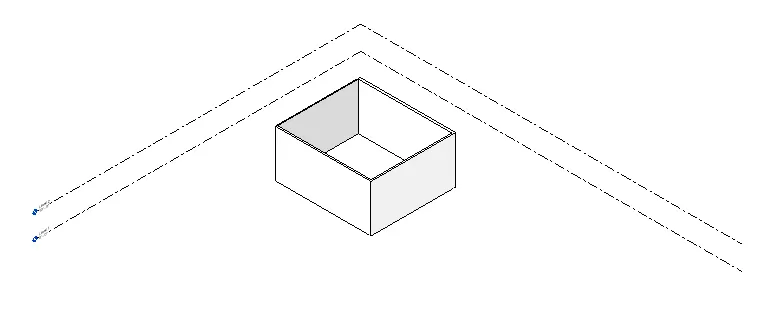
- Using the View cube the required view is selected.
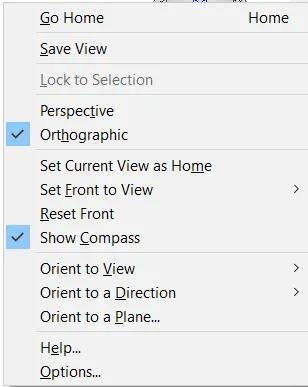
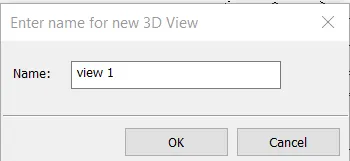
- That view is right clicked and saved as required.
7)
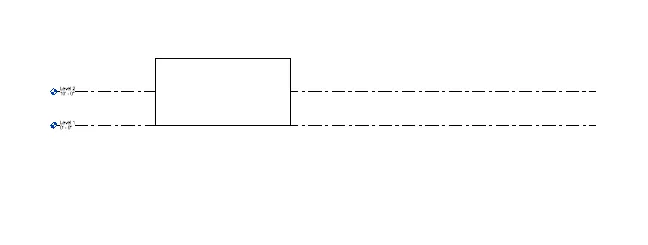
- The 3D model is navigated using the View cube by selecting which face or corner requires to be seen.
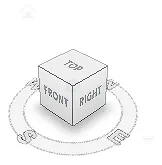
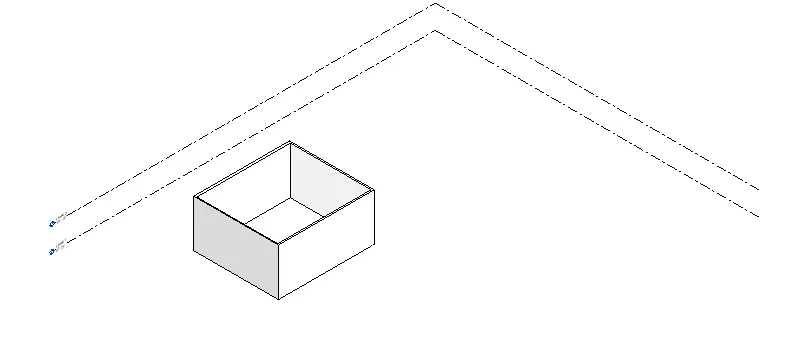
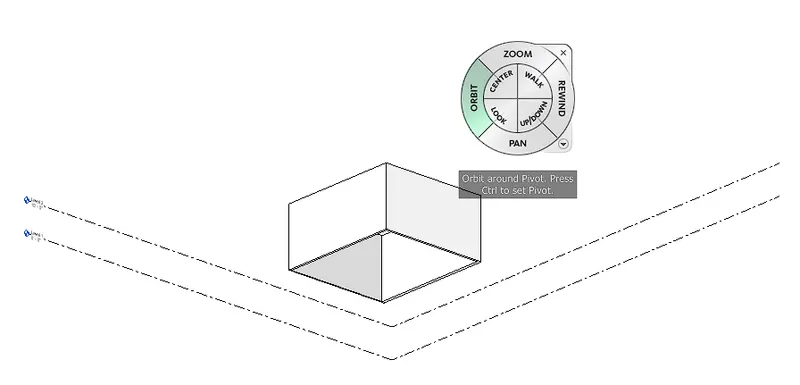
- Navigation wheel is used to Navigate through the 3D model.
8)
- Visual style icon is selected from the borrom of the screen.
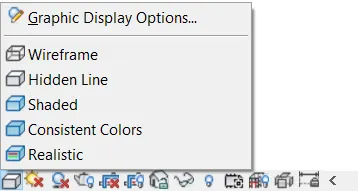
- Model when Hidden line option is selected.
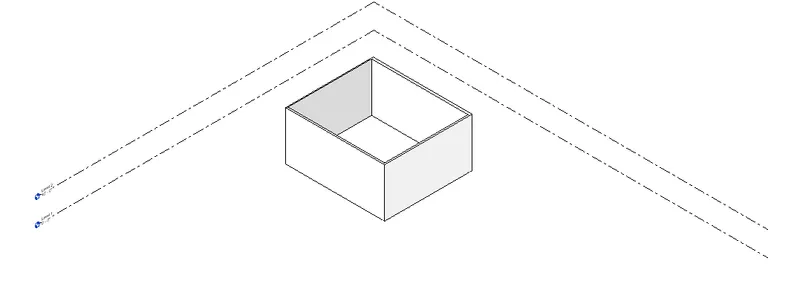
- Model when Realistic option is selected.
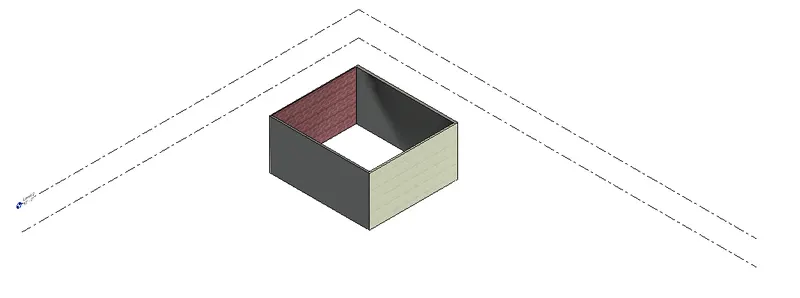
- Model when Shaded option is selected.
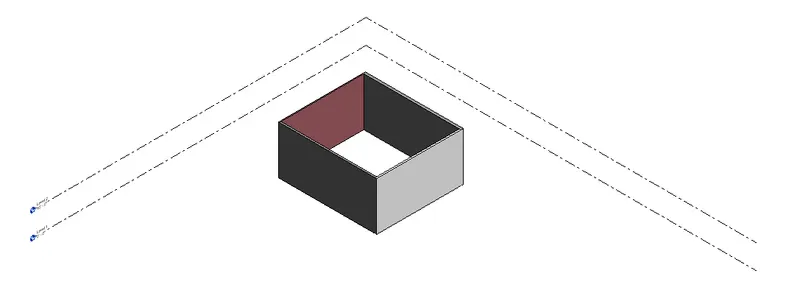
9)
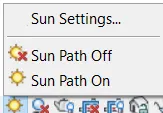
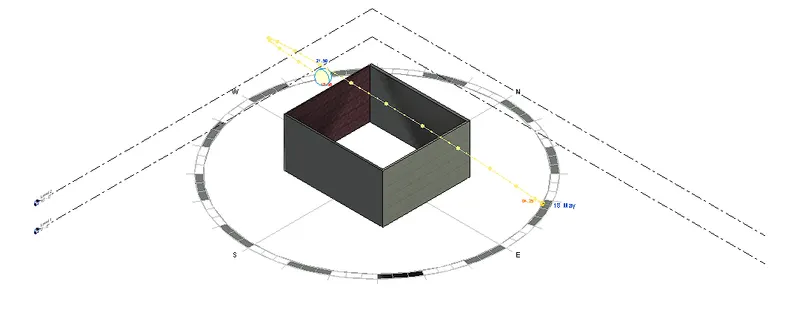
- The Sun path icon in the bottom of the screen is clicked and in the dialgoue box Sun path on option is selected.
10)
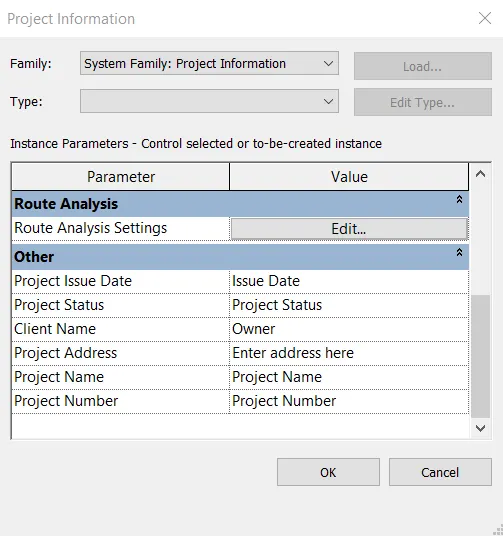
- In the Ribbon select Manage -> Project information to open the following dialogue box.
- It can then be editted by selecting.
11) Uses of Analyze toolbar:
- Analyze tool bar helps in creating revit models, this tool bar consists of many other options which help in load combinations, boundary conditions, load and cases adjustment.
12) Links that Revit supports to be linked to the model are:
- Link Revit.
- Link CAD
- Link IFC
- Link topography
- Link Image.
- Link PDF
- DWF markup
- Point cloud.
- COordination model.
13) Uses of Collaborate tab in Revit:
- Work sharing.
- Cloud sharing.
- Working together.
- Central model.