Introduction to REVIT concepts
1) Create a new file in Revit Software. I am using Revit 2018 version.
Step 1: Start the Revit software
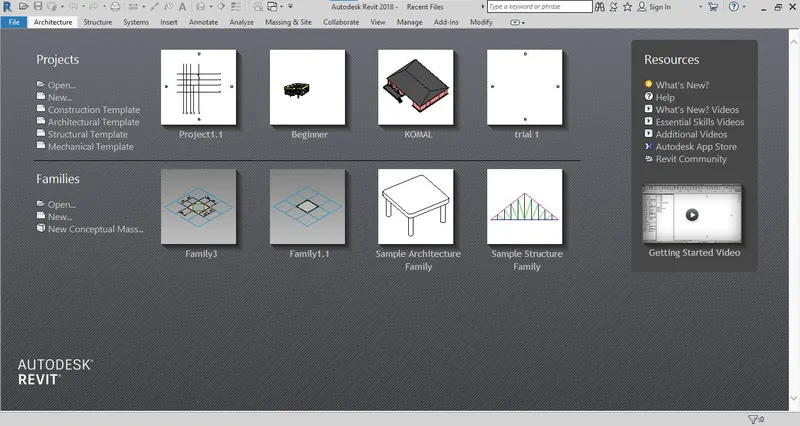
Step 2: As you enter in the revit software start the new file.
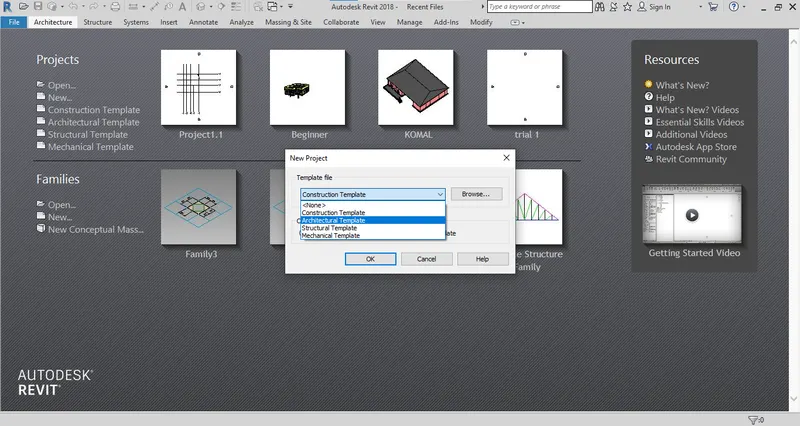
Step 3: Go to New file tab and Select the Template of "Architectural/Structural/Construction".
I am selecting the Architectural Template starting the software.
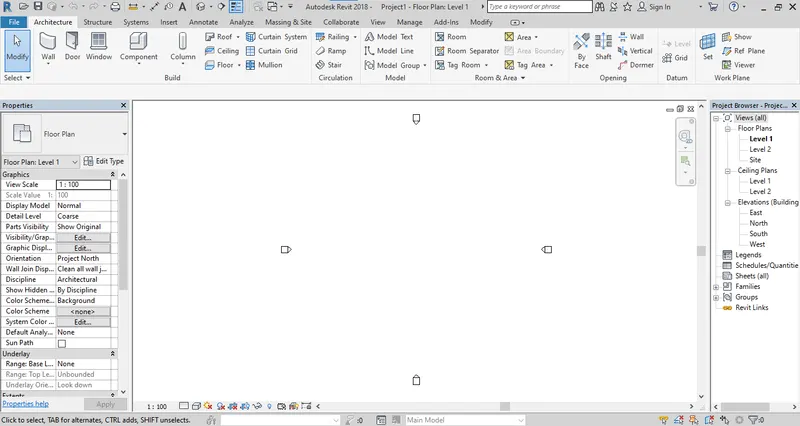
2) Save the current file.
Step 1: Go to "Quick Access toolbar" and save the file by using icon. Rename the File. i am rename it as "CP1".
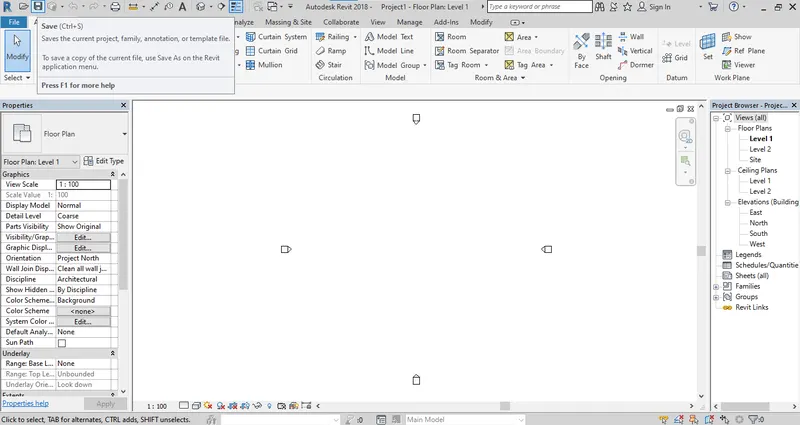
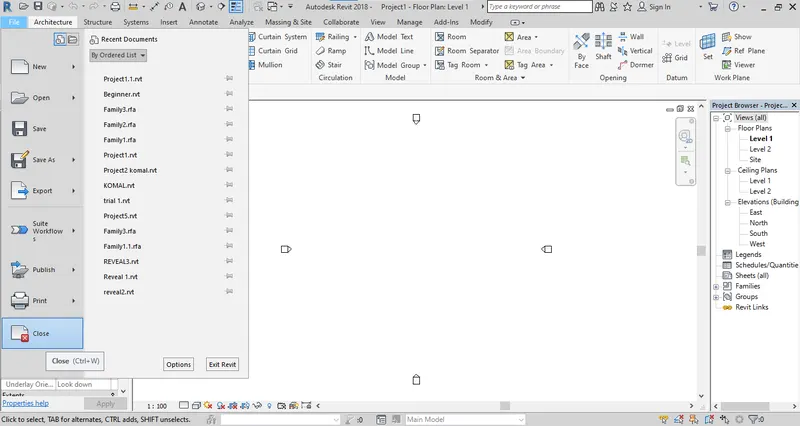
Step 2: Close the file from "FILE" Tab.
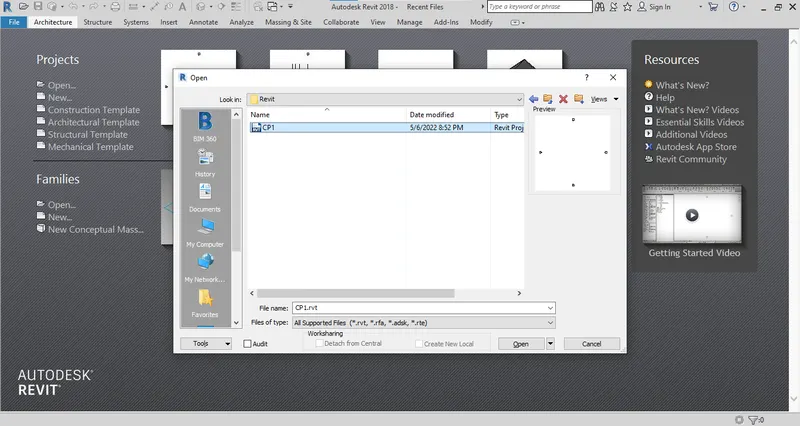
Step 3: Open the file from "Open" tab.
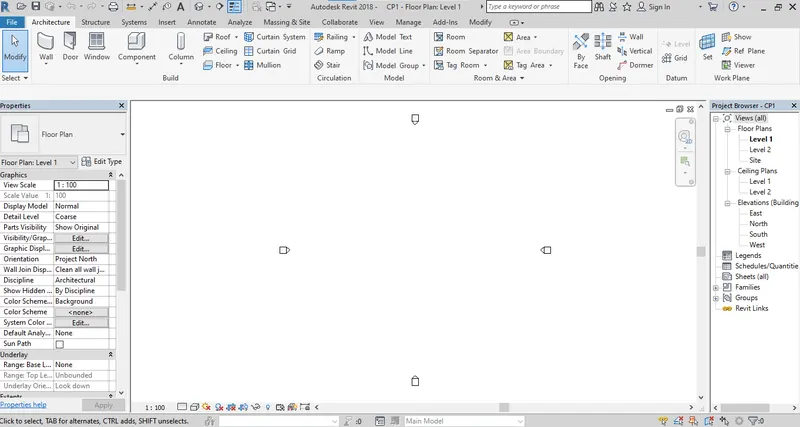
Step 4 : Same Interface is open.
3) Create a Wall.
Step 1: Create a wall from "Architectural Template" from "Build Panel" Select a "Wall" Command or use a "WA" command.
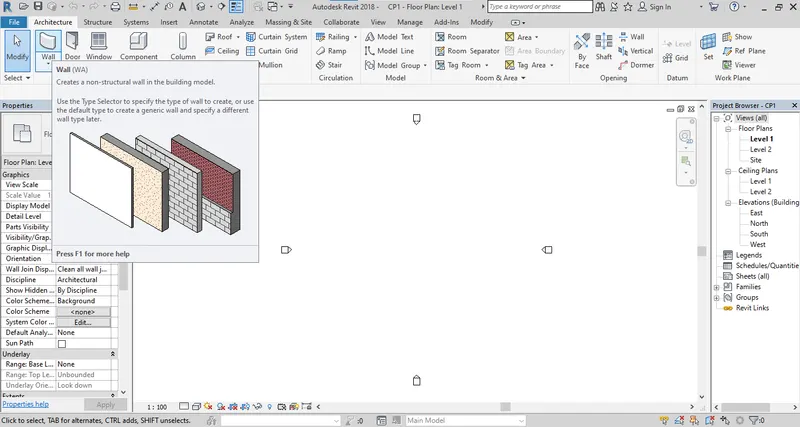
Step 2: As you enter the wall command "Draw" Panel will be open.
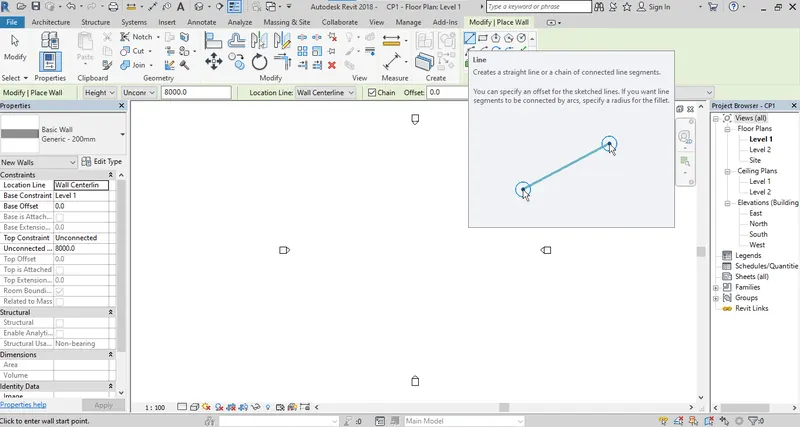
Step 3: Select the tool to draw the wall. I am selecting a rectangle tool adn select the dimension of 40' x 35'.
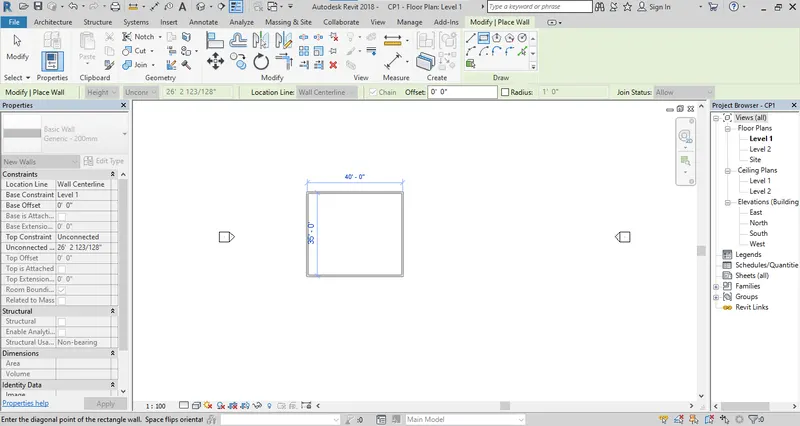
4) Wall Dimensions.
Step 1: Select "Annotate" tab.
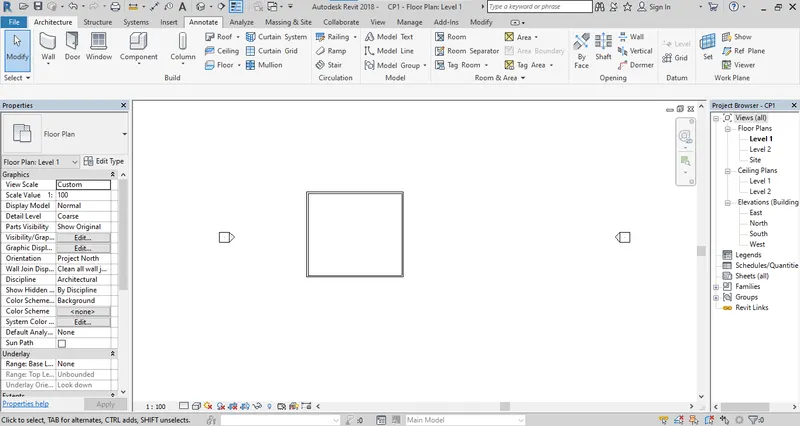
Step 2: Select the aligned command to give the dimensions.
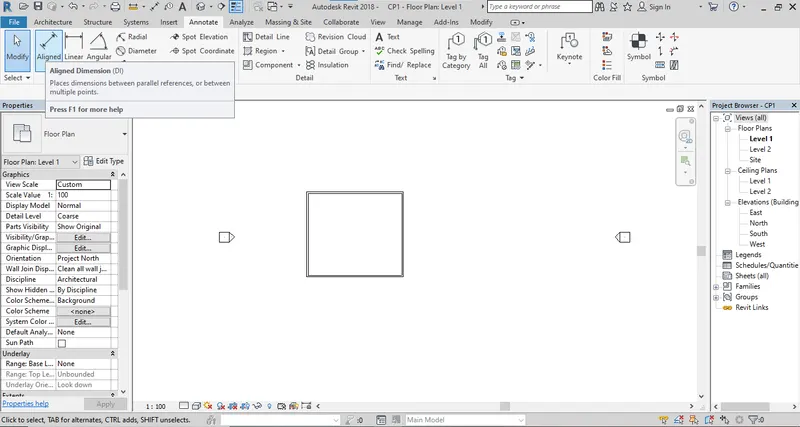
Step 3: Select the face of wall and provide the dimensions.
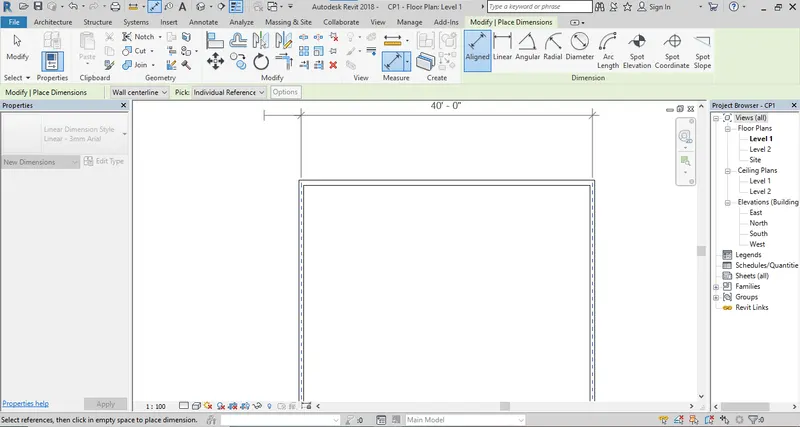
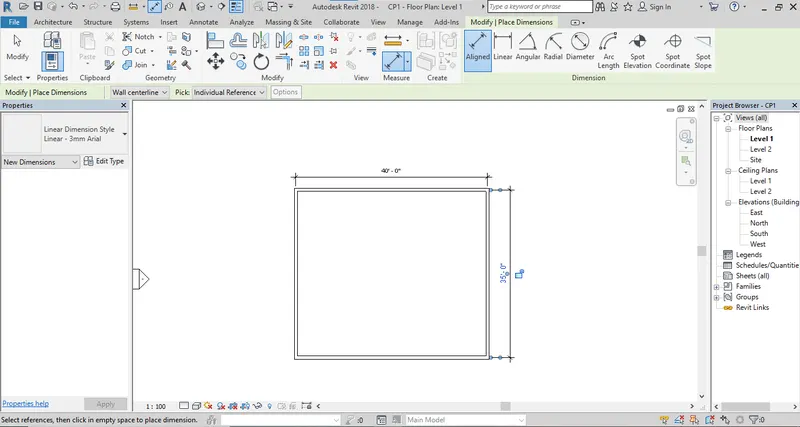
5) Switch to different walls.
Step 1: As you selected any of the wall in left side there is a property browser. To change or assign the properties of wall.
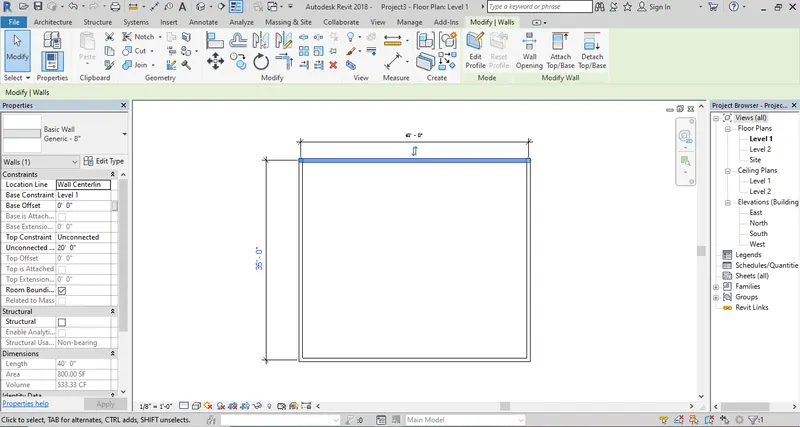
Step 2: Use the dropdown and select any other wall size and type.
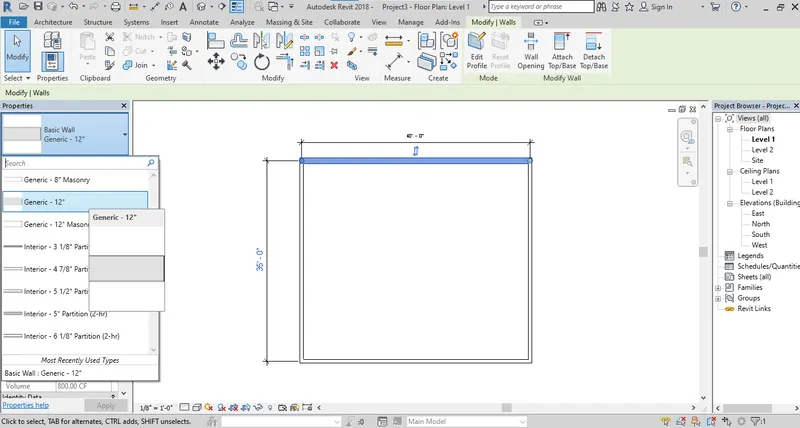
Step 3: Select each wall and change the wall type.
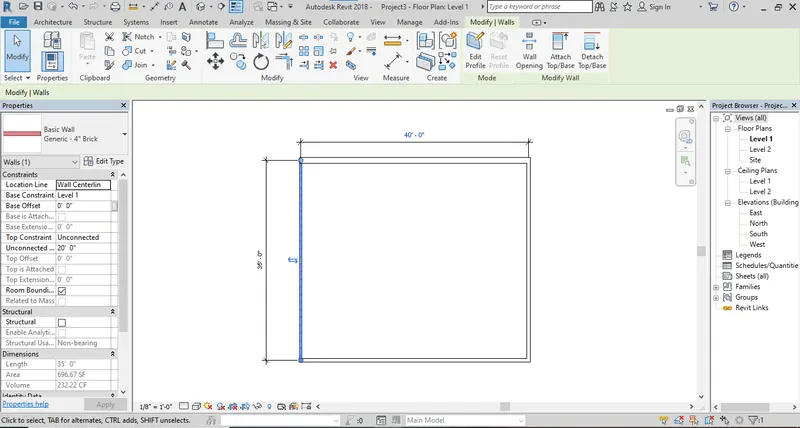
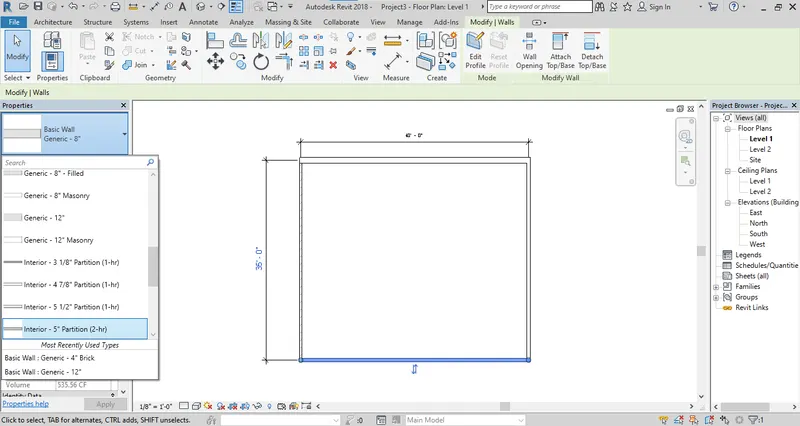
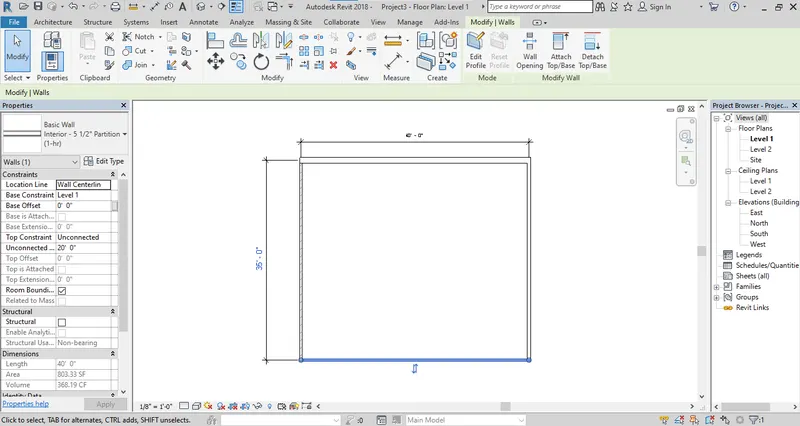
6) 3D view.
Step 1: From Toolbar go to 3d and use the dropdown to select te Default 3d view.
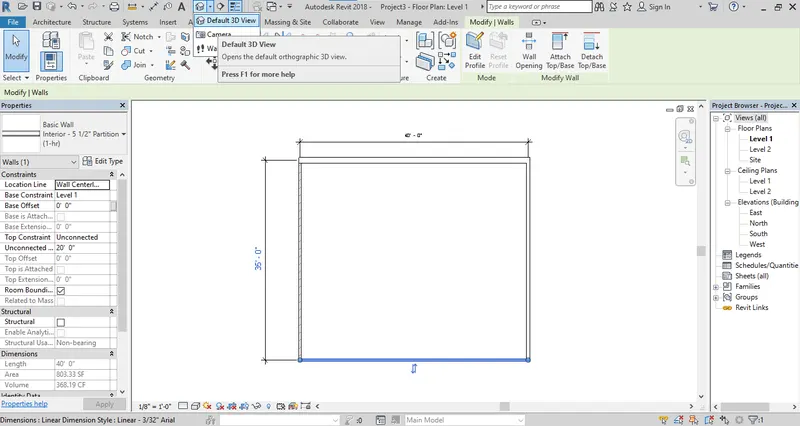
Step 2: As you Selected the Dropdown menu of 3D view isolated interface will be open.
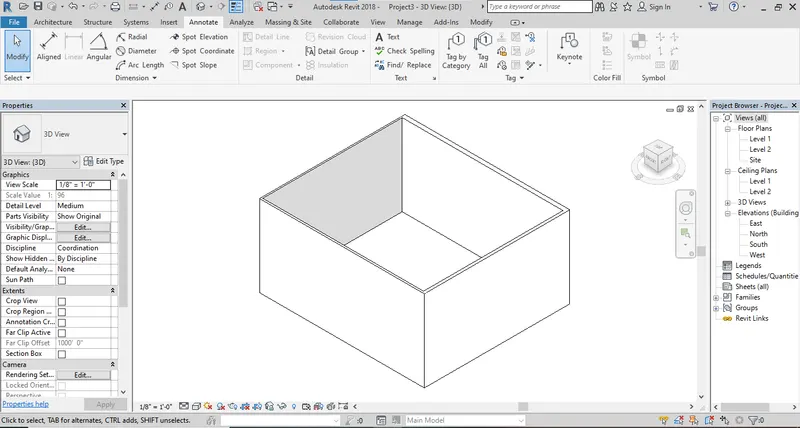
Step 3: In the right upper corner there is a view cube.
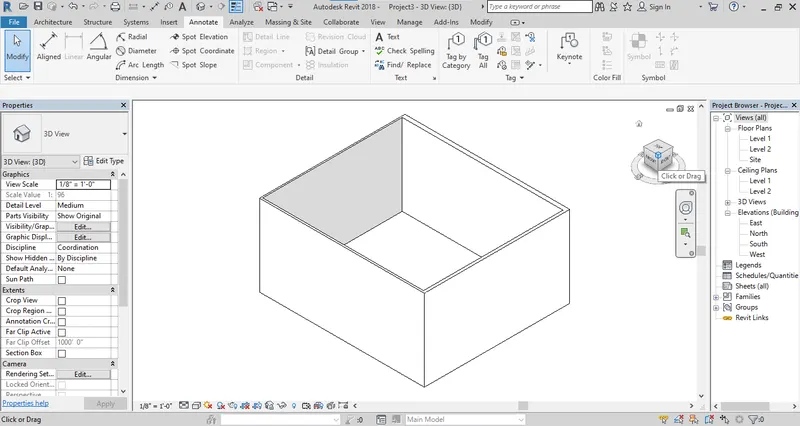
Step 4: Select the points to change the view.
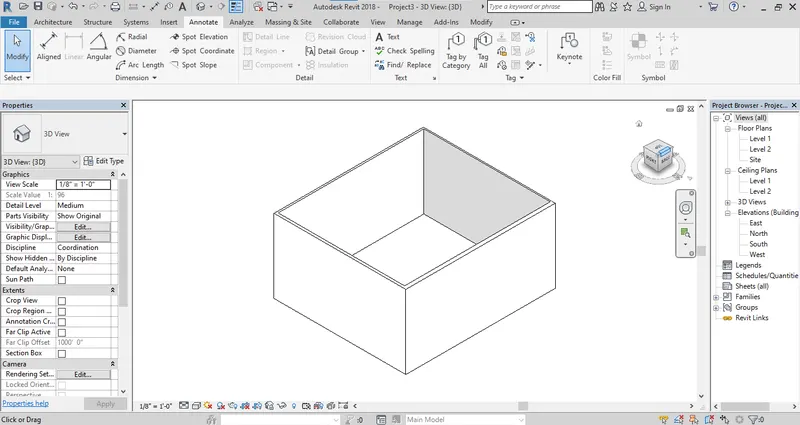
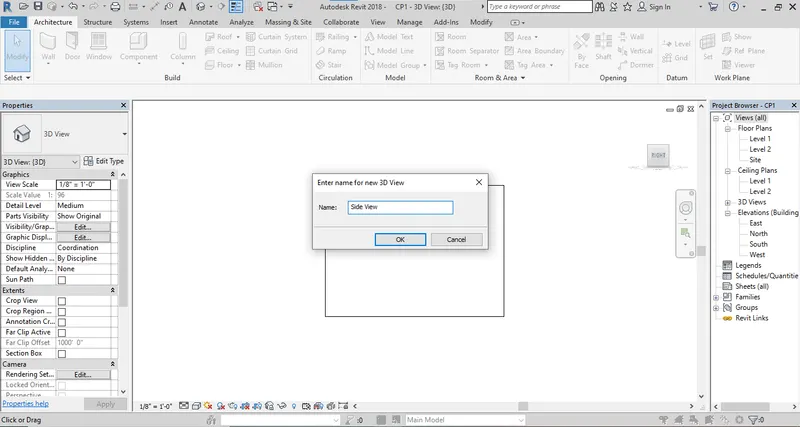
Step 5: To save the selected view right click on the corner of view box.
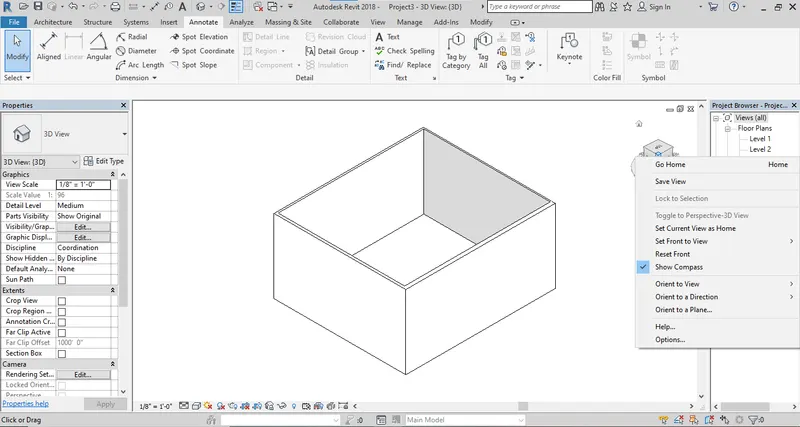
Step 6: Click the save view option and rename the 3D view.
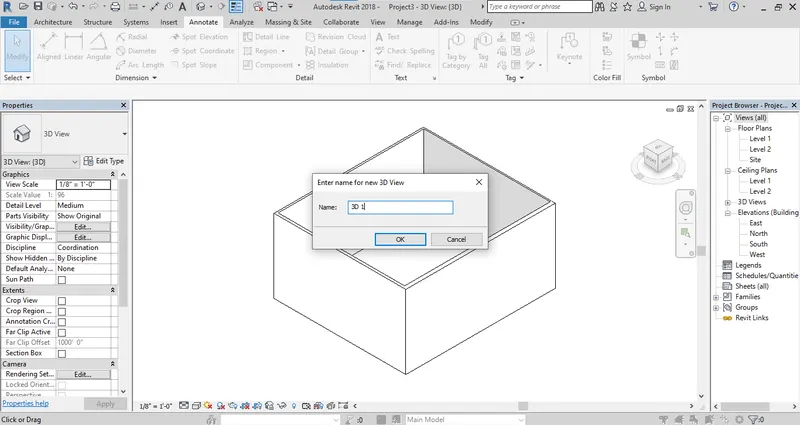
Step 7: Select the another view I am selecting the side view and saving it.
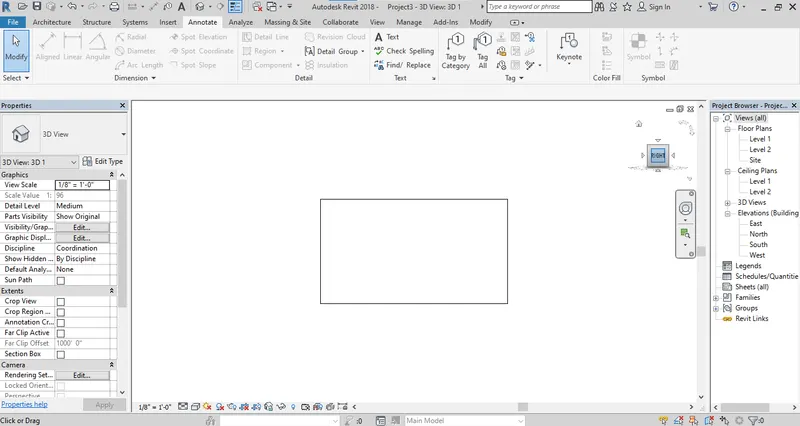
Step 8: Right Click on the view box and select the save view option.
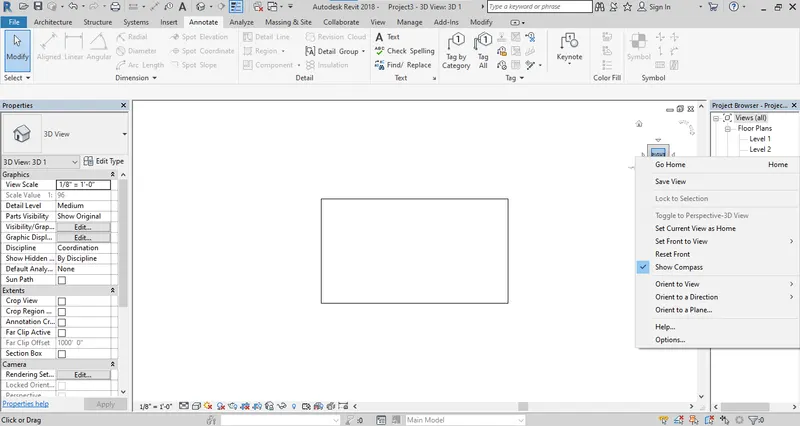
Step 9: Rename the 3D view.
7) Nevigation Tool:
Step 1: Select the nevigation tool below the view cube.
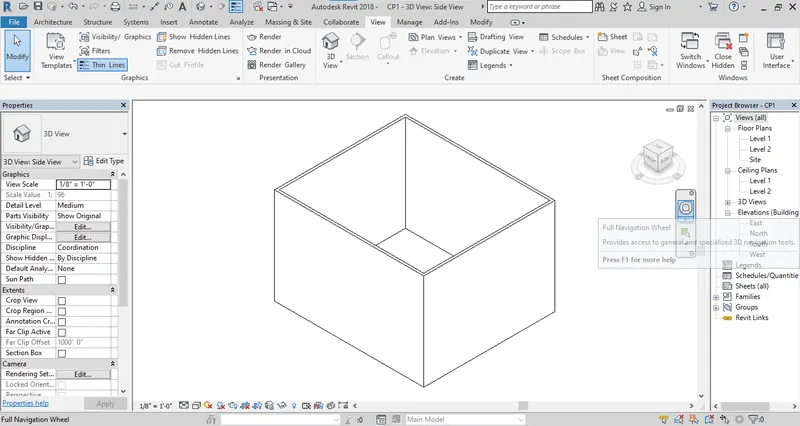
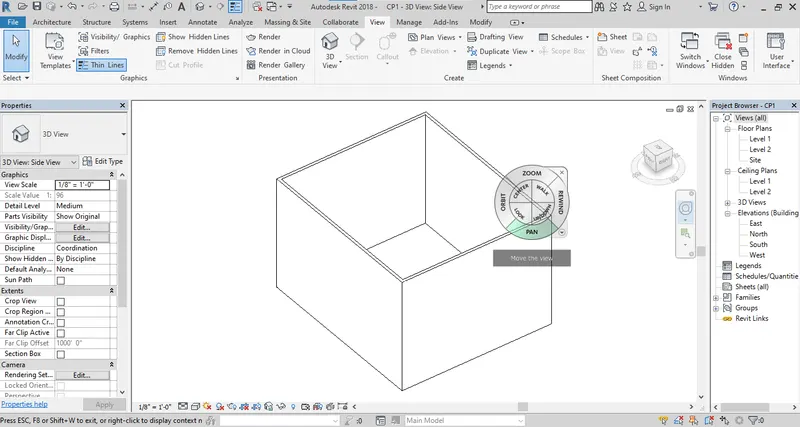
Step 2: As you click on nevigation tool nevigation wheel will be access.
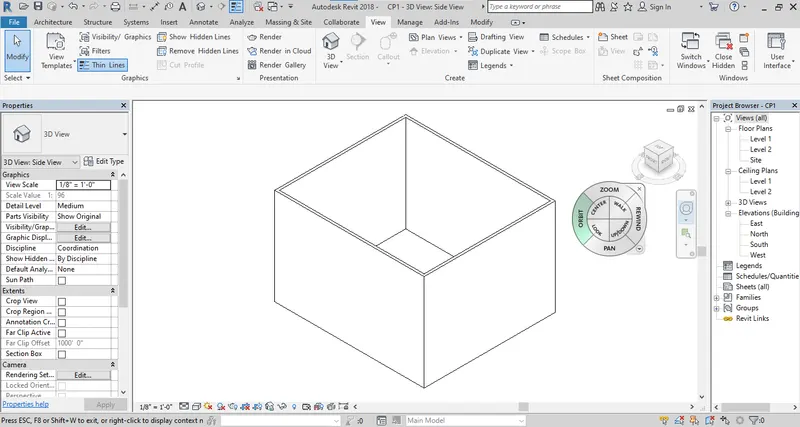
Step 3: Select the orbit command. which will access the rotate.
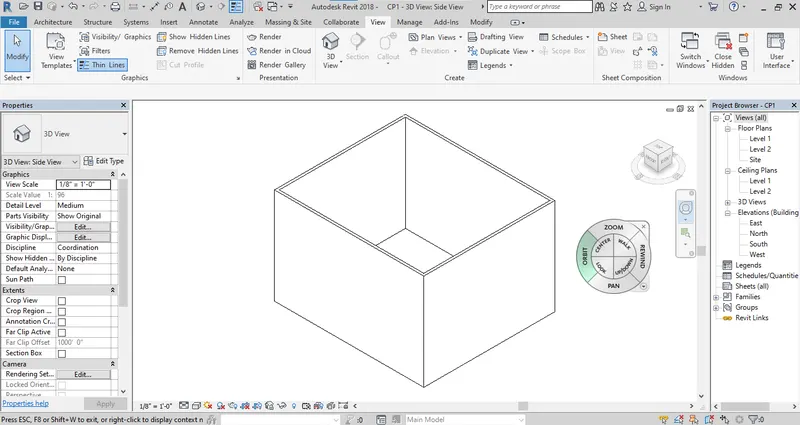
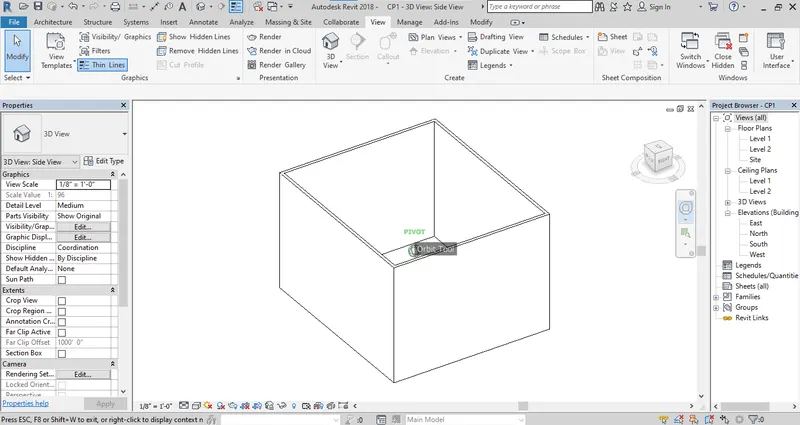
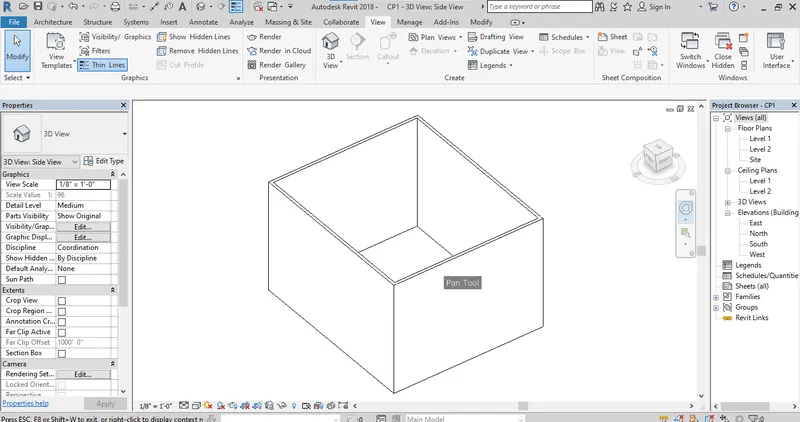
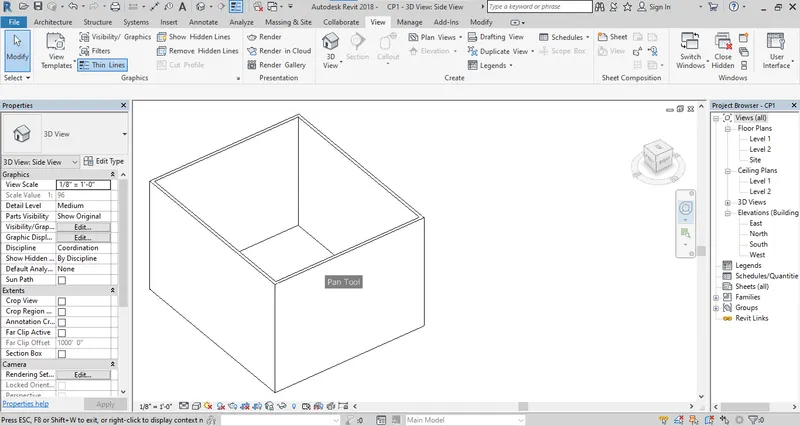
Step 4: Select the pan tool to move the object from one place to another place.
8) Visibility Setting.
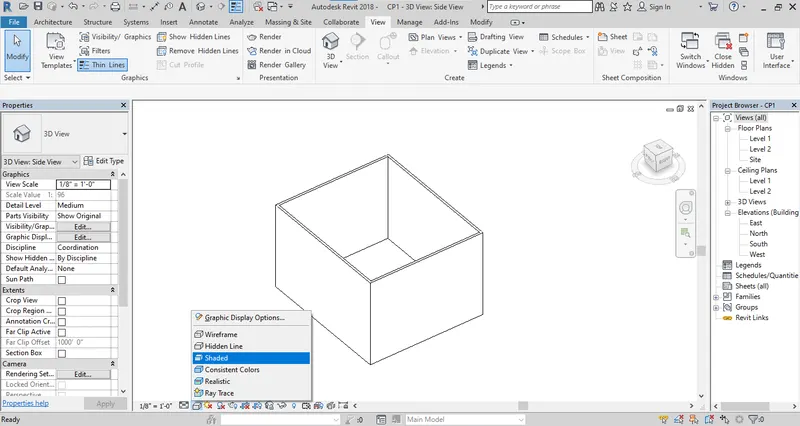
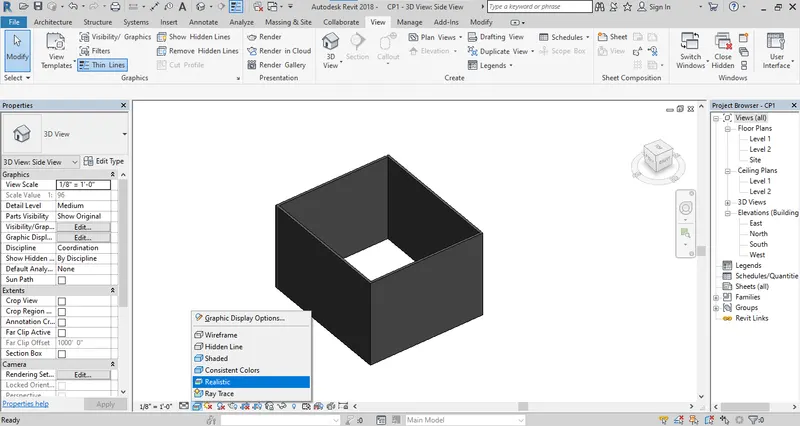
Step 1: Select the visibility option from bottom toolbar.
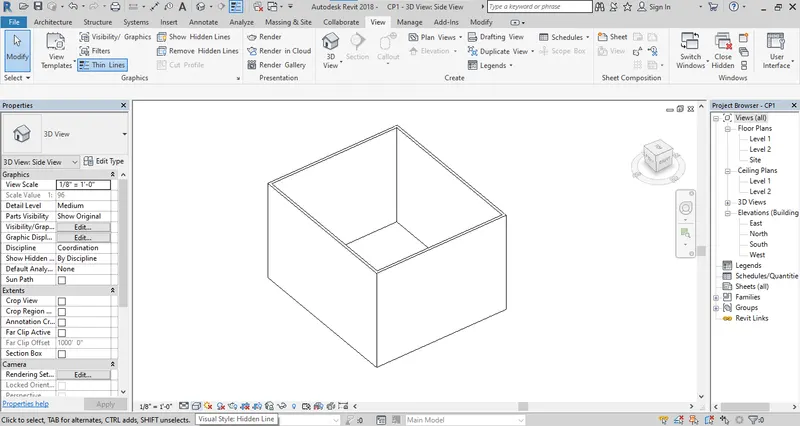
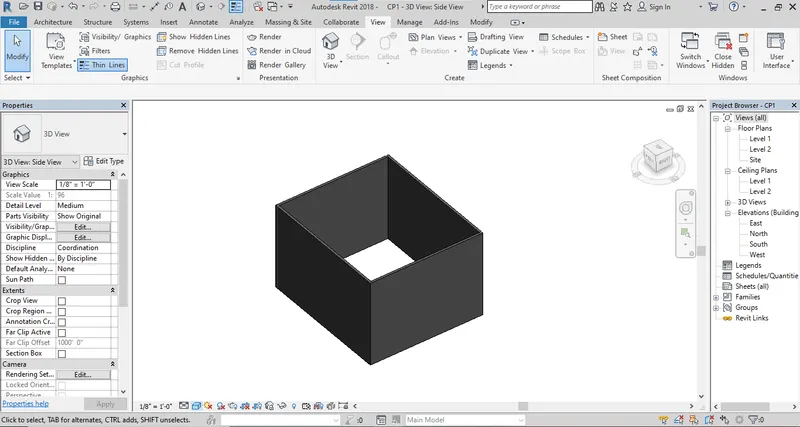
Step 2: Change the visibility option Shaded the view will also change.
Step 3: Change the Visibility yo hidden lines the view will also change.
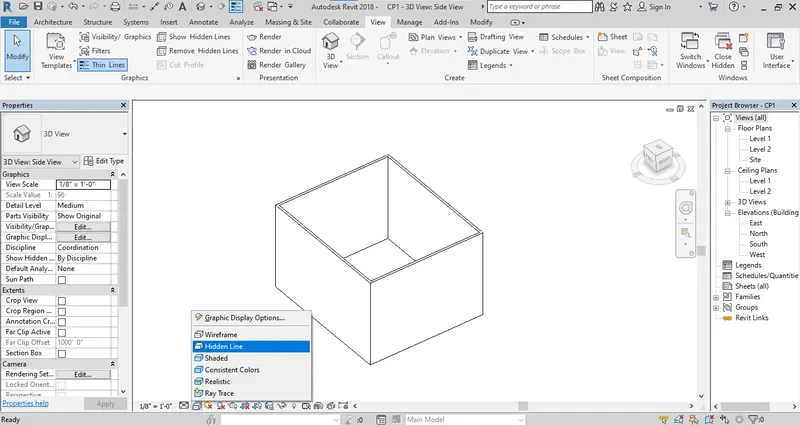
Step 4: Change the visibility to realistic the view of realistic will be access.
9) Sun Path.
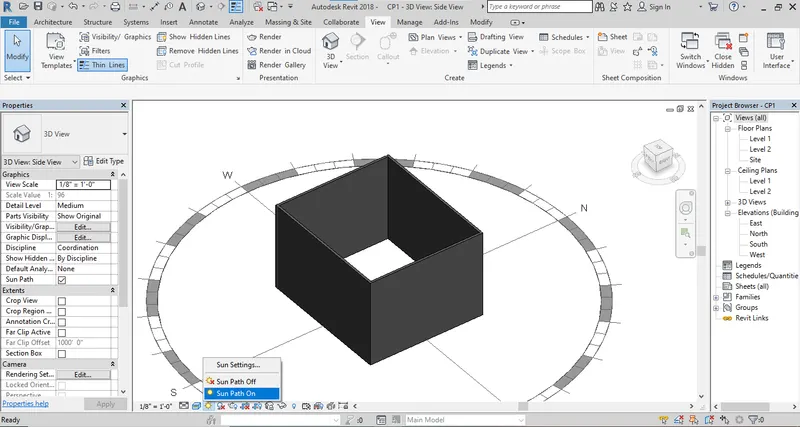
Step 1: Select the sun path from bottom toolbar from panel.
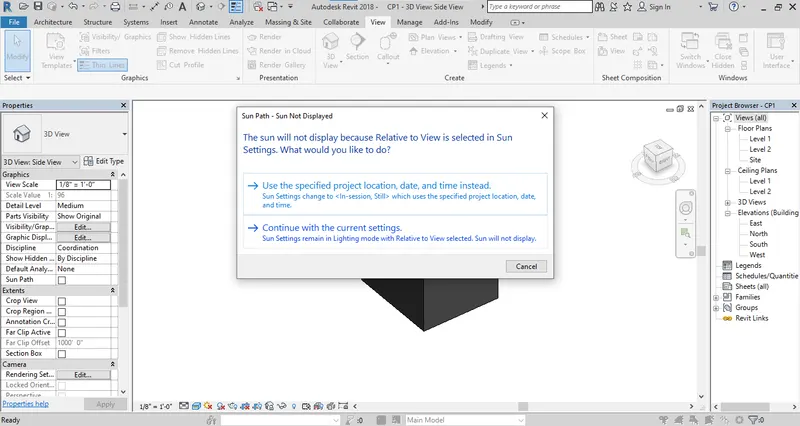
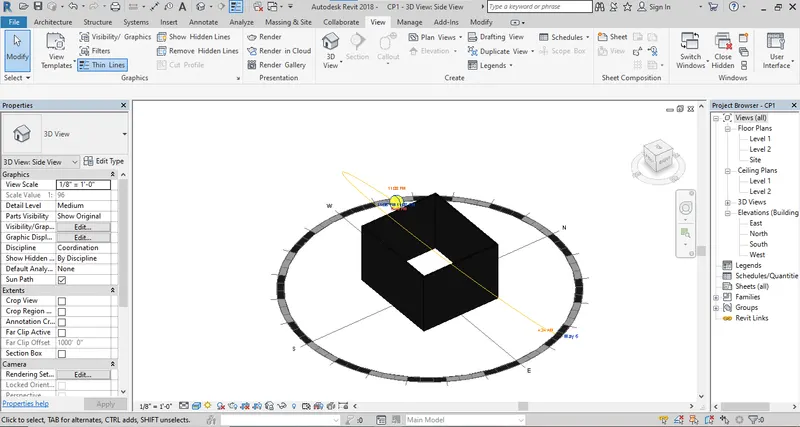
Step 2: As the sun path is on the diagram will be on.
Step 3: As the Sun path is off the diagram of sun will be off.
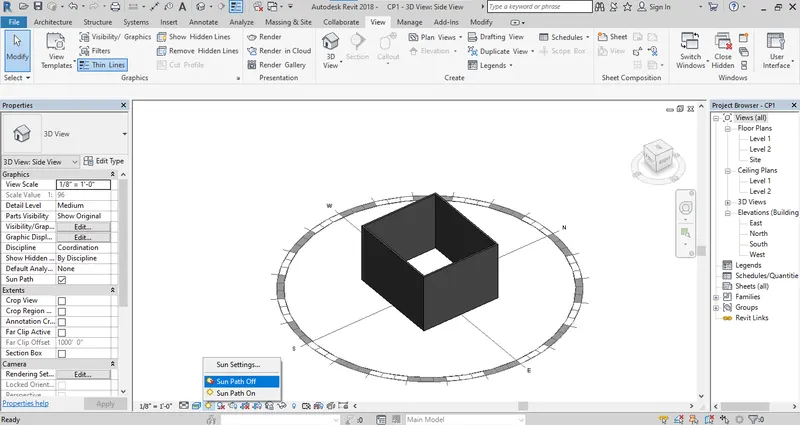
Step 4: To add the sun go to sun setting.
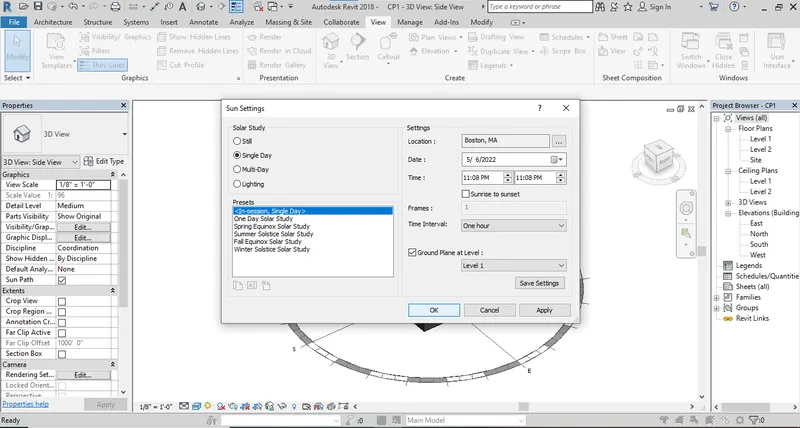
Step 5: Sun will be added as per the setting.
10) Manage Toolbar.
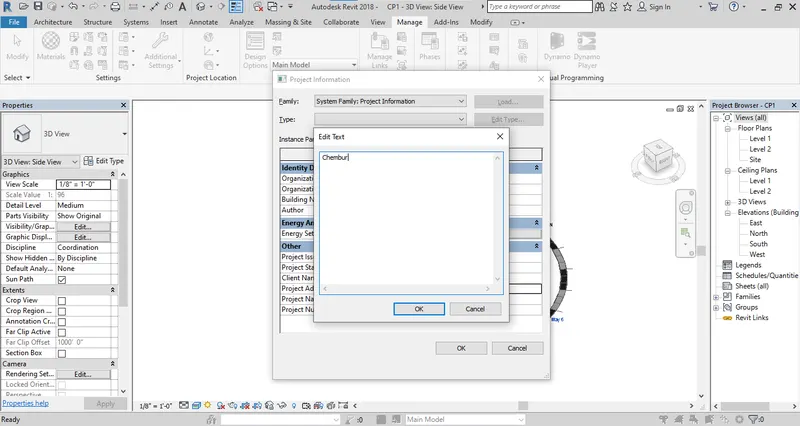
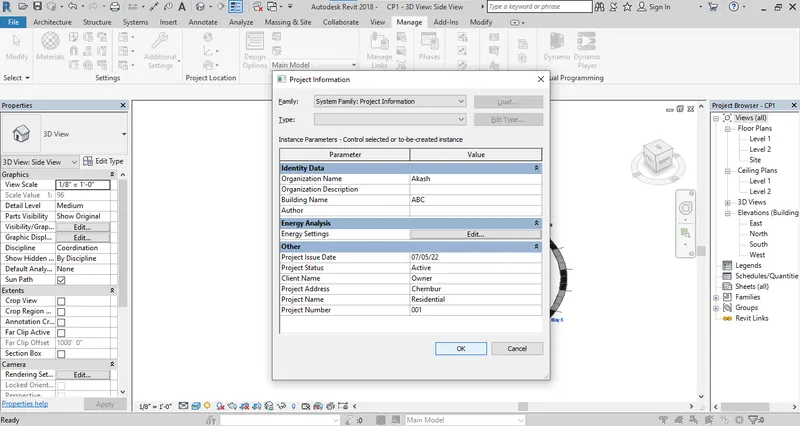
Step 1: To change the manage toolbar go to manage and go to setting panel.
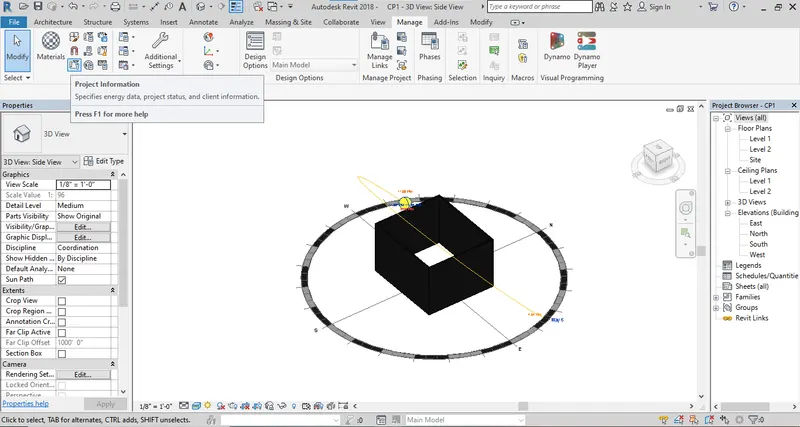
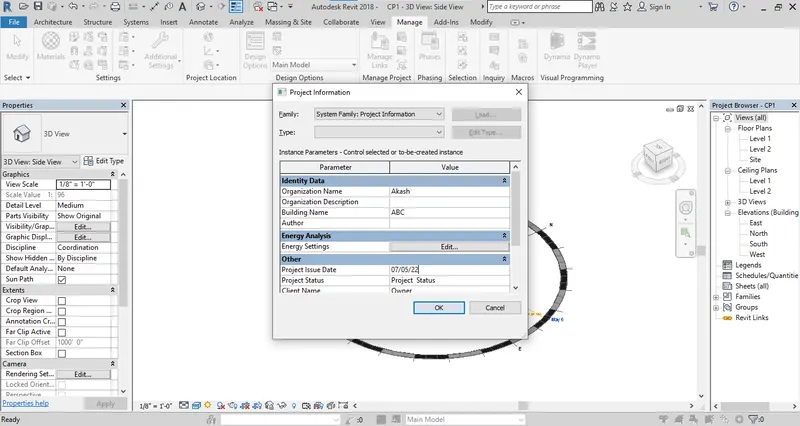
Step 2: Go to project setting and add all data required regarding to the project.
11) Analyze Toolbar: