Introduction to REVIT concepts
Introduction to REVIT concepts
Jagadeep.M.M
1) From the file menu, create a new project (Structural / Architectural / Construction template ) and name the project appropriately.
AIM:Steps to create a new project are as follows.
Procedure:
- Open the Revit Software.
- From the project tab click on new.
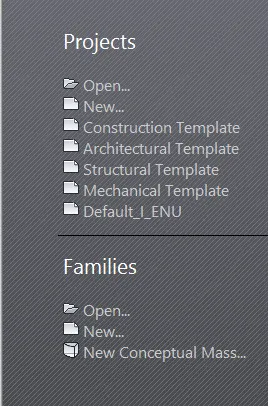
- A new Project dialogue box appears & then click on architechure template.
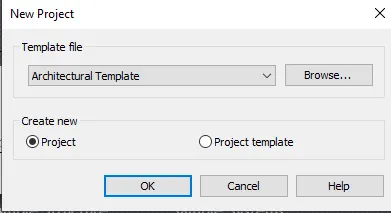
- Click on ok.
- New work space will be loadded
- To name the project , go to file menu,save & enter the project name as challeng 1.
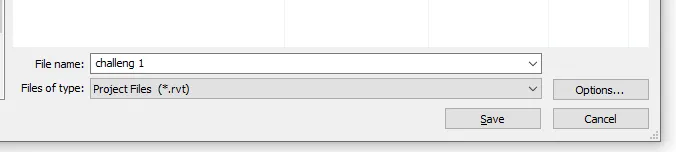
Result:New file with name challeng 1 will be created.
2) Save the new project file. Close and open using icons from file toolbar.
AIM: Go to file ,open & close
Procedure:
- Dialogue box appears give the name & click on save.
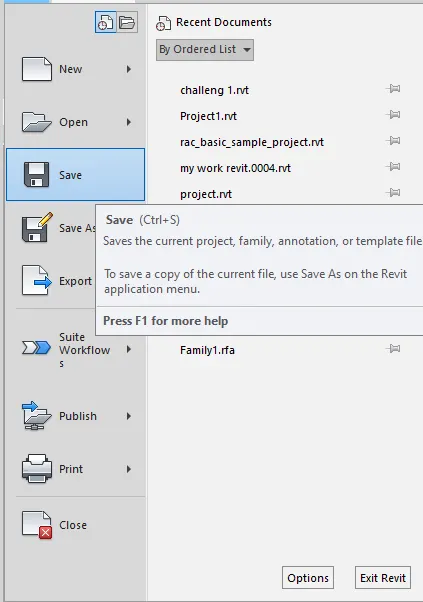
- To open a file in the file menu click on open project.
- Open the dialogue box appears & click on the required file.
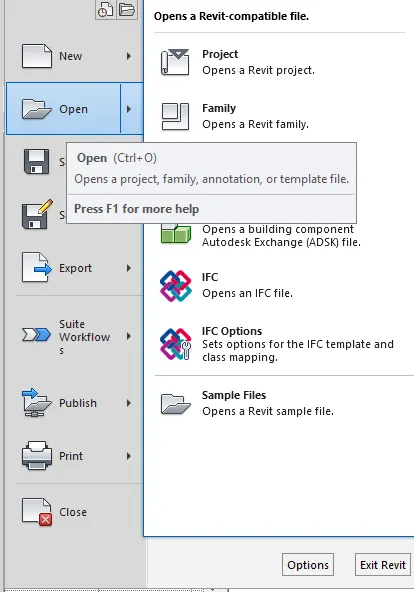
- To close the file, in the file menu click on close.
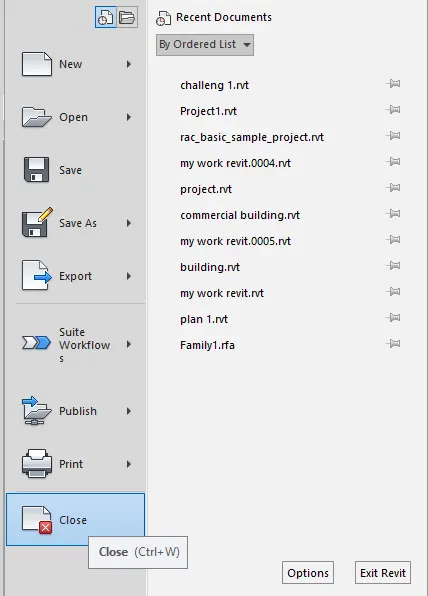
Result: The file is saved & opened & closed by file menu.
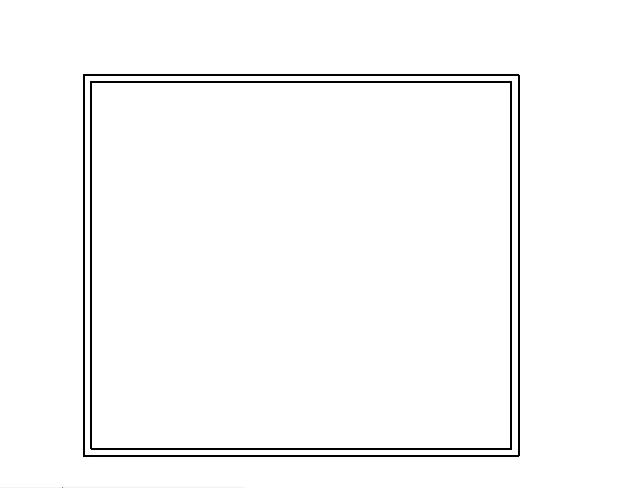
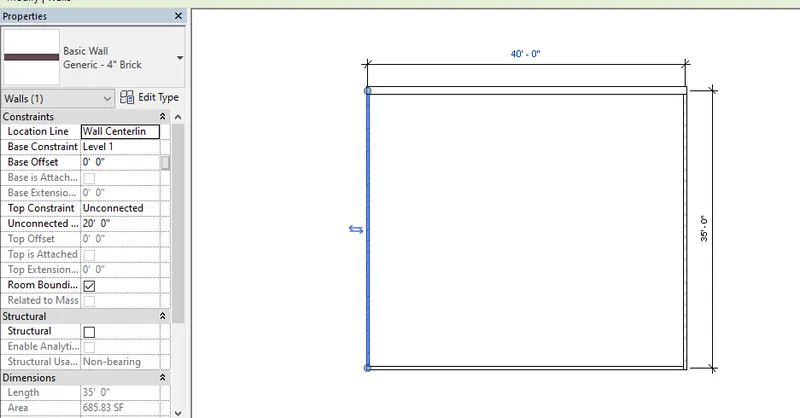
3) From the architecture/ structure toolbar familiarize with options to draw a wall. Create a rectangular layout of walls of about 40’-0” X 35’-0”
AIM: To draw a wall in revit software by using wall menu in default.
Procedure:
- Open the revit software, select new & select default template.
- Click on wall from the architectural tab & select basic wall 8".
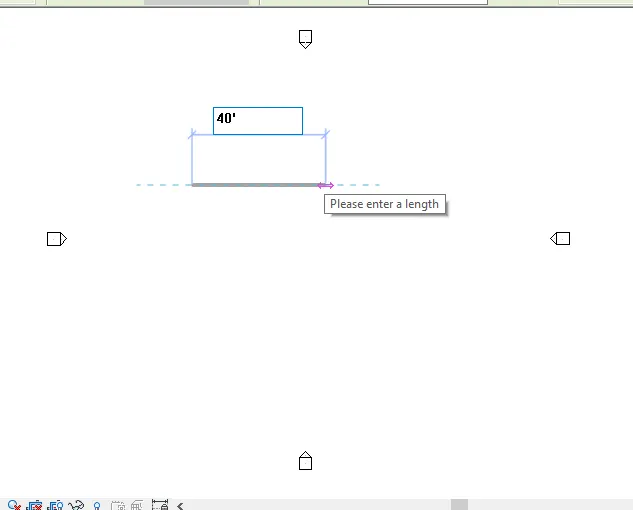
- Click on the floor plan area & enter 40'.
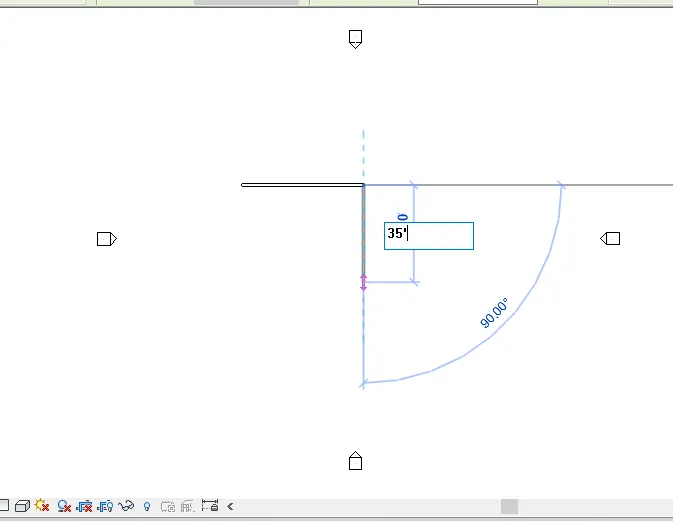
- Move the mouse downwards & type 35'.
- Again type 40' placing the mouse to the left.
- Again type 35' upwards.
- A rectangle is created of 40'X35'.
Result: Wall of 40'X35' is created using wall tool.
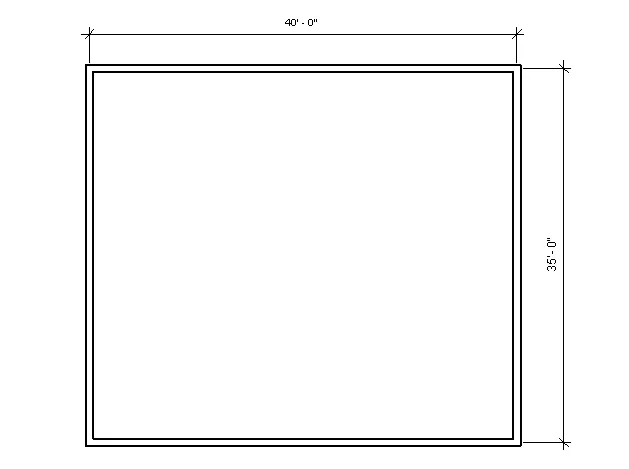
4) From the Annotate toolbar use the aligned option to add dimensions to the layout
AIM: To use the annotate toolbar, annotate option for dimensioning.
Procedure:
- Click on anootate toolbar.
- Click on aligned option.
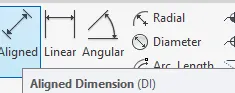
- Click on side of wall where to start then drag the dimension line to where we need.
- Similarly do the same on the other side.
Result: The dimensions are using annotate toolbar using aligned option.
5) Use the properties browser to switch to different wall types.
AIM: To use the property browser to change the type of wall.
Procedure:
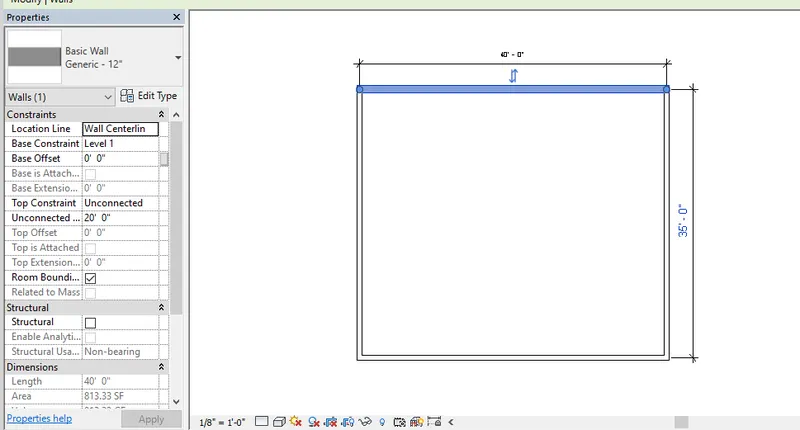
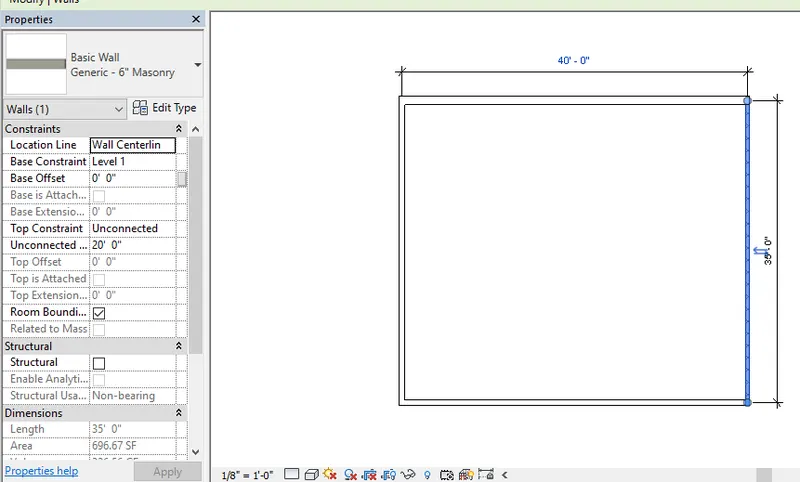
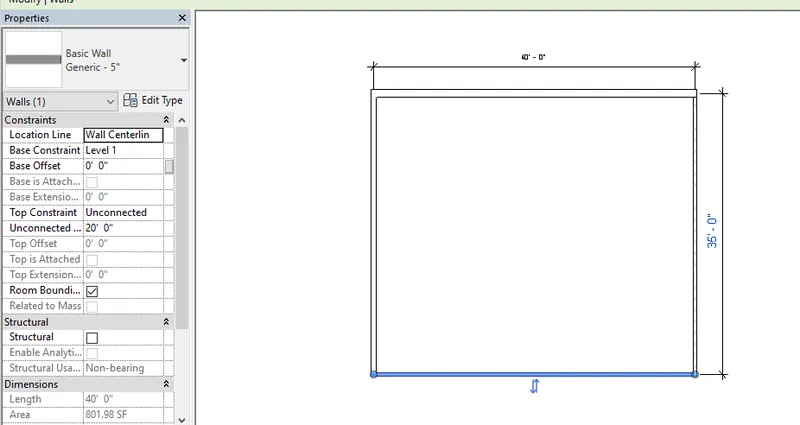
- Select the wall & then in left in the property browser, the property of wall be displayed.
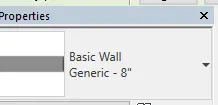
- Click on the drop down menu & we can see different type of wall.
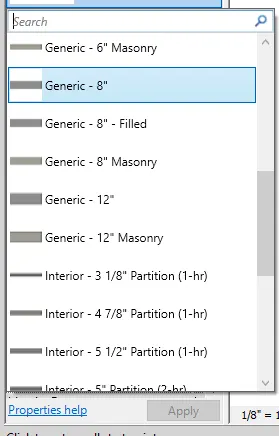
- There are basic walls, curtain walls & stacked walls.
- Select the required type ,here select 12" masonary , then selected wall will change accordingly.
Result: With the use of property browser ,the wall type are changed.
6) Create a 3D view from the view toolbar and save the view with the appropriate name
AIM: To cretae a 3d view & saving the view with appropriate name.
Procedure:
- Click the view tab.
- Click on 3d view.
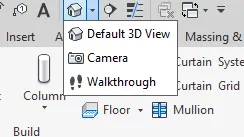
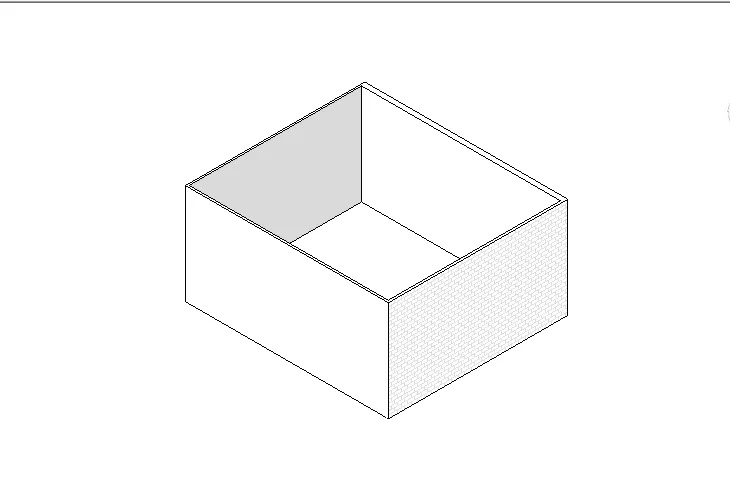
- Click on default 3d view.
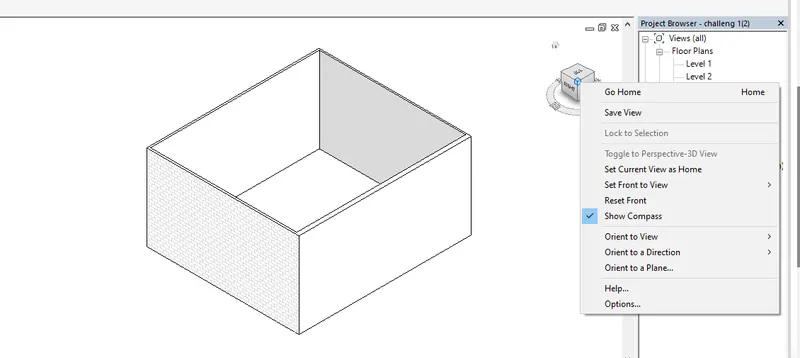
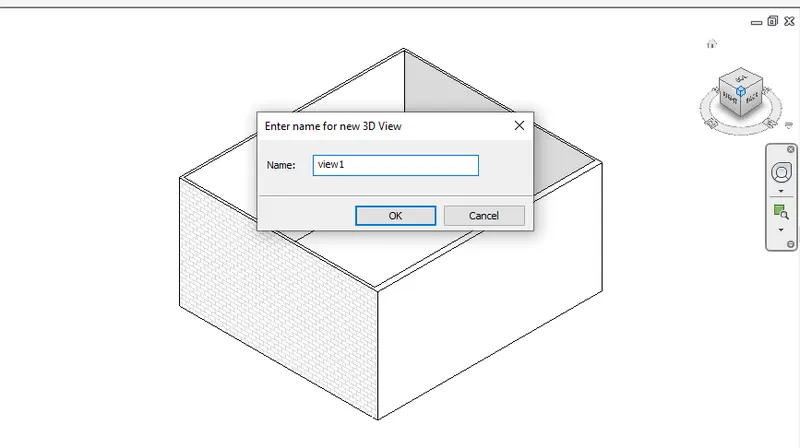
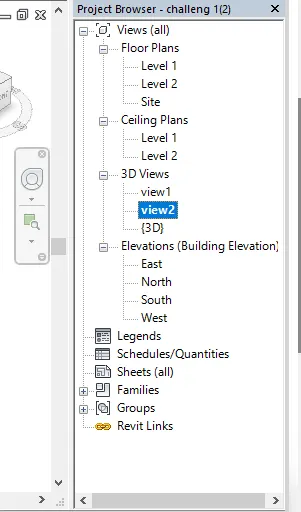
- Click the 3d cube & select the any of the corner view,then right click the mouse. select save the view.
- change the view name & ok.
7) Navigate through the 3D model using the view cube. Orbit/pan through the model layout created
AIM: To navigate with view cube & pan the model.
Procedure:
- Click on the view on the view cube on the right side of the workspace.
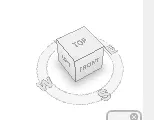
- Click on different views
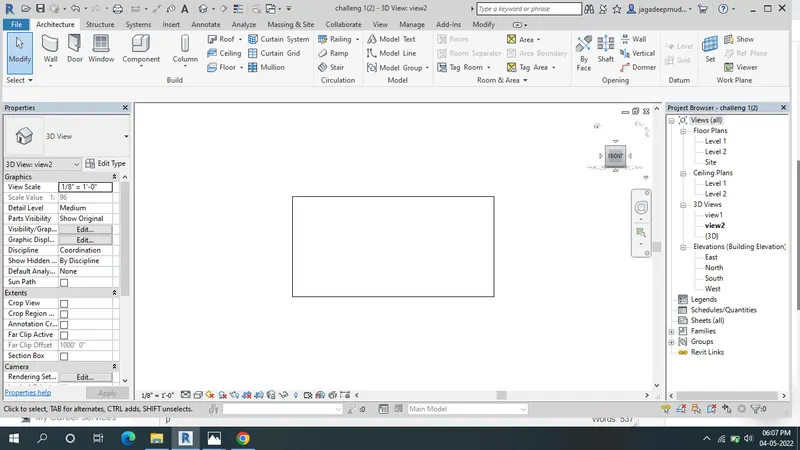
FRONT VIEW
- To click on the pan will be navigation wheel below the view cube.
- Click on the pan option.
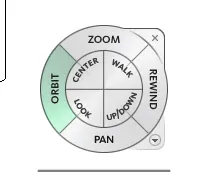
- Click on the cursor & move the mouse to pan.
- Similarly click on orbit option in the navigation wheel.
Result: use of the view cube & pan/orbit in navigationwheel is shown.
8) Use the visibility settings option below to switch model to shaded, realistic, hidden lines options
AIM: To use visiblity setting to switch model to shaded,realistic,hidden lines.
Procedure:
- Click on the cube at the bottom toolbar-visual style
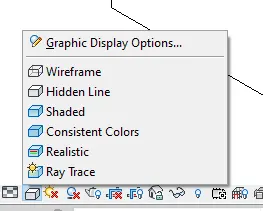
- Select the shaded line
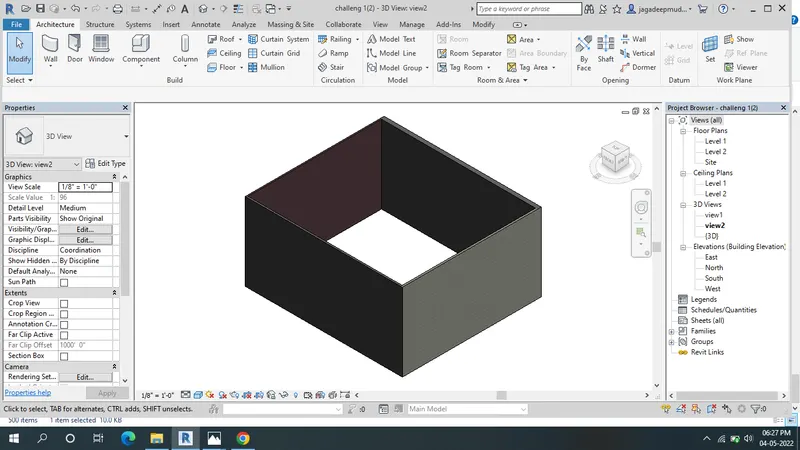
- Select the Realistic
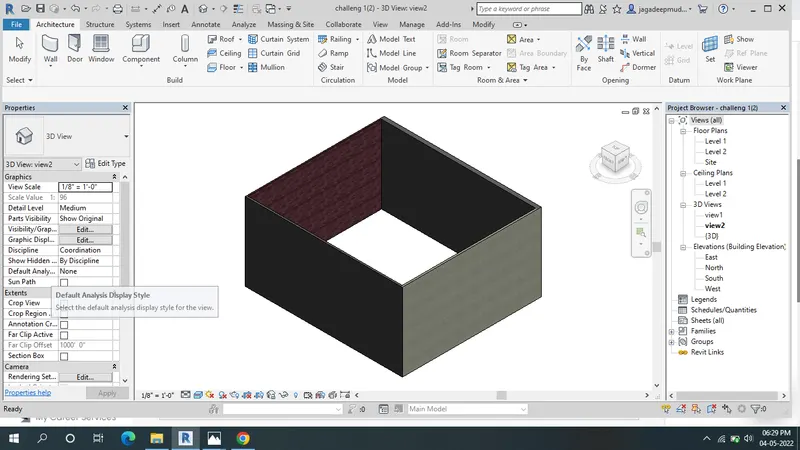
- Select the Hidden
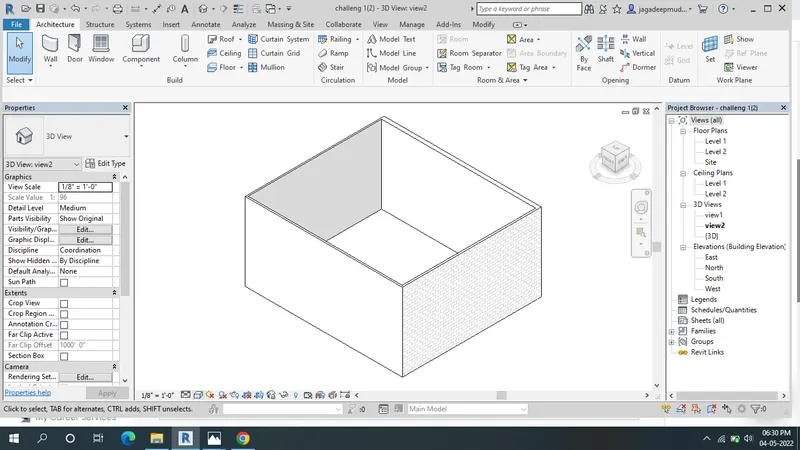
Result: Shaded ,realistic & Hidden options are done by visibility settings.
9) Turn the sun path on and off to view shadings in the layout created
AIM: To on & off the sunpath view the shading in layout.
Procedure:
- Click on the icon of sun on bottom toolbar.
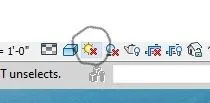
- Click it so that the sun path on.
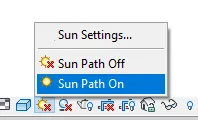
- Date & time will be visible
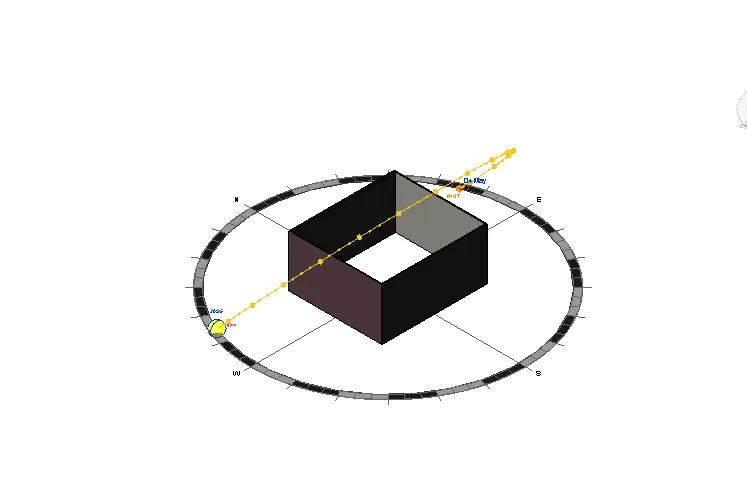
- Similarly put the sun path off
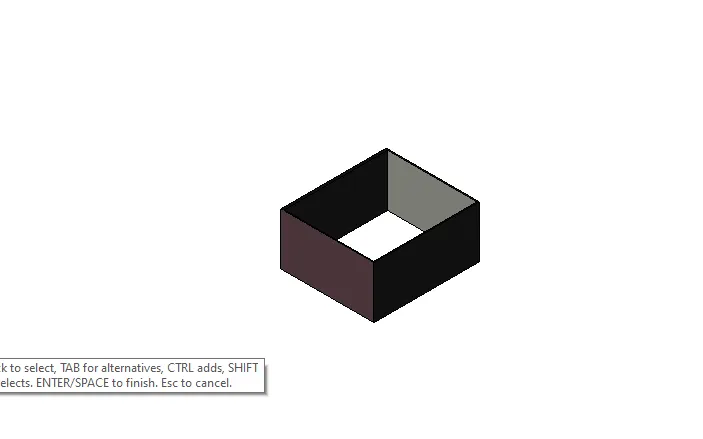
Result: Use of sun path on or off done.
10) Use the Manage toolbar to enter project settings, project name, and project issue date (choose according to your convenience).
AIM: Using the manage toolbar to enter project setting, name as issue date.
Procedure:
- Click on manage toolbar, click project information
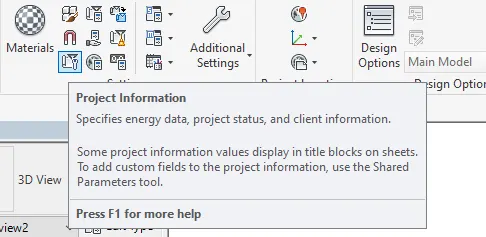
- Project information dialog box appears
- from other click on project issue date & give a value.
- Select the project name, project status, client name, project address & project number.
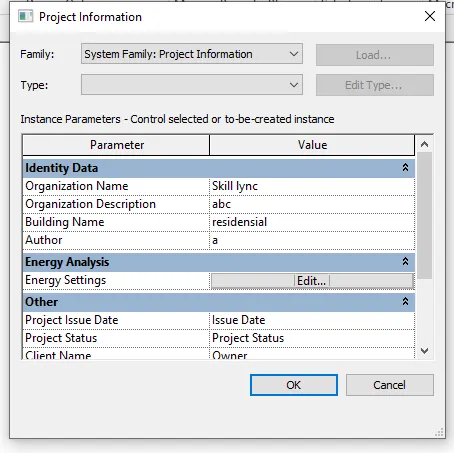
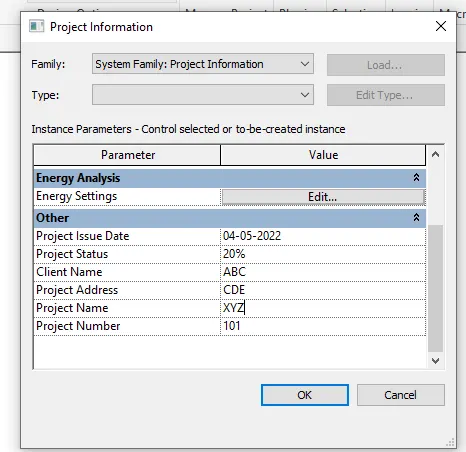
Result: By manager toolbar , project setting are changed.
11) What is the Analyze toolbar used in Revit? How it is beneficial for design and modeling
- Click on the Analyze toolbar.

- Analyze toolbar helps in evaluating the building performance & analyzing the model by boundary conditioned, loads etc.
- It also evaluated the sustainablity of the model.
The benefits are as follows:
- It has structure analysis in which we can give the boundary conditions to the model.
- We can apply loads line point, line & area load to the model.
- We can edit add & edit the load case & add load combinations.
12) What are the links that Revit supports to be linked to the model?
- In the insert tab links are found which are used to link different files to the current file.
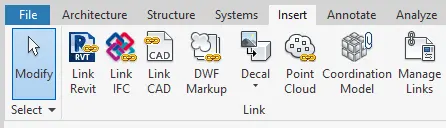
- Link revit : It allows to link another revit model to the current model.
- Link IFC : link IFC file to current model to reference its information for additional design works.
- Linl CAD : To link the cad file to current revit file to create 3d by revit tools.
- Manage links : Provides feature to manage the link to the building modeles. Like if we are linking the electrical & structural model,to remove electrical from structural go to link manager & unload the model which we dont want.
13) Why do you need the Collaborate tab in Revit? How it supports modeling and its efficiency
- It is the feature which help s to collaborate & help the team member to work on the model simultaneoulsy.
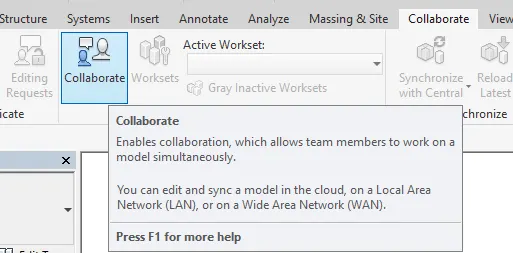
- LIke if a structure & mechanical engineer wants to work in a file simultanously, the collaborate option creates a central file & will have the facility to create the multiple local files that enables collaboration.
- In modelling it helps the term members of different discipline to work on the same file simultanously.
- The efficiency of the modelling will be high, as the work can be finished faster.