Introduction to REVIT concepts
1) From the file menu, create a new project (Structural / Architectural / Construction template ) and name the project appropriately.
Go to file and menu click on New - Project - Select the template - OK
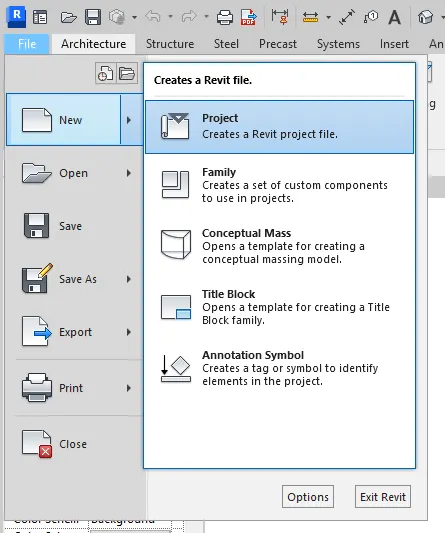
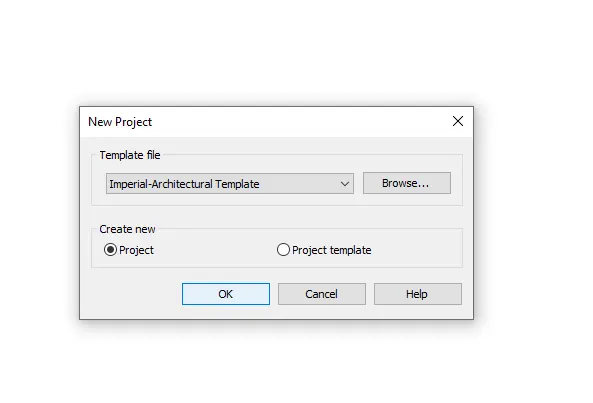
Then click File - Save - Name the file - Save.
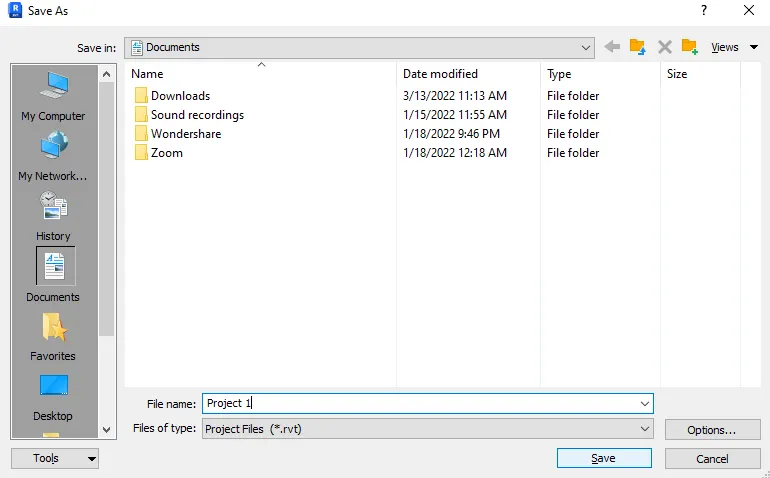
2) Save the new project file. Close and open using icons from file toolbar
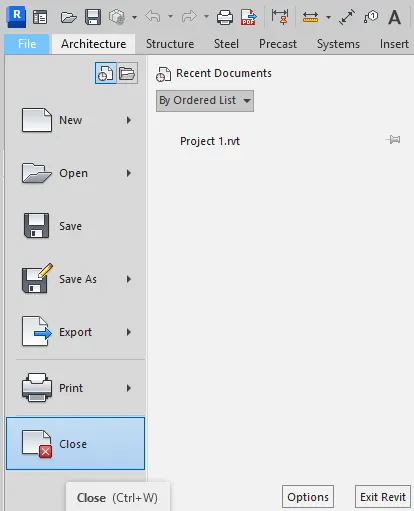
Go to File menu - Save
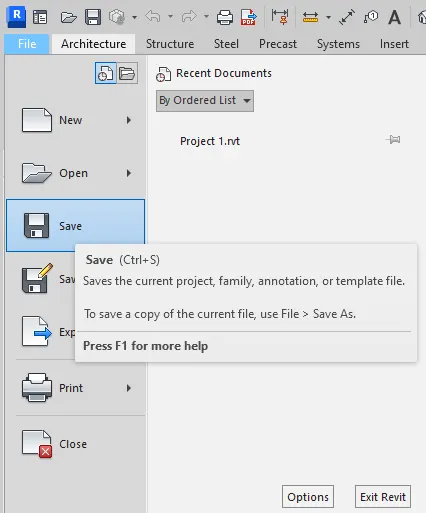
Go to file menu - Close
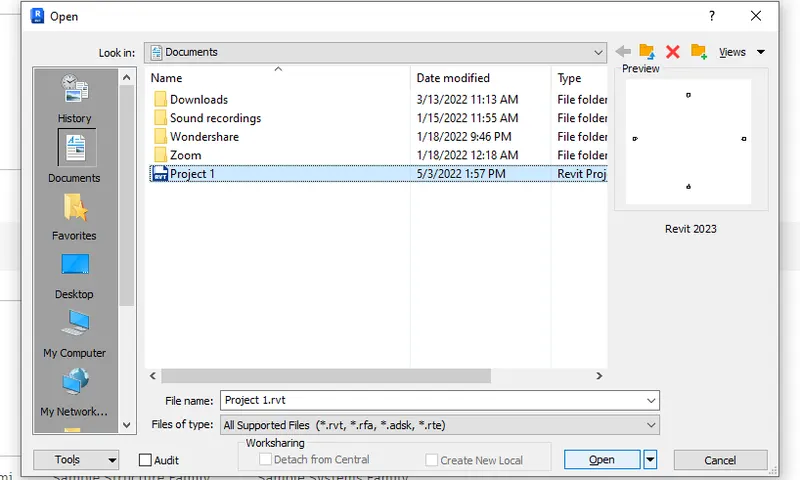
Go file menu open and select the file we saved earlier - Open
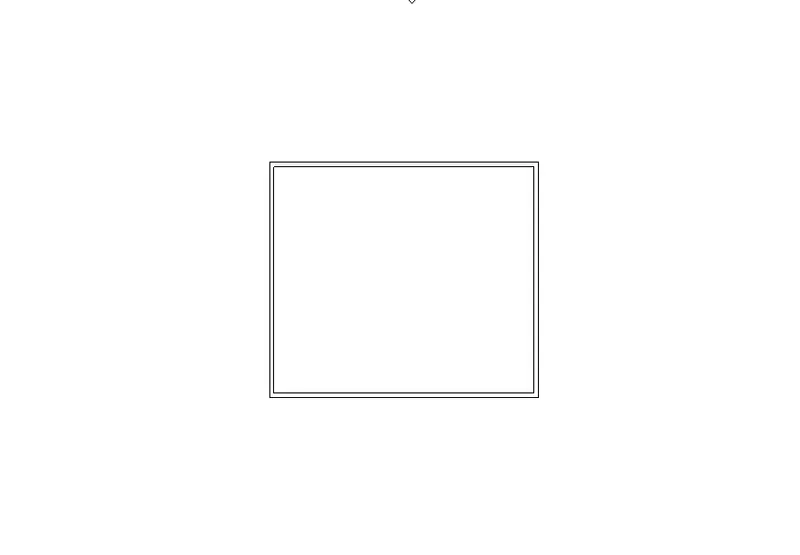
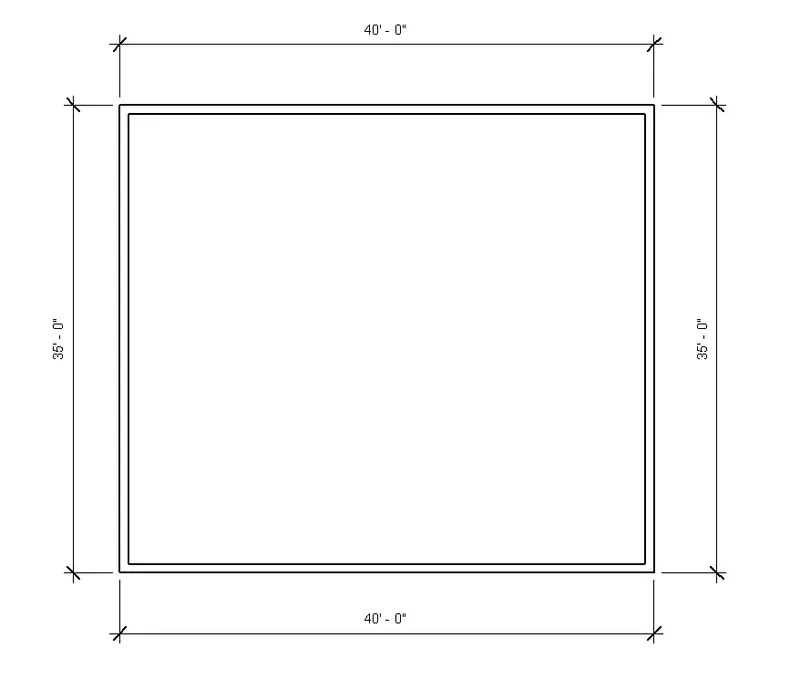
3) From the architecture/ structure toolbar familiarize with options to draw a wall. Create a rectangular layout of walls of about 40’-0” X 35’-0”
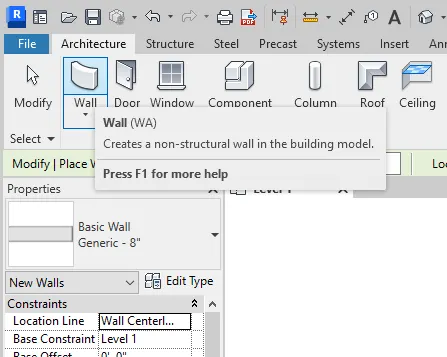
Select wall from the Architecture tab
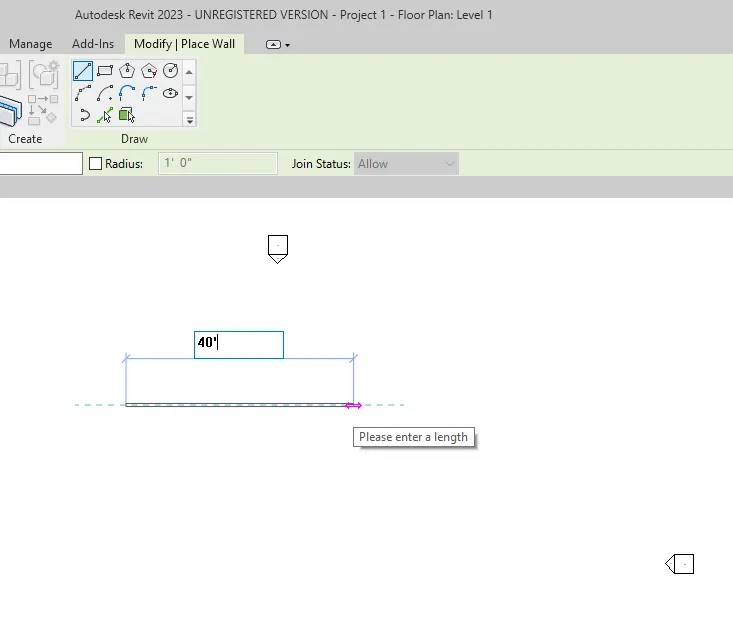
Draw a 40' line then a vertical line of 35'
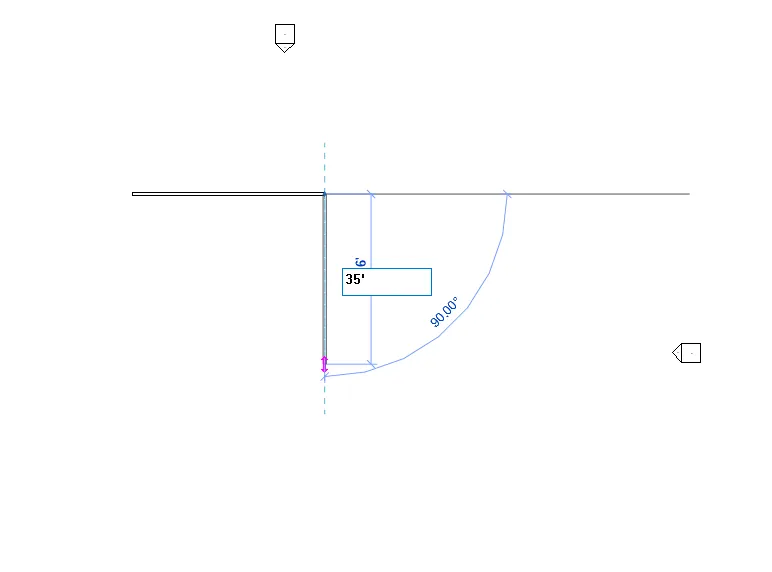
Join the Rectangle
4) From the Annotate toolbar use the aligned option to add dimensions to the layout
Click on the Annotate tab
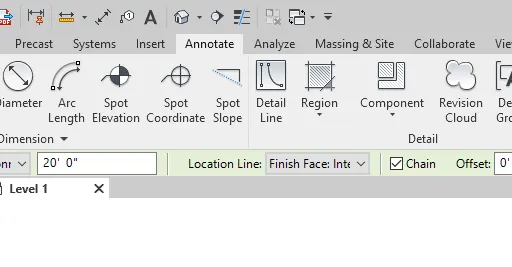
Then click on Linear
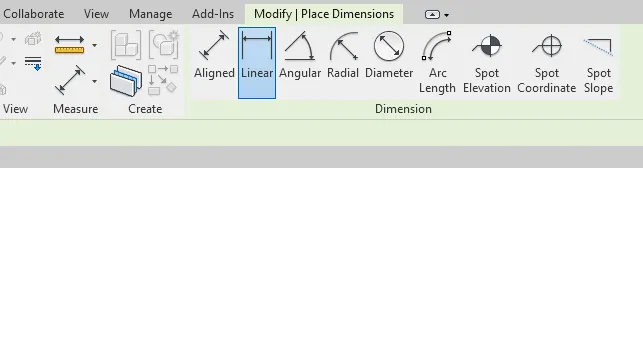
Click from the end of the line carefully from one end to another
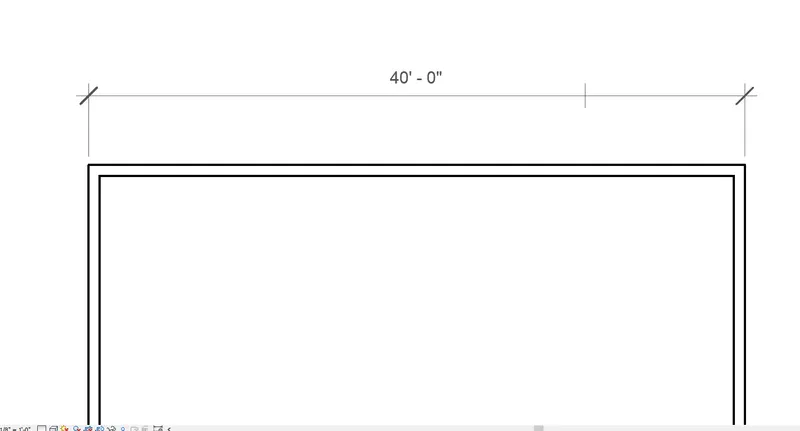
Mark the dimensions for all the sides.
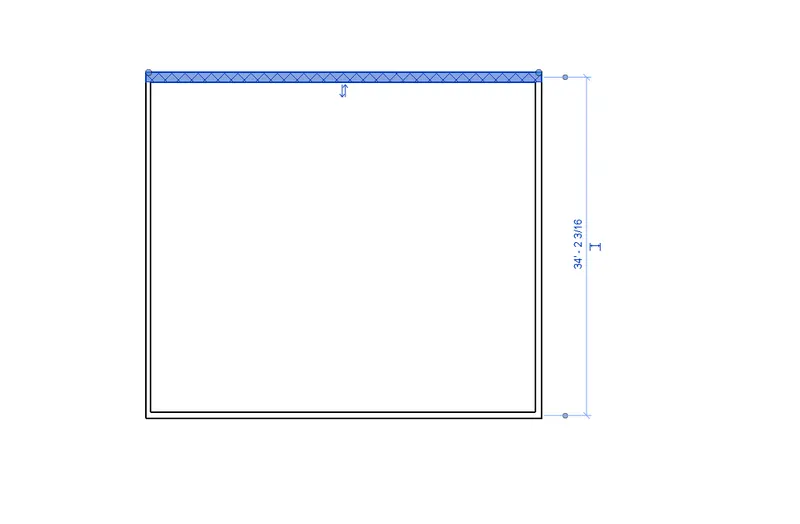
5) Use the properties browser to switch to different wall types
Select wall then click on the wall properties
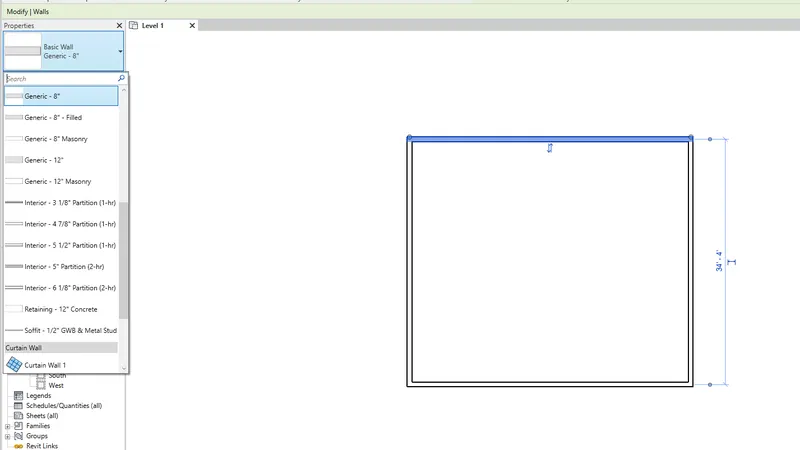
Then select the needed wall type
6) Create a 3D view from the view toolbar and save the view with the appropriate name
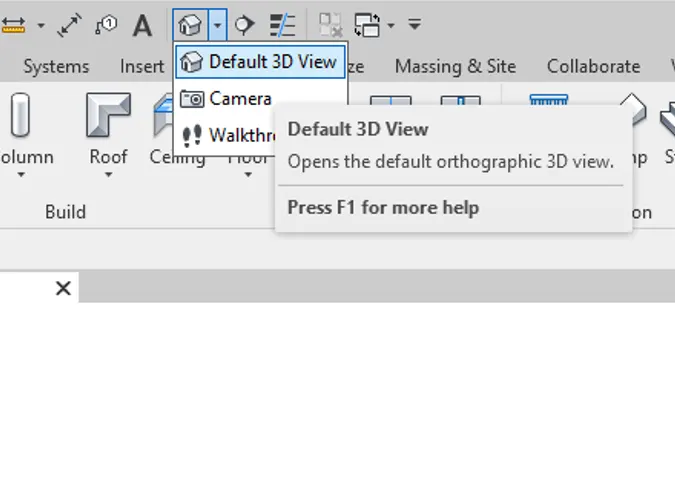 Click the 3D drop-down and click on Default 3D View
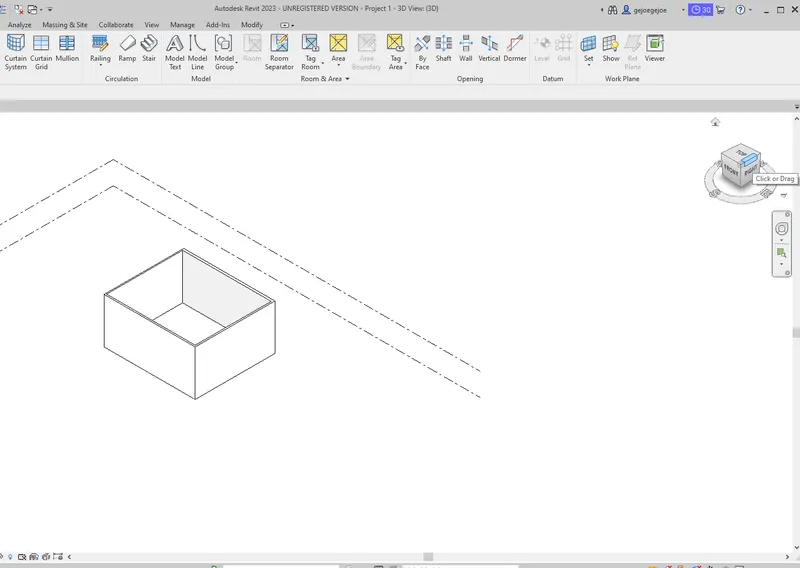
Using the view cube at the top right of workspace select the wanted view
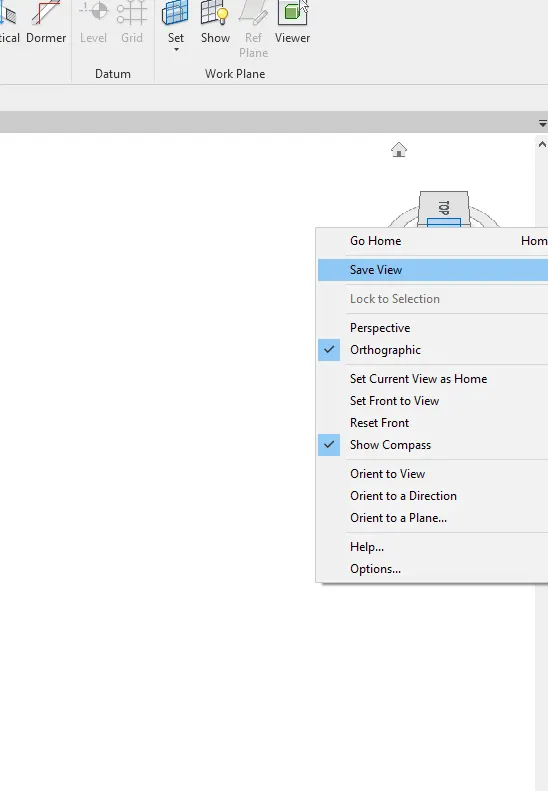
Right-click on the view and select save
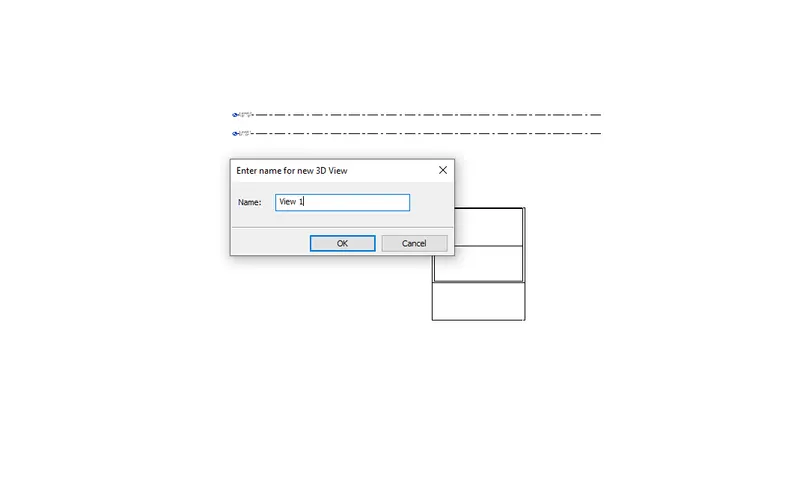
Rename the selected view and click on OK
7) Navigate through the 3D model using the view cube. Orbit/pan through the model layout created.
On the right side of the workspace, there is the navigation window
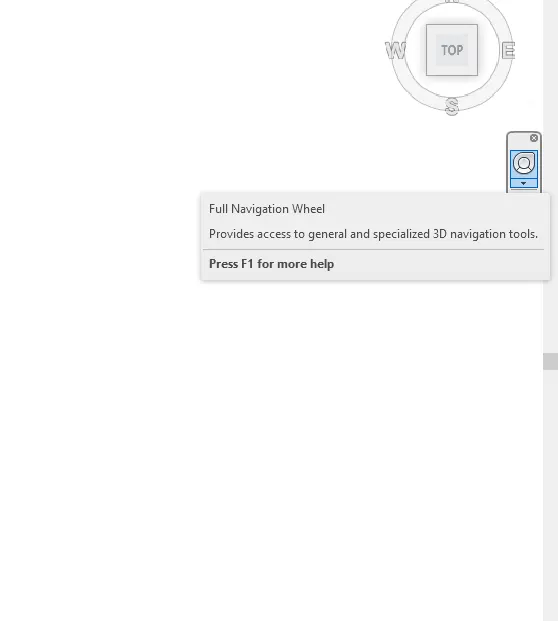
Click on the Full Navigation Wheel button
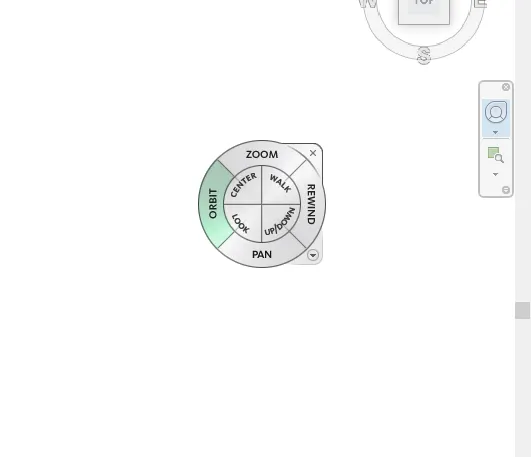
Drag the navigation wheel and place it on the workspace and click on orbit
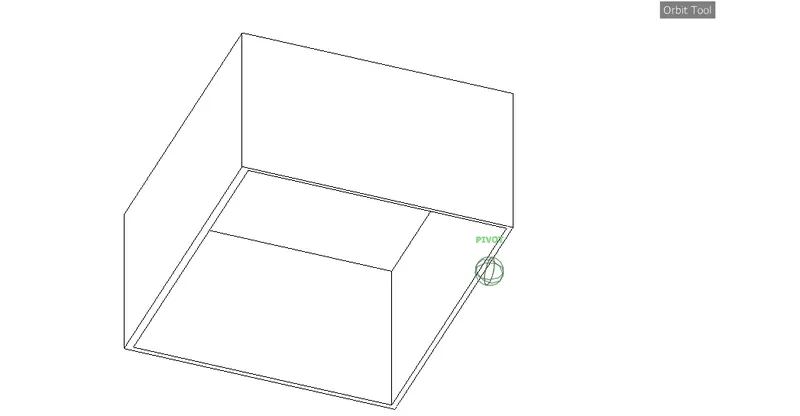
By holding the left mouse button rotate the layout as desired
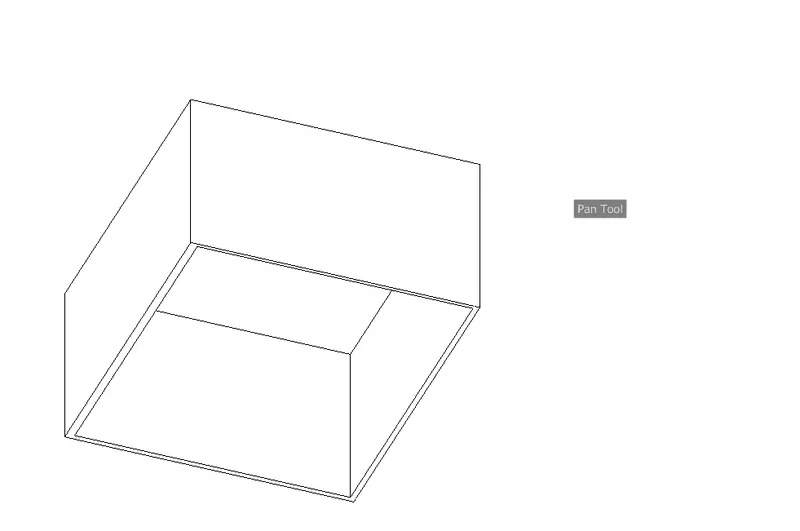
Click on Pan Tool and pan the layout
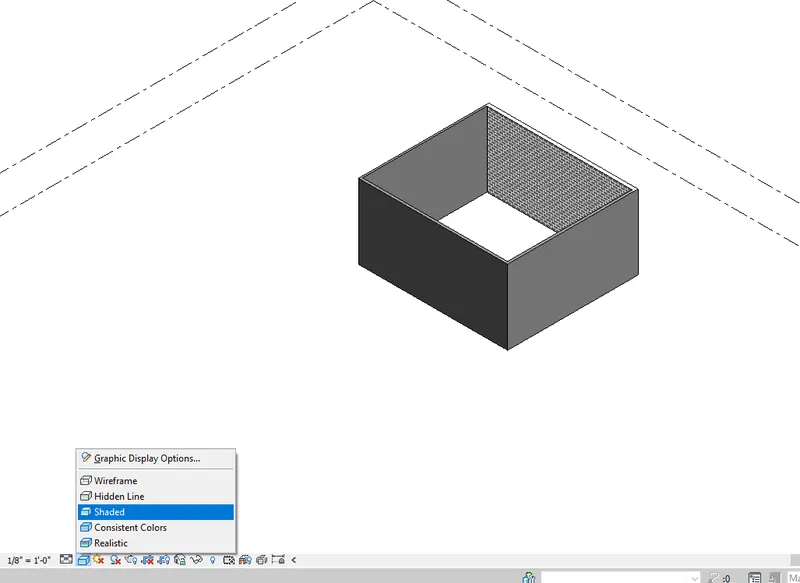
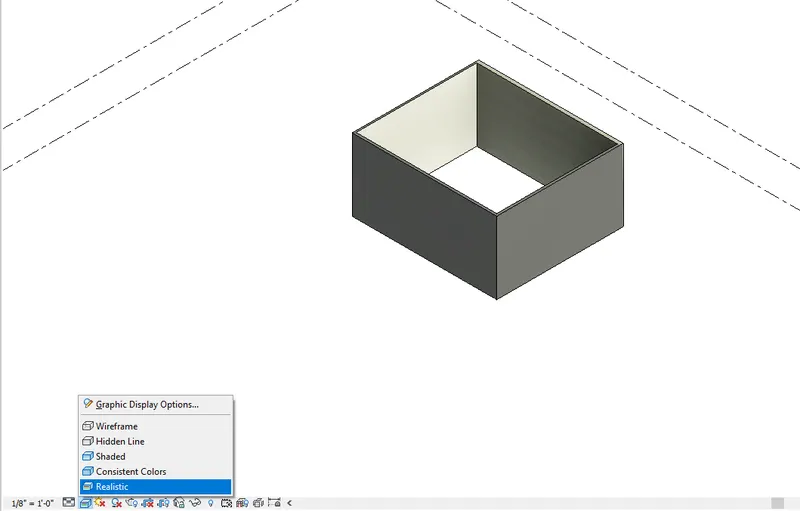
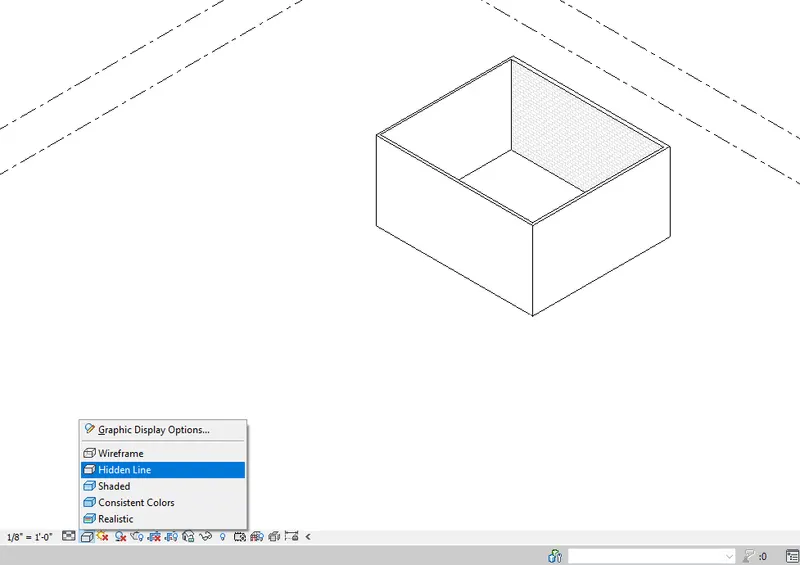
8) Use the visibility settings option below to switch model to shaded, realistic, hidden lines options
Select the Visual style button on the bottom toolbar
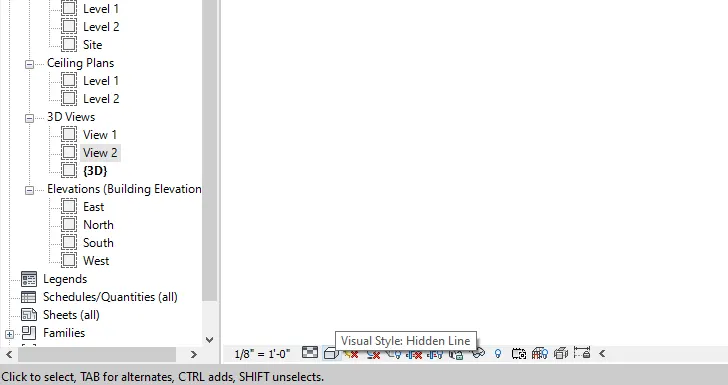
Select shaded in the view style option
Select Realistic in the view style option
Select Hidden Line in the view style option
9) Turn the sun path on and off to view shadings in the layout created
From the bottom toolbar Click on the Sun Path On.
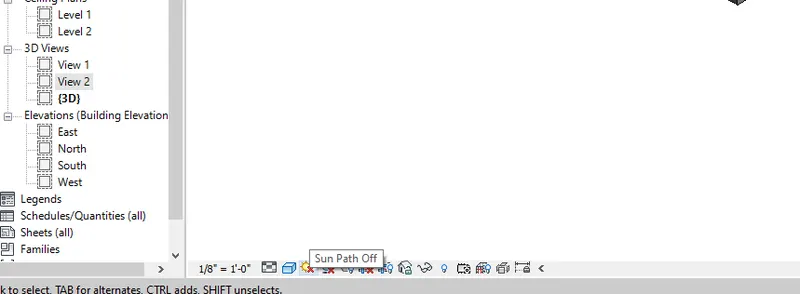
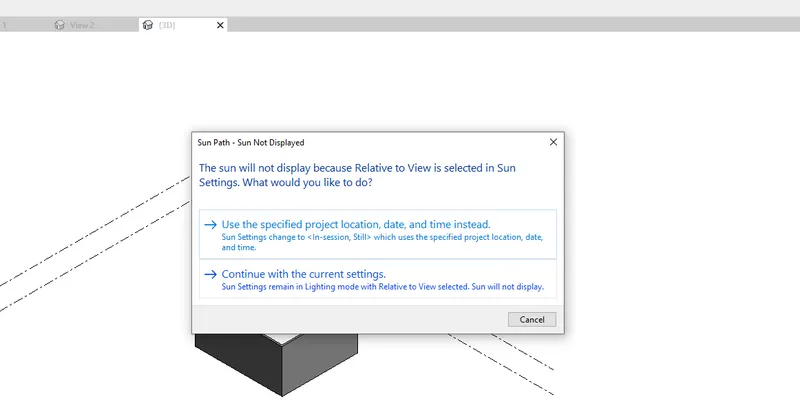
Then a dialog box will appear... click on Continue with the current settings.
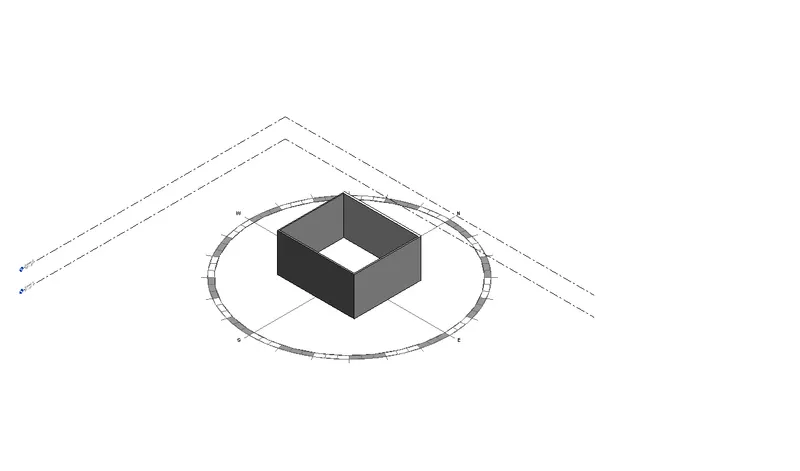
Then the sun path will appear
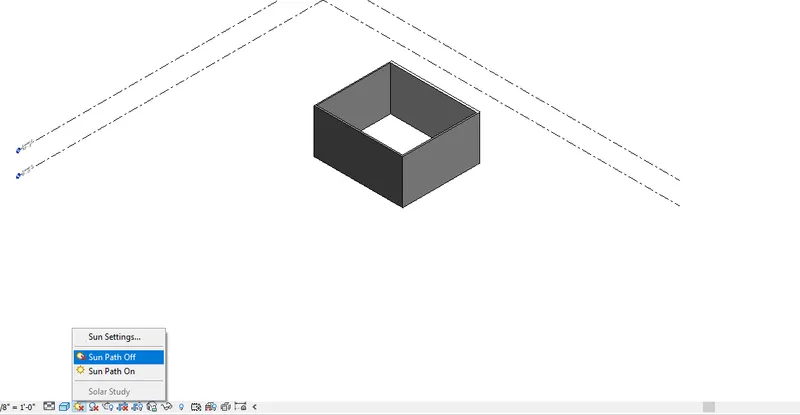
To turn off... again click the sun path off
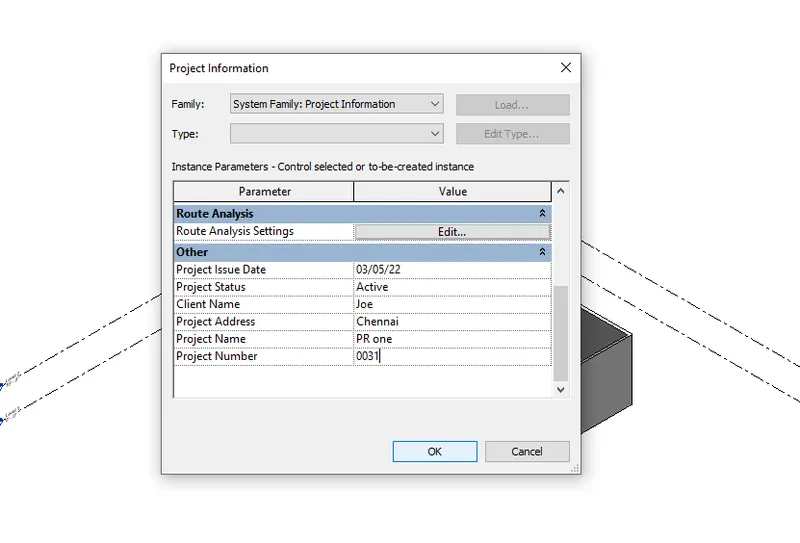
10) Use the Manage toolbar to enter project settings, project name, and project issue date (choose according to your convenience).
Click on Manage Tab and then click on the Project information
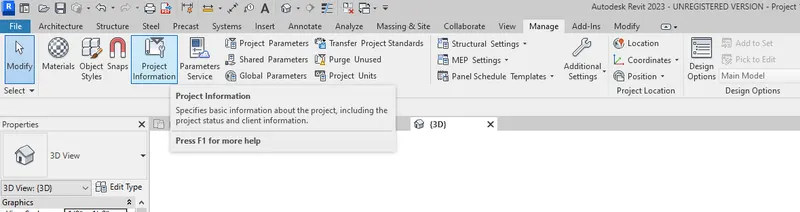
The project information dialog box will appear... Type in the required details and click on OK
11) What is the Analyze toolbar used in Revit? How it is beneficial for design and modeling
Analyze tab is a dedicated toolbar to calculate the structural analysis of a building. It helps design and modeling by providing various options like boundary conditions, load options, and analytical automation options.
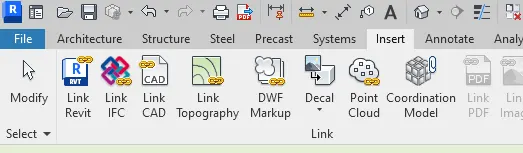
12) What are the links that Revit supports to be linked to the model?
The links are available inside the Insert tab, You can link files like Revit, IFC, CAD, Topography etc...
13) What is the Analyze toolbar used in Revit? How it is beneficial for design and modeling
Need of Collaborate tab in Revit:
Work together
Cloud Sharing
Work sharing
Central Model
Multiple Revit files can be linked together and people who need to work on the project who are not in the same geographical location can work together with this collaborate tab.
Informed Decision-Making With Real-Time Visibility. Keep Working In Revit, From Anywhere. Version Control. Offline Access. Detailed Change History. All File Types Supported.