Introduction to REVIT concepts
1. From the file menu, create a new project (Structural / Architectural / Construction template ) and name the project appropriately
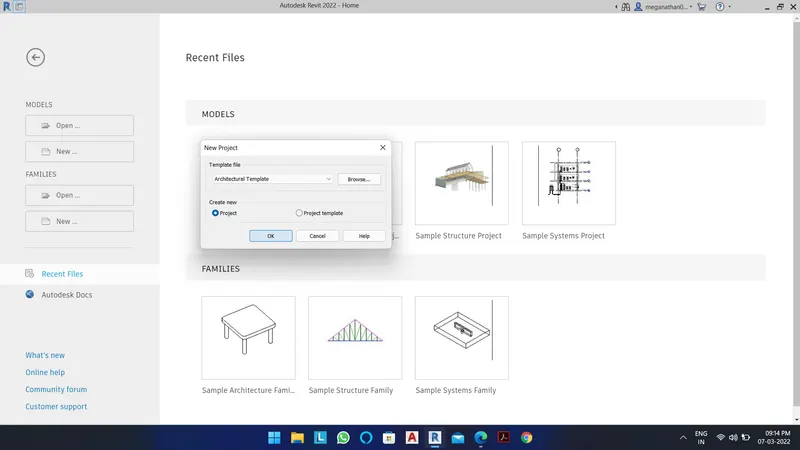
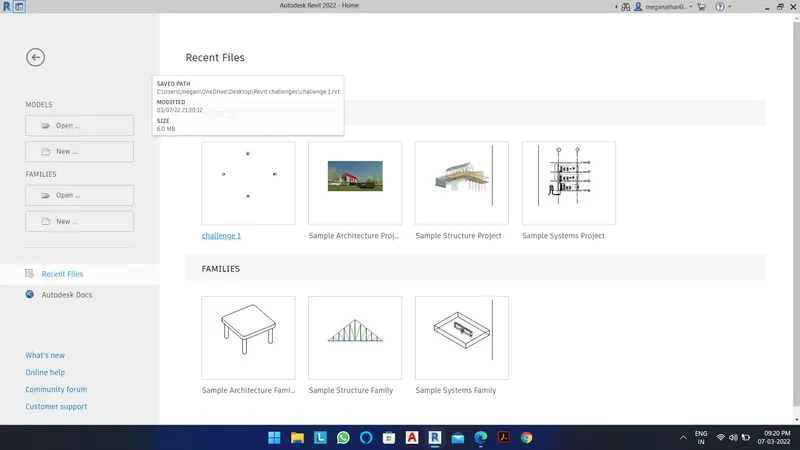
2. Save the new project file. Close and open using icons from file toolbar
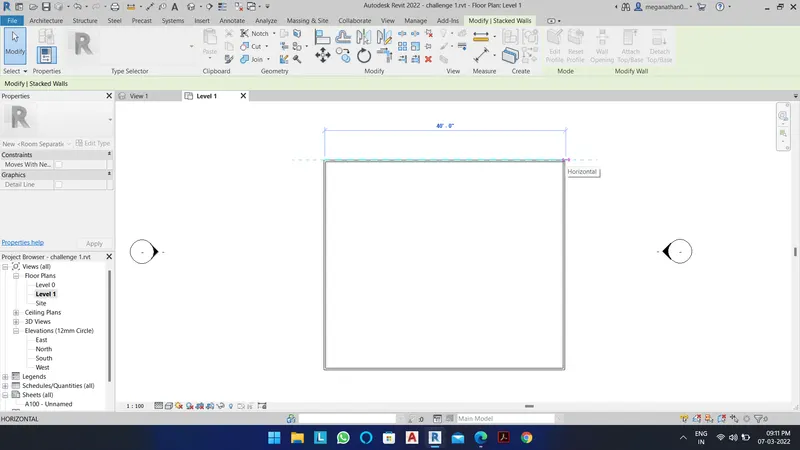
3. From the architecture/ structure toolbar familiarize with options to draw a wall. Create a rectangular layout of walls of about 40’-0” X 35’-0”
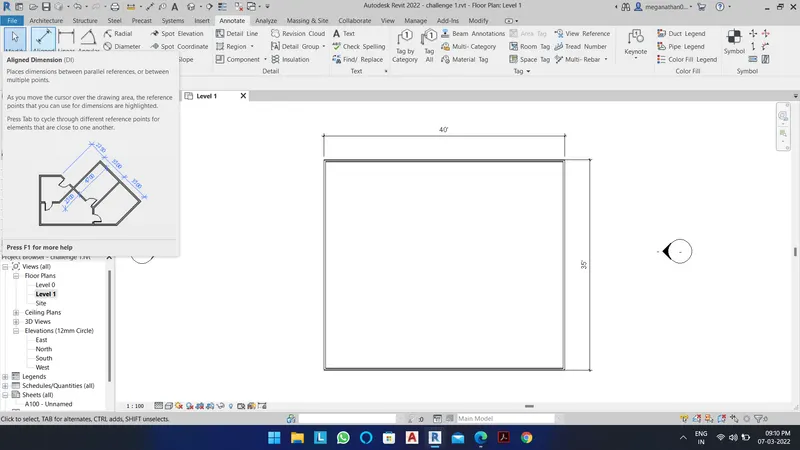
4. From the Annotate toolbar use the aligned option to add dimensions to the layout
5. Use the properties browser to switch to different wall types
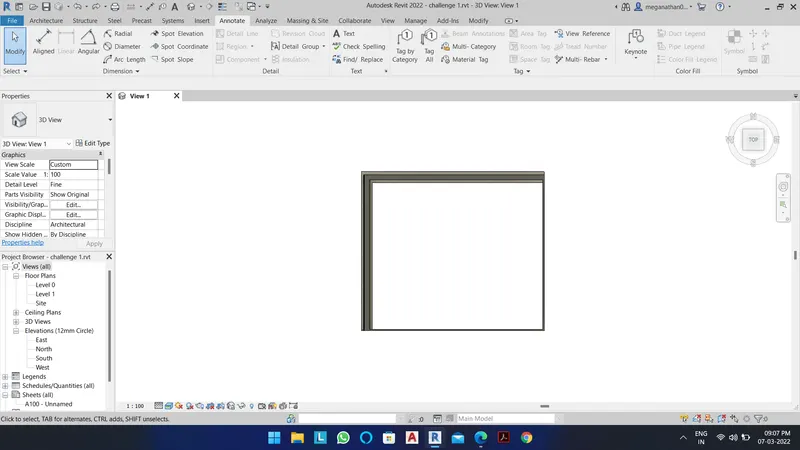
6. Create a 3D view from the view toolbar and save the view with the appropriate name
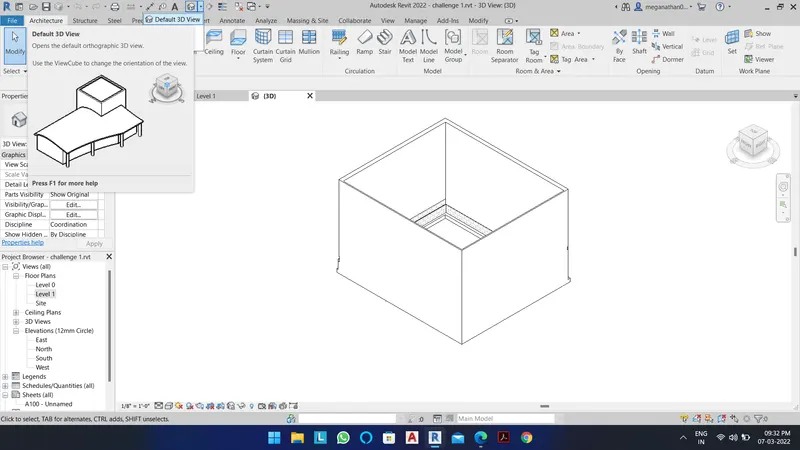
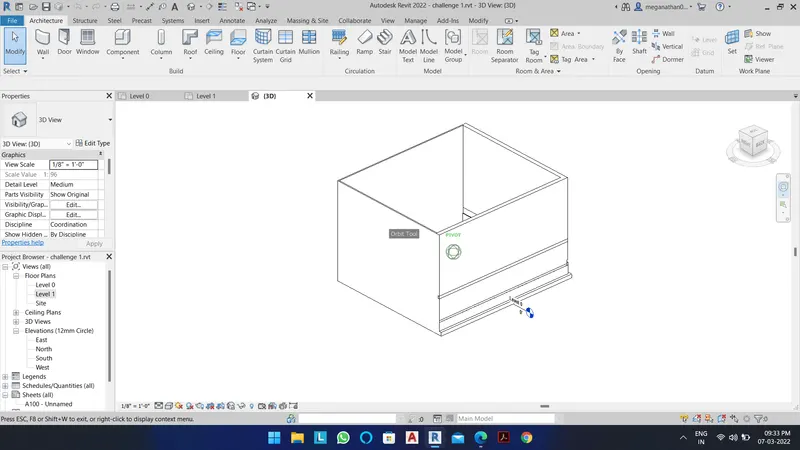
7. Navigate through the 3D model using the view cube. Orbit/pan through the model layout created
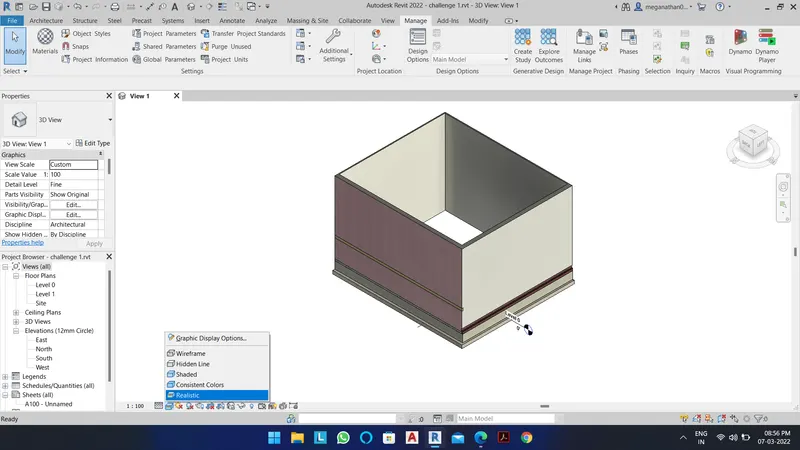
8. Use the visibility settings option below to switch model to shaded, realistic, hidden lines options
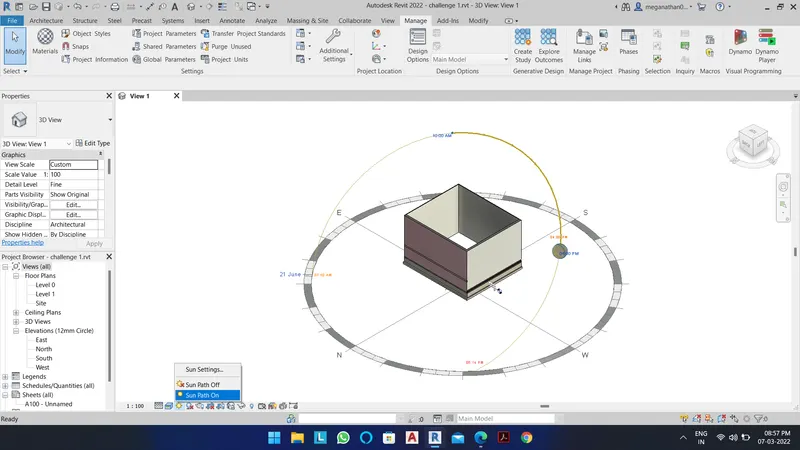
9. Turn the sun path on and off to view shadings in the layout created
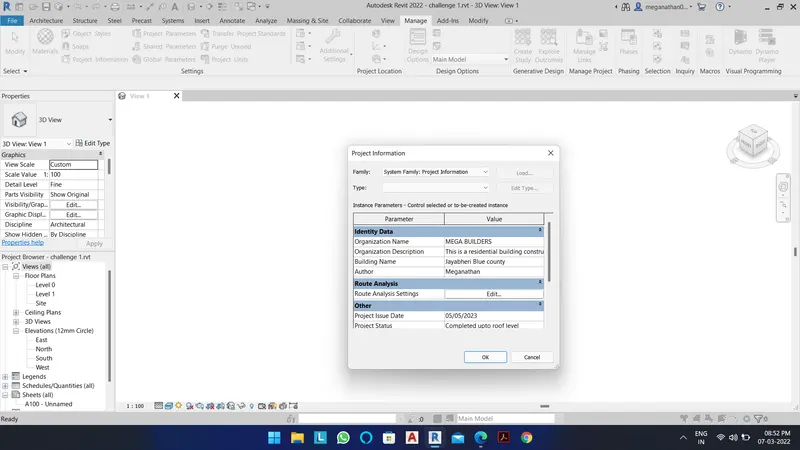
10. Use the Manage toolbar to enter project settings, project name, and project issue date
11. ANALYZE TOOLBAR USAGES IN REVIT :
- In analyze tool bar, there are many options are available for to complete analysing of the building structure.
- The four major options are i) Boundary conditions, ii) Loads, iii) Load cases, iv) Load combinations.
i) BOUNDARY CONDITIONS :
- Defines point, line and area boundary conditions in an analytical model.
- Verify that the boundary condition family types are loaded and assigned in the structural settings menu.
- By using boundary condition option, we could analyze the boundary conditions of the structure from its points and lines.
ii) LOADS :
- Applies point, line and area loads to a model.
- Each load geometry is a family containing instance and a type parameter.
- Apply loads by sketching or using host components.
- By using Load option, we could analyse the type of load can be applied on the structure created on its points and lines. some of the loads such as point load, Uniformly distributed load (UDL) etc.
iii) LOAD CASES :
- Adds and edit load cases for the analytical model.
- The second case in the load case dialogue is the load natures table, which adds or deletes load nature.
- By using load cases option, we could analyse the current load status of the created structure.
iv) LOAD COMBINATIONS :
- Adds and editS load combinations for the analytical model.
- Setting a load combination includes defining its names, formula, type, state and usage.
12. THE LINKS THAT REVIT SUPPORTS :
The links that revit supports are :
i) LINK REVIT :
- Links another revit model to the current model.
- EX - We can link models together to specify the relative locations of individual buildings on a campus, or to coordinate efforts across diciplines (Architectural, structural and Engineering).
ii) LINK IFC :
- It links an IFC files to the current project to reference its information for additional design work.
- If we later makes the changes to the original IFC file and reload the link, the project updates to reflect the IFC file changes.
- Before linking an IFC file, use OPEN>IFC options to specify the project template to use and to load a file that maps IFC classes to revit catagories.
- If we want to use IFC data as a starting point for a new model (not as reference information) then use OPEN > IFC from the file menu instead.
iii) LINK CAD :
- It Links a CAD to the current revit project.
- Linking is similar to adding an xref in AUTOCAD. When the original linked file changes, these changes are reflected (if possible) in file when you reload the project.
iv) LINK TOPOGRAPHY :
- Links existing topography to the current revit model.
- Use this when a civil engineer has created a topography using civil engineering softwares such as Autodesk civil 3D, and we have to use the topography to provide context for the building model.
- The civil engineer must publish surfaces before we can link them to the revit model.
v) DWF MARKUP :
- Links markedup DWF files into a revit project so we can see the markups on a corresponding sheets. project.
- The DWF markups are placed as an important symbol on the sheet in the revit project.
- The markups are pinned in place, so we cannot move or manipulate them.
vi) POINT CLOUD :
- Links a point cloud file (*.rcp or *.rcs) into the current project.
- The point cloud tool can also be used to index a raw format point cloud file for use in a project.
- When linked in a project, point clouds can provide references when we are placing or editing model elements.
13. NEED OF COLLABORATE TAB IN THE REVIT :
- In collaborate tab, we can enable collaboration, so team members can work on a model simuntaneouly.
- We can edit and sync a model in the cloud, on a local area network (LAN) or on a wide area network (WAN).
The advantages of the usage of the COLLABORATE TAB are mentioned below:
- WORK TOGETHER
- CLOUD SHARING
- WORK SHARING
- CENTRAL MODEL