Introduction to REVIT concepts
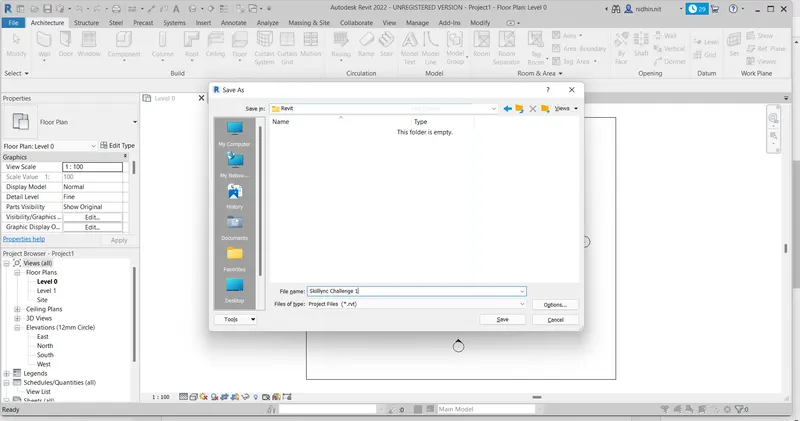
Q1: From the file menu, create a new project (Structural / Architectural / Construction template ) and name the project appropriately
Answer:
Procedure:
- Open Revit software
- Click on create a new Revit model file
- Select Architectural template
- Select create a new project and click ok
- Click the file option
- Select the save option
- Select the target folder
- Give the name of the file as Skilllync Challenge 1 and click save
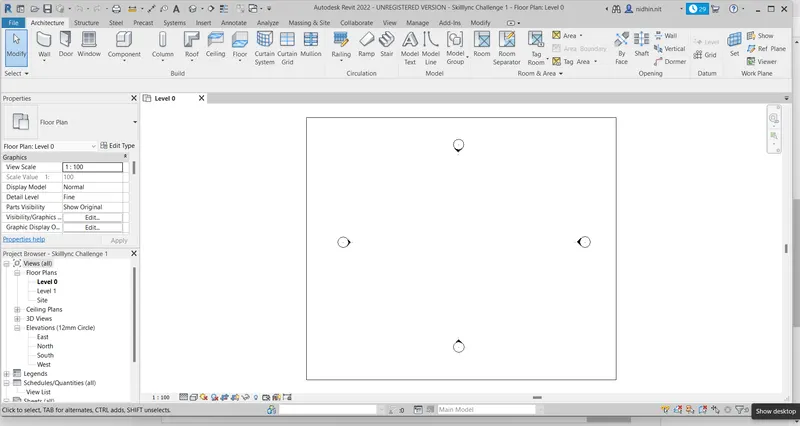
Q2: Save the new project file. Close and open using icons from the file toolbar
Answer:
Procedure:
- Click the file option
- Select the save option
- Select the target folder
- Give the name of the file as Skilllync Challenge 1 and click save
- Click the file option
- Select the close option
- Select the file with the name Skillync Challenge 1 from the model section and open
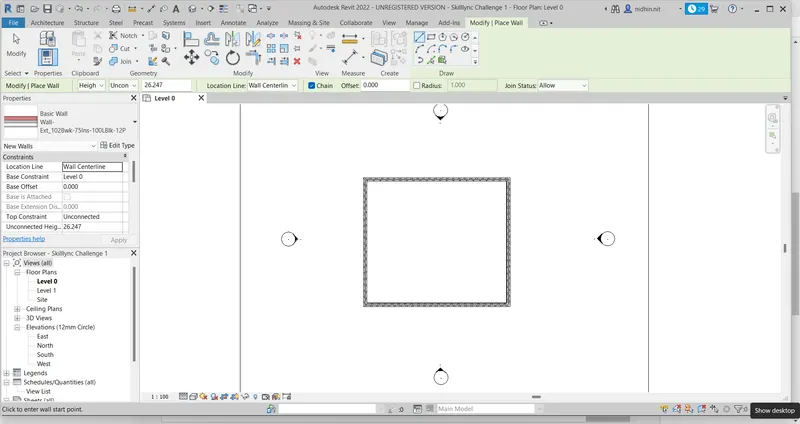
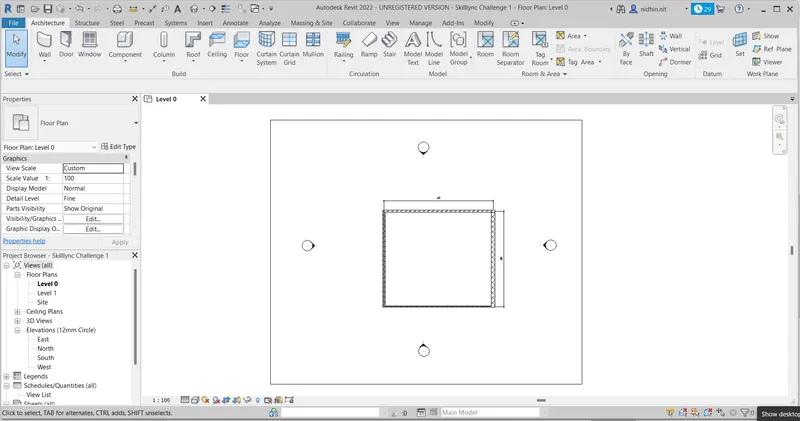
Q3: From the architecture/ structure toolbar familiarize yourself with options to draw a wall. Create a rectangular layout of walls of about 40’-0” X 35’-0”
Answer:
Procedure:
- Open Revit software
- Open the Revit file Skillync Challenge 1
- Click on the wall option under the Architecture tab
- Select the line option
- Click on one point and keep the cursor in the horizontal direction and enter the distance 45'
- Point the cursor in the vertical direction and enter the distance 35'
- point the cursor to get the perpendicular direction from the first line and click at that pint
- Close the rectangle and click save
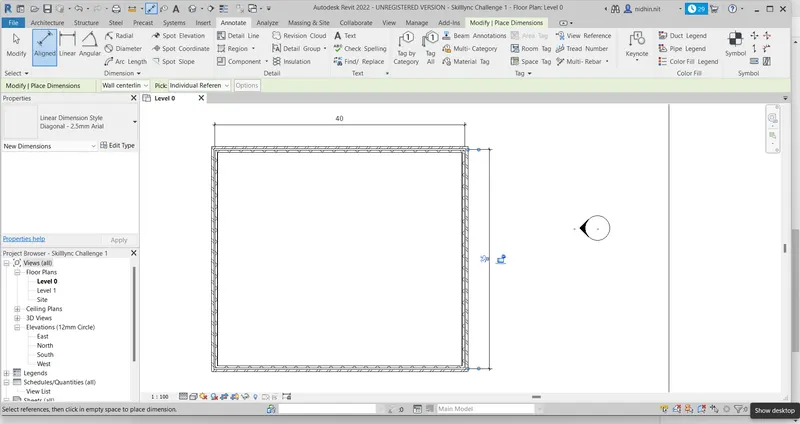
Q4: From the Annotate toolbar use the aligned option to add dimensions to the layout
Answer:
Procedure:
- Open Revit software
- Open the Revit file Skillync Challenge 1
- Click on the Annotate tab and select the aligned dimension
- Selce the first two corners and click at a suitable distance to create the dimension
- Select the second and third corners to click at a suitable distance and click save.
Q5: Use the properties browser to switch to different wall types
Answer:
Procedure:
- Open Revit software
- Open the Revit file Skillync Challenge 1
- Select the first wall
- From the property, browser drop-down select Wall-ext_215Blk
- Select the second wall
- From the property, browser drop-down select Wall-Fnd_440Blk
- Select the third wall
- From the property, browser drop-down select Wall Int_12P-100Blk-12P
- Select the fourth wall
- From the property, browser drop-down select Wall-Ext_102Bwk-75lns-100Blk-12P and click save
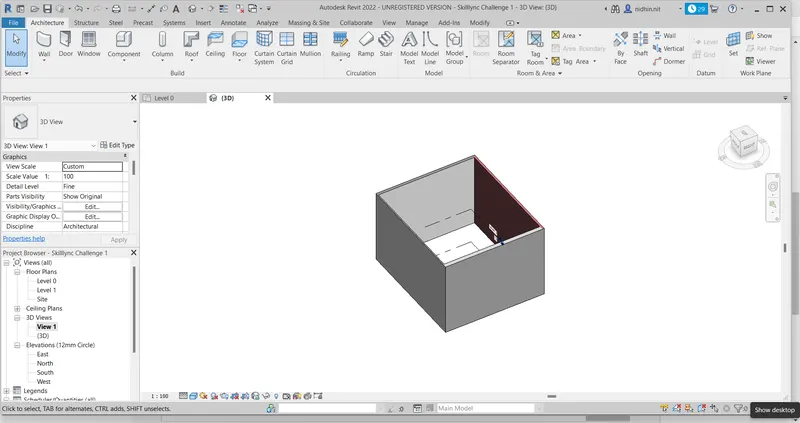
Q6: Create a 3D view from the view toolbar and save the view with the appropriate name
Answer:
Procedure:
- Open Revit software
- Open the Revit file Skillync Challenge 1
- Click on the default 3D view option and select the default 3D view option
- Rotate the object and select the desired view.
- Select the corner or the face of the view cube according to the view selection and right-click
- GIve the view the name as View 1, press ok and click save
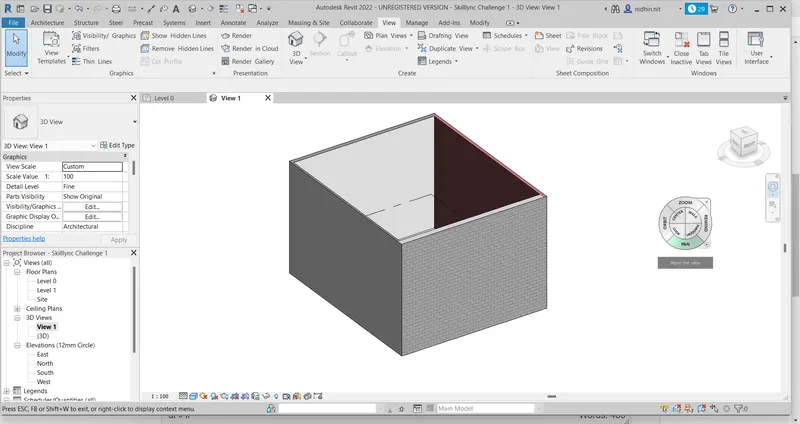
Q7: Navigate through the 3D model using the view cube. Orbit/pan through the model layout created
Answer:
Procedure:
- Open Revit software
- Open the Revit file Skillync Challenge 1
- Go to the view tab
- From the user-interface dropdown check the navigation bar option
- Select the navigation wheel from the navigation bar
- Select the pan option from the navigation wheel and pan the object
- Select the orbit option from the navigation wheel and orbit the object
- After clicking on the view cube change the viewing angle as per requirement and click save
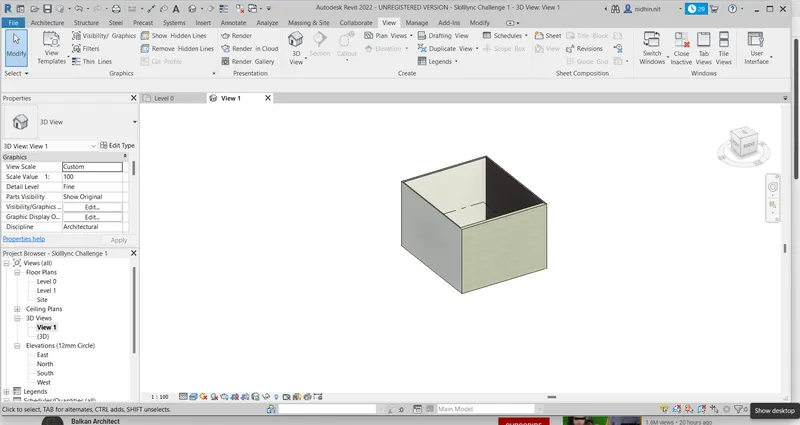
Q8: Use the visibility settings option below to switch model to shaded, realistic, hidden lines options
Answer:
Procedure:
- Open Revit software
- Open the Revit file Skillync Challenge 1
- Go to the bottom toolbar and click on visual styles
- Select shaded, realistic or hidden line options as per requirement.
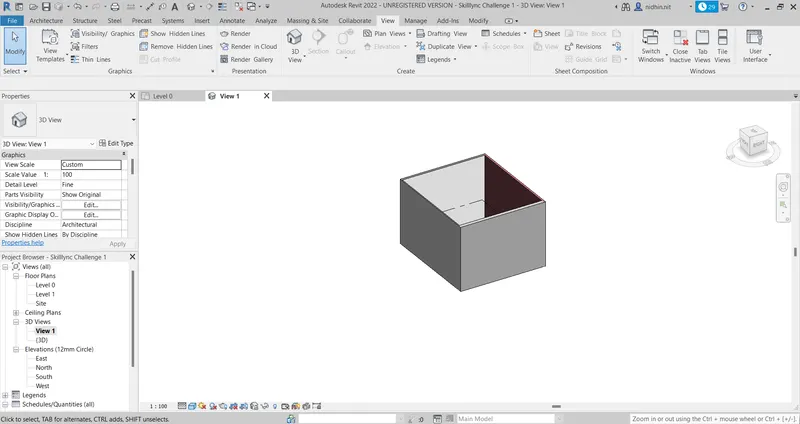
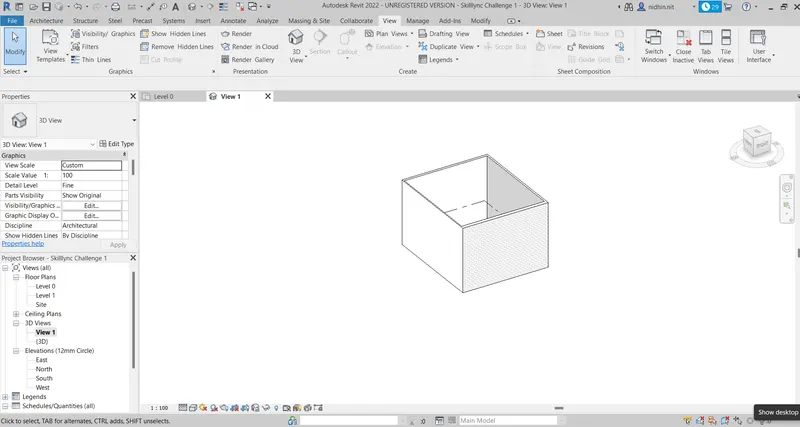
Q9:Turn the sun path on and off to view shadings in the layout created
Answer:
Procedure:
- Open Revit software
- Open the Revit file Skillync Challenge 1
- Go to the bottom toolbar and click on the sun path option
- Select the sun settings and choose required options like location, date, time etc and click ok
- Click again on the sun path option and select sun path on and click save
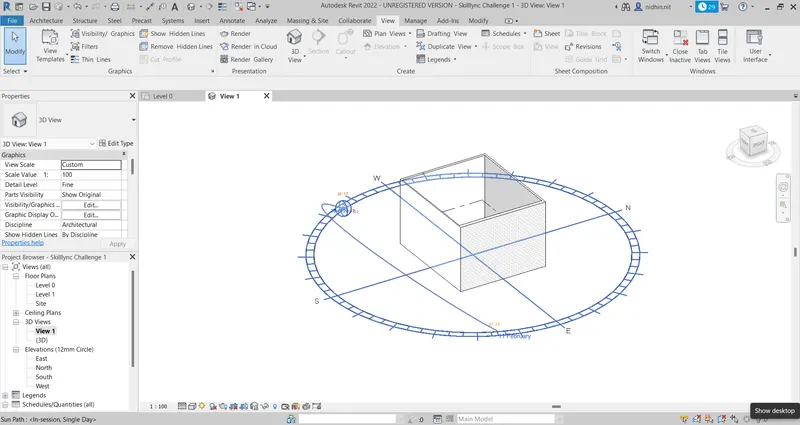
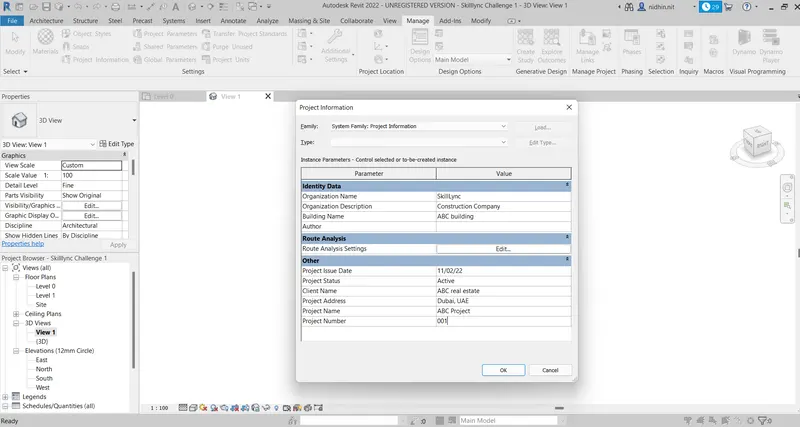
Q10: Use the Manage toolbar to enter project settings, project name, and project issue date (choose according to your convenience).
Answer:
Procedure:
- Open Revit software
- Open the Revit file Skillync Challenge 1
- Go to the Manage tab
- Click on the Project information option
- Provide the details of the project name, issue date etc. click ok and click save.
Q11: What is the Analyze toolbar used in Revit? How it is beneficial for design and modelling
Answer:
Analyze tab allows doing the structural analysis of the building. Following are the basic tools under analyse tab which makes it beneficial for design and modelling.
- Boundary conditions: it enables us to define points, lines and area boundary conditions in an analytical model.
- Load: It applies point, line and area load to a model. Each load geometry is a family containing instances and type parameters.
- Load Cases: It allows to add and edit load cases for an analytical model.
- Load Combination: It allows to add and edit load combinations for an analytical model.
Q12: What are the links that Revit supports to be linked to the model?
Answer:
Revit allows users to create a central file and collaborate with multiple independent files. The link Revit option under the Insert tab allows linking another Revit model to the current model. Link IFC option allows linking an IFC file to the current project to reference its information for additional design work. If we later make changes to the original IFC file and reload the link, the project updates to reflect the IFC file changes. Link CAD option allows linking a CAD file to the current Revit project. Link Topography option allows linking existing topography created using civil engineering software such as Autodesk Civil 3D to the current Revit model. Link PDF option allows inserting a link to a PDF into the model view. The link image option allows inserting a link to an image into the model view. These are the links that Revit supports to be linked to the model.
Q13: Why do you need the Collaborate tab in Revit? How it supports modelling and its efficiency
Answer:
Collaborate tab in Revit enables work sharing. Through work sharing the users on the same local area network can work together on the same Revit model. Following are the ways by which it supports modelling and its efficiency.
- Multiple Revit models can be linked together.
- Revit allows working on the same project from different geographical locations using cloud sharing.
- Creating a central model from the existing project will enable multiple users to work on their own copy of the central model and synchronise and publish all the changes to the central model.
- Revit allows collaborating with multiple disciplines while working on a project.
- Revit allows the key design features to be communicated effectively via visual templates and colour fills.
- Revit allows the users to define parameters as the design progresses to update the changes in the models quick and easy.