Introduction to REVIT concepts
Q1
AIM:- To create a project file
- open the Revit
- then click on the File menu
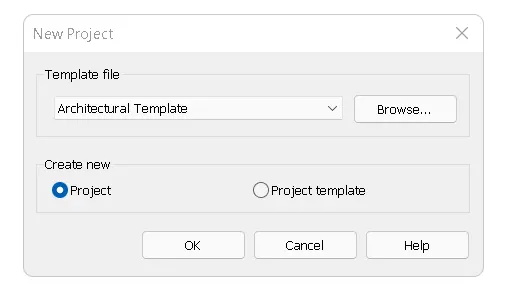
- then click on the new option to create a new project
- then a dialogue box pops up showing the template option
- then select any of the templates as per the requirement
- then click on OK
Q2
AIM:- to save the project created
- firstly project is created as per the required template
- then select the save option from the file menu
- then dialogue box pops up showing the folder locations
- then select the folder and click on save
- similarly, projects can be opened from the file menu
Q3
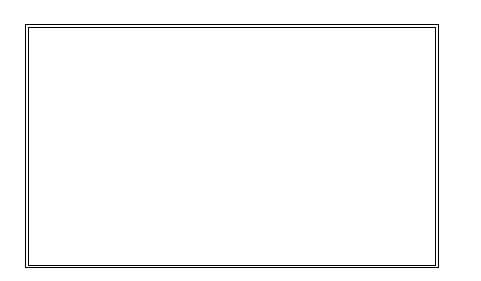
Aim:- To create a rectangular wall of size 40' x 35'
- Click on the architecture from the menu toolbar
- then select the wall from the given tools
- Click on the first point on the workspace
- then drag the cursor to the required length
- similarly, create a rectangle of the required size
Q4
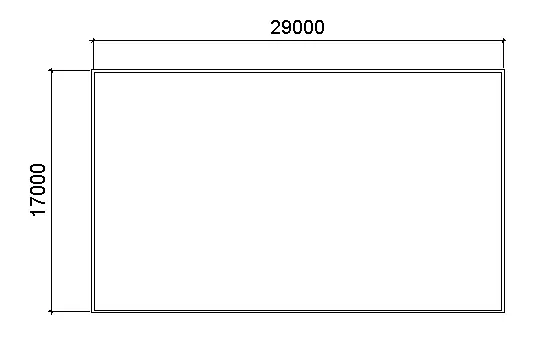
aim:- to show the dimensions of the object created
- create an object as u wish
- then select the annotate from the menu toolbar
- then click on the linear or aligned type from the dimensions
- then select the corner point and drag the cursor to the next point
- dimension of that line will be shown
- we can also show the dimensions from the modify toolbar
Q5
aim:- to change the properties of the wall
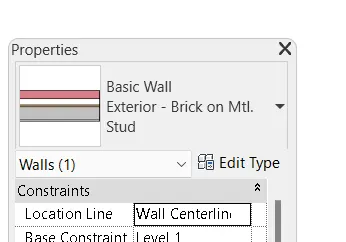
- select the wall from the drawing
- then click on the wall type from the properties dialogue box
- various wall types will be shown
- select the type of wall as per the requirement
- then the wall type will be changed
Q6
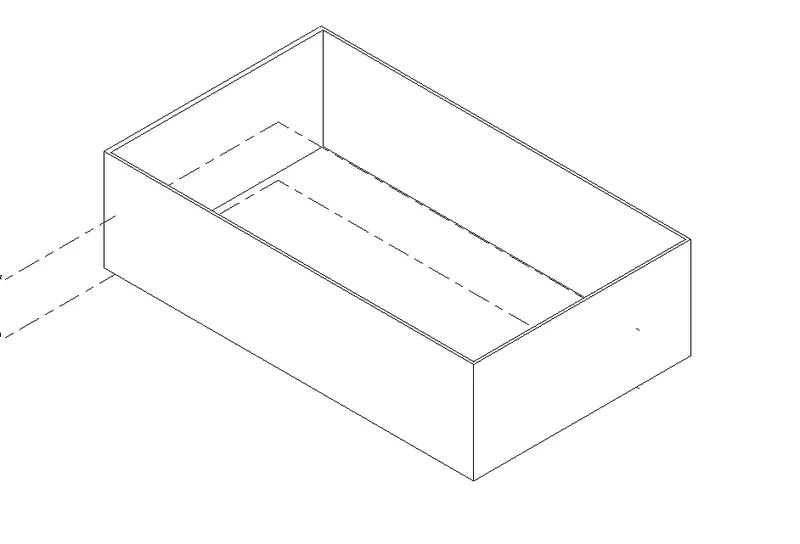
aim:- to create a 3d view of the project
- create an object in the project space
- then click on the view from the menubar
- then select the 3dview from the toolbar
- then the view will be automatically changed
Q7
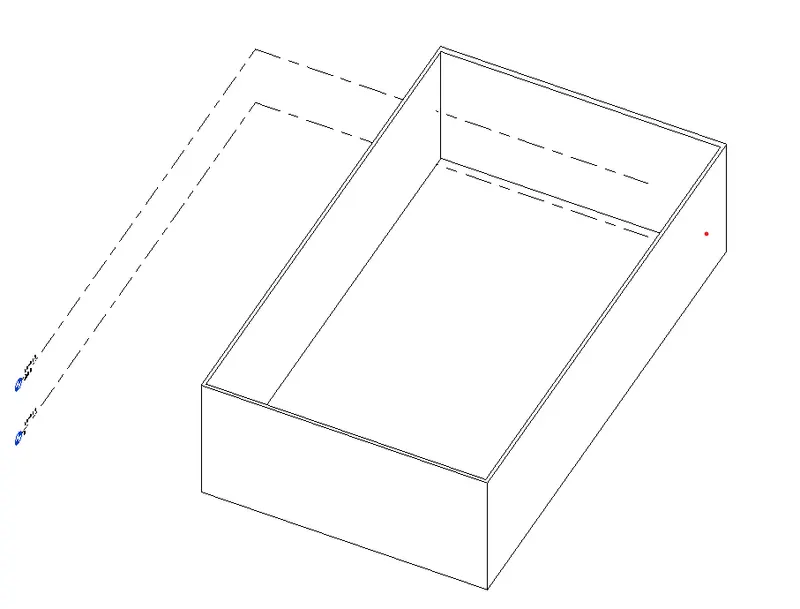
AIM:- to navigate through the 3d model created
- firstly create a 3d model
- then a 3d cube will be shown on the workspace
- then click on the orbit pan to rotate the object in the 3d view
Q8
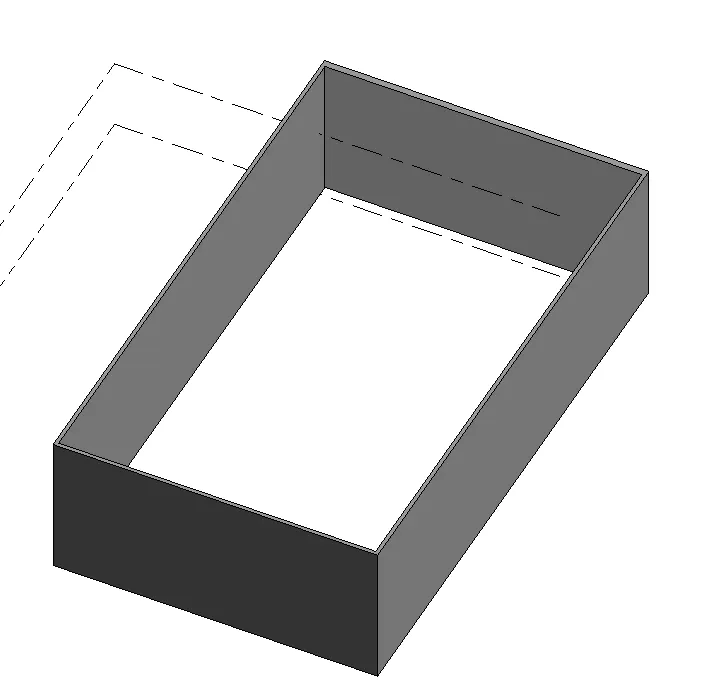
AIM:- To change the view to shaded
from the visibility option below the workspace
select the required type of view from the given realistic, shaded, hidden
then the view will be changed
Q9
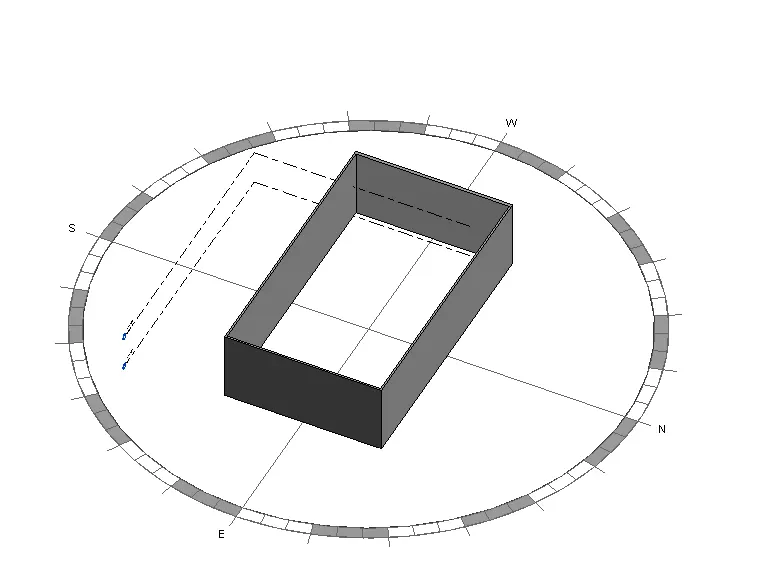
aim:- To create a view showing the shade due to the sun path
select the sun path from the toolbar given below the workspace
then click on sun path on
type the angle of the sun
then the shaded region of the sun rays is created
Q10
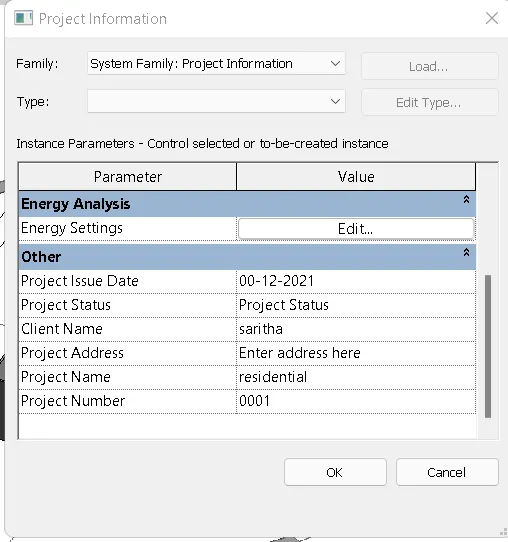
AIM:- To use the manage toolbar and save the project details
select the manage from the file menu
then click on project information
edit the details of the project in the shown dialogue box
which will be shown in the templates
Q11
USE OF ANALYSE TOOLBAR IN REVIT
analyze toolbar helps you to perform analysis on structural drawing
it will help to verify the loaded family types which are assigned to the project and analyst the type of loads and load combinations assigned to the project
the main purpose of using the Revit is to evaluate the sustainability of the building which is offered by the tool analyze
Q12
type of links which can be linked to the Revit
LINK REVIT:- this tool helps us to link the other Revit model with the current project
LINK IFC:- this tool helps us to link IFC files for the reference purpose to plan additional designs
LINK CAD:- this tool helps us to link 2d cad files and create the 3d objects using the Revit tools
MANAGE LINKS:- to create the links of the current running projects to create electrical and plumbing drawings
Q13
NEED OF COLLABORATE TOOL IN REVIT
to link multiple Revit models together which enables the team members to work on it
through work-sharing users on the same local area network can work on the same Revit model
Revit cloud worksharing is a cloud-based sharing that enable to collaborate any Revit user