Introduction to REVIT concepts
A1) aim - to create a new project and name the project appropriately.
procedure - open revit app on your pc
click on the file tab to open the drop down menu and click on new to open the options.
click on new to open the menu and select project as the option to open a selection box for the project.
select the construction template and project option already being selected click on OK
once the project is opne, click on the file option again and then select SAVE AS -> project and then give suitable name to constructon template project.
A2) aim - to save the new project file
open revit and click on the file button to open dropdown menu
click on open and select the location of the saved file
select "construction template project 1.0" and select open to open the project in revit
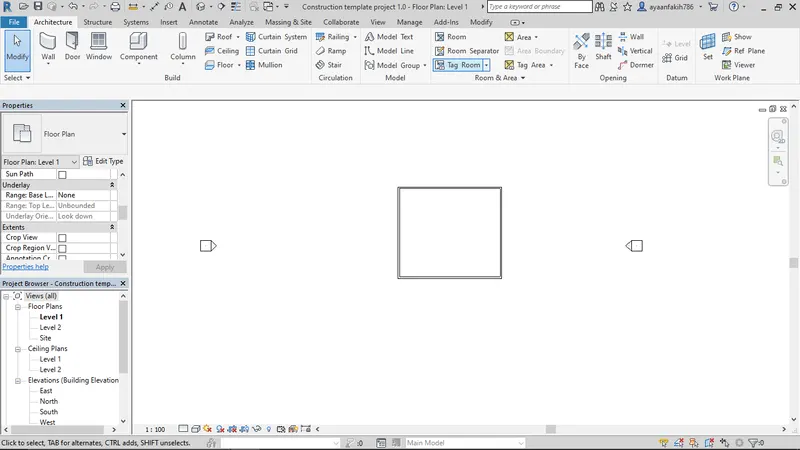
A3) aim - from the architecture/structure tab draw a wall of 40' x 35'
procedure - open revit and select the project which has to be opened
from the architecture tab, select wall -> structural and then select the generic wall 8" thickness
in the project are, draw a wall layout of 40' x 35'
result -
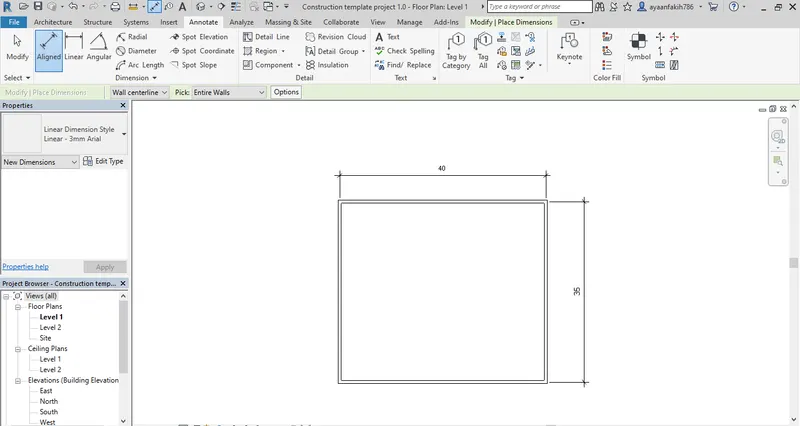
A4) aim - to add dimensions to the wall using the annotate tool
procedure - select the annotate tab and click on aligned option to dimension the wall
make sure the option selected is "entire wall" so the there is no need to pick refence points
select the walls to whoch the dimensions have to be added
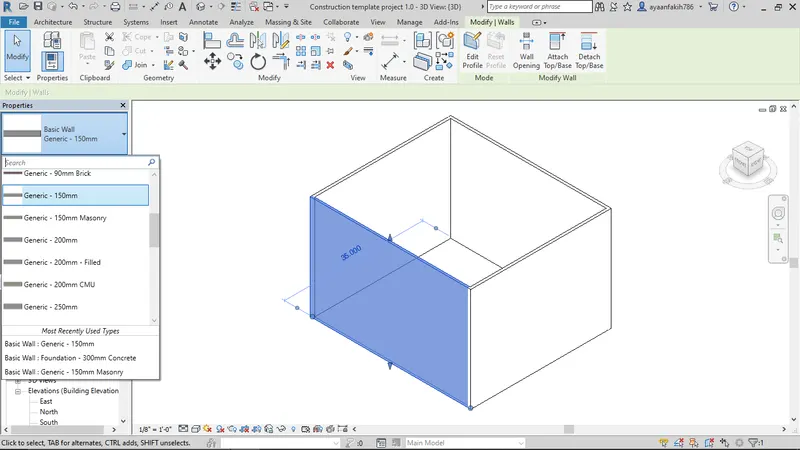
A5) aim - Use the properties browser to switch to different wall types
procedure - fro the view option, select the view to default 3d
click on the modify option and then double click on the wall to select it
from the dropdown menu there are multiple options of walls to choose from to change the properties
result -
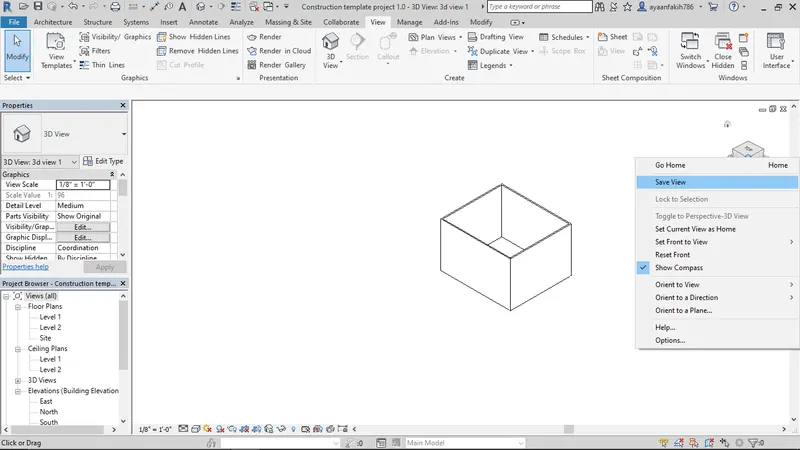
A6) aim - Create a 3D view from the view toolbar and save the view with the appropriate name
procedure - in the view tab, select the 3d option to switch to 3d view
then right clcik on the view cube and select save view
give the name as 3d view 1 and it will be saved
A7) aim - to navigate the 3d mdel using view cube
procedure - hold the right mouse button on the view cube and rotate it in clockwise or anticlockwise direction to rotate the 3d model
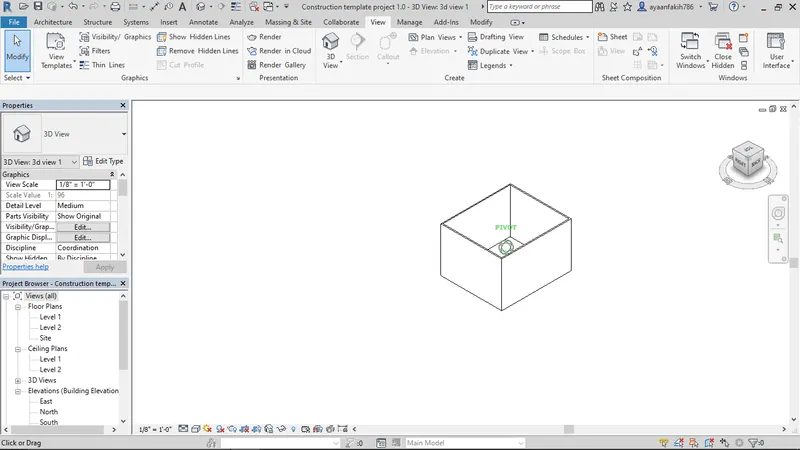
A8) aim - Use the visibility settings option below to switch model to shaded, realistic, hidden lines options
procedure - select the second option below to open a list of options.
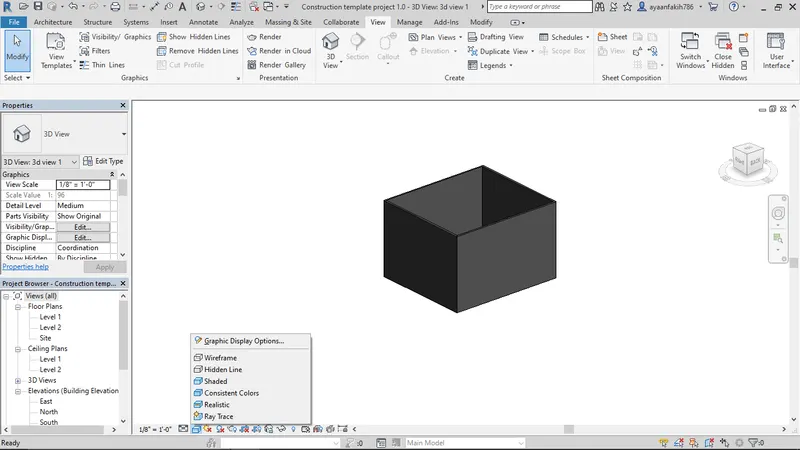
realistic - 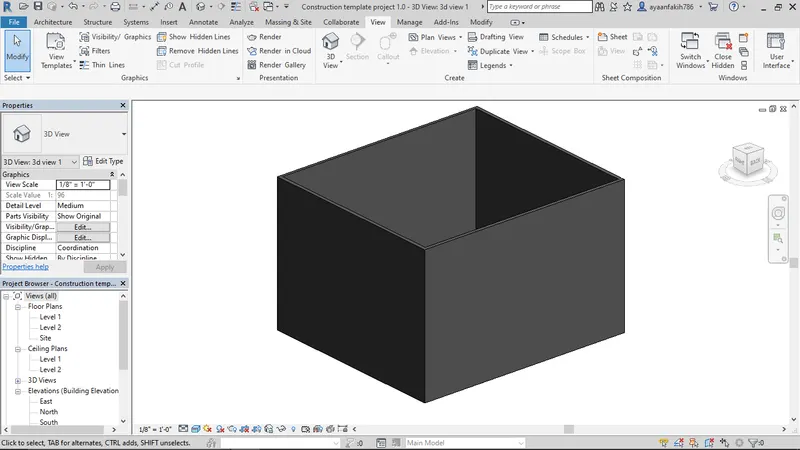
hidden line - 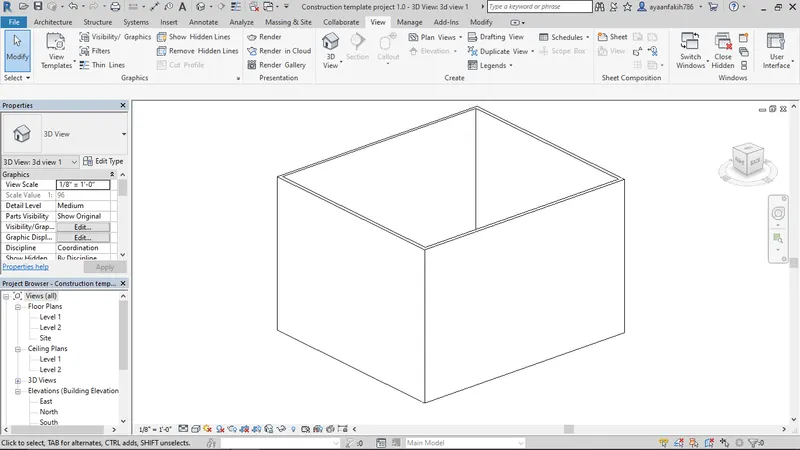
A9) aim - to turn sun pth on and off
procedure - click on the sun icon and select the sun path on option and select contnue with current settings.
then use the view cube to obsrve the shadows created
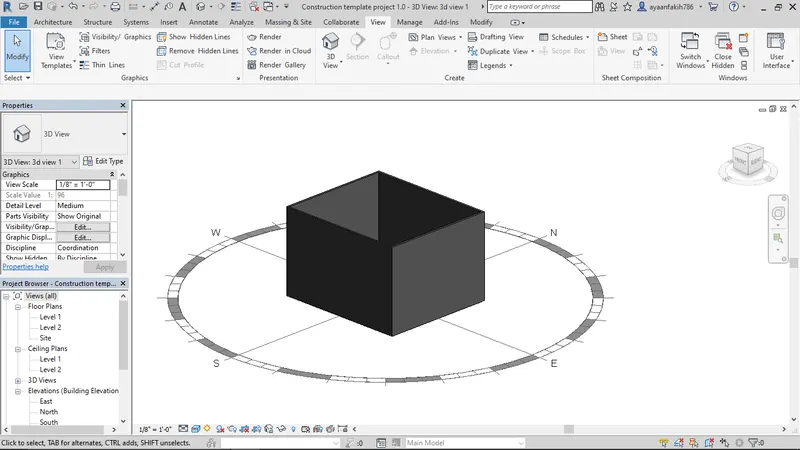
A10) aim - to change project information
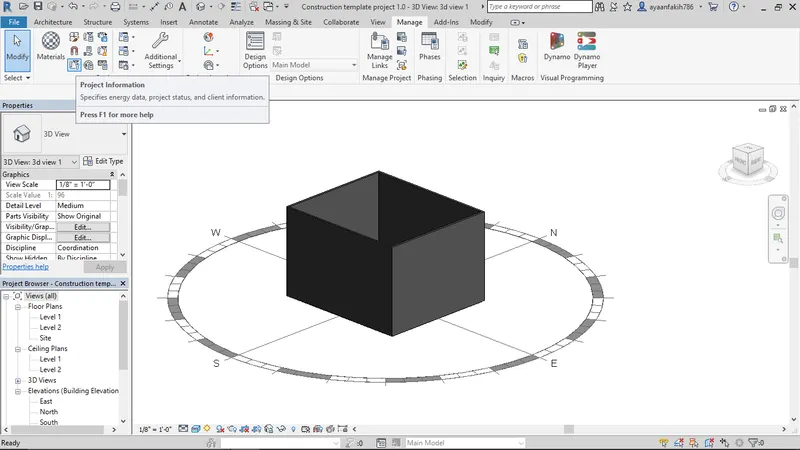
procedure - open the manage toolbar
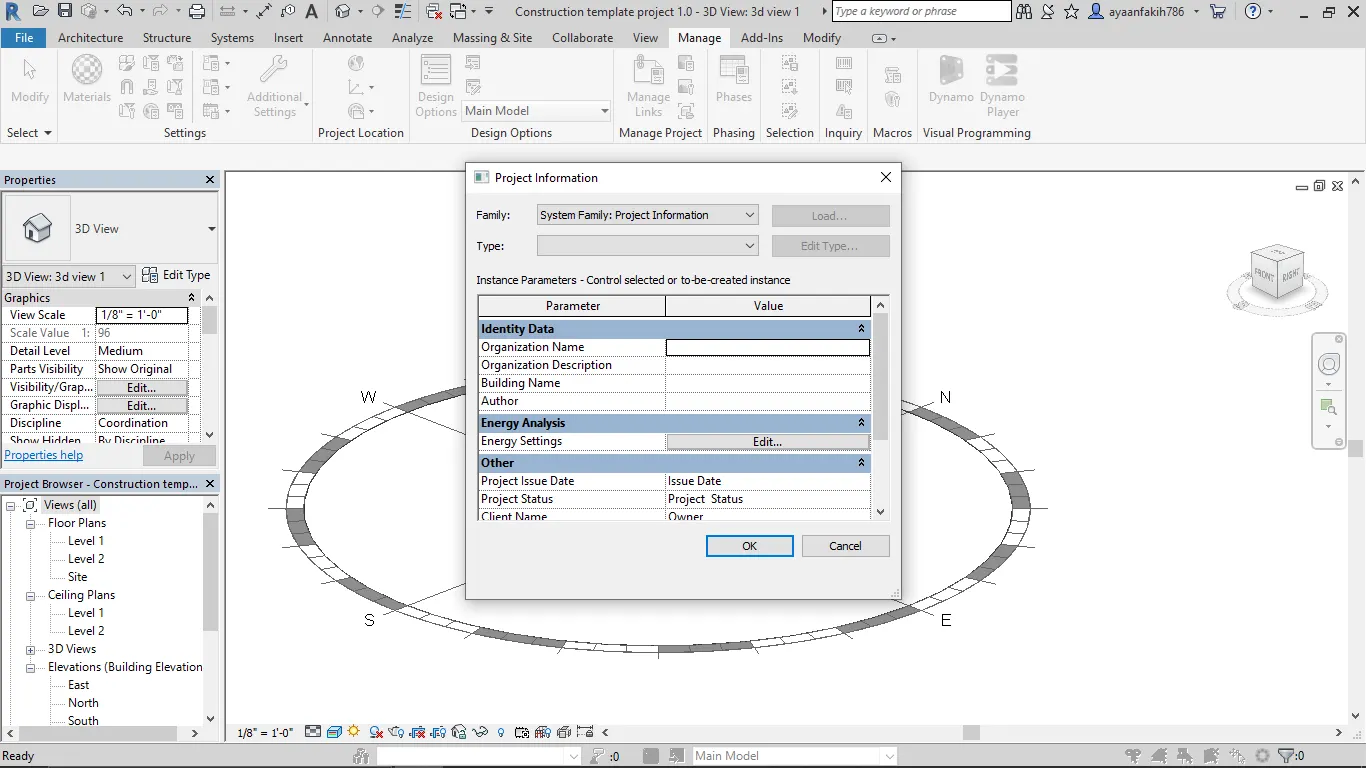
then select project information
then specify the deatils for the project
A11) Analyze tool helps us in perfoming structural analysis on the building. Like the type of loads the building is going to bear. We can apply point load to a model and see howit performs. we can combine different load cases using the load combination models. it will enable us to understand if the building is suitable for construction in the real world.
A12) The links that revit supports are -
1) LINK REVIT - allows to link another revit model to current model
2) LINK IFC- to link IFC to current model to reference its information for additional design work.
3) LINK CAD - to link 2d cad file to current revit model
4) MANAGE LINKS - provides feature to manage the links to the building model
A13) Collaborate tab allows collaboration which allows team members to work on a project simultaneously. If too many people are working on a single project, the cloud backup can be doe using the collaborate tab and using one refernce the others can also work on the same project efficiently.