Hood design-Week 2
Design Hood
Aim:- Reduce the Air effect due to design aerodynamic shape. provide access to the engine for repair and maintenance. reduces engine noise, providing you with a quieter drive. It can also help keep the paint underhood last longer.
The Following task is performed.
- Design outer panel with the hemming.
- Develop the inner panel.
- Develop all the Necessary Reinforcements.
- Mirror and position the hinge & Striker.
- Provide Mastic data
- Provide the required Emboss definition.
- Develop a detailed report for the Mastic position and embosses you have placed.
Master Sketch:-
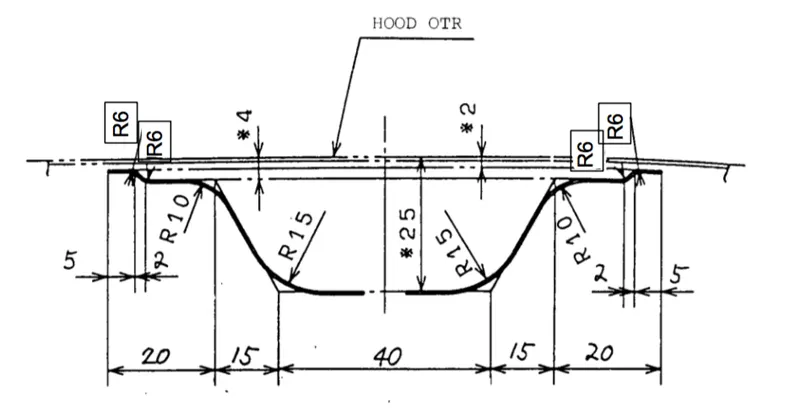
Data to be used:-
Hood thickness information.
- Outer panel thickness = 0.75mm
- inner panel thickness = 0.75mm
- Reinforcement thickness = 1.5mm
Introduction of Hood:-
Bonnet is main component of a car at the front portion.the hood or the bonnet of a car is considered as the frontal BIW encolser component.Bonnets are designed to reduce air resistance as the air flows around the car.it is used to decorate the car and add luxurious look.the shape of the bonnet is made aerodynamic in order to minimize the air effect.bonnet generally used to access the part easily such as radiator,engine and many other part.
The car hood structure is the made up of sheetmetal as a material with thickness of 0.75mm. it is used to cover the engine compartment with some locking mechanism inside such as hinge assembley latch striker reinforcement and a gas stay or stay rod.
Part of Hood its function:-
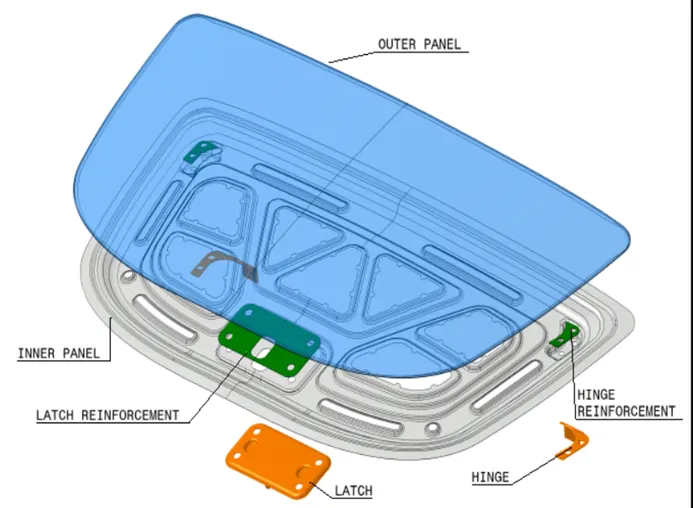
Basically the hood has outer pannel,inner pannel,reinforcement (structure provide for extra strength) and embosses (used to reduce the impact force and as well as it reduce the weight of the hood)
Hinge and striker mechanism is used to open and close the hood whenever needed.these two have extra reinforcement for the strength.
Types of hood support:
Basically car hood are two types.
- Gas stay
- Support rod
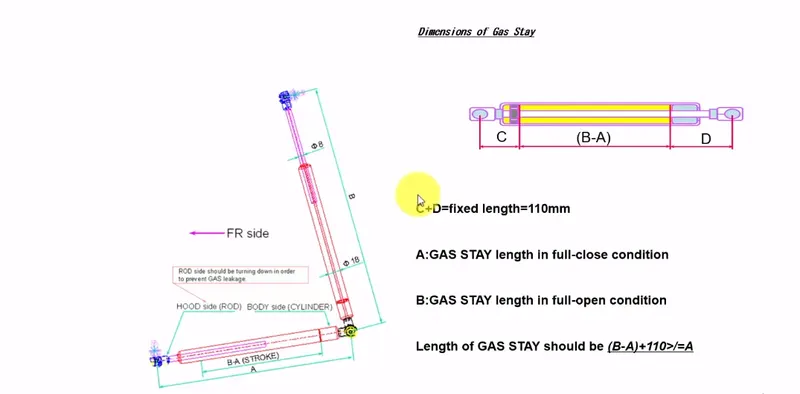
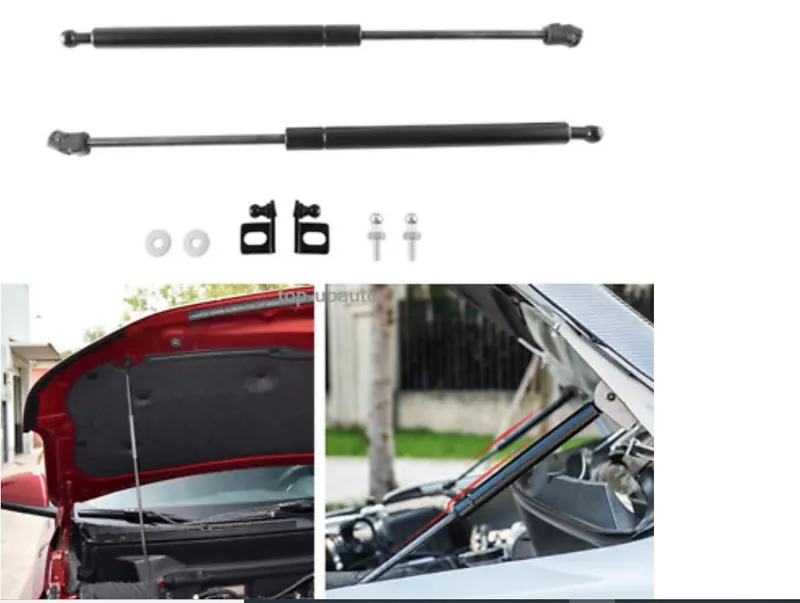
- Gas Stay
Spring stays are designed to be used on upward lifting doors,once you have opened the door slightly the spring will push the door to the fully open position, euro fit stock various size springs depending on the door size requirments.this is mostly used for where the car bonnet weight is heavy.
this is mostly used in the SUV type car where the hood (bonnet) is heavy,which can not be handle easily. this works with a hydraulic mechanism through which the hood can lift it self without any external force.
Picture of Gas stay.
Support Rod:
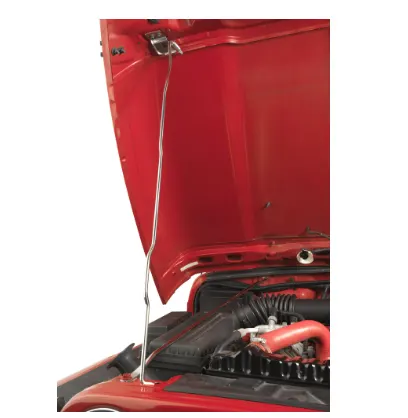
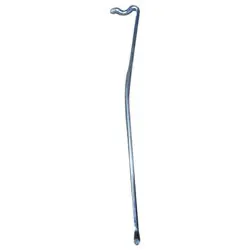
This is widely used in many car, because this very easy and cheap. in this type we have to lift the hood by ourselves and place the support rod in the space provided either in the hood or engine component. this is mostly used for where the car bonnet weight is small.
Picture of Support rod:
Inner pannel:-
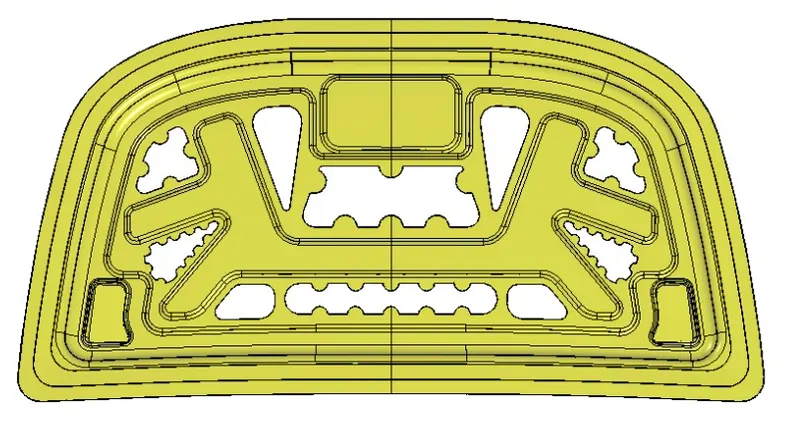
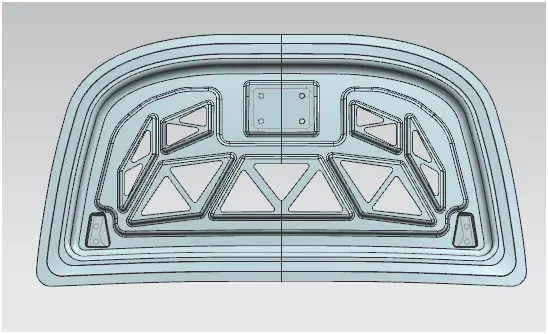
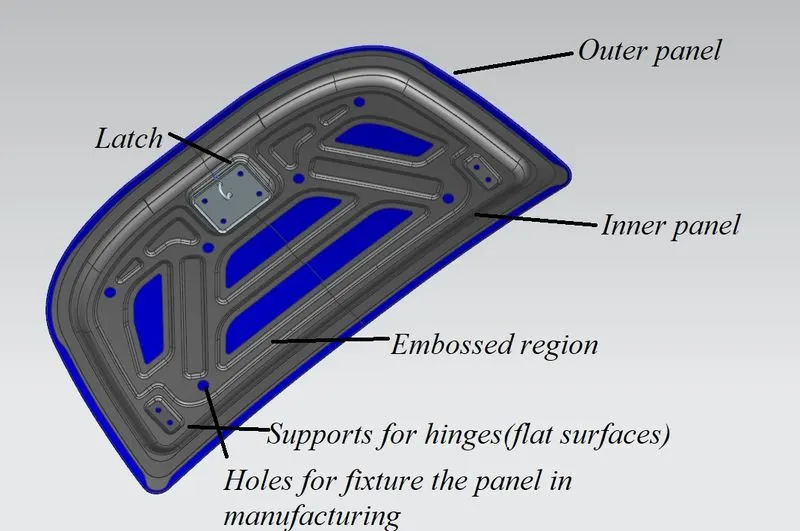
Inner pannel supports outer panel. it consists of different embosses and hole at different places. Embosses provide stiffness as well as dissipate energy towards hinges. to determine the most effective position of hole,the of model stiffness is empolyed. inner pannel is offset of the parent work surface.inner pannel thickness is 0.75mm.
Picture of inner pannel.
Outer Pannel:-
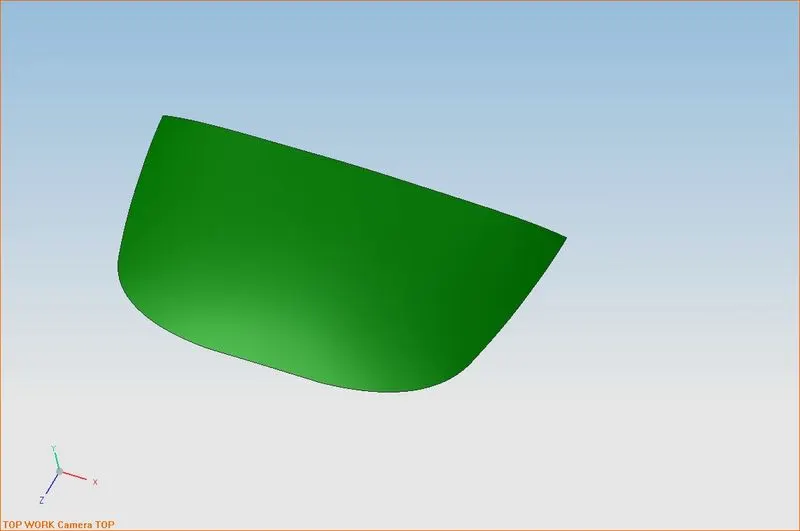
Outer pannel is nothing but a outer skin of inner pannel. otherwise called as a inner pannel.it is the part,which give luxurious look to the hood or bonnet.outer panel and inner panel can't be join by any welding process like spot welding or rivet which spoil the outer look of a car. the outer panel is generally extracted model from the prototype design.
Picture of the outer Pannel.
Emboss:
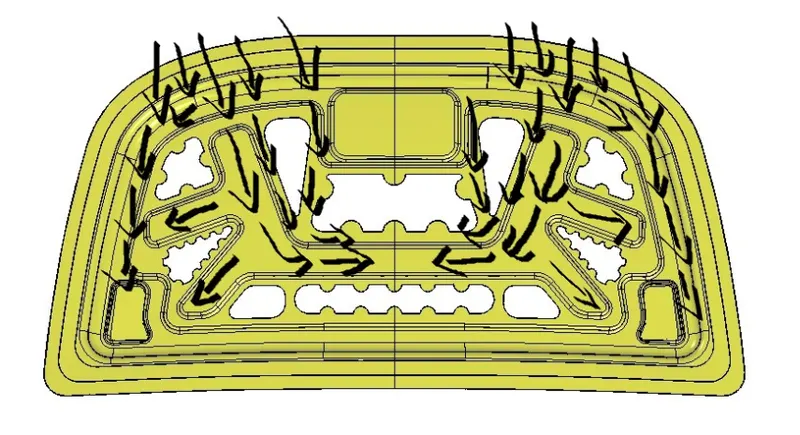
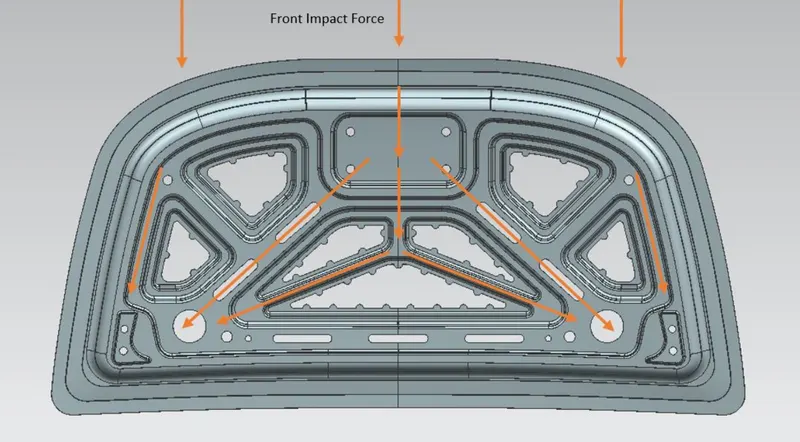
The geometry is created based on the master section that was designed above. after performing the initial stage of design, we will provide local embosses to strengthen the component. the component will be strengthened based on the master section. when a force impact on the hood from the front, it travels in an upward direction. the component is designed to divert the force way from the passengers into the hings, as show in image below the embosses in the inner panel are made according to the diversion load path.the embosses depth is kept as a maximum of 5mm to be on the safer side so that the part is manufacturable.
Hemming:-
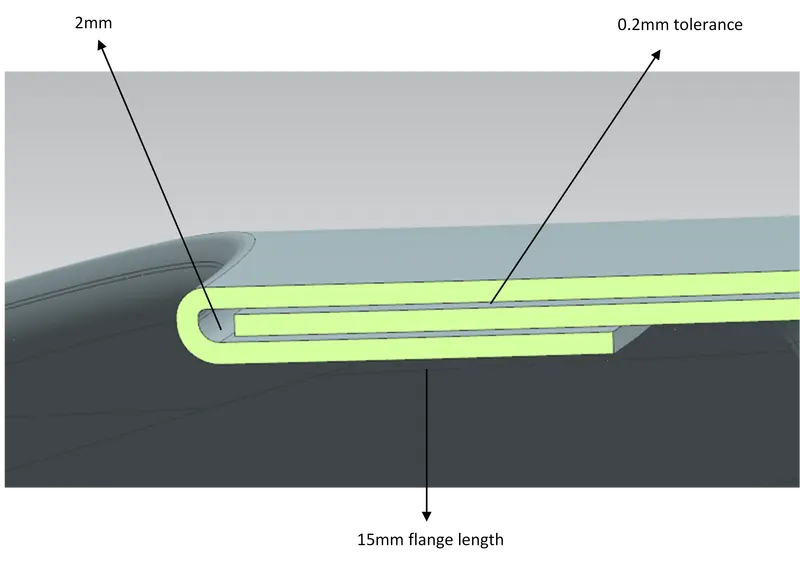
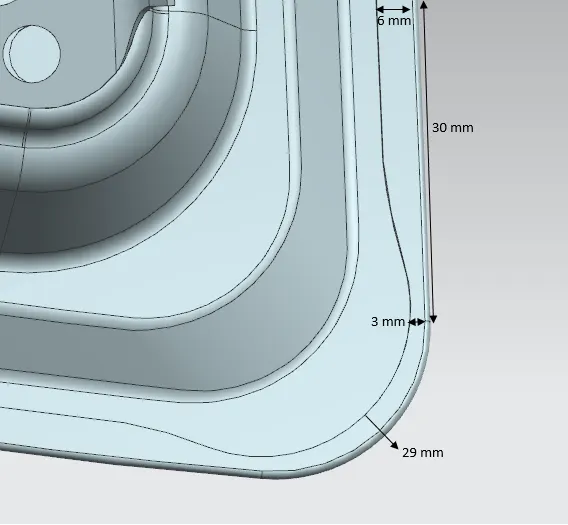
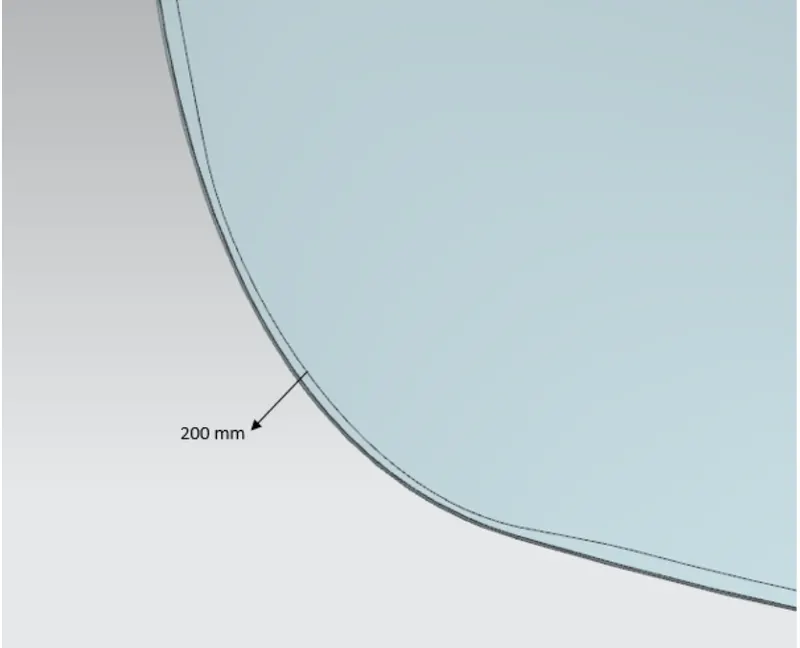
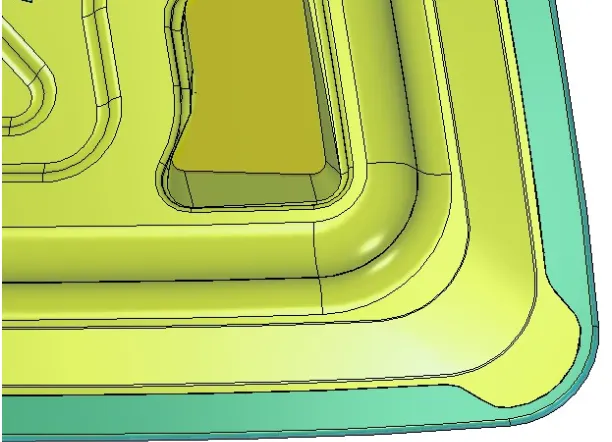
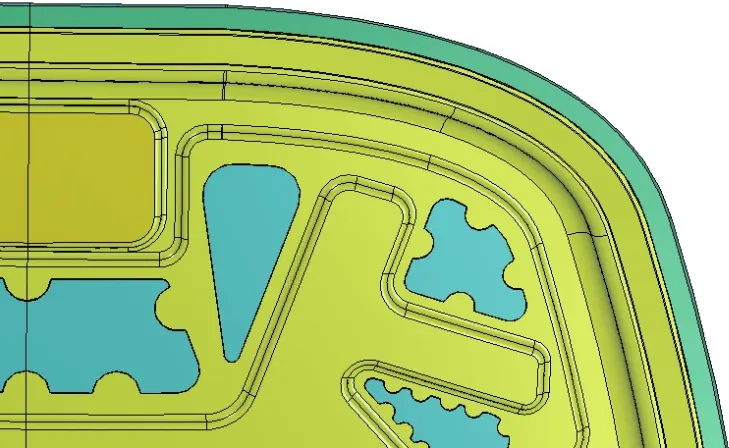
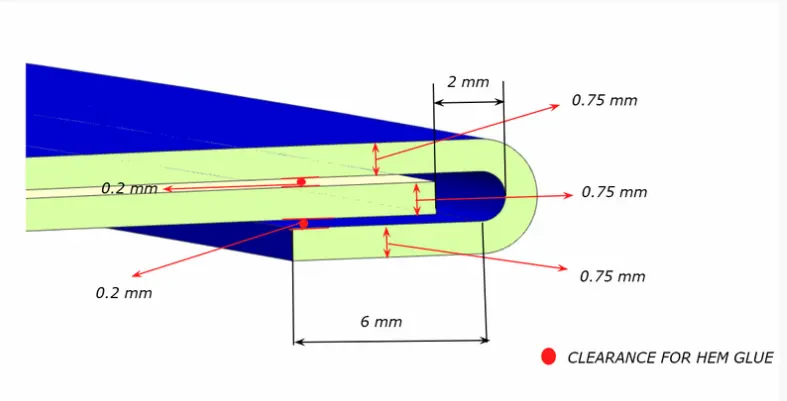
the inner and the outer pannel of the hood is joined through hemming process. it is the process of wrapping the outer pannel with the inner pannel which make the assembly rigid and ergonomics. the spot welding or riveting can't be used here which spoils the asthetic look of the car.
Hemming data:
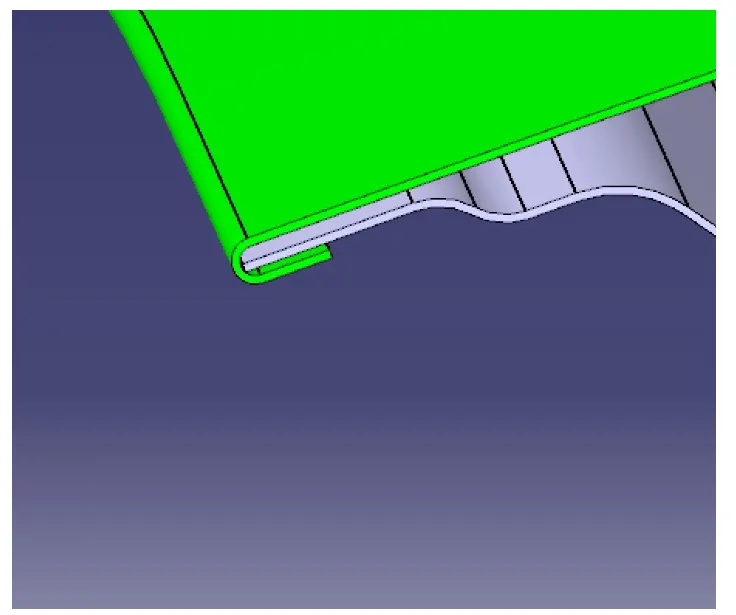
Hemming Data:-
Position of hinge and striker:-
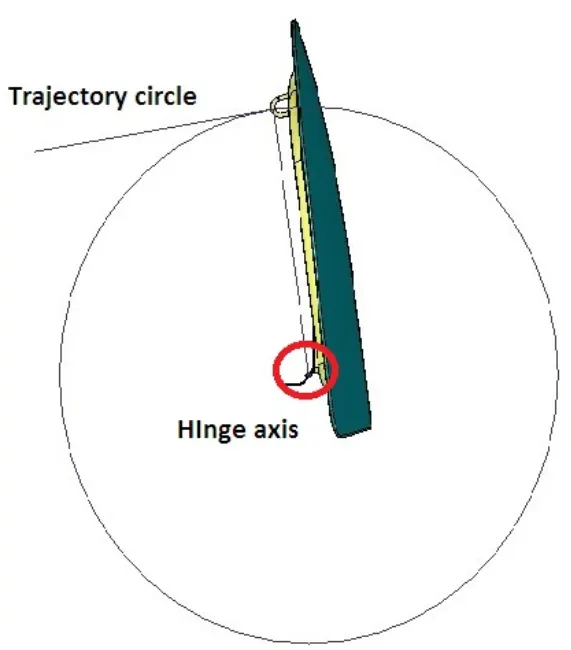
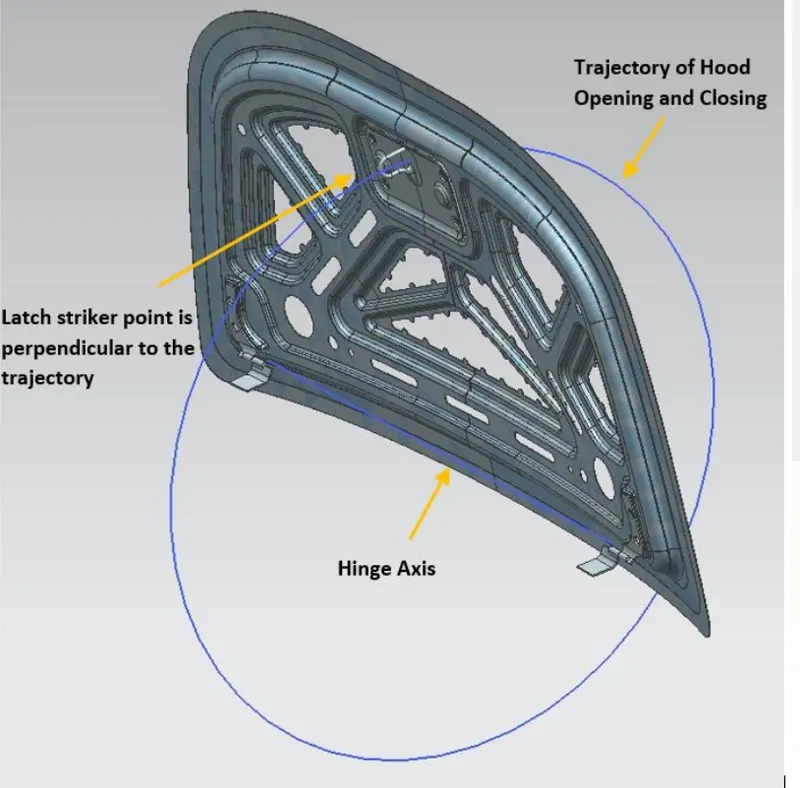
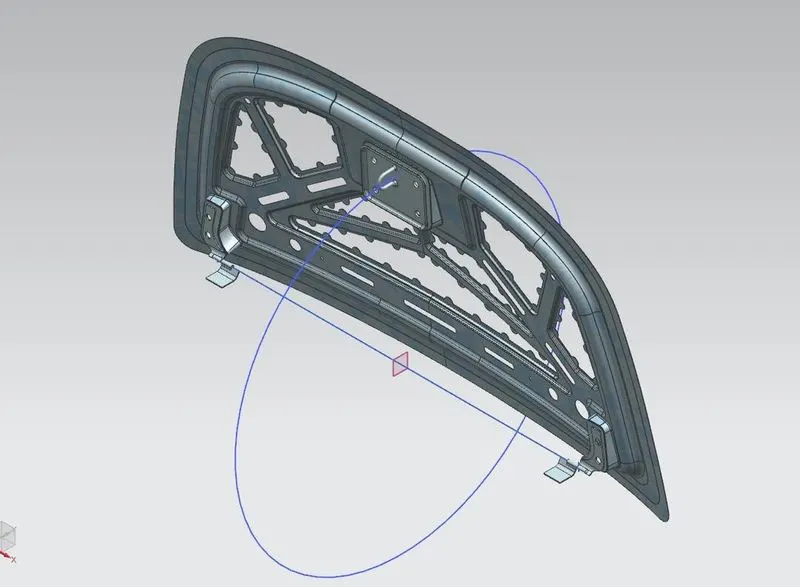
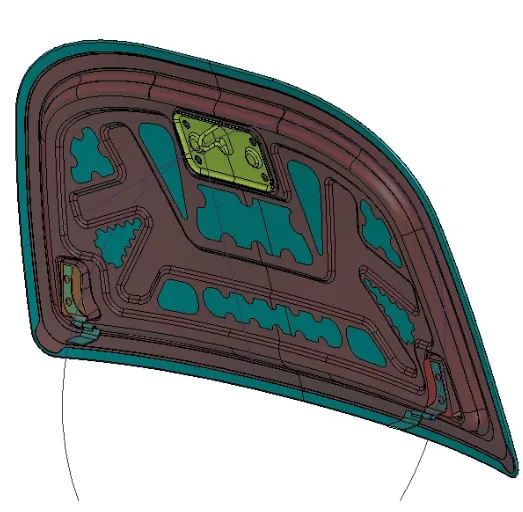
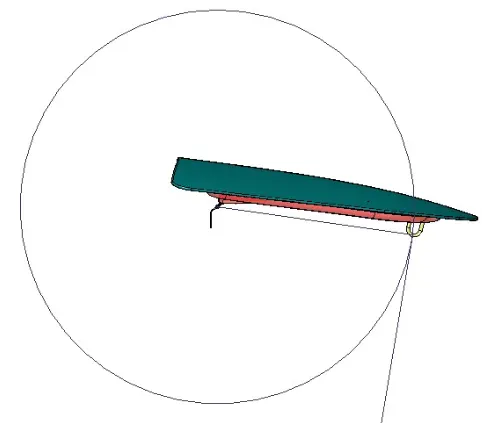
For postioning hinge and striker, we have to place hinge tantatively and take hinge axis point and place position from data taken from the parent car or our own,the other major functional of the hood is the opening and closing of the hood. this is done with the help of the latch and striker. to position the latch and striker effectively, we position the hing and draw the hing axis. now using hinge axis as the center we draw a big circle to the position where we need latch to be placed. then we draw a tangent line to the circle at that point and placed the latch in that region.
Re-enforcements and crash bead:-
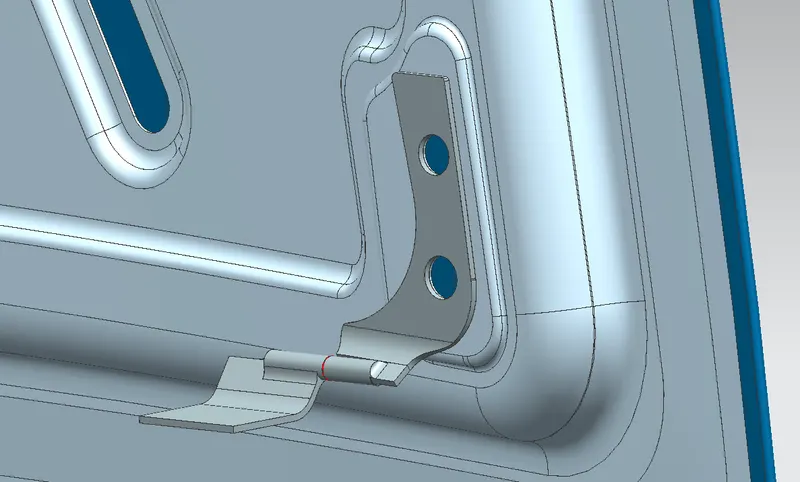
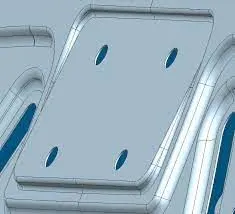
After the development of the entire inner pannel for the hood, we need to develop some additional necessary re-enforcements.the latch striker and the hinges will need a re-enforcement that needs to be developed. all the re-enforcements are made from sheet metal of thickness 1.2mm.
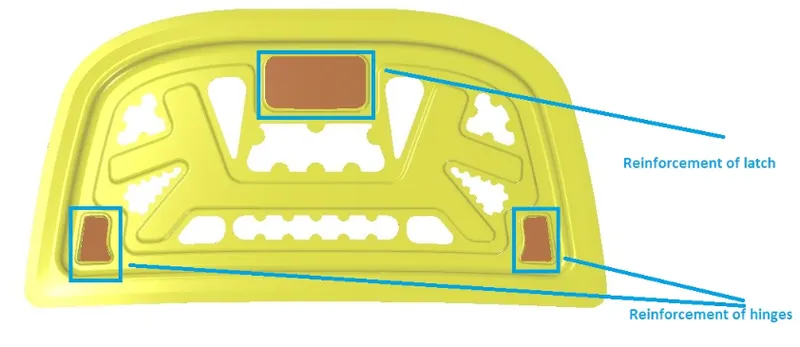
The re-enforcements are attached to the hood inner panel using the spot welding method. the positions to be spot-welded are provided by the design team.
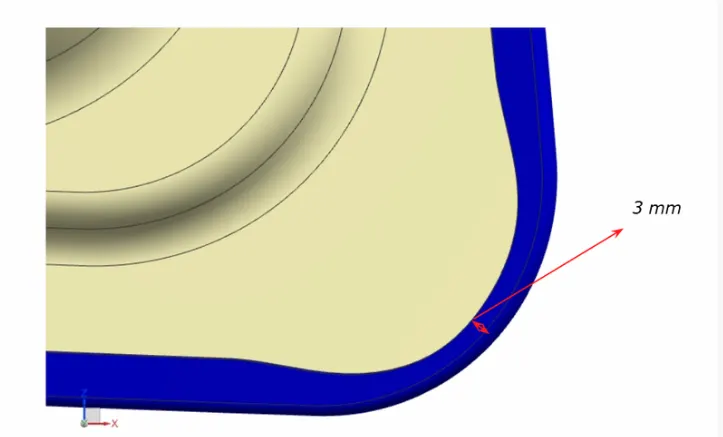
Relief rear section:
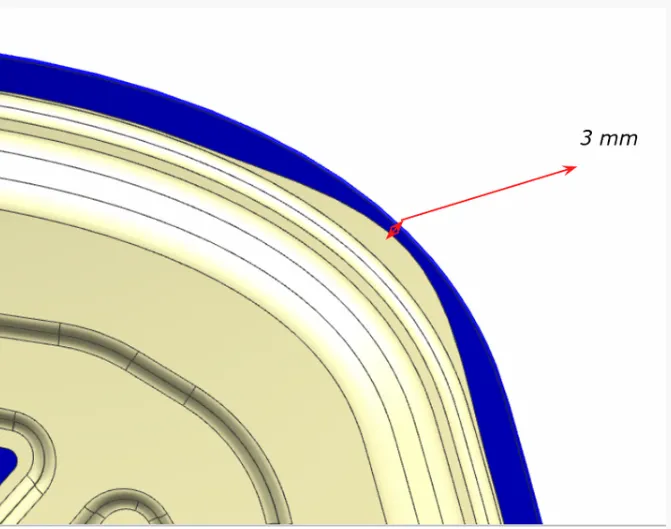
Front Relife:
Assembled View:
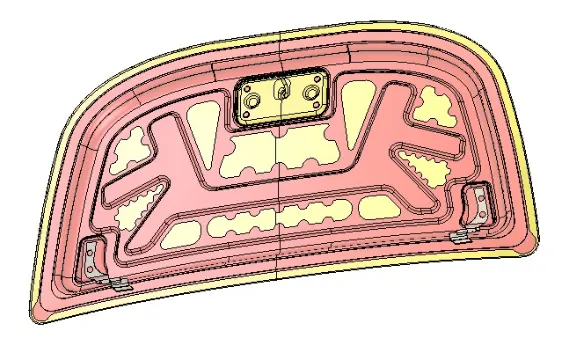
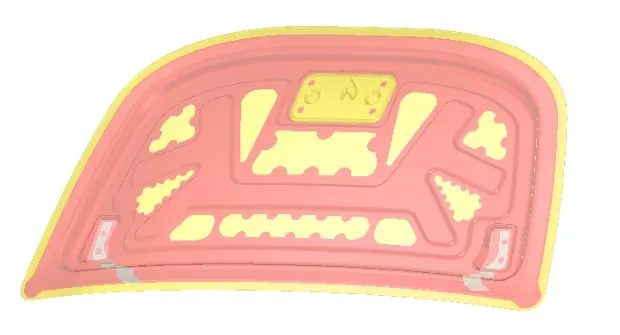
Hinge and Striker
Conclusion:
All the part of the hood are designed based on the required conditions & given values and assembled togather to complete the hood design.