Hood design-Week 2
HOOD DESIGN
AIM:
To design the hood of a car with the given input Outer panel and its dimensions.
INTRODUCTION
In this report we are going to study about Hood Outer Panel, Hood Inner Panel, Hinges, Striker in NX-12. Using the CAD we are going to design and develop the model with in safety conisderation.
HOOD
Hood is also can be called as Bonnet in some countries. This part is hinged over the car and makes the frontal portion of the car accessible for repair and major maintenance. The hood is opened and fixed using the support rod, sometimes gas stay is used according to the requirement. The hood also associated with some accessories like wiper, hood scope etc. Materials generally used for styling panel is carbon fiber, fiber glass or dry carbon. The inner panel is mostly made up of Aluminum where steel also used. The hood design has main concerns like hood opening angle and pedestrian safety. The opening angle varies upon different country zones. The pedestrian safety is sewed in hood to avoid fatality rate of victim. The hood must be designed in such a way that it should disperse the force generated during a crash along sideways to hinge points. This case also depends on the relative speed of the vehicles and their inertial mass. All the forces can't be dispersed from the leading edge but a major percentage of impact load can be derailed from travelling towards windshield.
Car Hood has the following components:
- Outer Panel
- Inner Panel
- Striker and Hinge asm Reinforcement
- Hood Support
- Mastic's
Outer Panel:
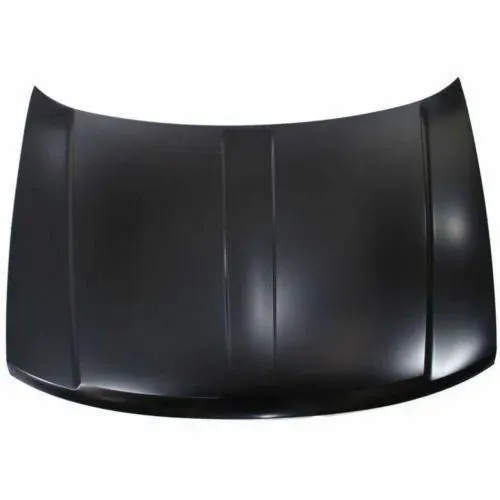
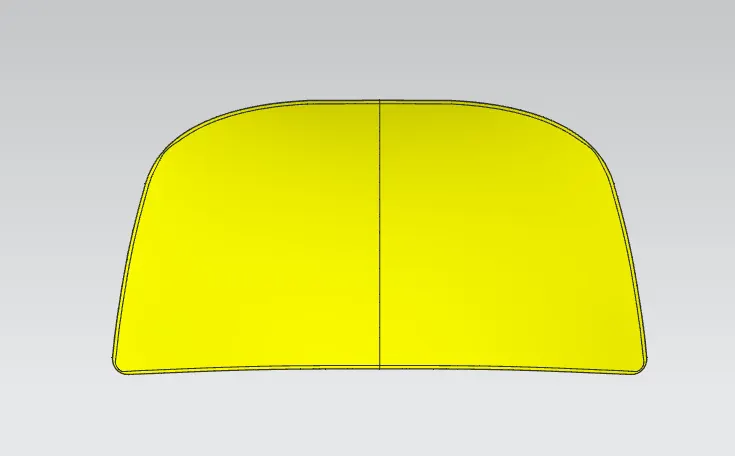
- Outer Panel is the most important part of the hood to makes the car in a very good aesthetic proportion. So that the outer panel is perfectly made insense to achieve the aesthatic requirement. So that, the sheet metal operation result which is visible on the outer panel or it reduces the aesthatic value means, those. operations are strictly not to be followed to make the outer panel. That's why the hemming process is used to join the outer panel with the inner panel, instead of using welding methods.
Inner Panel:
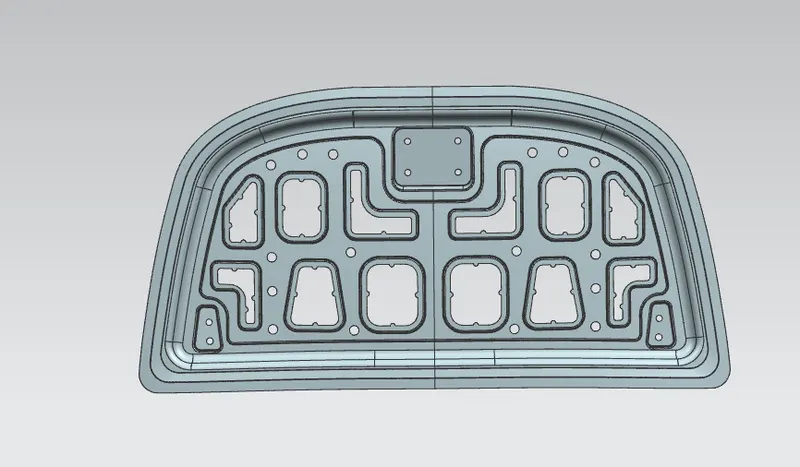
- Inner Panel the major part that ensures the rigidity of the hood and it is used to diverts the impact to outwards of the hood however possible when the collision occurs. It is can be achieved by the good inner panel design and the emboss direction in the inner panel.
- Lot of design changes and researches are done and being carried out in the inner panel only to achieve the pedestrain safety and the passenger safety to make the standards.
Reinforcement:
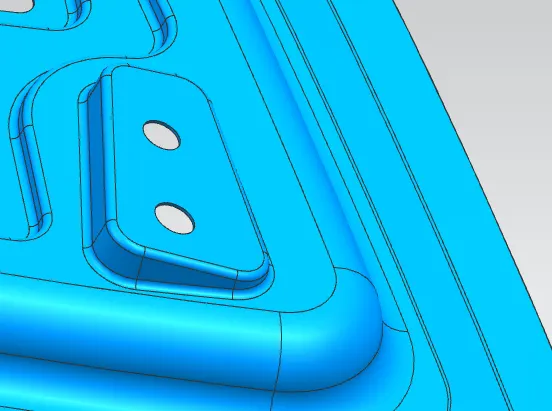
- The Striker and Hinges are attached at the lower side of the inner panel. It it can be done by directly then more stress can act at the particular area in the inner panel, it may cause deformation of the inner panel at that particular region. Sol that the reinforcement comes in and placed between the striker and the hood, hinge and the hood. It can able to reduce to deformation and strengthening the inner panel at that particular region.
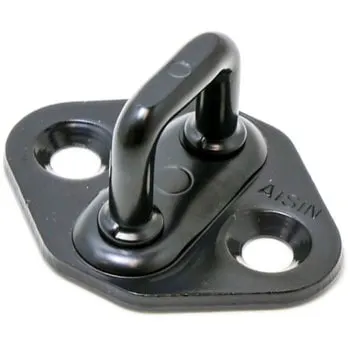
Striker
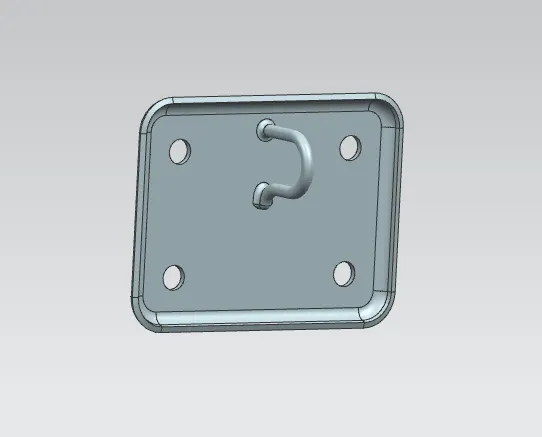
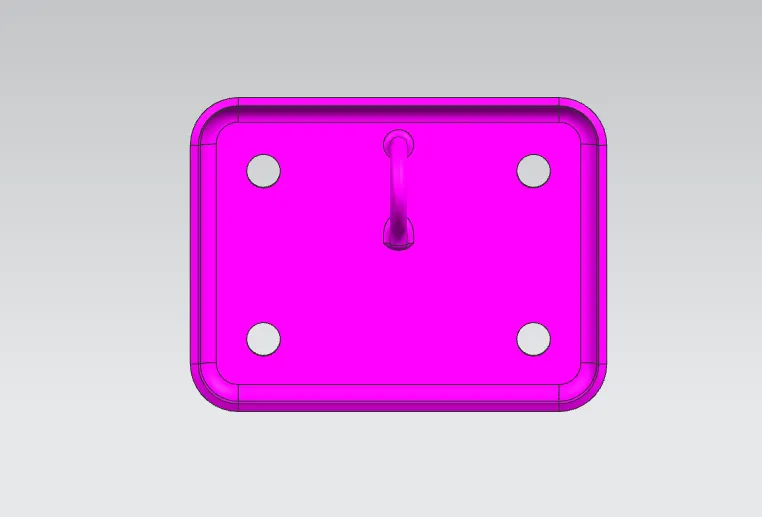
- Striker is the part which is used to hold the hood with the engine compartment by using the latch which it is attached in the engine compartment, when the hood not require to open up. The striket is attached to the bottom of the inner panel and it hits the latch and locked with it, when the hood is dropped down.
- There s lever which is provided inside the cabin to the driver to release the latch pressure. Once it can be done, the hood will opens up in a inch, then we can able to open the hood more.
Hinge Assembly
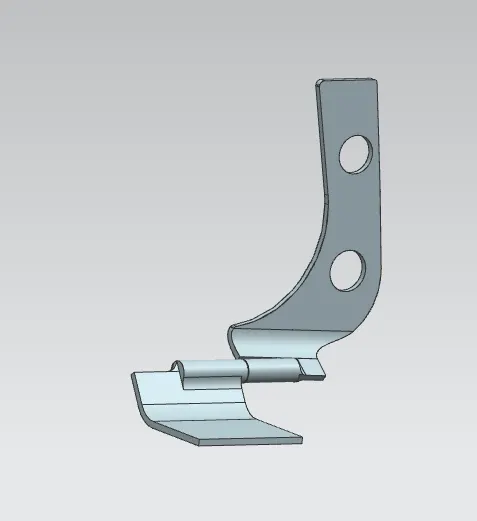
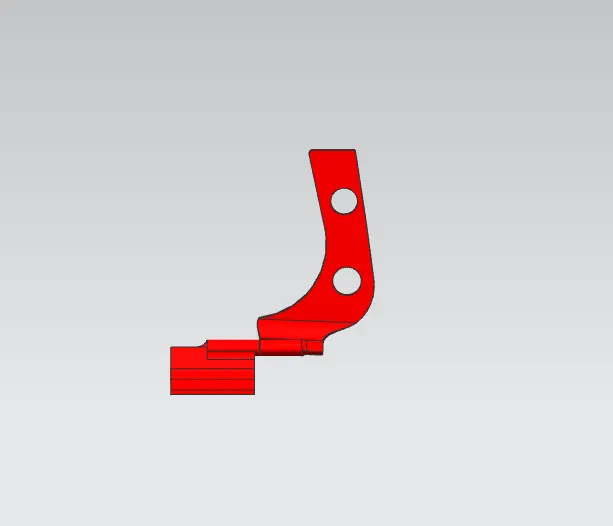
- It is used to fix the hood to the engine compartment.
- For any component has to be open and close with an axis, then hinge plays a major role. It has two simple parts (one is hood side hinge, another one is engine compartment side hinge) and assembled with the single axis.
- Hinge Assembly is attached at the each Outwards end of the hood and the engine compartment.
Hood support
Hood is typically supported by rods or some fixtures, so that it stays at a position and a person can lean onto it hassle free and work. These includes
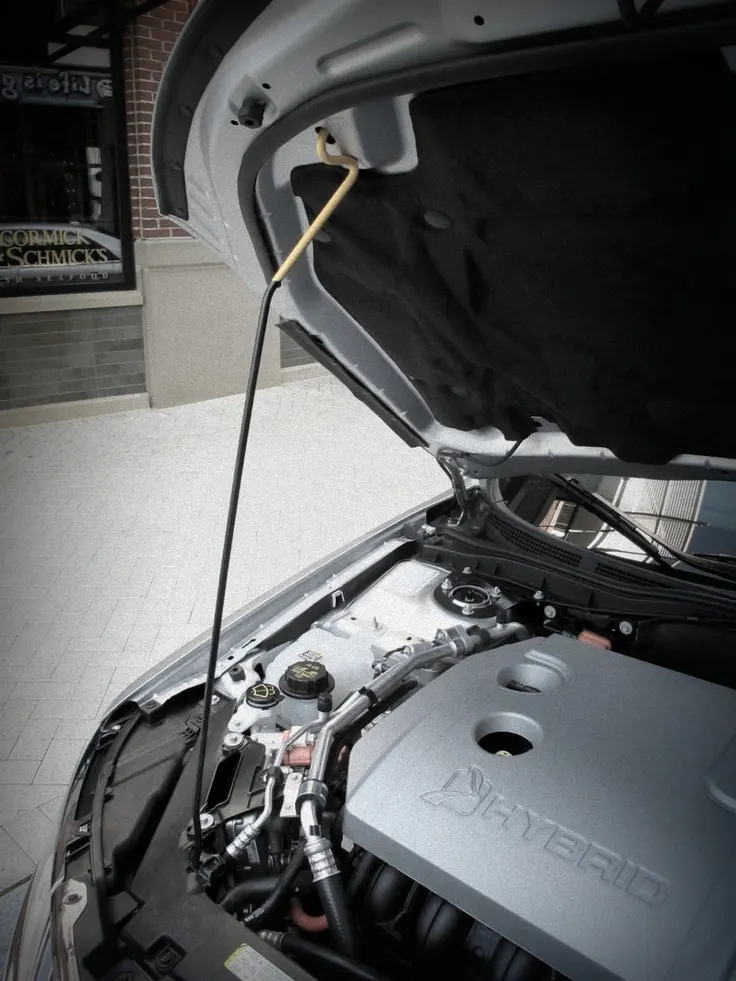
- Support Rod:
A hood rod is designed to hold your hood propped open whenever you need to do some work in your car's engine bay. When used, it must be firmly secured to ensure that it provides a stable hold on the hood. Meanwhile, when not in use, it must be kept stable in place and must not move around. The hood rod clip is the part assigned with that function. This clip clamps onto the rod and ensures that it is firm in its place. when not in use. It koops the rod from moving around under the hood and from causing trouble.
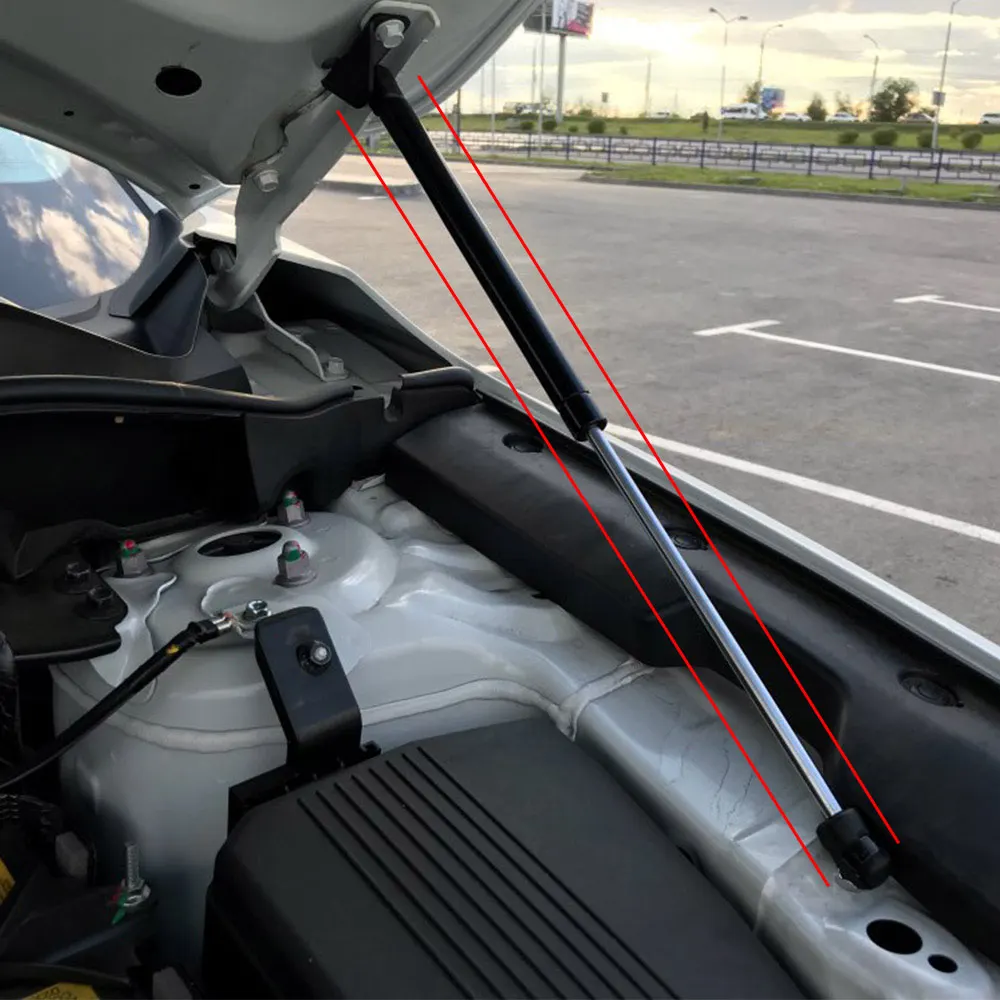
- Gas Stay:
This is used to open the car hood by just providing little lift force. A small effort is all it needs and other work is done by gas pressure. It is normilly found in high end cars where the mass of hood is more than normal.
Mastic's:
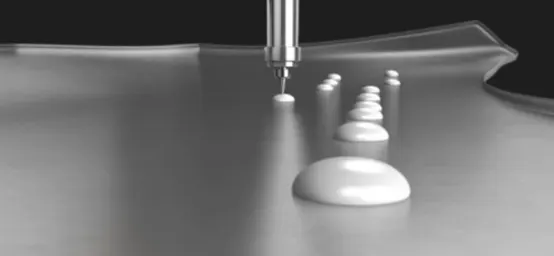
- Mastics are the kind of sealant which is used to combine the outer panel of the hood to the inner panel of the hood by applying between them. When in applying condition it is in the form of liquid substance with high viscosity like paste, then it is placed in worm condition, it turn into rubber like solid state. So that it can be the damping resistance and reduces the noises and all.
Latch Trajectory:
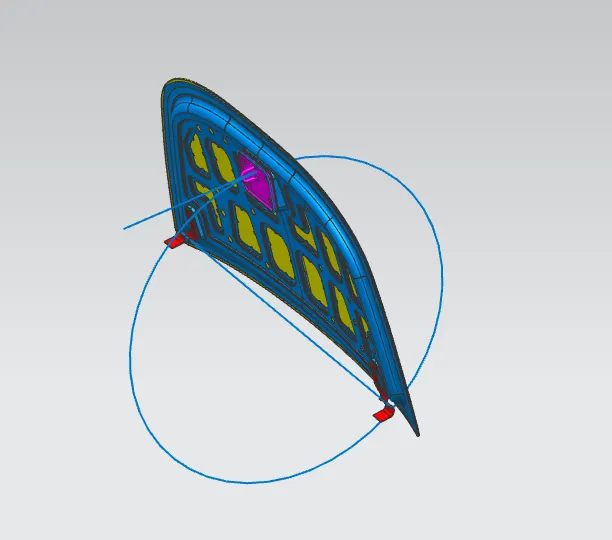
Latch trajectory is given by the circle drawn from the hinge axis point. Hinge axis point is the centre point of the hinge axis. First, we can fix either the latch or the hinge. If we have fixed the hinge position then we should plot the Trajectory circle for the latch. For proper mating condition the striker axis through the tip of the striker should be tangential to the latch trajectory
Hood has designed by the process of using the following Sheet Metal Operations:
• Hemming
• Embossing
• Deep Drawing
• Piercing
Hemming
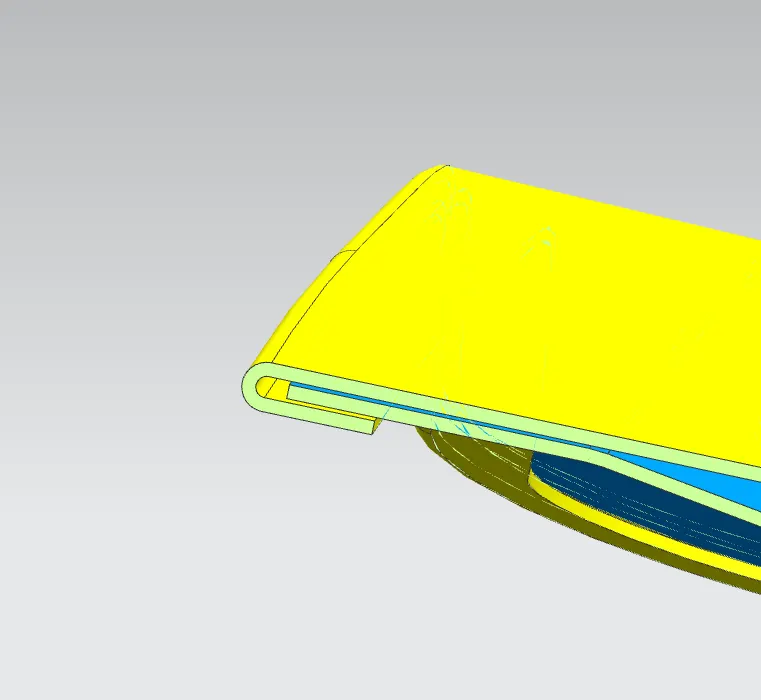
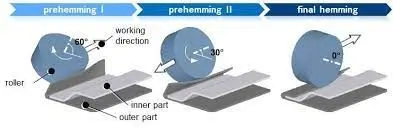
- Hemming is a sheet metal forming process in which sheets are joined by bending it usually to 180 degree. Automotive body panels & parts such as deck-lids, trunk lids, doors, hoods & tailgates are formed by hemming processes.
- Roll hemming is carried out incrementally with a hemming roller. An industrial robot guides the hemming roller & forms the flange. Roll hemming operation can also be divided into several pre-hemming & final hemming process steps.
- Coventional die hemming is suitable for mass production. In die hemming, the flange is folded over the entire length with a hemming tool. Normally the actual hemming is a result of a forming operation in which the flange is formed with a hemming tool after the drawing & trimming operations have been completed. While doing the hemming process a relief angle is formed as a product of hemming when attaining at the corner of the sheet.
Embossing
- Sheet metal embossing is a stamping process for producing raised or sunken designs or relief in sheet metal. This process can be made by means of matched male and female roller dies, or by passing sheet or a strip of metal between rolls of the desired pattern. The metal sheet embossing operation is commonly accomplished with a combination of heat and pressure on the sheet metal, depending on what type of embossing is required. Theoretically, with any of these procedures, the metal thickness is changed in its composition.
Deep Drawing
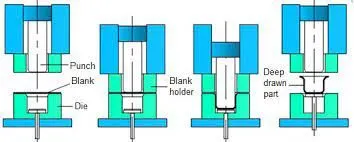
- Deep drawing is a manufacturing process that is used extensively in the forming of sheet metal into a cup or box-like structures. Pots & pans for cooking, containers, sinks, automobile parts, such as panel & gas tanks, are among a few of the items manufactured by sheet metal deep drawing.
- A deep drawing of sheet metal is performed with a punch and die. The punch is the desired shape of the base of the part, once drawn. The die cavity matches the punch and is a little wider to allow for its passage, as well as clearance. For many calculations, the sheet metal thickness is assumed to remain constant. There are changes in thickness in certain areas, due to force involved.
Piercing
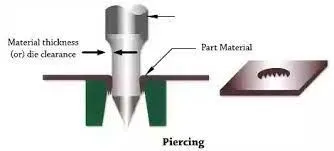
- Piercing is the kind of shearing process in which the unwanted material with a particular shapes are removed from the sheet metal by using the blanking punch and dies.
DESIGN METHODOLOGY
Inner panel
Outer panel
Hinge assembly
Striker
Inner panel creation
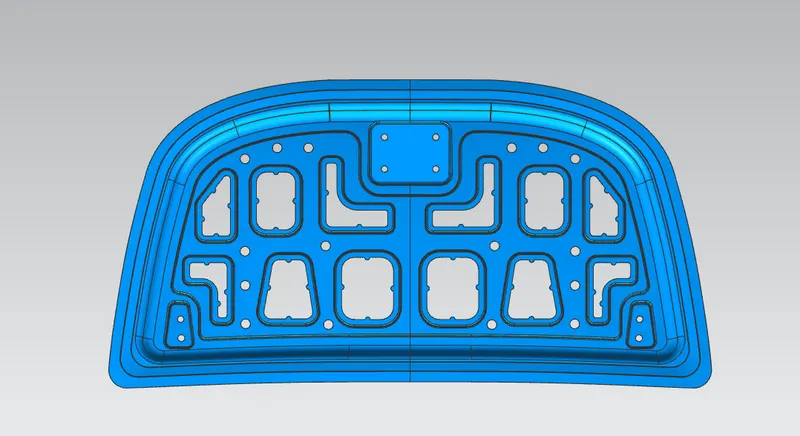
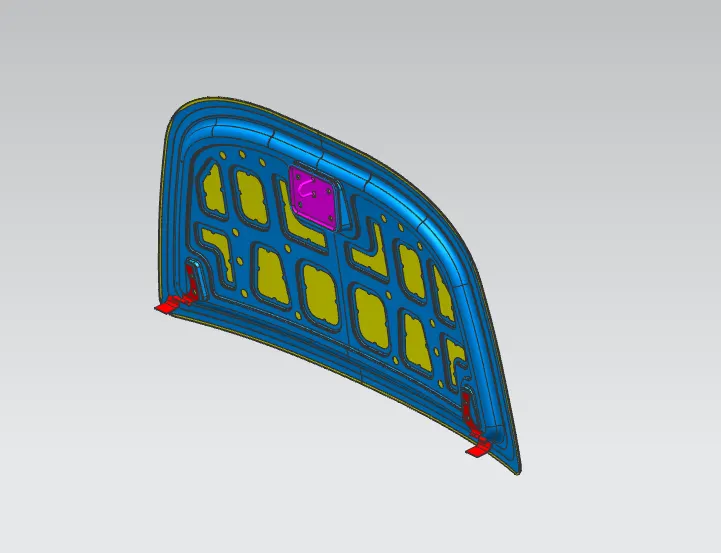
As input we receive the offset data of Hood Outer Panel. We offset the outer edge and made all the sharp corner to the round one then, trim the geometry to syemmetry by Y Z plane. we offset all the necessary surfaces which is mention in the sketch and trim it. After creating the required surface we created the firts emboss then, second emboss and remove all the material, Now we linked the Hinge Assembly created emboss for the Hinge.
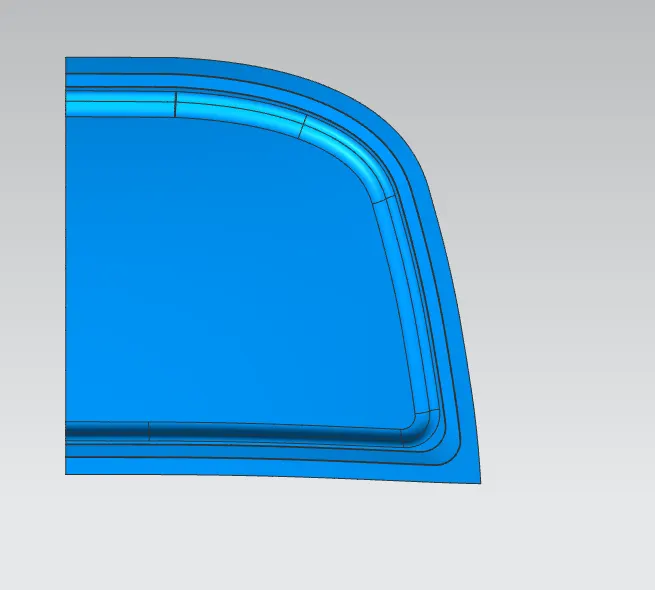
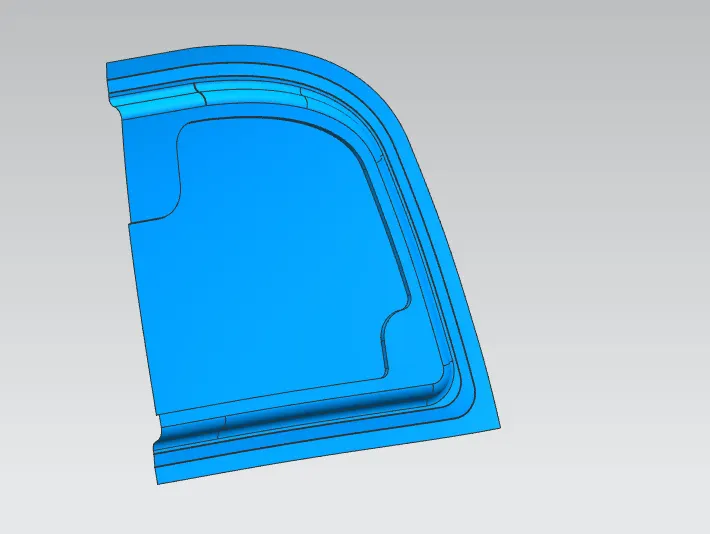
Creating emboss
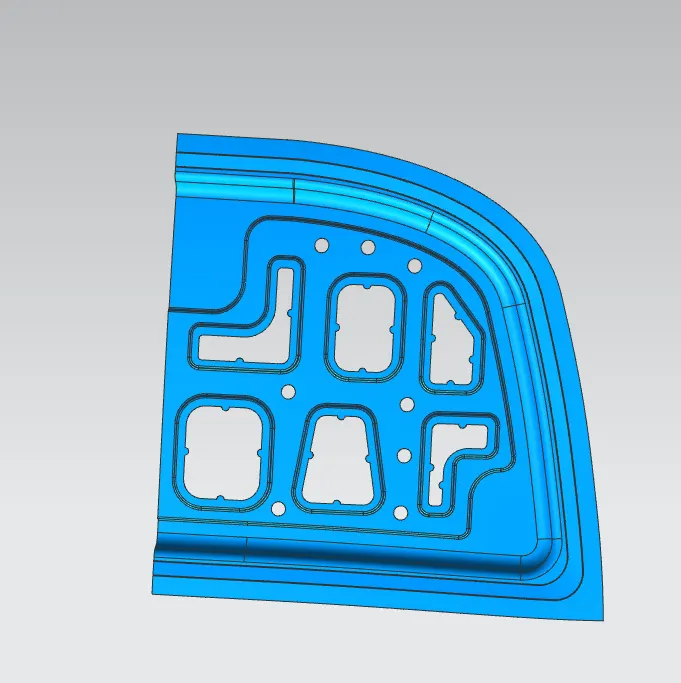
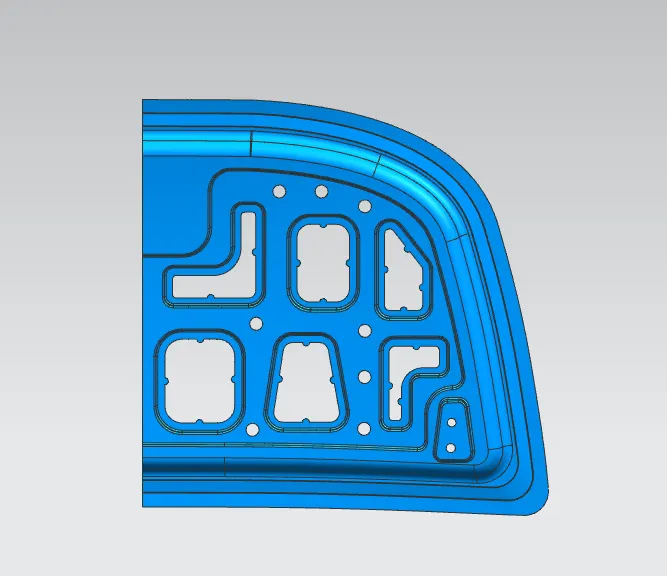
After this much process the geometry is mirrored and sew is applied.
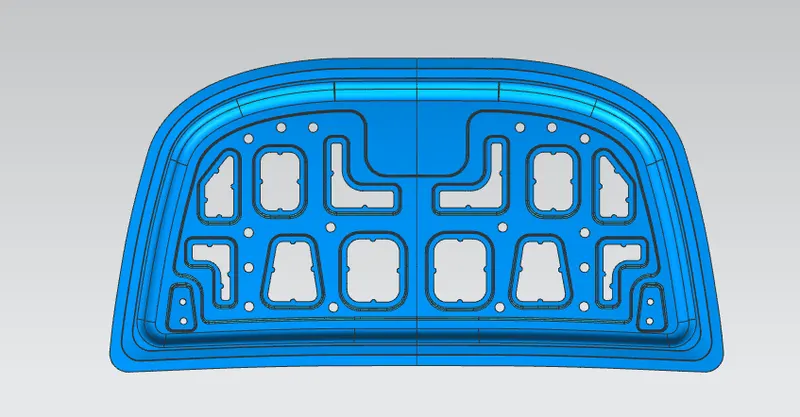
Now we created the Latch Trajectory Circle for openeing and closing of Hood.
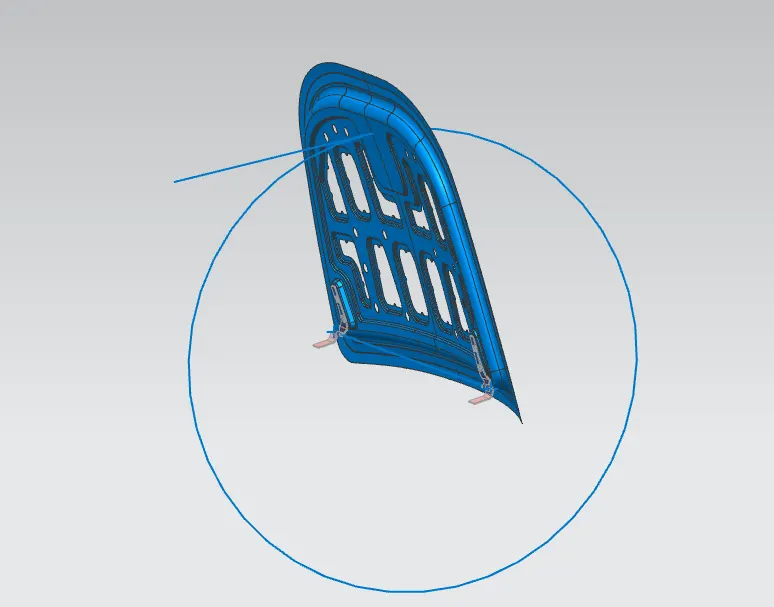
The striker is attached to the inner panel
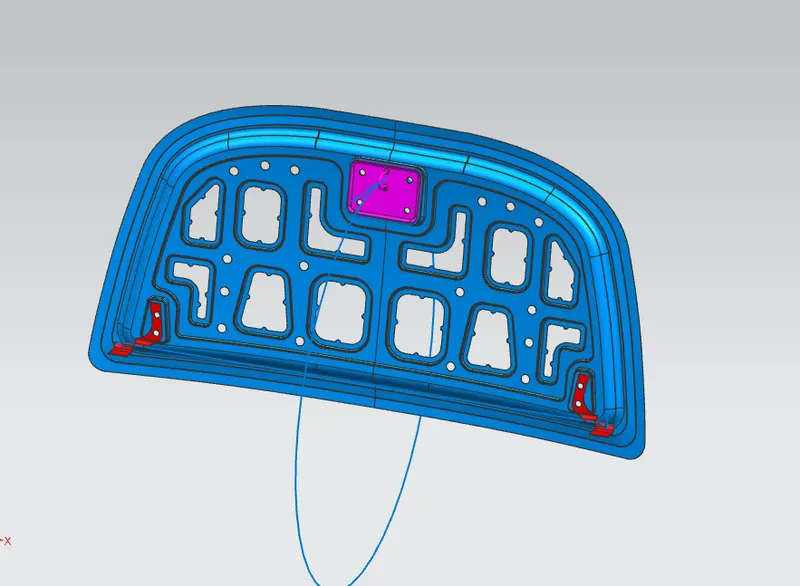
Outer panel design
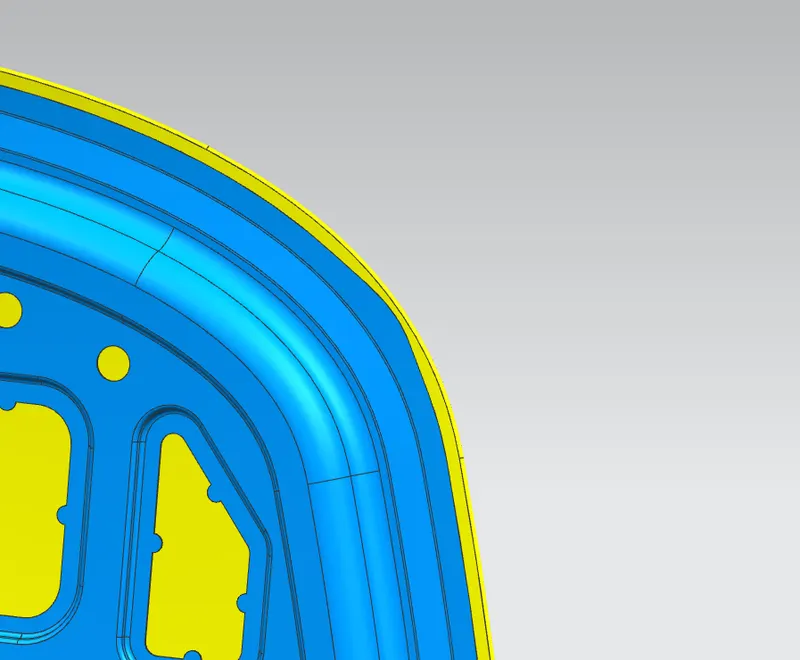
Creating Hemming
Creating rear relief
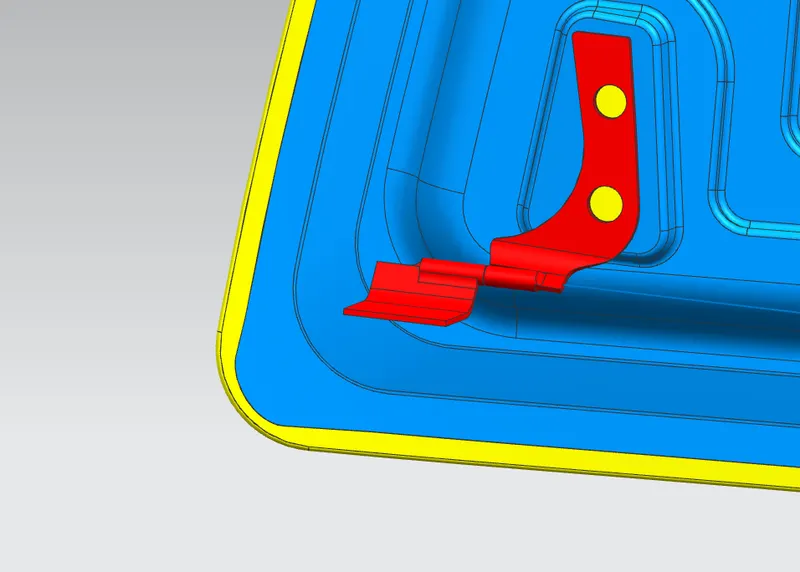
Creating front relief
VIEWS
Front view
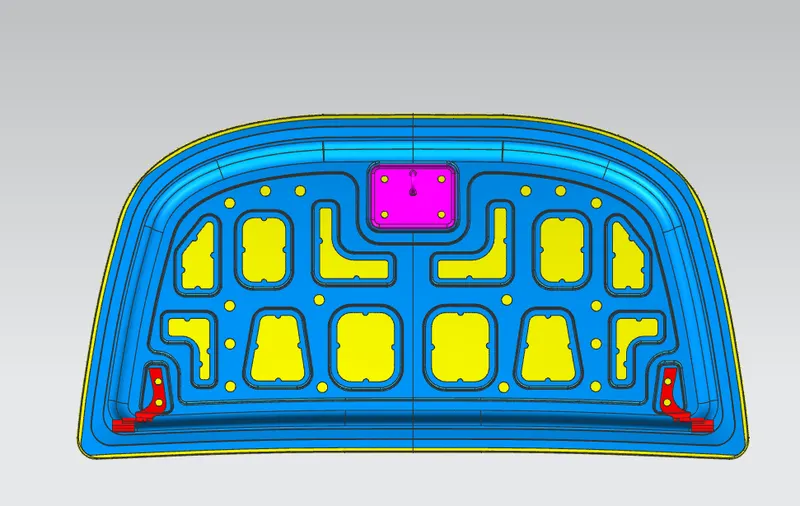
Side view
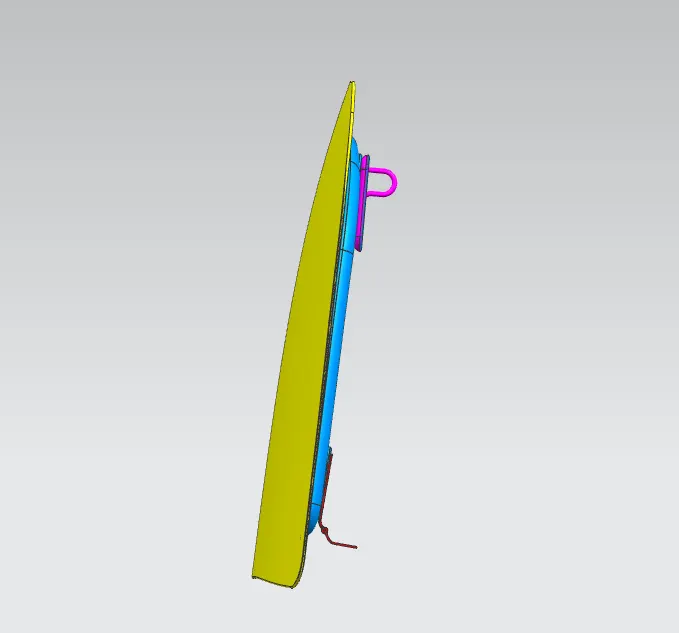
Top view
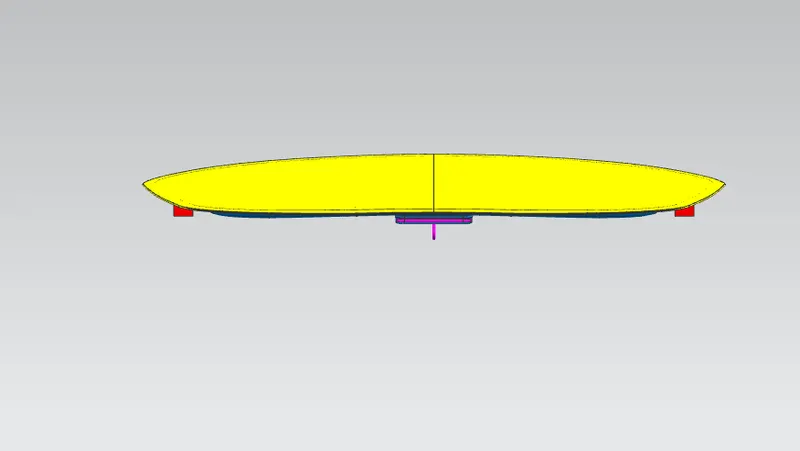
Isometric view
CONCLUSION
In this challenge Hood is created successfully in Top-Down Assembly approach with Hood Outer Panel, Hood Inner panel, Hinge Assembly amd Striker with the given sketch and all the design considerations.