Hood design-Week 2
A detailed report about the Hood Design which includes a detailed explanation about Hood and its components, Latch Trajectory, Mastic data, Emboss definitions, and details on Manufacturing process like Deep-drawing and Hemming, and all the parameters followed in the design
- What is Hood?
Hood is the hinged cover which protects engine compartments, battery, etc. from outside dust and sunlight. It rests over the engine of a front-engine vehicle. It also provides an access to the engine for repair and maintenance.
Hood usually consists of inner panel, outer panel, latch, hinges, reinforcements, etc. The inner panel provides the hood strength and includes machining process, joining components and reinforcements like welding, riveting, holes, emboss, etc. On the other hand, the outer panel should provide a great look without machining or welding spots. These two panels are joined with a hemming process. It is typically made of the same material as the rest of the car body such as steel, aluminum, fiberglass or carbon fiber.
To protect pedestrian from severe head injury during a collision with a vehicle, more advanced hood designs are required. It may include a multi-cone inner hood panel design as found on the Mazda RX-8 and other cars. In addition, the active structure, that pushes the hood surface several centimeters away from the hard motor components during pedestrian crash, is also in use. This uses mechanical spring force or pyrotechnic devices to achieve the goal.
- Hood Assembly
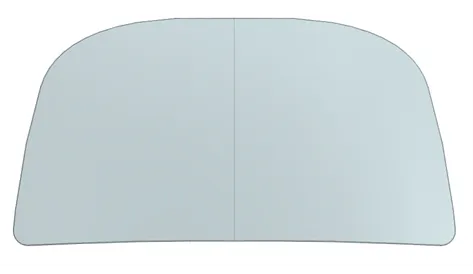
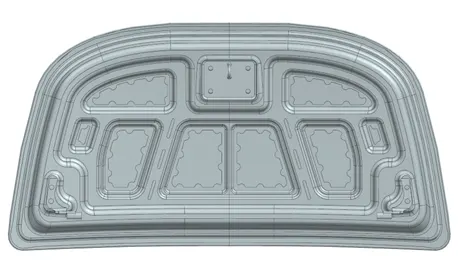
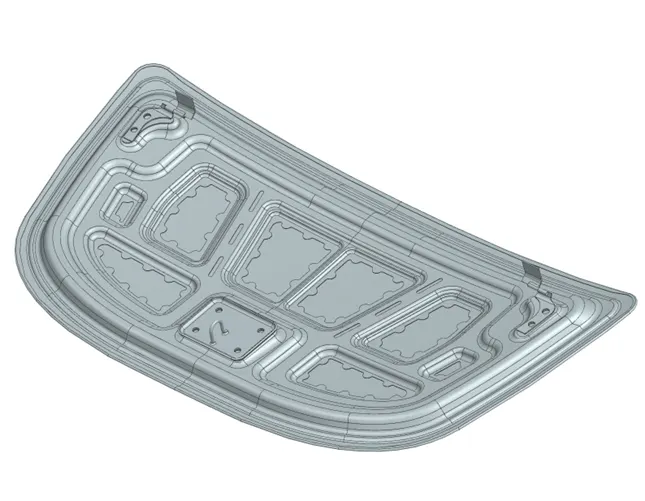
- Design Outer Panel
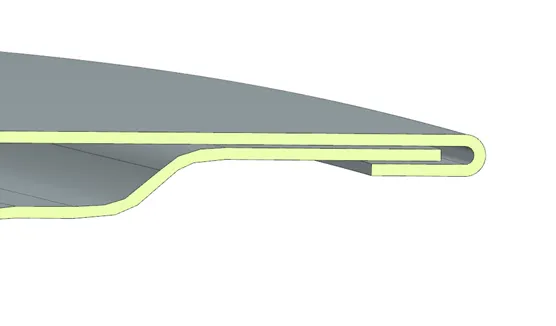
The outer panel thickness is 0.75 mm and outer edges are extended for hemming process. The dimensions follow the given hemming data. The relaxation is applied to four corners of the panel in order to prevent the deformation and stress concentration of the panel during hemming process.
- Design Inner Panel
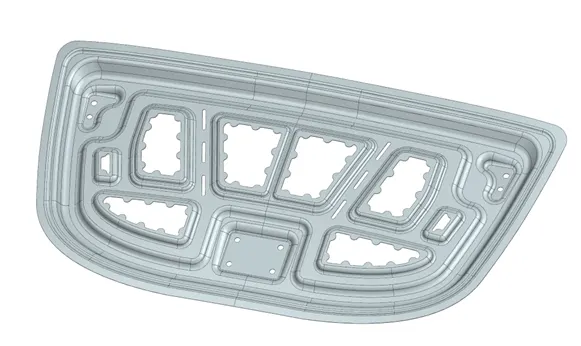
The inner panel thickness is 0.75 mm. The inner panel is deep drawn with respect to the master section sketch data. The first 15 mm from edge is left for hemming region.
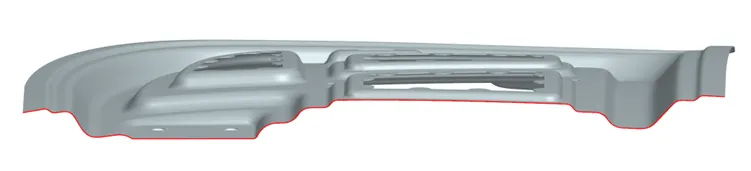
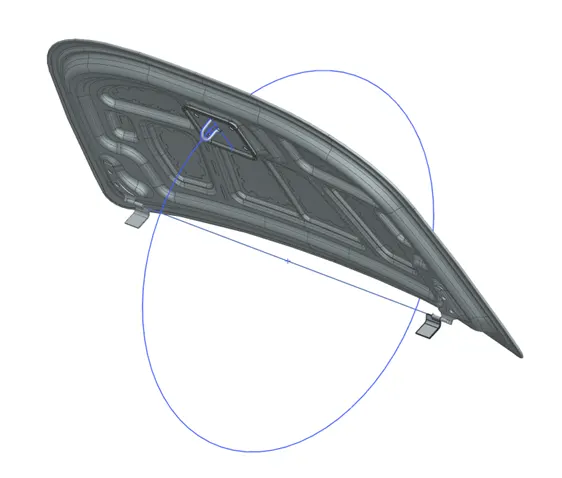
To locate hood hinges on the inner panel, the latch is positioned first. The hinges should be attached along with the axis which is passing the center of striker’s trajectory circle. The trajectory circle should be tangent to the striker, so the striker is perpendicular to the locker when the hood is closed.
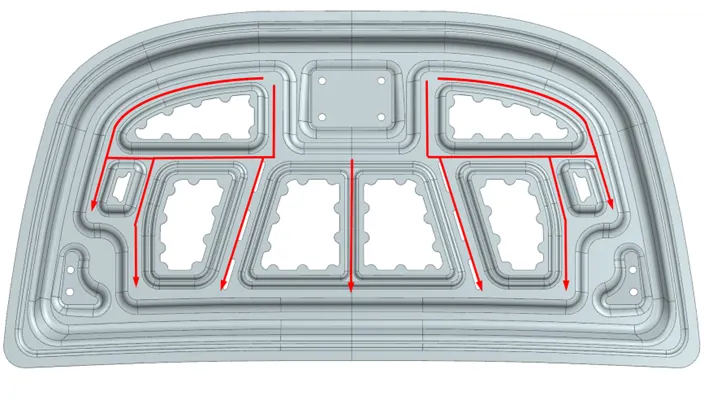
Emboss is added to inner panel to distribute an impact force away from the passenger during a crash. Emboss redirects force to hinges, latches and other reinforcements. Most of emboss face near to outer panel, except the area for mastic seals, are cut out to reduce the weight.
- Latch Trajectory
When the hood is closed, the ideal position for latch (striker) will be perpendicular to the locker. Therefore, latch trajectory should always be tangent to the striker when you open or close the hood. To achieve that, the hinges are located along the axis passing the center of this circular trajectory.
- Mastic Data
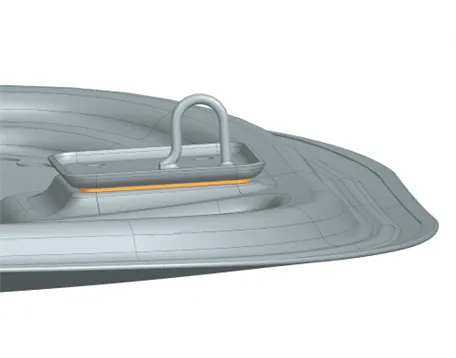
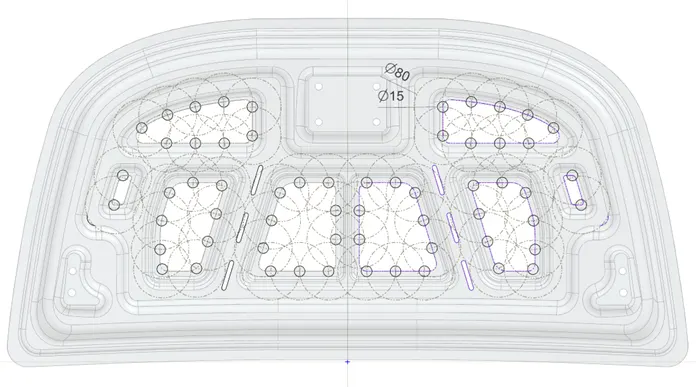
Mastic seal joins the inner panel and outer panel. 5mm gap is used for mastic seal as mentioned in lecturing video.
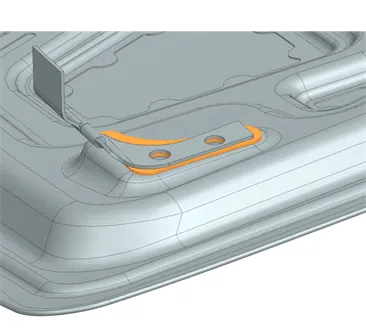
Furthermore, mastic seal also increases the strength near its location. Usually, 80 mm diameter area is strengthened by mastic seal. Because the areas near the latch and hinges are reinforced by additional plate, the rest of area needs mastic seals to increase the strength. 3mm fillet is applied to every mastic point to remove sharp corner of the panel.
- Emboss Definition
Emboss redirects force to hinges, latches and other reinforcements to protect the passenger from crash impact. Most of emboss face near to outer panel, except the area for mastic seals, are cut out to reduce the weight. Every emboss is generated with 9-degree angle.
- Deep Drawing
This process changes a flat sheet metal blank into a hollow body open on one side. It occurs under a combination of tensile and compressive conditions. In this process, the blank will be clamped between the binder and the die first. Then, the punch (stamp) stretches the sheet over the die and forms it in the die. In order to withdrawing the stamp easily after the process, it requires some draft angles of emboss.
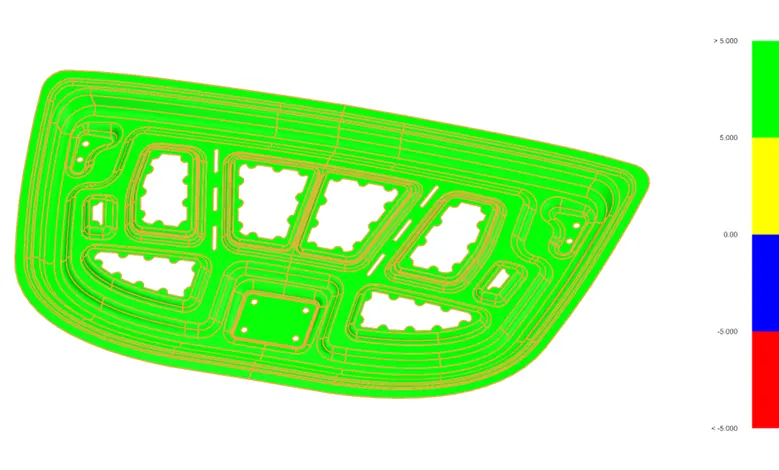
In our case, the inner panel follows the angles of master section. For the additional embosses, 9-degree angle is applied for deep drawing.
To double check, the draft analysis is performed under 5-degree condition. All features passed this analysis.
- Hemming
Hemming is the process folding edges of the sheet metal to create safe and rounded edges. It is usually used to connect two parts together. Hems could be open, flat, or tear dropped. Its tolerance depends on factors like hem’s radius, material thickness, and features near the hem.
- Pros
- Increase the strength of the edges
- Remove sharp edges for technicians
- Outer great look
- Cons
- Expensive cost
- Increase weight
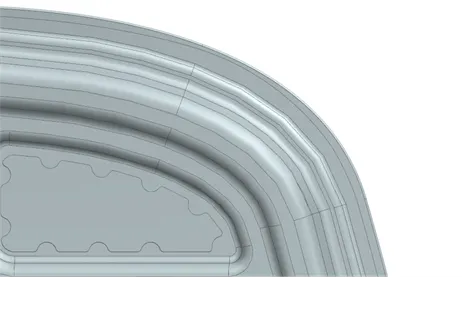
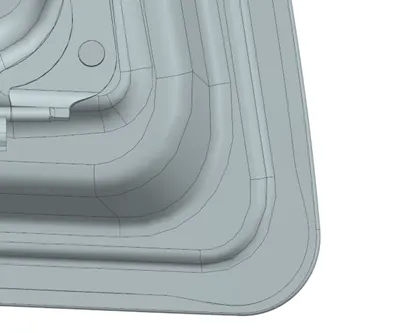
However, the hemming process often causes the material deformations such as splits/wrinkles in the flange, material overlaps in the corner areas and material roll-in. Therefore, giving relaxation for corners could prevent these problems.
In our case, outer panel and inner panel are joined together with hemming process. The outer panel’s edges are extended for hemming. The dimensions follow the given hemming data. The relaxation is also applied to four corners of the panel in order to prevent the deformation and stress concentration of the panel during hemming process.
- Reinforcement
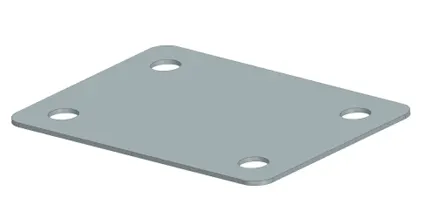
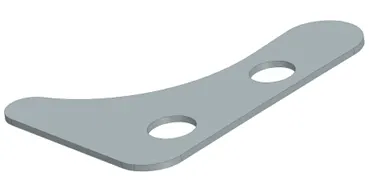
For faces adjacent to latch and hinges, additional plates are attached to strengthen the area. 1.5 mm sheet metal is used for these reinforcements.