Hood design
TITLE: DESIGN AND ASSEMBLY OF VEHICLE HOOD.
OBJECTIVES:
- To design and assemble the vehicle hood.
- Learning the industrial approach of how vehicle's sheet metal parts are designed in the industry.
- To be industry ready for the role of Mechanical Design Engineer.
INTRODUCTION:
The Hood is used as an engine cover for motor vehicles. The Hood is connected by two hinges to the engine compartment. The hood can open to allow access to the engine compartment for maintenance and repair. While designing a hood in an industry-specific manner hood should meet the following conditions.
- Pedestrians safety
- Force distribution when subjected to frontal collision (Passenger Safety)
- Placement of latch on latch trajectory
- Manufacturability
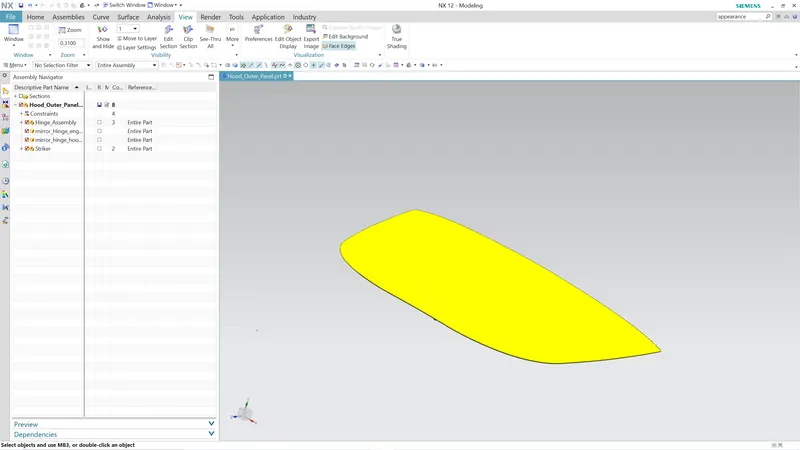
A typical hood assembly consists of an outer panel, inner panel, hinge assemblies, latch and striker mechanism, and hood stray. All the parts have their different functions. My main focus during this project is on designing the inner panel in an industrial manner and placing the latch and striker mechanism on the latch trajectory. The Hood is typically made out of the same material as the rest of the body in a white car. Deep drawing, hemming, blanking, and piercing are the common sheet metal operations that are used in manufacturing hoods in automotive industries.
DESIGN METHODOLOGY:
Pedestrian safety and awarding the flow of forces to the side of the hood in case of a vehicle crash for the safety of passengers or occupants are the two main aspects taken into account while designing the hood. The total design of this hood assembly is designed using Siemens NX Software. With the help of the following operation, Hood assembly is designed.
Master Sketch:-
DESCRIPTION:
Inner Panel:
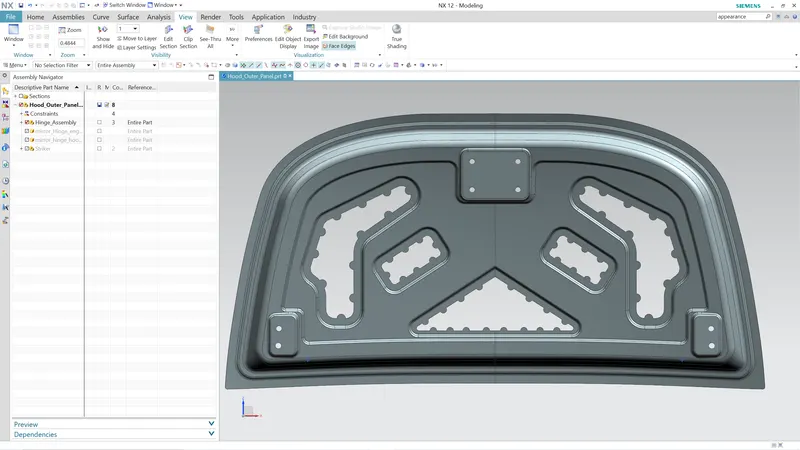
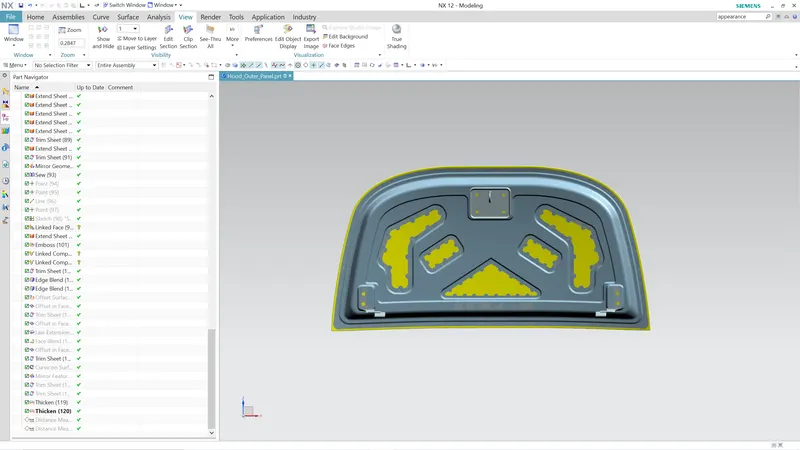
The inner surface is to be designed like a master section. So I first started with creating a master section by creating three offset surfaces and by using a trim sheet, through the curve, and law extension. after that main emboss is created by emboss feature. After creating the main emboss I create various small emboss for easy flow of frontal forces to the side in a case vehicle crash. This emboss should be in a Y or V shape so that forces can transfer easily. then I created emboss seat for the latch and striker, this emboss was different from other embosses as these embosses were created by using end cap condition as a datum plane. That's why the upper surface of this emboss is parallel to the hinge and latch surface. Blend with appropriate dimensions was created at every edge so that there should no stress concentration. After all this process the part is thickened so that it is converted into a solid one.
Outer panel:
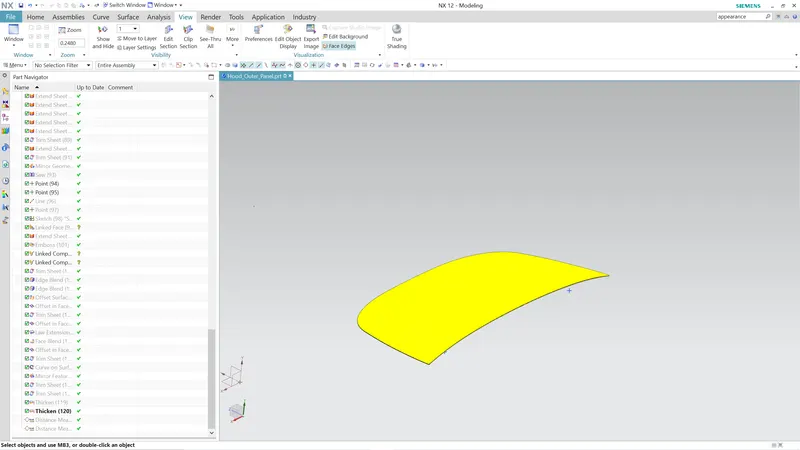
The outer panel is the aesthetic part of the hood of the car. As for joining the inner panel with the outer panel I used the hemming technique. For creating I first offset the outer panel surface and then apply the symmetrical law extension command on the edge of the offset surface. After that by using three face blend hem is created.
Latch trajectory:
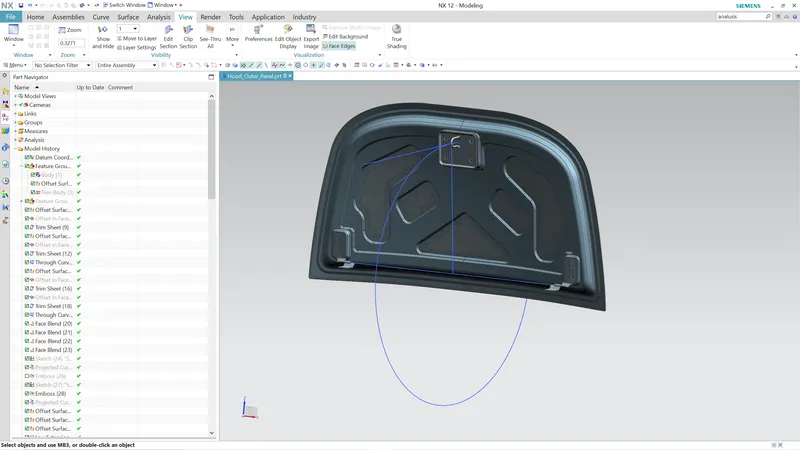
Latch trajectory plays an important role in assembling the latch with the inner panel. For this, I created a circle of 511mm while taking the hinge axis as the central axis. After that, I created a line tangent to the circle. And attach this line with the line drawn onto the latch by using prefer touch constrain. For proper mating conditions, the striker axis through the tip of the striker should be tangential to the latch trajectory.
Reinforcements:
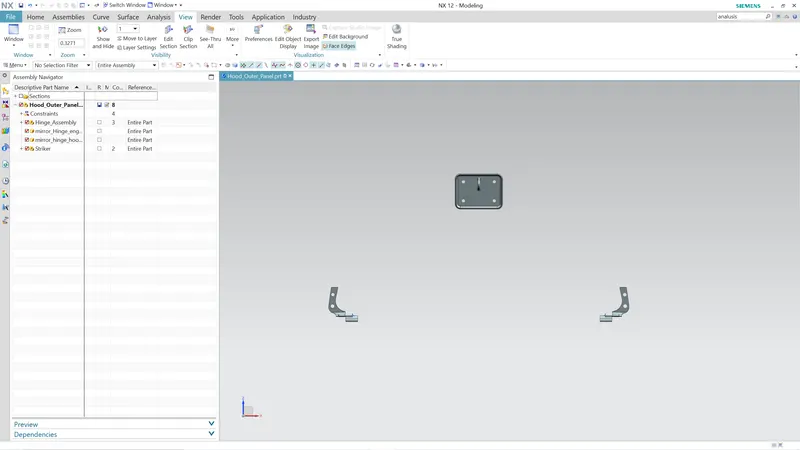
Reinforcements are usually provided to increase the strength of the sheet metal parts in that region. In this project hood designing hinges and latch, reinforcement was provided with a thickness of 1.5mm. usually, the thickness of reinforcements will be higher than that of the inner panels and the value varies according to cost and requirements.
Mastic data:
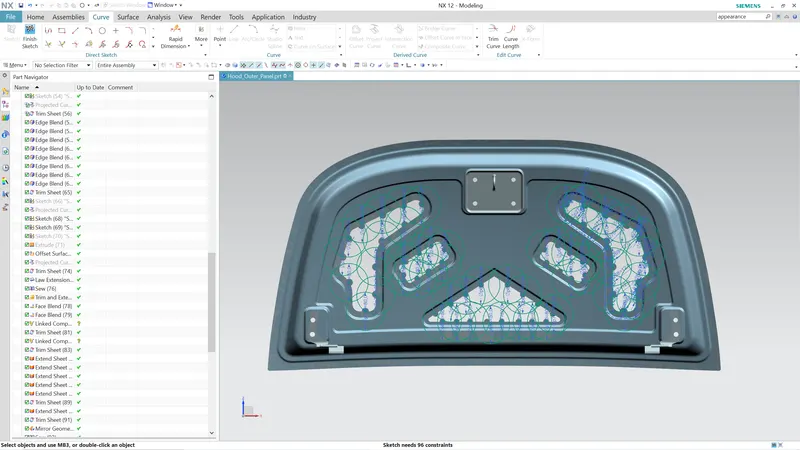
As we know the main purpose of the outer panel is for aesthetic looks. Thus, we cannot use bolts or spot welding because they will leave marks on the outer panel. Hood commonly possesses a large surface area and hemming can only be provided at the boundaries. So, mastic sealants are used to stick to the inner surface of the outer and inner panels. Mastic sealants are elastic compound that behaves like rubber. Initially, they are in pastel form, but after the hot furnace bath, it gets hardened thus joining the outer and inner panel. It is applied between the inner and outer panels at specified spots. Each spot of mastic sealants has its effect around a circular region of 80mm diameter.
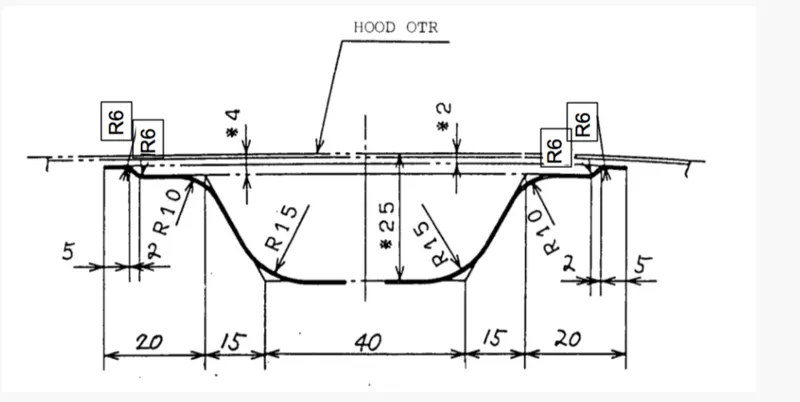
The main function of the emboss is to provide stiffness to the inner panel and direct the forces to the side of the hood in case of a frontal collision. The shape and size of embosses are decided by the design engineer while deciding the shape force distribution should be taken into account. Mostly Y and V-shaped embosses are preferred.
I first created a large base emboss with a depth of 10mm. after this large emboss I created different small embosses according to the requirement. Then I applied the blends at the edge of the embosses to reduce stress concentration.
Deep drawing:
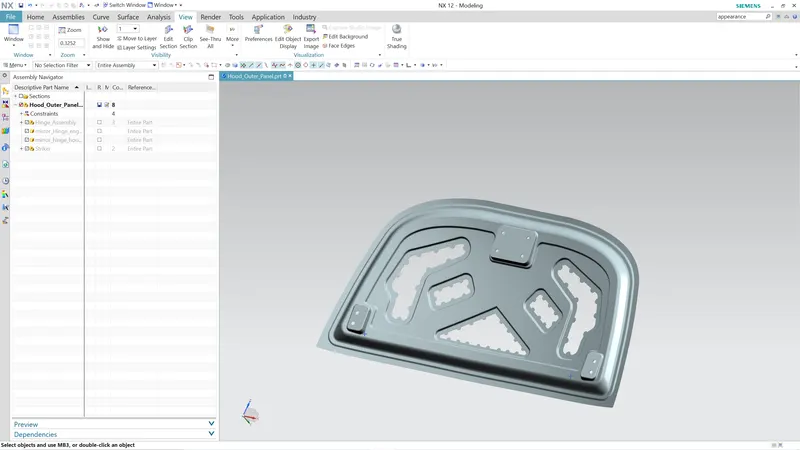
The deep drawing process is a forming process that occurs under a combination of tensile and compressive conditions.
The deep drawing process starts with a metal blank, the disc of metal cut from a larger sheet is pushed into a cavity around a die, which begins the deep drawn process of drawing the blank into the desired shape. This is completed in gradual steps to ensure an even distribution of the metal across the final shape, which is important for preserving the integrity and strength of the finalized deep-drawn component.
Features like emboss, dimple, and bead are used in Siemens NX for representing the deep drawing on a software level.
Hemming:
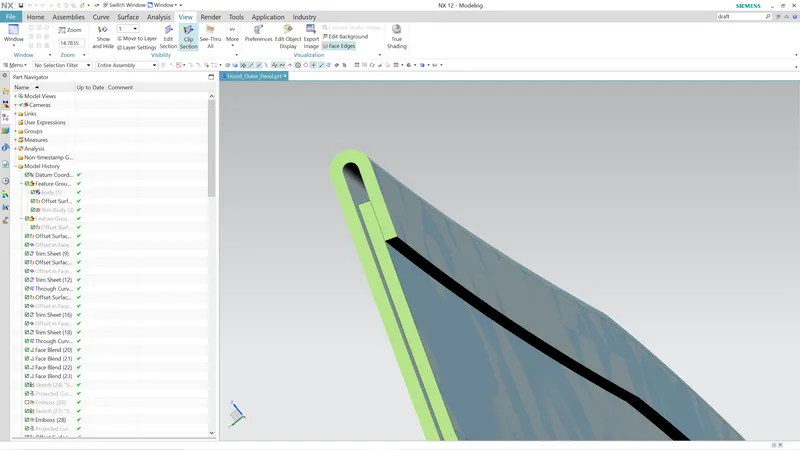
For joining the inner panel with the outer panel, we cannot use spot welding as spot welding would leave weld marks on the outer panel. As our panel is an aesthetic part of the hood so it should be free from any marks. That’s why we use the hemming process for joining the inner and outer panels. Hemming is a forming operation in which the edges of the sheet are folded over another sheet metal part to achieve a tight fit. Normally hemming operation is used to connect parts, improve the appearance of a part, and reinforce part edges.
The accuracy of the hemming operation is very important since it affects the appearance of the surface and surface quality. Material deformations, which occur during the hemming process, can lead to dimensional variations and other defects in parts. Typical hemming defects are splits or wrinkles in the flange, material overlaps in the corner areas, or material roll-in. This is why it is important to provide relief at the corners.
I created the hem in NX by creating an offset surface to the outer panel and then a symmetrical law extension on the edges of the offset surface. After that, by using a three-faced blend I blended these surfaces in the shape of a hem.
Assembly:
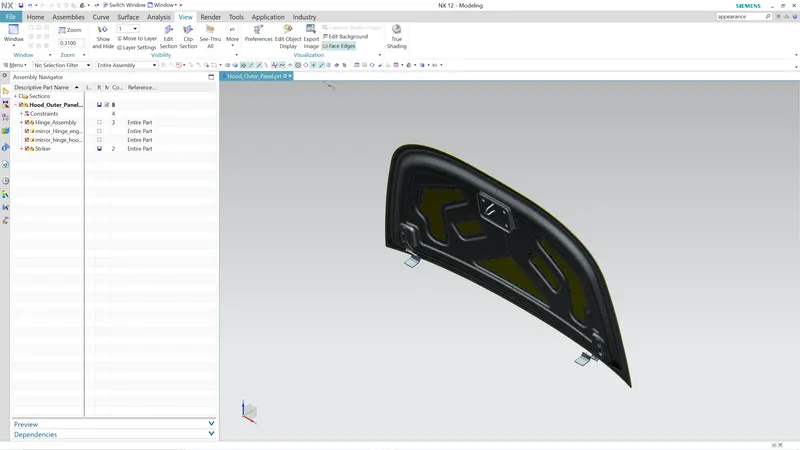
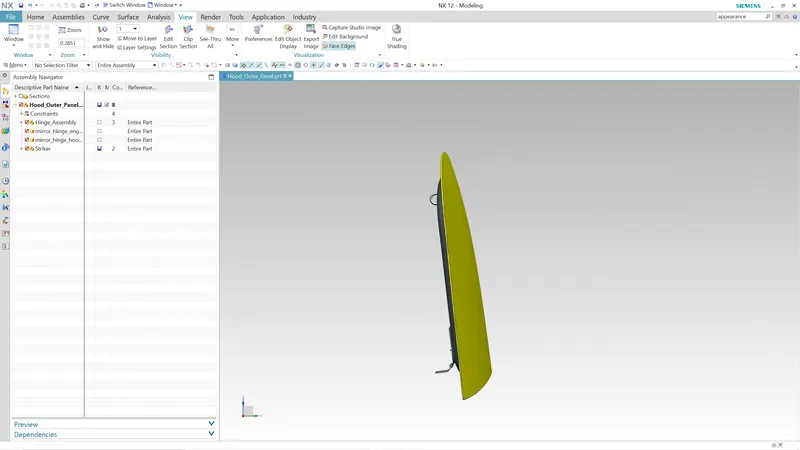
While assembling the hood first step is to make the outer panel fixed. As the inner panel is created by taking reference of the outer panel that’s why the inner panel is also get fixed with the outer panel. For joining the hinge assembly, I first make the axis of the hinge parallel to the X-axis. After that by using distance constrain hinge is joined to the inner panel. Striker is assembled to the inner panel by using Prefer touch constrain twice.
Isometric view:
Front view:
Top view:
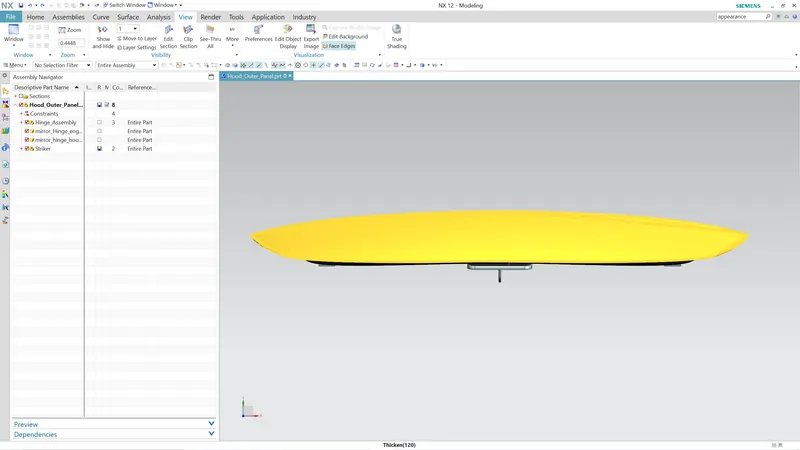
side view:
CONCLUSION:
Successfully designed, and assembled Hodd assembly. learned Siemens NX software as a design tool in an industrial manner. This project helps me to enhance my design skill and help me to become industry ready for the role of Mechanical Design Engineer. Overall, the project was successful.