Fender Design Challenge
TITLE: DESIGNING FRONT FENDER USING SIEMENS NX.
OBJECTIVE:
- To design the vehicle's front hood.
- Learning the industrial approach of how vehicle BIW parts are designed and manufactured.
- To be industry ready for the role of Mechanical Design Engineer.
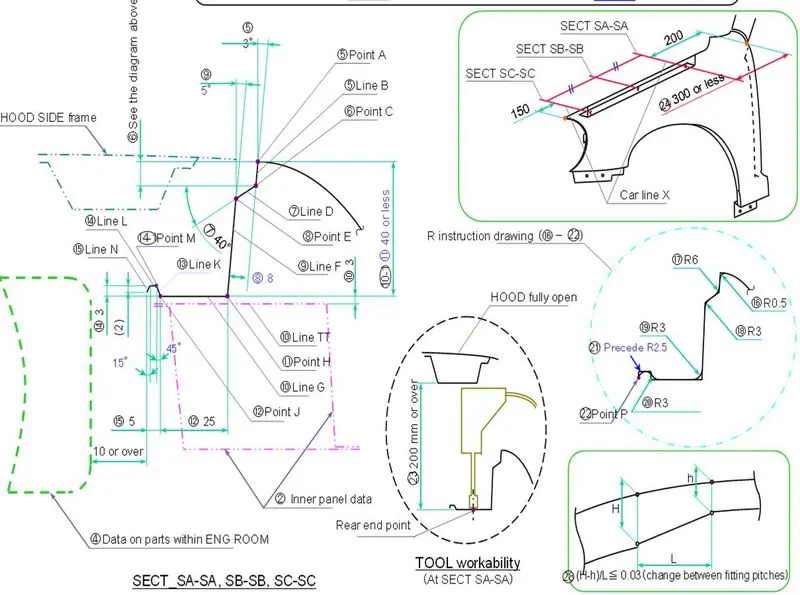
Master section of a drip area:-
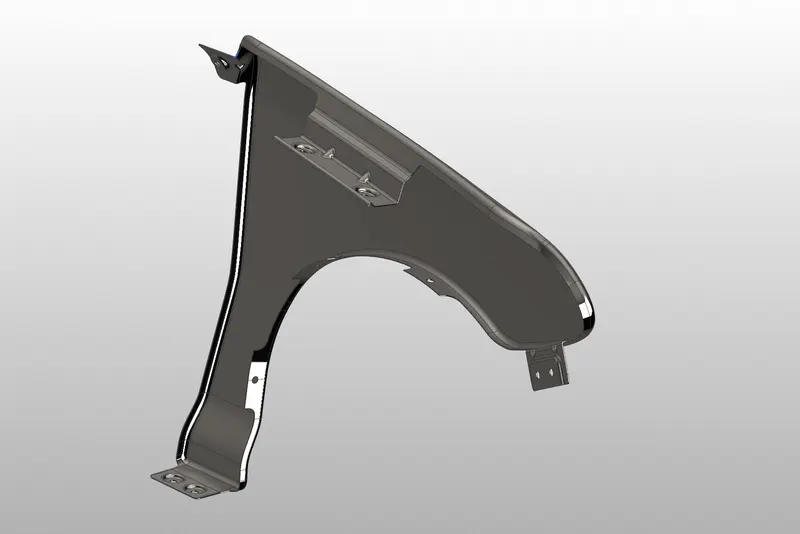
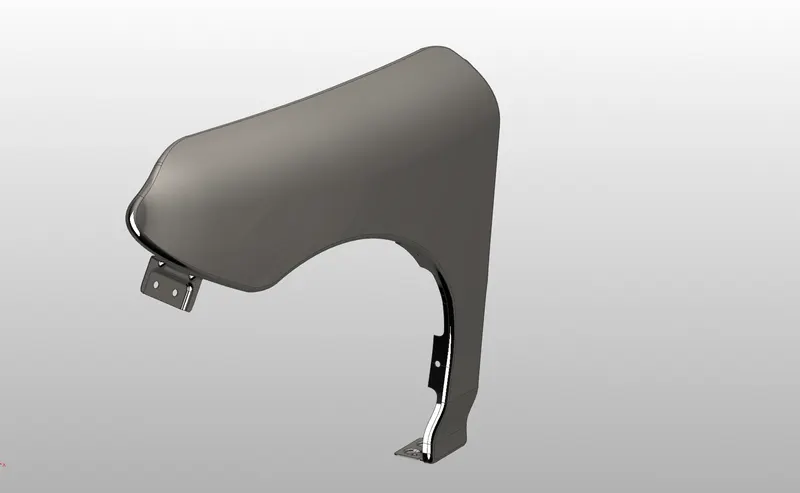
INTRODUCTION:
when the vehicle is moving tires pick up stones and others and hurt them in all directions. Fenders are present to prevent any injuries to pedestrians and constrain the motion of these particles.
Fender can be designed in two ways. half bumper type and full bumper type.
When we use full bumper type, the blank we used to create is really big and there is lots of scrap wastage. But in the case of a half bumper type, we have a high possibility to reduce the scrap this is called scrap management. This will reduce the manufacturing cost of the fender so that we can provide a better fender at a cheaper price to the customer.
DESIGN METHODOLOGY:
Apart from the aesthetic area of the front fender. It required 5 different mountings to be designed through which the fender can be joined to the vehicle, by taking industry constraints in mind they have to design.
These 5 areas are-
Drip area
A-pillar
Sill mounting
Splash mounting
Bumper mounting
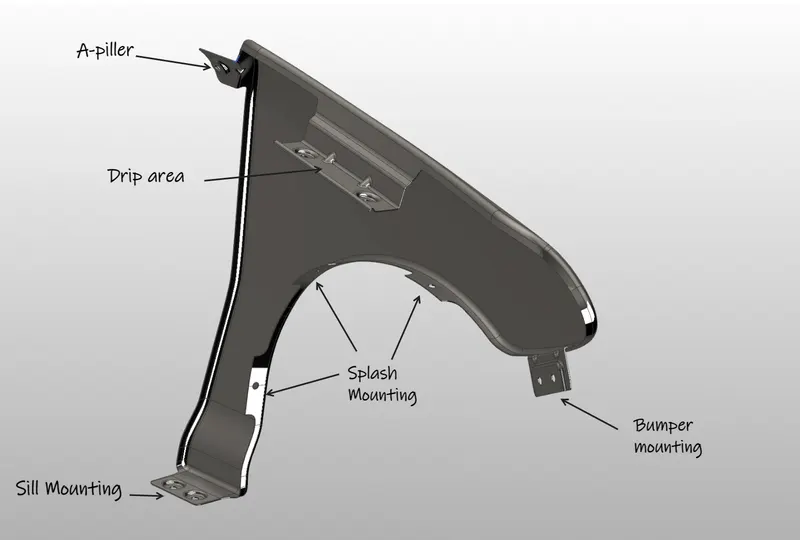
EXPLANATION:
Drip area:
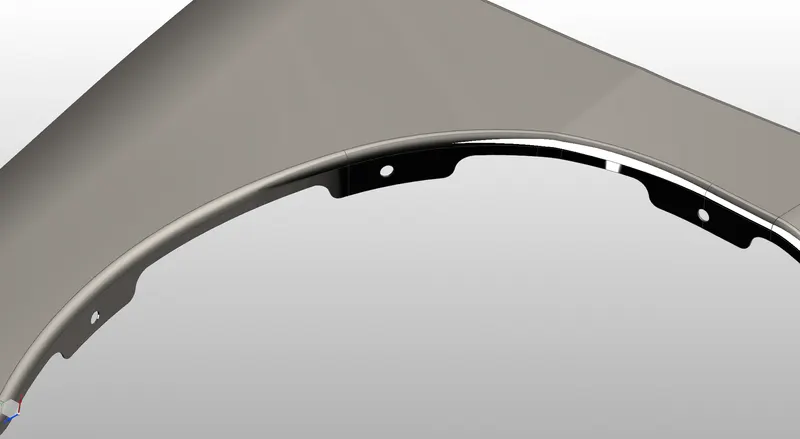
The drip area is used to join the fender with the engine compartment. For designing the drip area we have to consider the following constraints:
- We have to leave 200 mm from the rear end of the fender as in that region viper motor and other mountings will be mounted.
- Similarly, from the front end of the fender we have to leave 150mm space for the headlight housing.
- Hood side drip depth must be 40mm or less as maximum productivity is achieved at the depth of 40mm. If depth exceeds 40mm then a rigidity bead is to be provided. Also forming is not feasible if depth exceeds 60mm due to wrinkling and spring back.
- The side endmost part of the drip area should be 10 mm away from the engine compartment part so that the assembly of the fender will be smooth.
- To prevent fender fixation bolts to be seen from outside and improve the appearance of the parting gap between the hood and the front fender, adequate angles are provided.
A-pillar:-
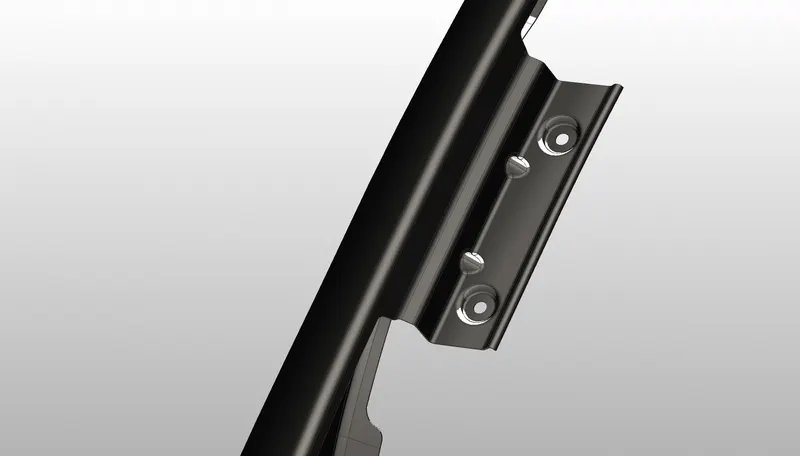
This region is used for fastening the fender with the A-pillar of the car. While designing this mounting Emboss with a flat surface is provided for an increase in stiffness.
Sill mounting:-
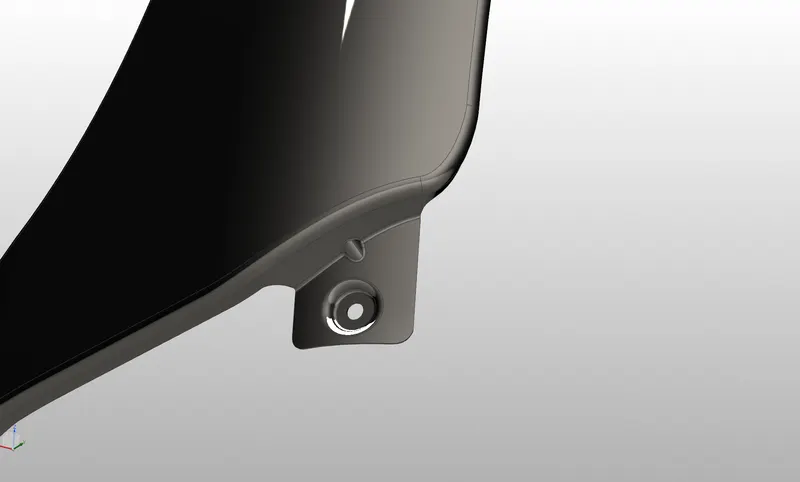
The Sill area is the lowest area of the fender. One section of it is fastened with the body and another section is fastened to the sill of the vehicle.
Bumper:-
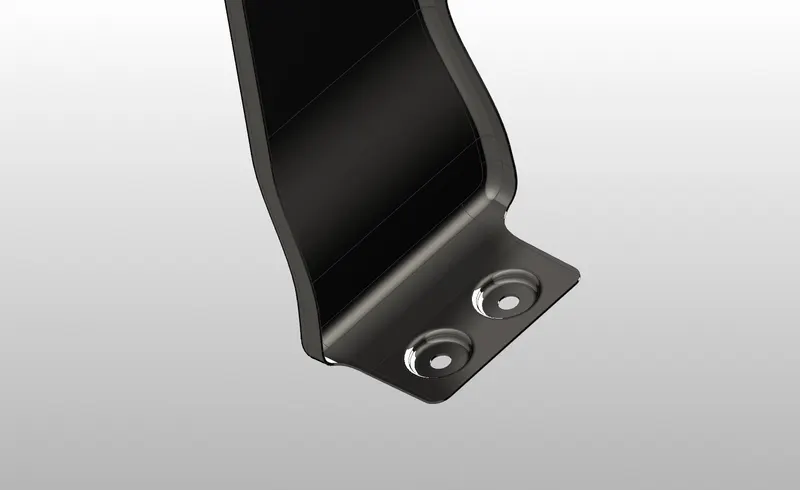
This is the portion for mounting the bumper with the help of fasteners.
Splash mounting:
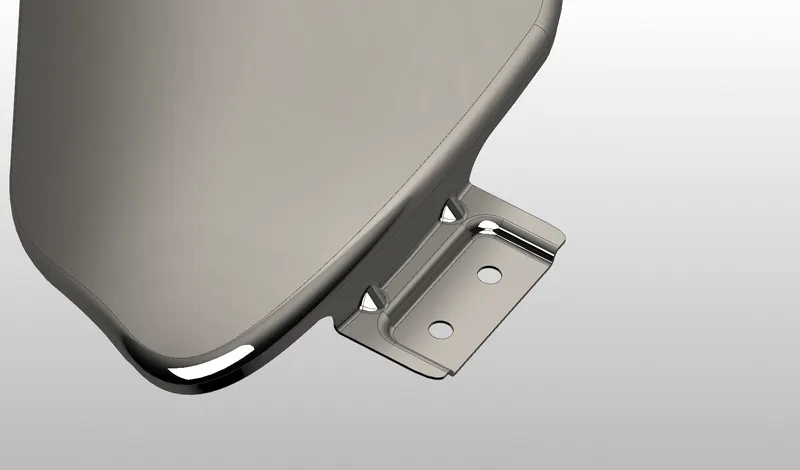
- Splash area plays a vital role in anti-chipping.
- It prevents hurling stones or spraying to ensure pedestrian safety.
- Mountings are connected using plastic pins.
DIFFERENT VIEWS OF THE FRONT FENDER:
Isometric View:
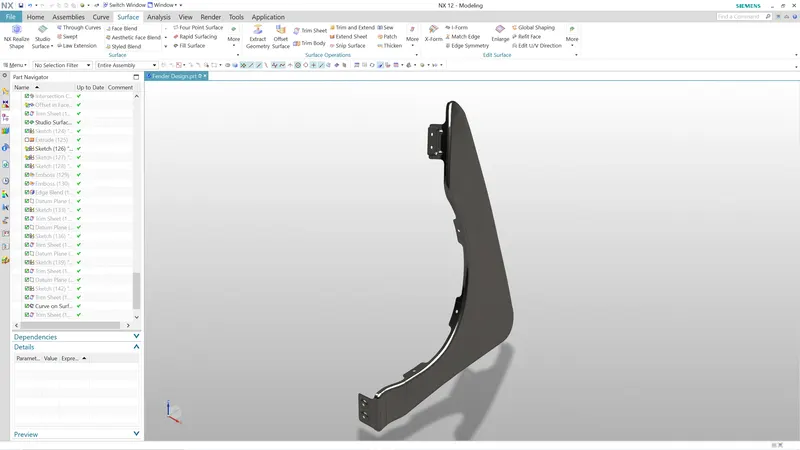
Back side view:-
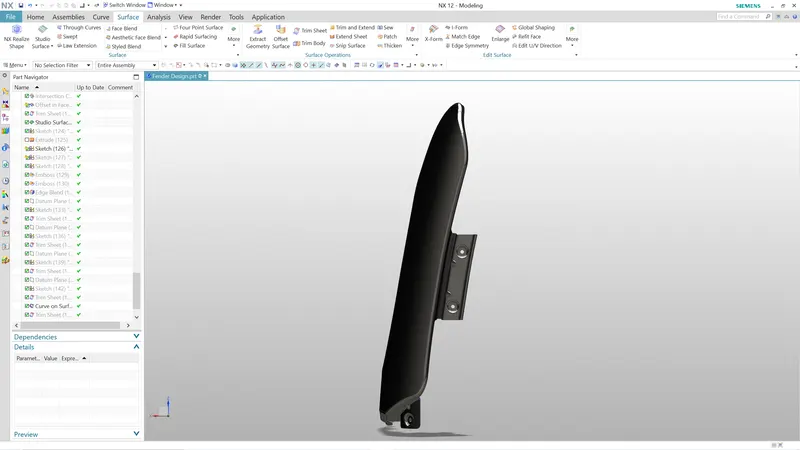
Front VIew:-
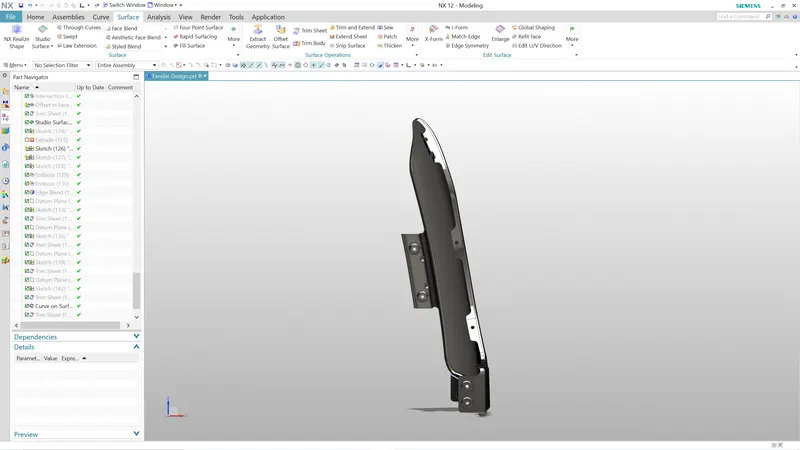
Right-hand side view:-
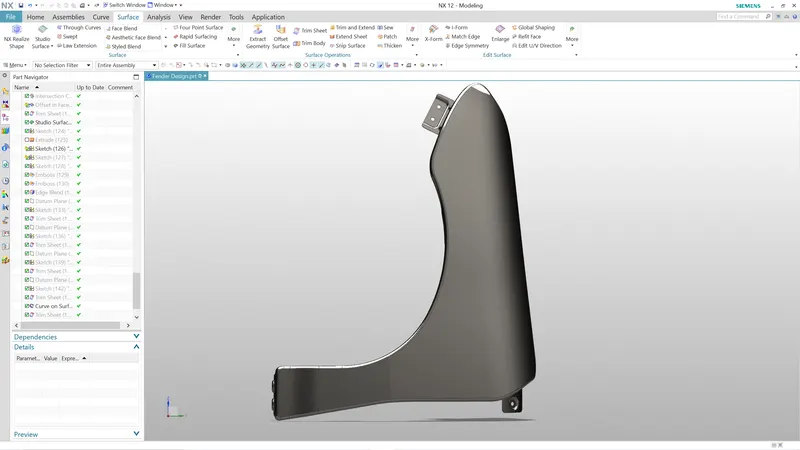
Left-hand side view:-
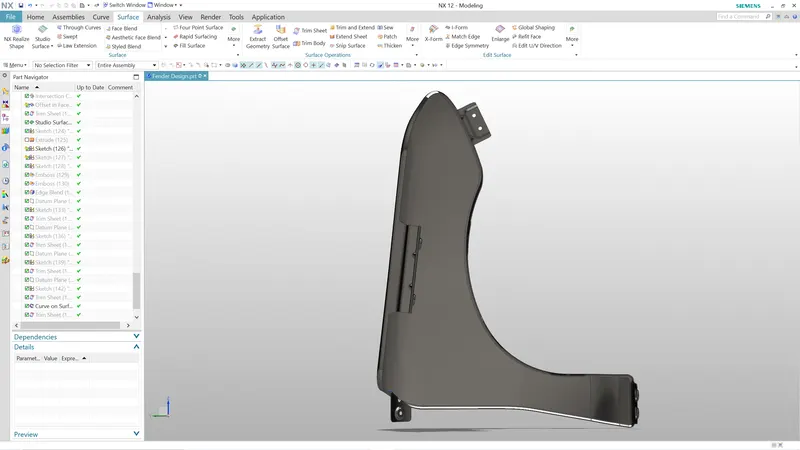
Top view:-
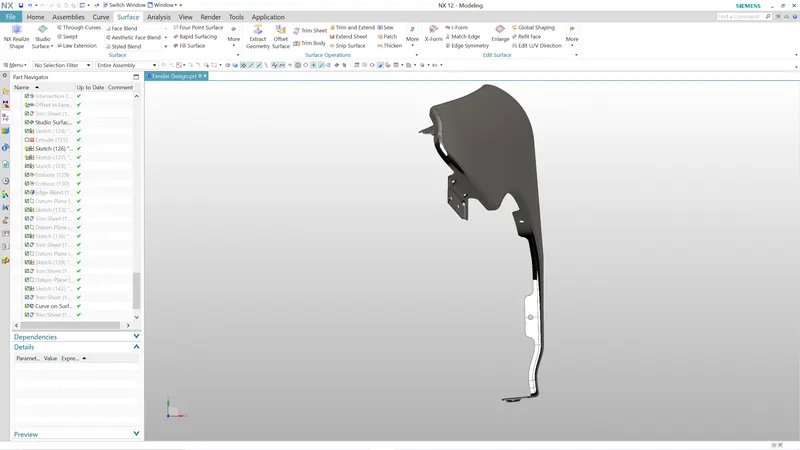
CONCLUSION:
- Successfully designed the vehicle's front fender.
- Learned Siemens NX software as industrial software.
- This project helps me to enhance my designing skills and help me to become industry ready for the role of Mechanical Design Engineer.
Overall the project is successful.