Hood design-Week 2
INTRODUCTION
Car's hood panel plays a vital role in asthetics and safety of padestrians. Hood panel is important component in BIW which consists of two panels Outer panel and inner panel and both are hemmed.
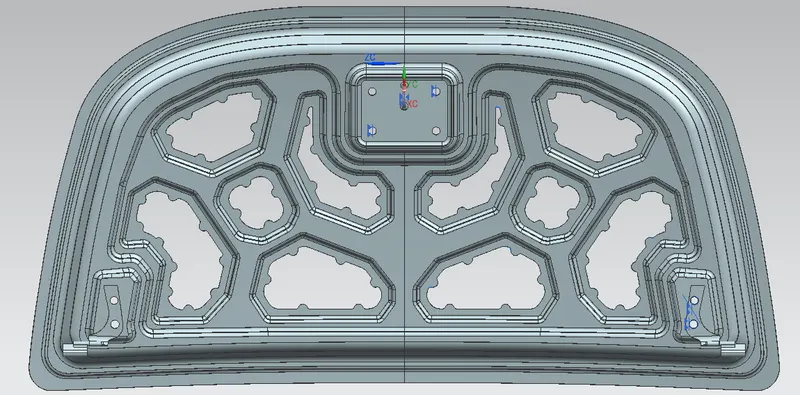
Hood inner panel with striker and hinge
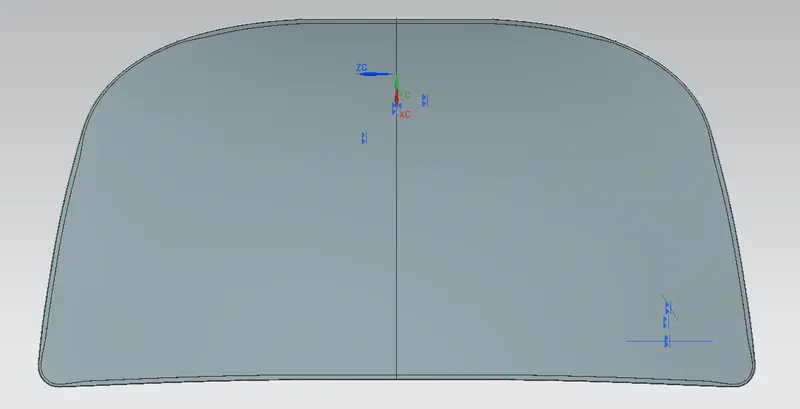
HOOD OUTER PANEL
Here outer panel is directly visible to costumer from outside, outer panel is for asthetics look of car and this is the part comes in contact with padestrian head during any accident
DESIGN OBJECTIVE
- DESIGN & Develop inner & outer panel from given styling surface as European standerds.
- Develop necessary embosses on inner panel.
- Develop space in inner panel for positioning of hinges and striker.
- Develop hem portion in outer panel.
- Give proper draft so panels can be manufacturable.
- Positioning striker with respect to hinge axis.
DESIGNED COMPONENTS
- DESIGN OF INNER PANEL
First add given styling surface in parent file folder then offset surface at 0mm and trim the surfacean keep required area and discard unwanted region from surface.
- Offset surface as per dimention given in drawing and trim surfaces and discard unwanted surface from all offseted surface.
- Using through curve join all the surface, and apply face blends on sharp edges.
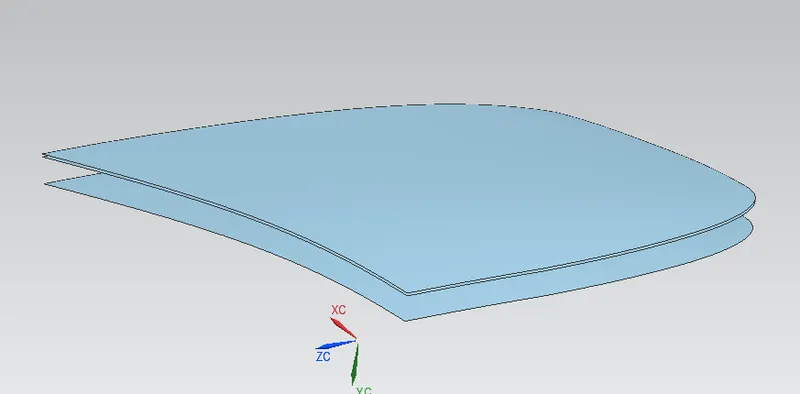
All offseted surfaces
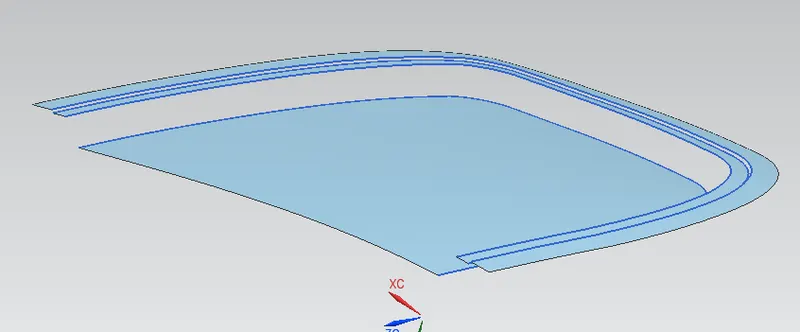
ALL unwanted regions removed from surfaces
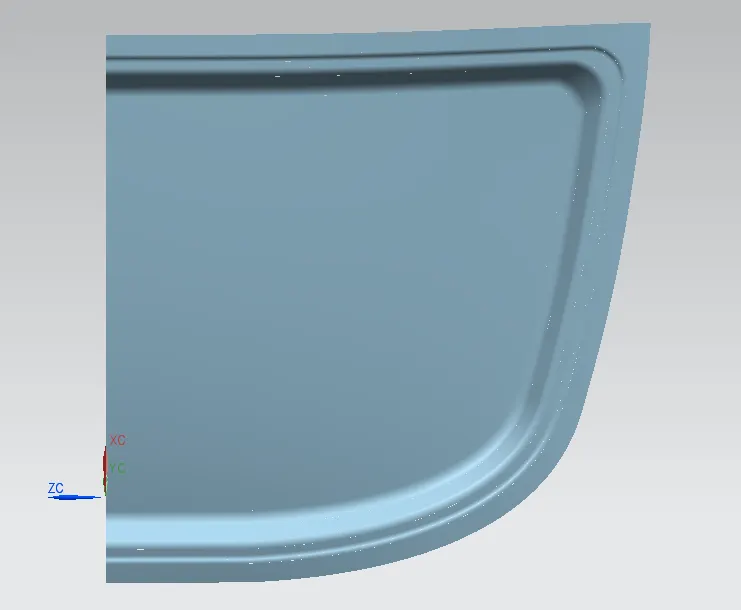
Using through curves all the surfaces has been joined and face blend is applied on all sharp edges
EMBOSSES ON INNER PANEL
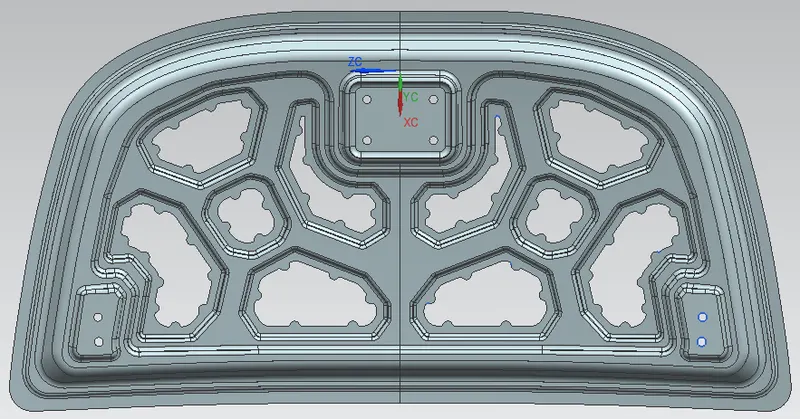
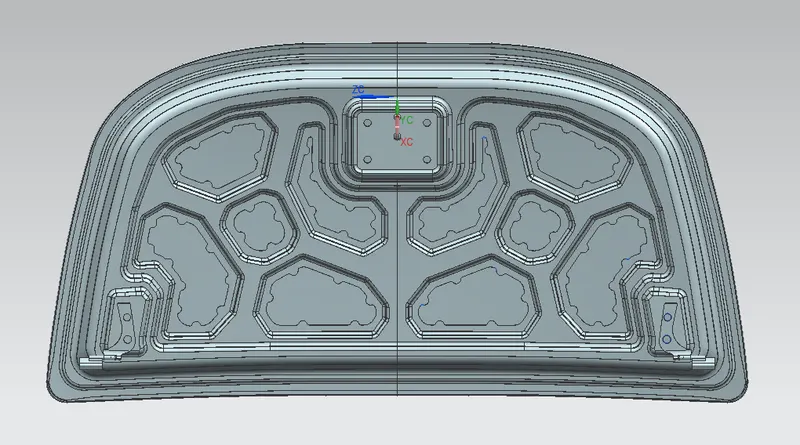
- Embosses on inner panel are designed to distribute even impact forface and should give enough strength to outer panel during front as well as side impact test, here i will design them in X shape and at center rectangle will be there.
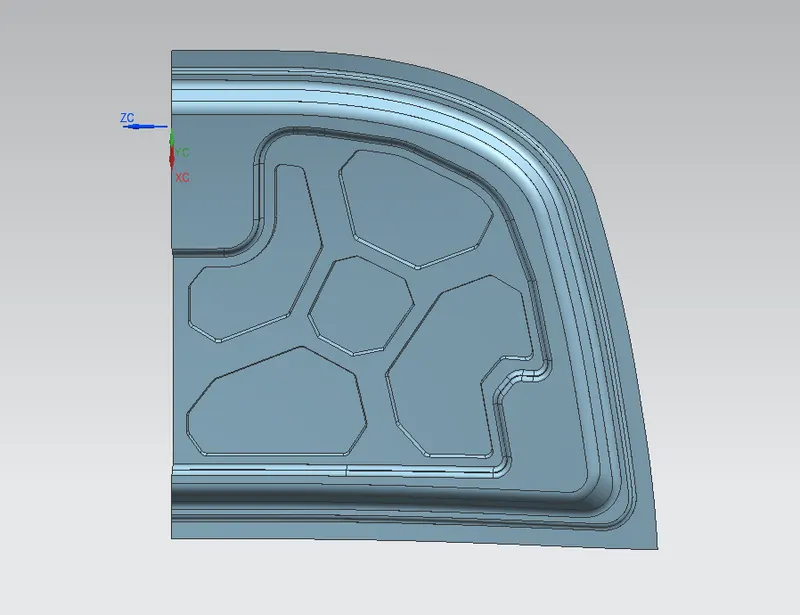
TRIM & EDGE BLEND OPARATION
- Trim some regions for free space for mastic sealants and apply edge blend on sharp edges to make it blunt and smooth.
- For blending we have to follow rule BENDING RADIUS (R)=3 X THICKNESS OF SHEET (t) ; HERE t =.75mm so R >= 2.25mm
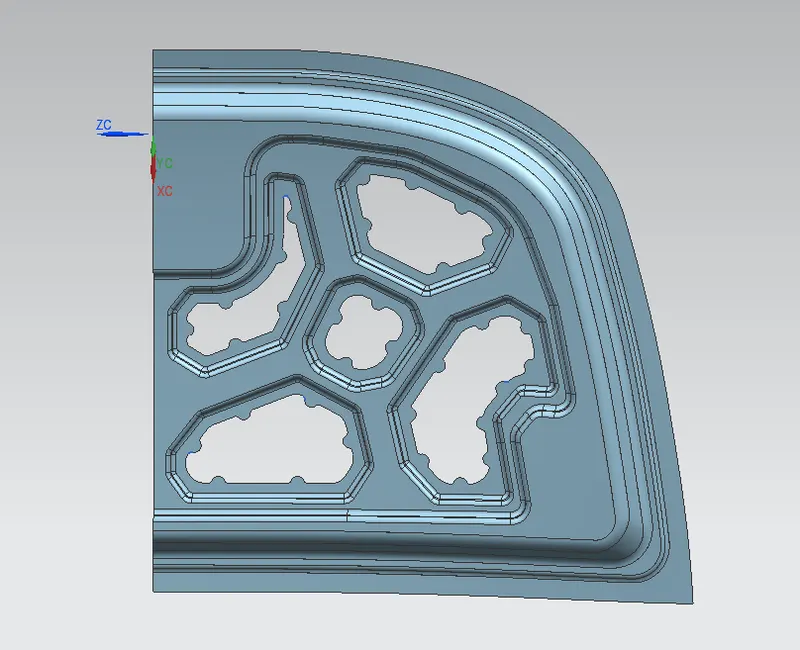
EMBOSSES FOR HINGE REGION
- Hinge is one who supports and holds hood with car, with the help of hinge only hood opens and closes. One portion of hinge is attached with hood while another is attached with car and also remove surface from inner panel for nut and bolt who joins hing and inner panel.
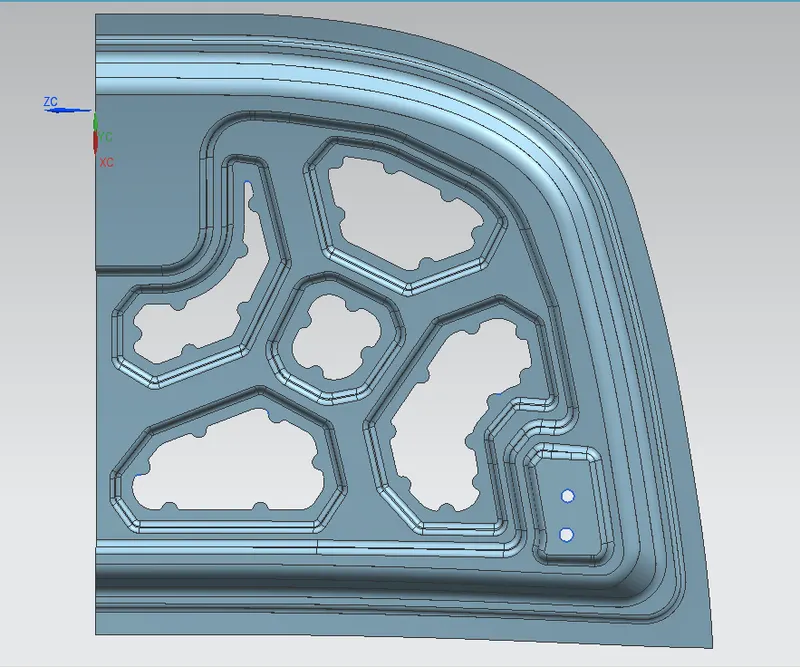
MIRROR GEOMETRY
- Mirror this half portion if inner panel but before i have to examine geometry so if i mirror it there should be no gap between them.
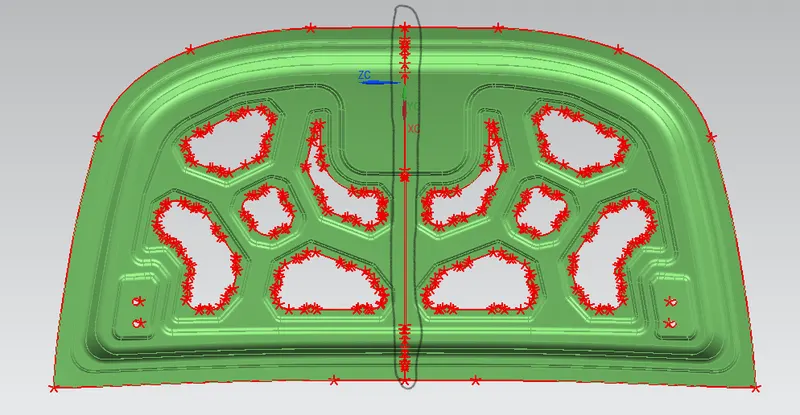
- Here i observed that at middle thin gap is there so i will extend edges of surface and then trim off by using YX plane then i will mirror geometry, if i move with this defected peice both sheets not able to sew.
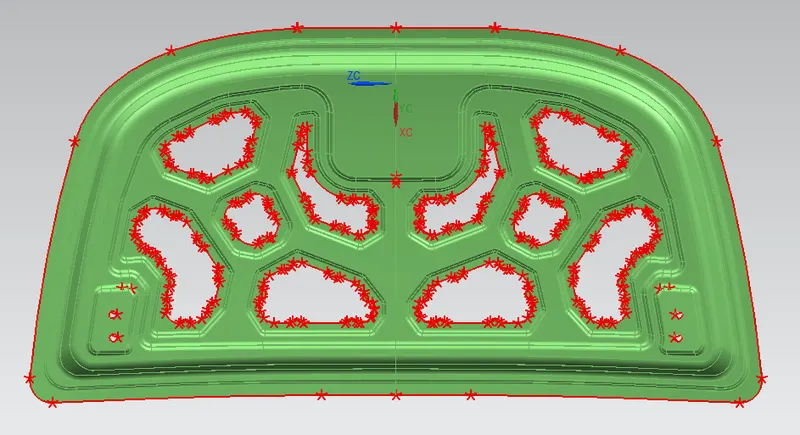
- Now there no gaps found at mirror edges so sew has been done easily.
EMBOSS FOR STRIKER
- Using wave geometry linker surface of skriker who will be faceing inner panel is linked in to inner panel and using that surface i will be creating emboss on inner panel, applying edge blend on each sharp corner of emboss
- DESIGN OF OUTER PANEL
- HERE first i have to remove some surface from styling surface and hem surface i have to create.
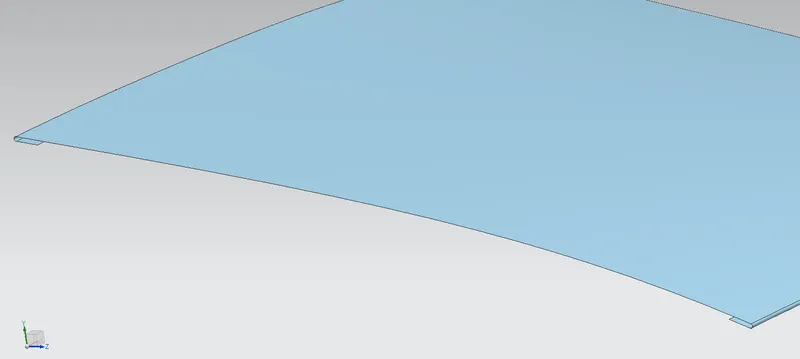
Hemmed surface
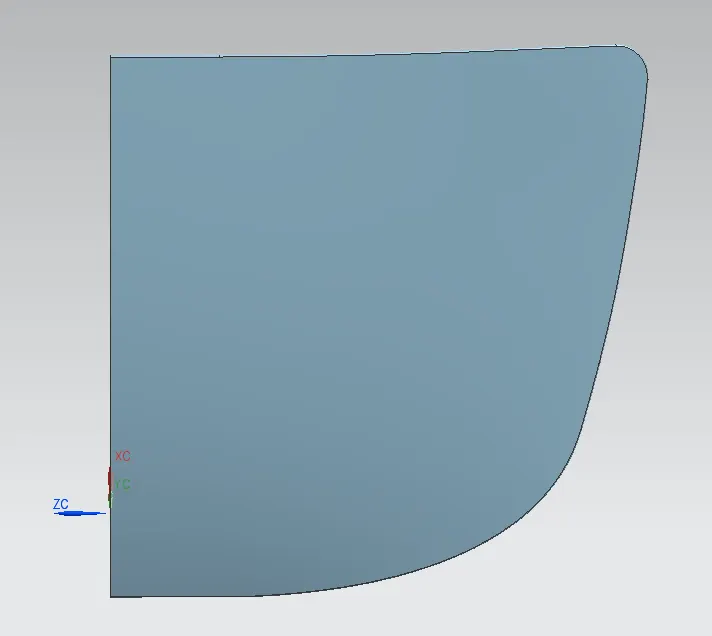
Here unwanted surfaces were removed
- After performing those oparations i will make some relief at corners.
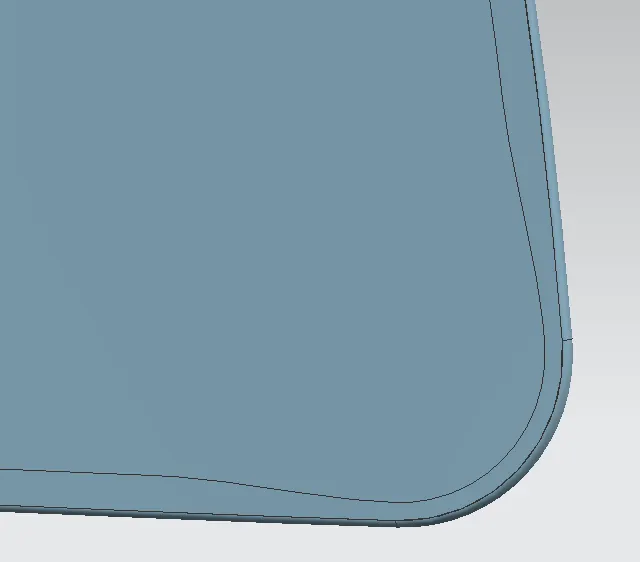
RELIEF 1
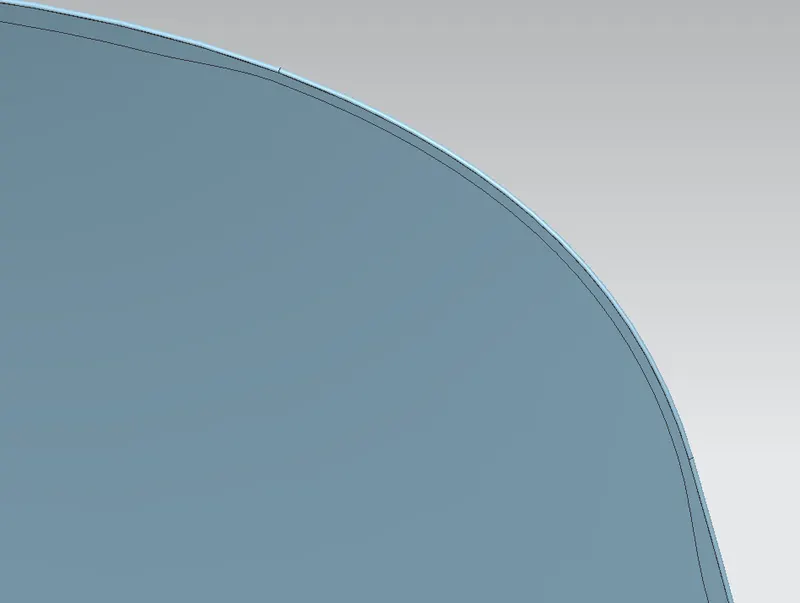
RELIEF 2
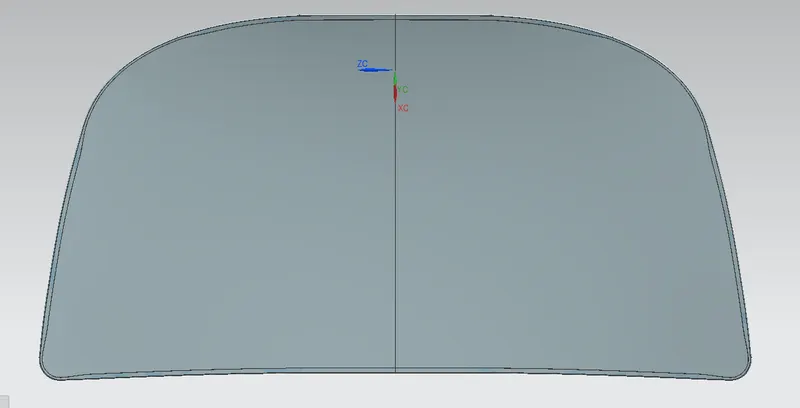
- AFTER providing both relief i have to do mirror geometry and sew them together and thicken it.
ASSEMBLY
- Here i'll assemble striker,inner panel,outer panel,hinge all parts together to make complete hood design.
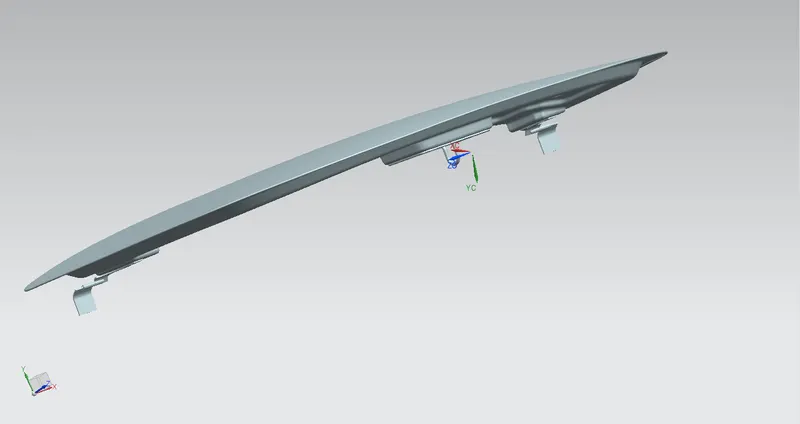
- In assembly first i have to import inner panel and apply fix constrain to it. Then import hinge aasembly and all necessary constrains to it.
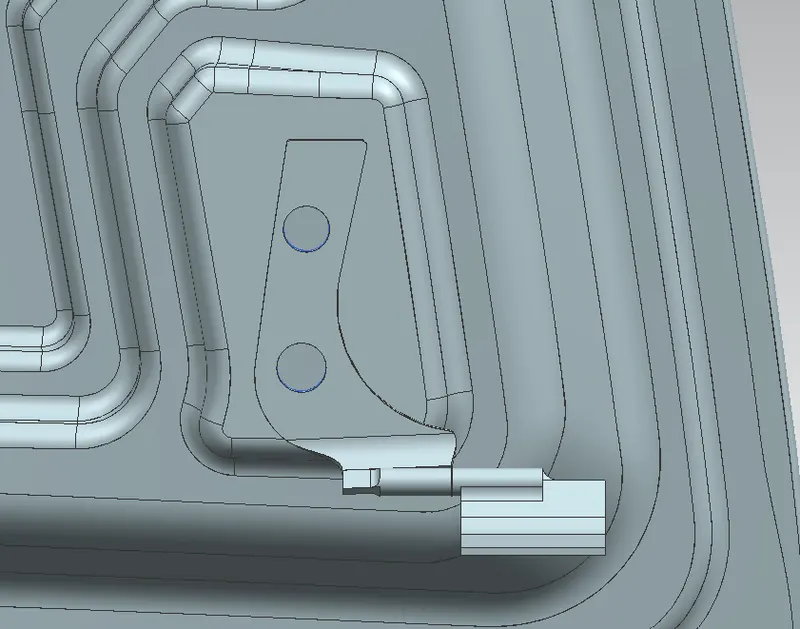
All necessary constrains are applied to hinge assembly
- Use mirror command in assembly to mirror hinge assembly on either side.
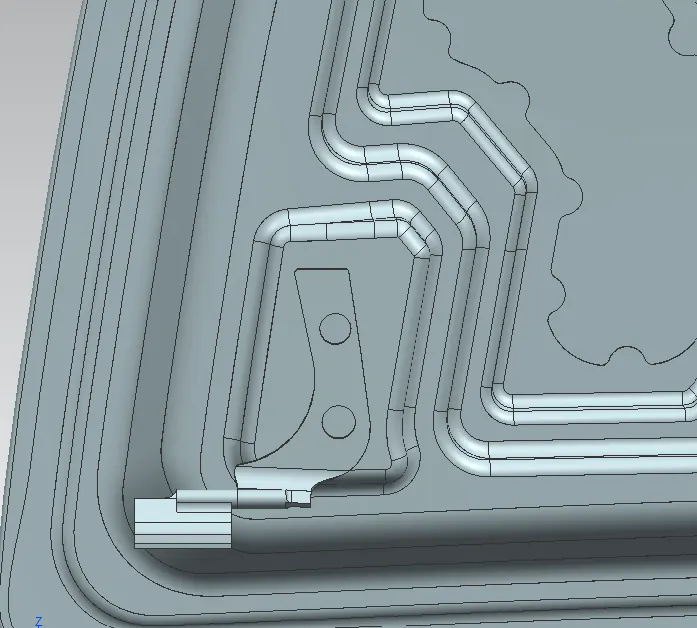
- Import striker part and open striker in work part and draw a line perpendicular to surface.
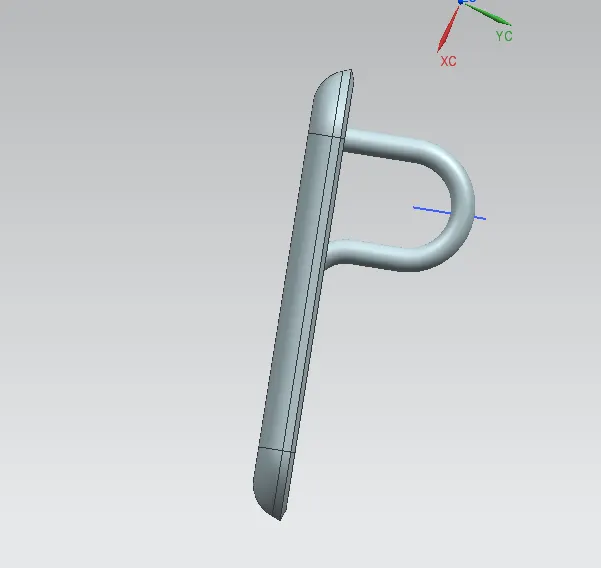
- Draw circle in assembly file and create radial line at an angle of 81 degree from horizontal then draw tangent line on the end point of line making tangent relation with the circle.
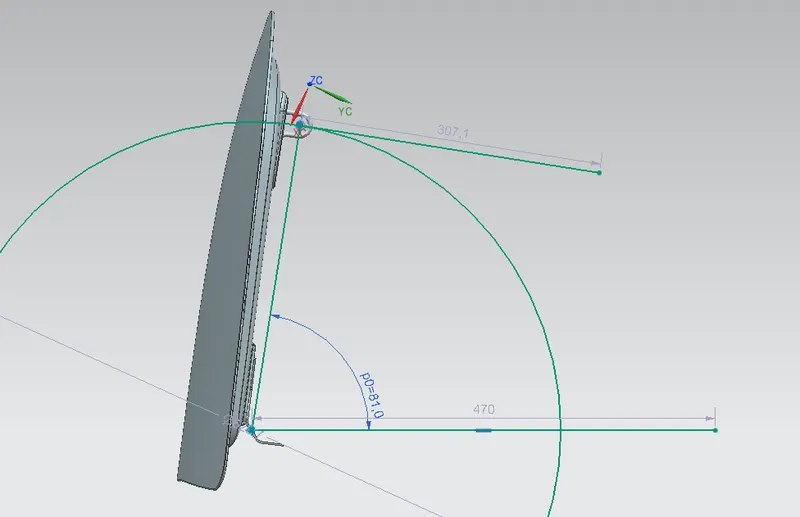
- Apply all necessary contrain on striker with respect to this tangent line drawn on circle.
CONCLUSION
Inner panel & outer panel has been designed from given styling surface. inner panel was checked for it's manufacturing feasibility, hinge and sriker both were placed on inner panel