Hood design-Week 2
HOOD DESIGN:
In order to meet the industry requirements we have to consoder all the design considerations in desiginig a part.
HOOD also one of its product, We have to consider the HOOD design in all the criteria.
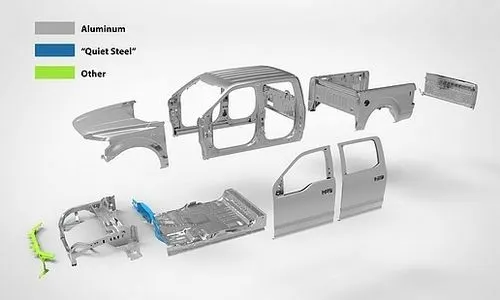
Hood is one of the importent part in the entire car body, which will act as one of the eastetic aspect and the safety acpect.
The process of making the hood is DEEP drawing, which will take the sheet metal and press it to the deifferent shapes required.
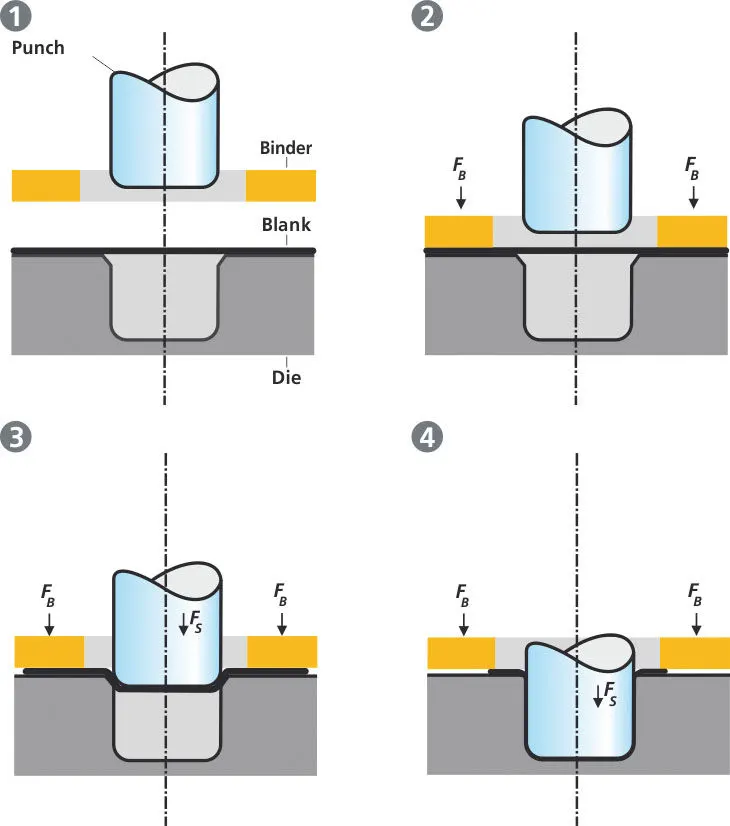
This referance image will show us the brief method of deep drawing.
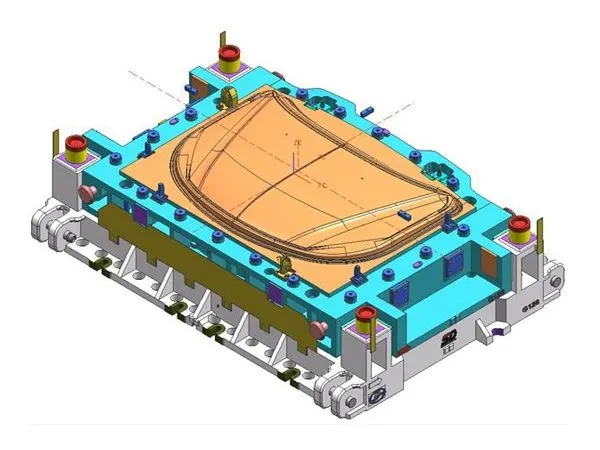
Both outer panel and the inner paned are pressed seperately and join them to gether with the HEMMING method,and the gap between the outer panel and inner panel is filled with Mastic matetial which hold two parts firmly.
Hemming :
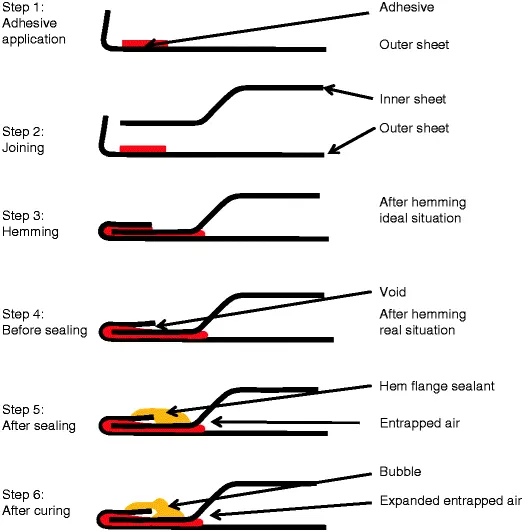
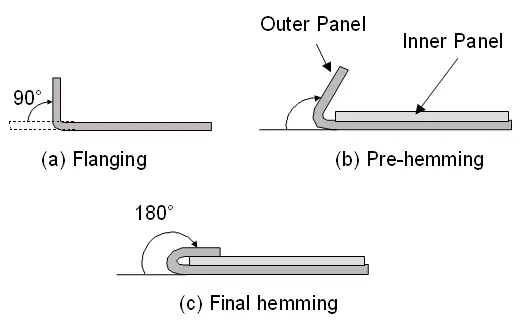
Above two images will explain the process of hemming, which helps us to join both outer panel annd innter panel.
Why hemming : Because the uter panel will be a part of easthetic apperance, so any welding marks will spoil the apperence of the vehicle.
And thic hemming process will need some corner reliefs for it to form the part firmly.
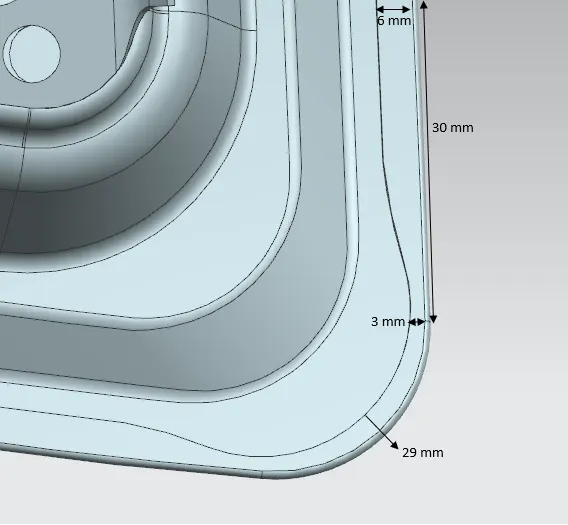
Mentioned all the above information will give us the idea of how to deisgn and manufacture the hood according to the standerds.
Now will concentrate How to create a hood in the design softwares.
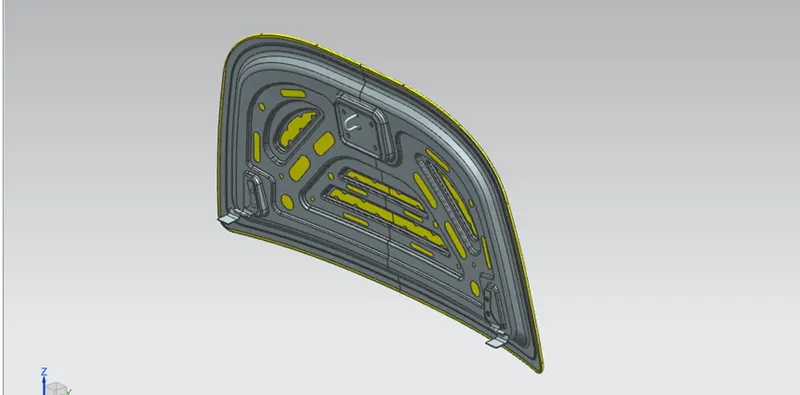
This perticular part is designed using NX cad.
Starting from basics to design any part we need the reference surface which will get form the styling team and that is also called Class A surface.
Here also we got the outer panel as our referance.
First wee have created everything in an assembly design and loded the individual parts to it to work on.
From the outer panel we have extracted the sheet with 0mm offset, and all these operations in the Inner panel design.
As all the parts are symmetry we have cut the sheet using TRIM BODY command exactly to half.
From the master section with the given data we have off the sureface and given the all the blends accordingly.
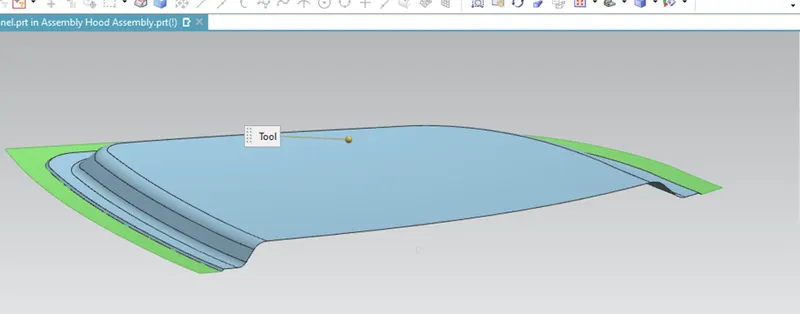
Here we have created the hing mounting by creating the palne parelel to the hood(approx) and with emboss command we have created the base for hingon the hood.
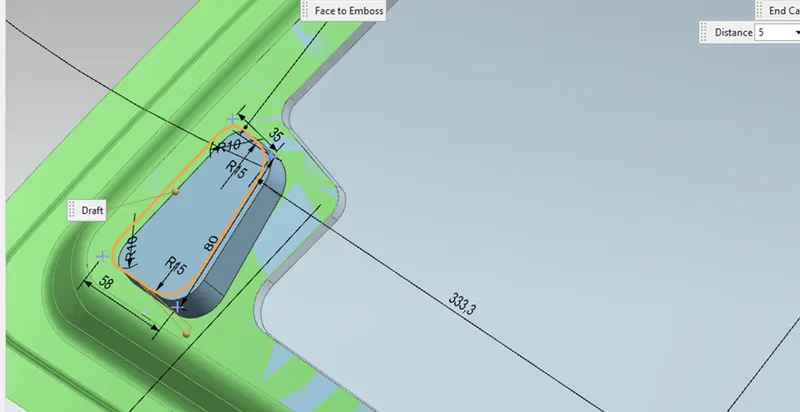
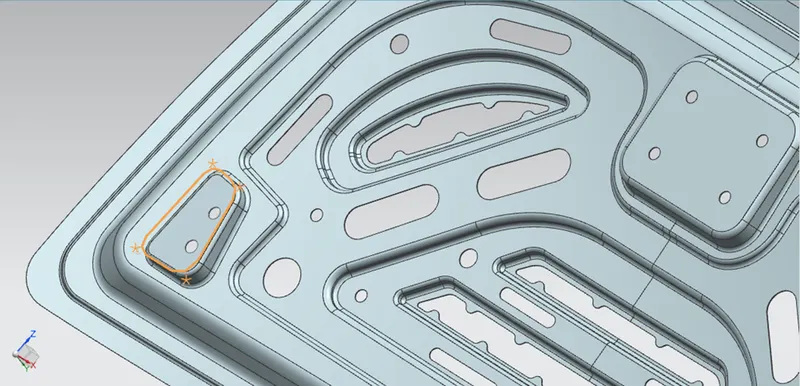
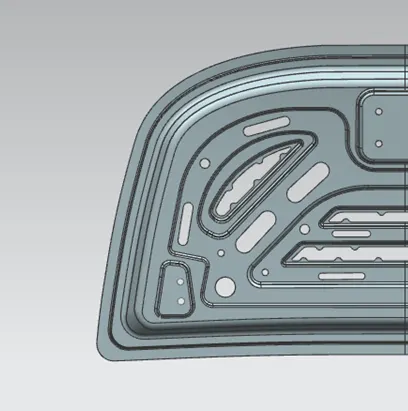
Then created all the inner embosses using LAW OF EXTENTION and EMBOSS commands.
Different designs formed with maximum strength and maximum material removal.
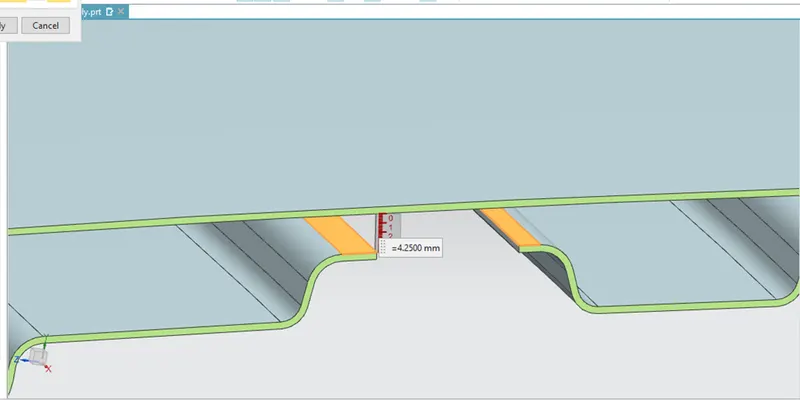
And considered that mastic points with the minimum distace between them and maintianed the gap between the mastic and the outer panel is 5mmafter thickning.
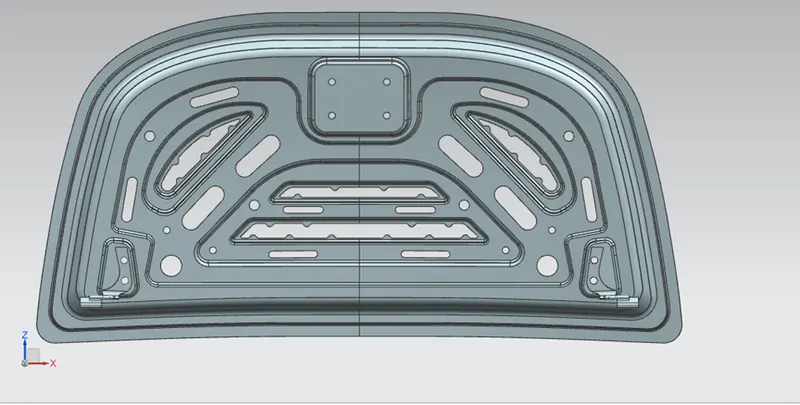
And mirred the part with respect to the sectional plane.
Here we have used the constrained to fix the hing with the surface and paralel withe X axis.
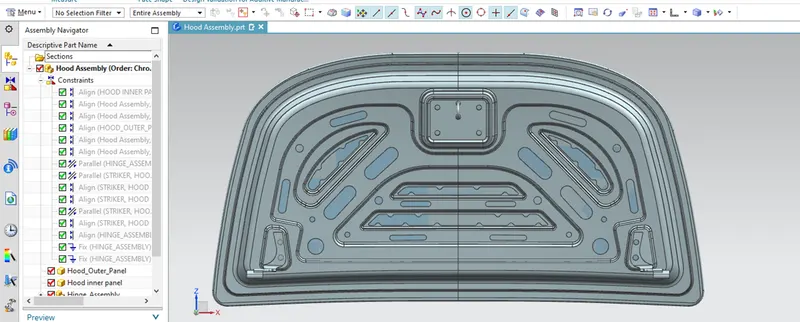
No we have created the point on the hing axis and joined them to form a line between them and linked with the body.
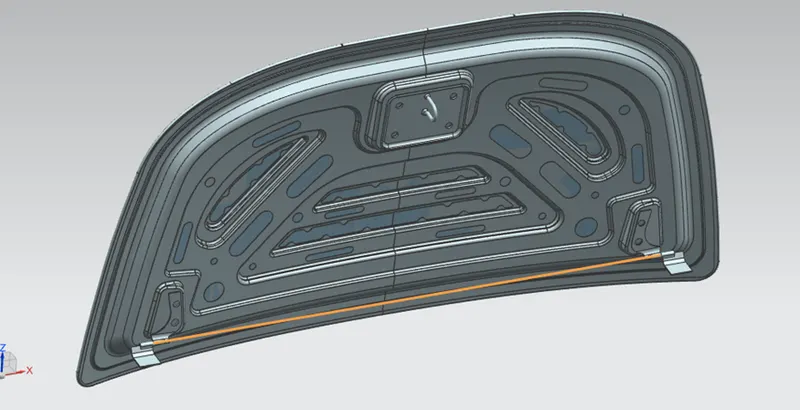
On this basis we create the laltch position in order to have smooth moment of HOOD.
No we have move the Striker close to the hood where ever we required.
And created a sketch on the hood inner panel as below to have proper striker postion.
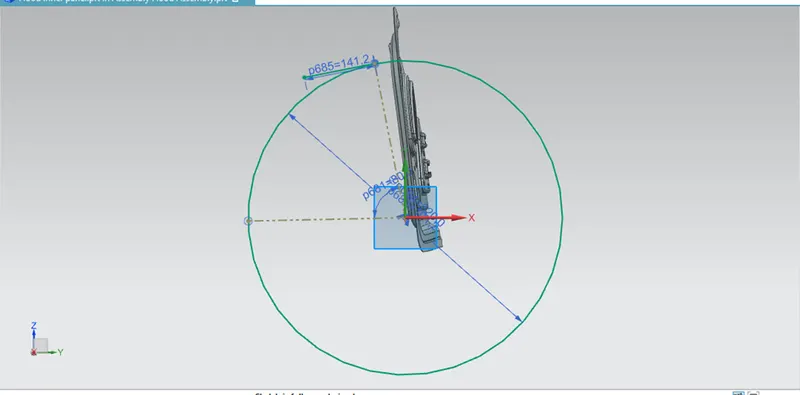
Then created an another line in the striker.
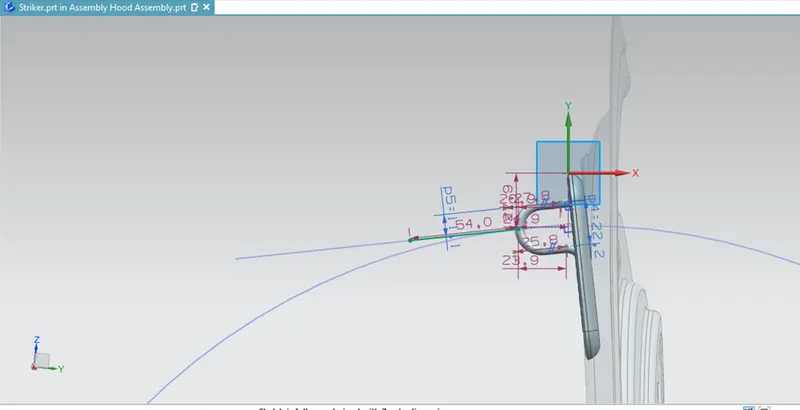
Then will aligh with assembly constraints to have perfect STRIKER postion.
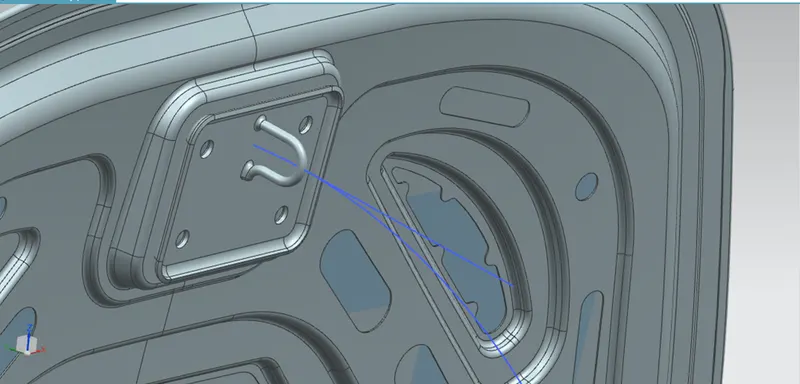
Now to all DOF we have paralel the CSYS to the main CSYS and some DOF are arrested.
Then to place the striker we have used the surface of striker and by Wave geomerty link we have projected the surface on the ommer panel and with the law of extention command we have joined bothe of them and given the blend accordingly.
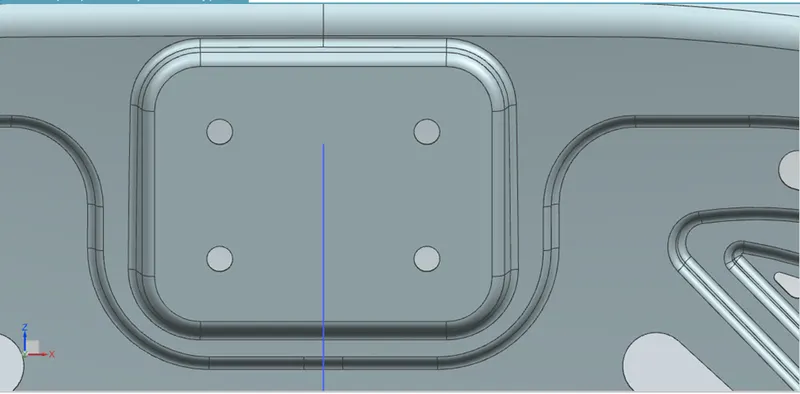
With the final touch constraint we have arrested the struker motion completly, and for hinges we have left one DOF for fixing feasibility.
With the final part thickning of 0.75mm will the ocmplete the Hood inner panel design.
HOOD OUTER PANEL:
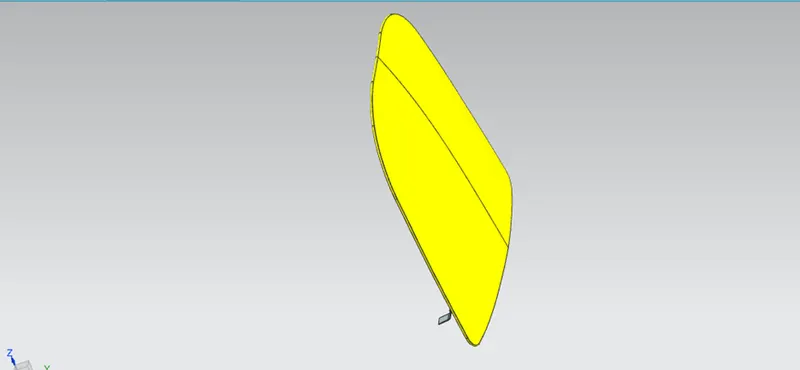
There are no changes in the hood outer panel, we have to just craeate the fixing areas to it.
In the same we have consider the half of the sheet and make the sharp corners to some radius given.
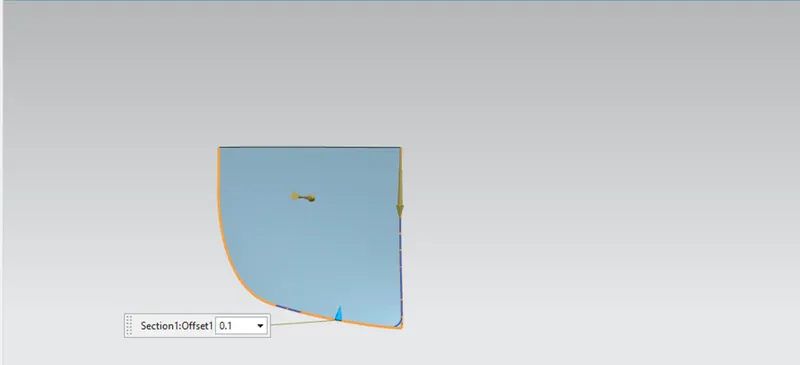
Then for the hemming process we have off set the sheet with law of extension and Edge blend three faces we have created the hemming flange on the outer panel.
Then On the critical areas we havegiven the corner relief.
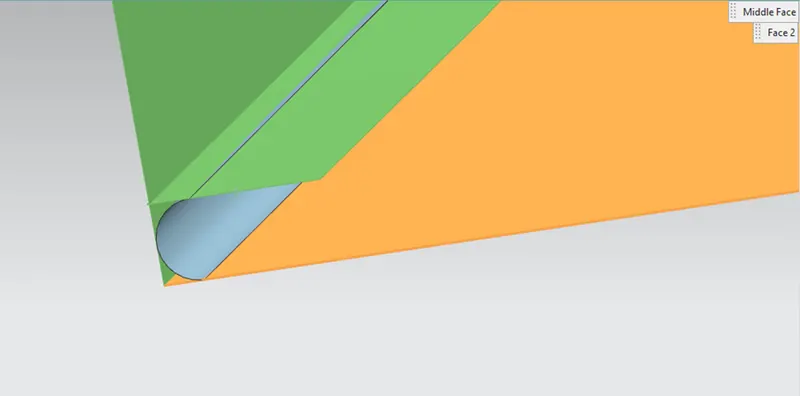
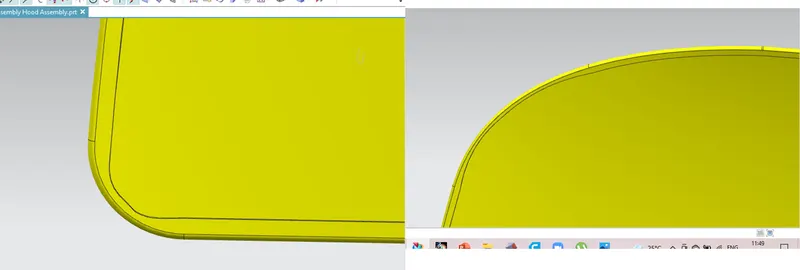
Then thickned it with 0.75mm. finishes the outer panel design.
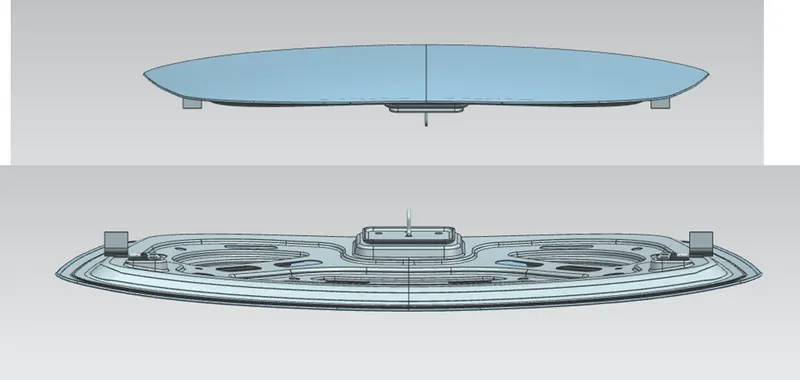
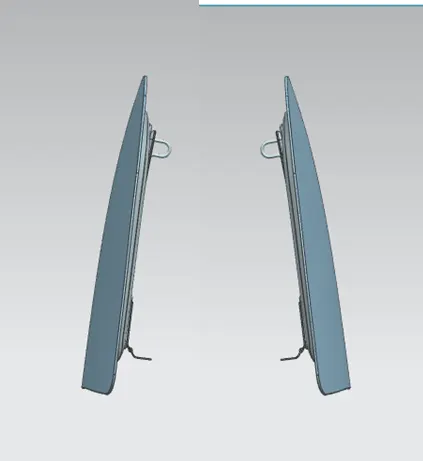
After activating all the parts will give us the final output of the hood design part.
Part in Different orientations