Hood design
AIM: To design Hood outer panel, inner panel and the necessary reinforcements by following the Master section.
OBJECTIVE: Design and develop a hood for a vehicle with reference to the provided outer panel design and provide requisite reinforcements and strengthening structures per required safety regulations, NVH limitations and design constraints.
INTRODUCTION:
The Hood or Bonet is hinged over the engine of motor vehicles. The hood is an opening body panel that covers the engine in a front-engine vehicle. The hood is also consider another type of door in a vehicle as it consists of outer panel and inner panel. The inner panel provides the strength and the outerpanel functios as metal cover. We have to design the hood by keeping in mind all safety measures and functional requirements.
We have to design the inner panel by pedistrian safety. If a car hits the pedistrian the pedistrian head will fall on the hood and it should cuse less damage to the pedistrian.
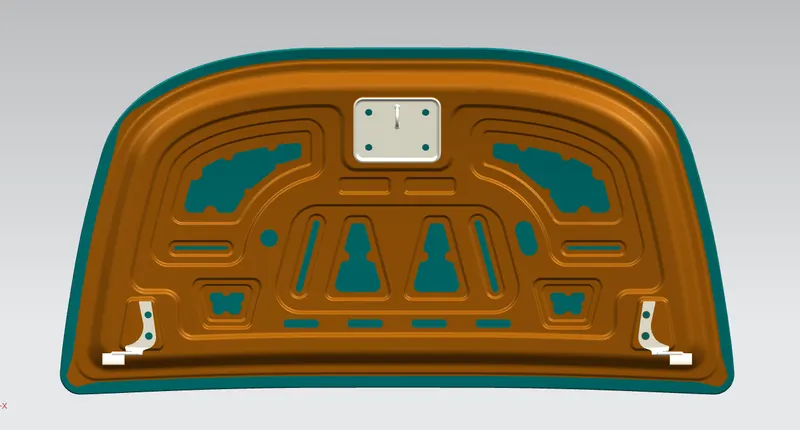
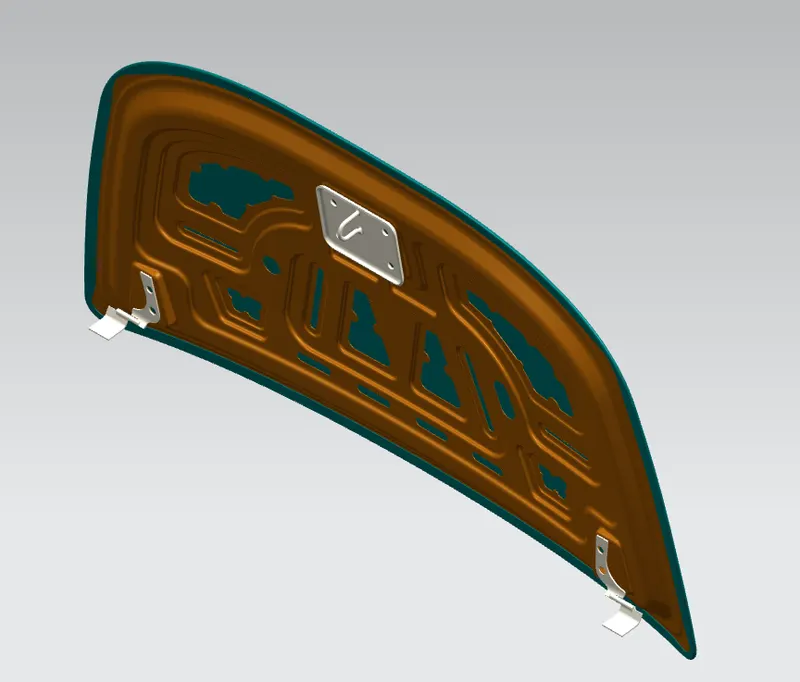
Here we are dealing about hood assembly. It consists of Outer Panel, Inner Panel, Hinge, Striker.
We have taken references.
- Hood Outer Panel
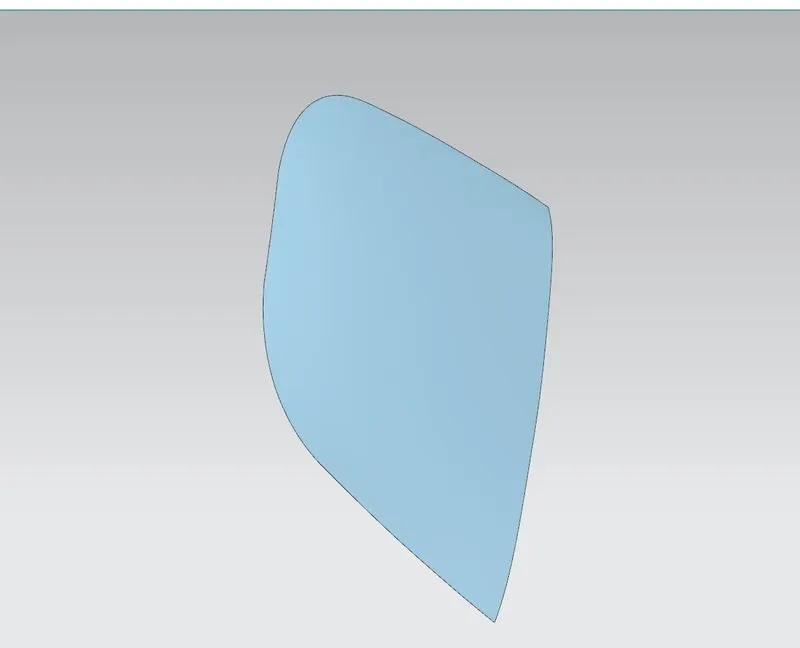
- Striker
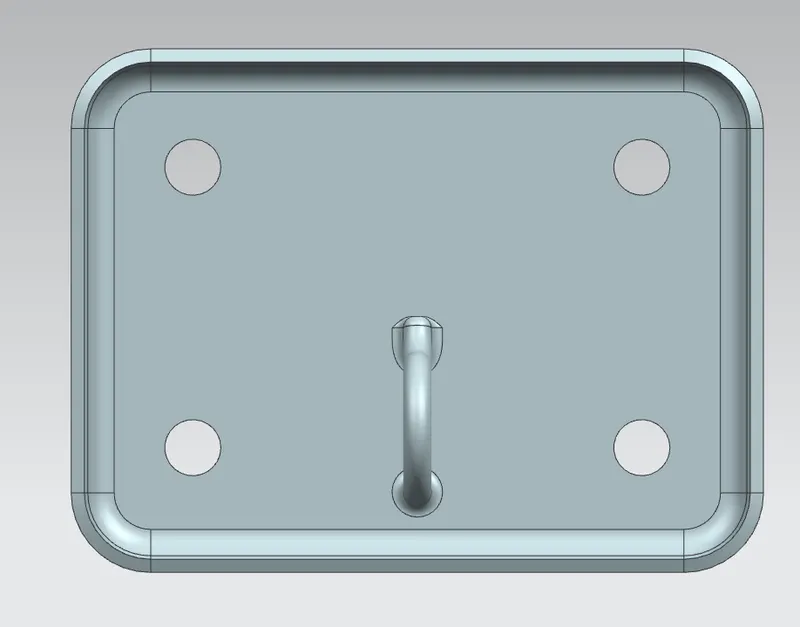
- Hinge
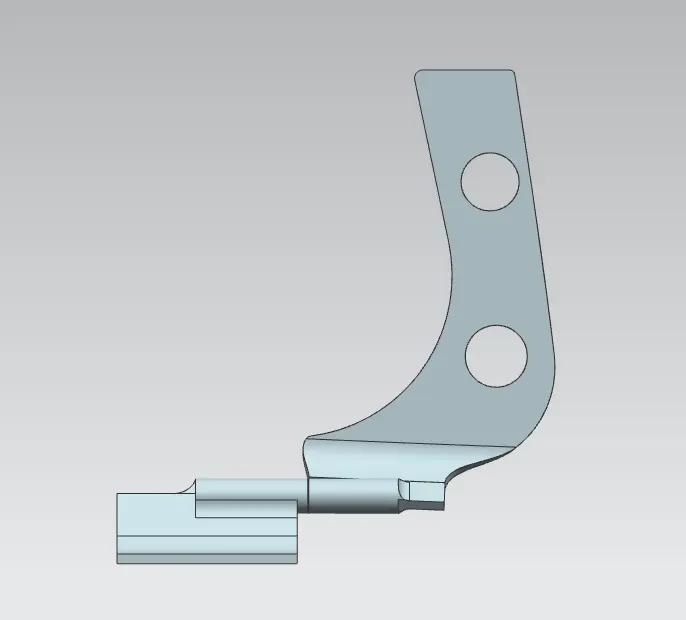
Data to be used:
Hood Thickness Information
- Outer Panel Thickness = 0.75mm
- Inner Panel Thickness = 0.75mm
- Reinforcement Thickness = 1.5mm
Master sketch:
Hemming Data:
Relief rear section:
Front relief:
1. OUTER PANEL:
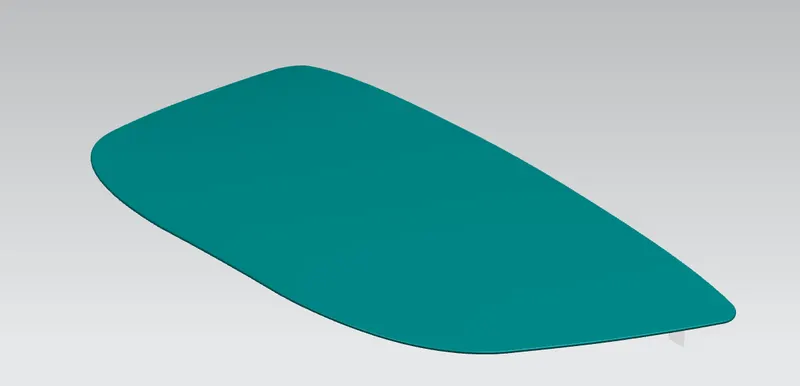
- The outer panel is a part which is visible when the hood is closed. It is the major part of the hood and functions as metal cover. The outer panel hemed at the outer edges. So that it wraps around the inner panel.
What is hem ?
Hems are folds to the edge of a part to create a rounded, safe edge. Hems may be open, flat, or tear-dropped, and tolerances depend on the hem’s radius, material thickness, and features near the hem. The process of creating hems is called hemming.
Hems are created by bending a flange of your part back on itself. This increases the strength of the hemmed edge and also gets id of any sharp edges.
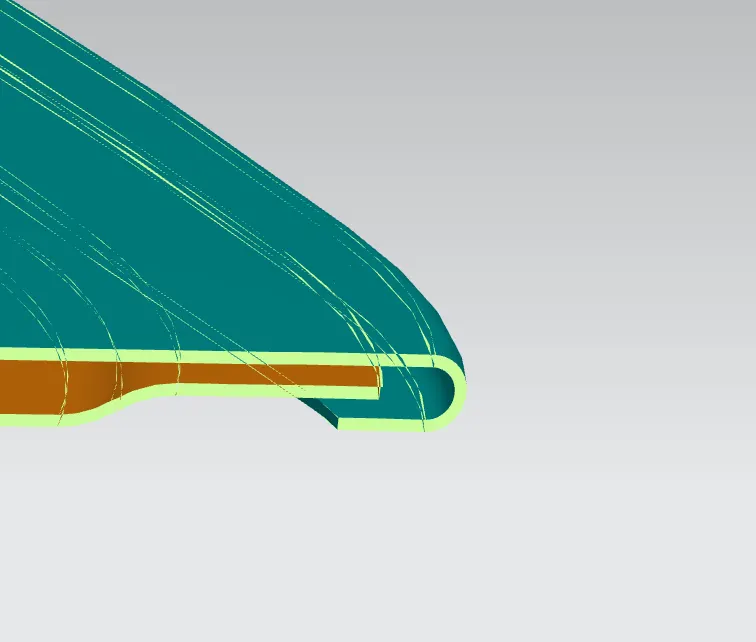
- Here we added a relief at the curvatures. Because these reliefs will avoid sharpness and it is easy to manufactural.
2. Inner Panel:
- Inner panel is a part which is visible when the hood is at open position.
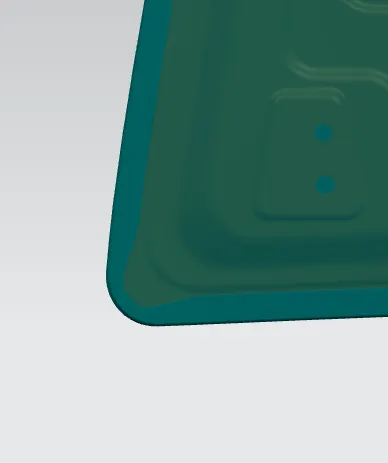
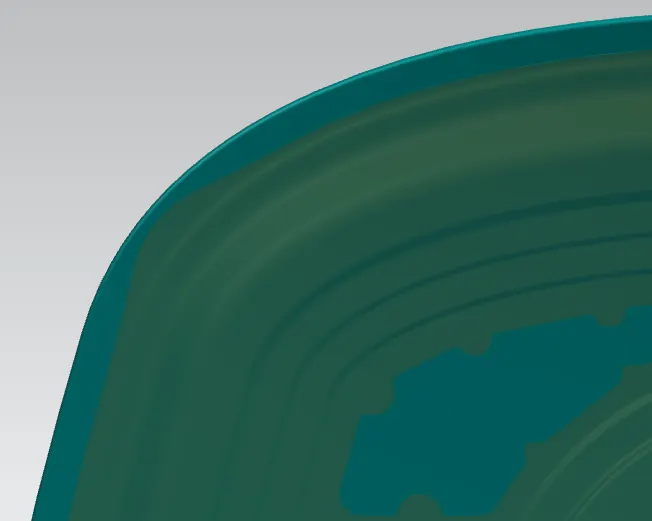
- It has distinctive geometry and it is drawn by using the master-sketch with respective dimensions.
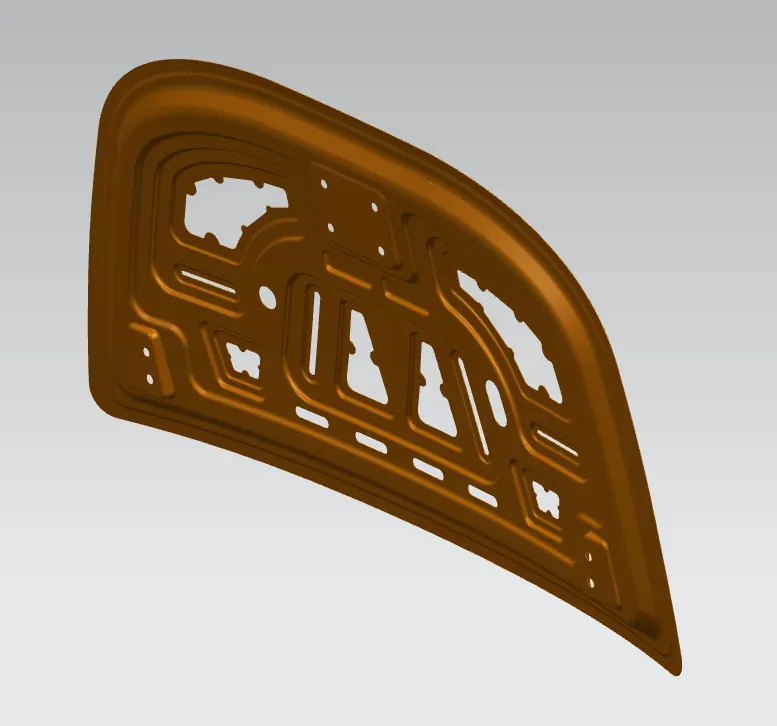
- With the distinctive cross-section, embosses are created. The embosses are used to increase the strength of the hood. While designing we should keep in mind that it should not be over strength. Because when the pedistrian head hits the hood, the effect the force should be low. So we prefer to design big embosses rather than small embosses. These embosses are used to disipate the forces sideways.
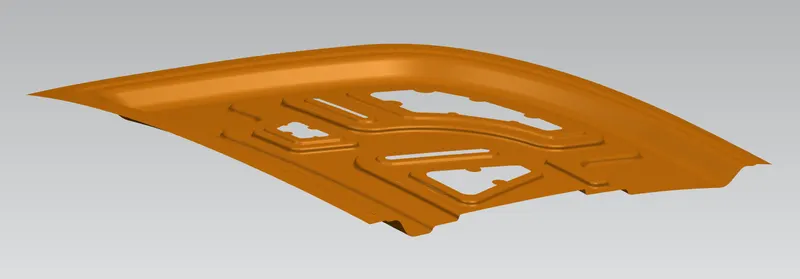
- The Cut-Outs has done on the embosed part so that it reduces the bulk of material and increases the strength. Such that the overall strength is fairly good.
Mastics:
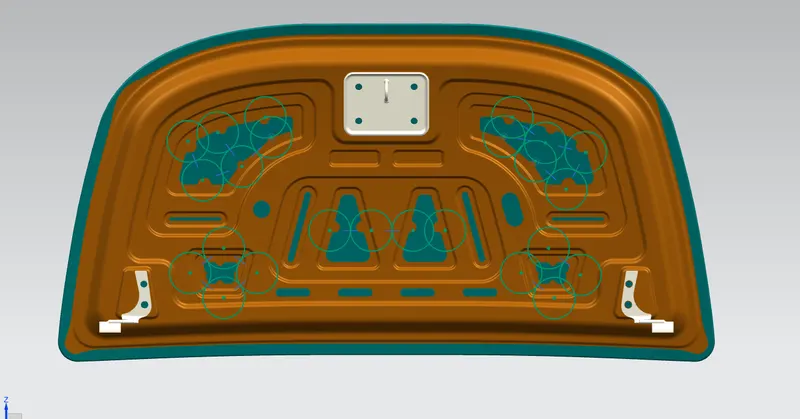
- The mastic points are defined on the hood inner panel where the hood can easily deform. They help the hood outer panel to come back to its original shape after it gets deformed.Mastic sealants are elastic compound that behaves like the rubber.
- The gap between the inner panel and the outer panel over the embosses is filled with mastic sealents at certained specified places, this helps to reducing vibrations and overall NVH ( Noise, Vibration, Harshness).
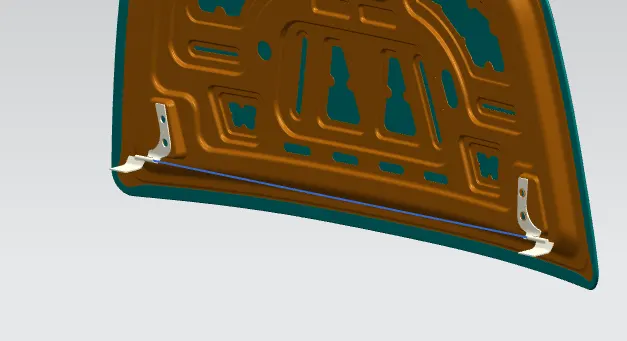
3. HINGE ASSEMBLY:
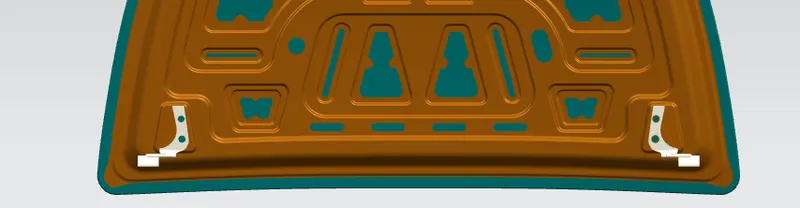
- It is the part which is used to join the engine compartment and the hood and it is used to open and close the hood.
- We need a emboss to mount the hinge. The hinge as holes so that whenever we are going to mount the part that has holes to the curved part, the surface should be Flat.
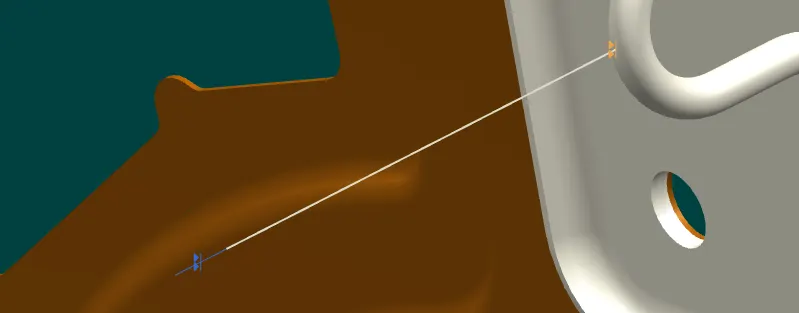
- If we draw a straight line from the hinge it should meet the mirror hinge at respective axis. This line is drawn from the central axis of hinge and it should meet the mirror hinge at respective axis.
4. STRIKER:
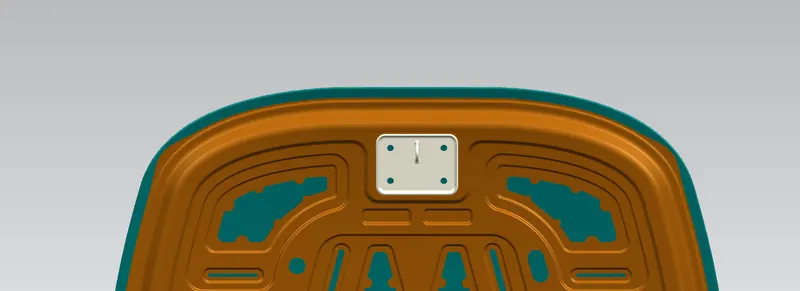
- The striker is the part which attaches with the front area of body of car to close and hold the hood in place when there is no need for it to be open.
- The positioning of striker is very important so that it matches with receiving end on body.
- Then from the midpoint of imaginary axis a line is drawn such that the striker must be perpendicular to it. Also, it must follow the same trajectory (curve formed by the radius).
- Then draw to line one is horizontal to the central hinge axis. and another is to met tangent line and adjust the angle.
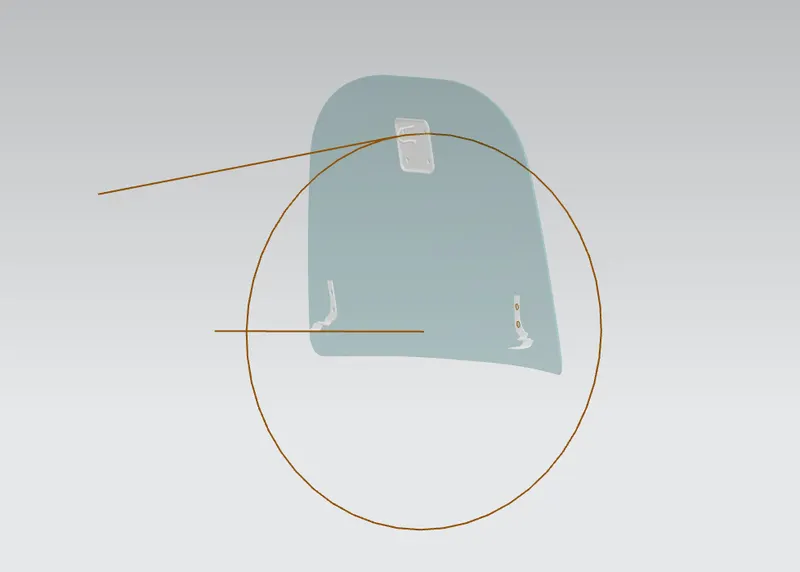
- Now we create a coorinate sysytem at mid point of striker. Create a sketch and draw a line at the mid point and it shoulb be perpendicular to the edge of the striker and maintain the line shoul be at centre.
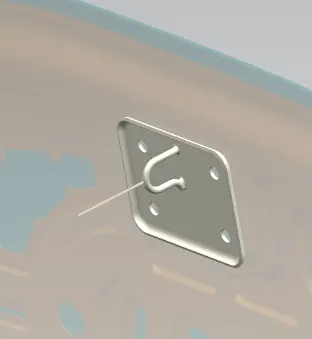
- By using assembly constraints make the tangent line which is drawn on the circle and line which is drawn on the striker should be in touch (by selecting the end points of the ine).
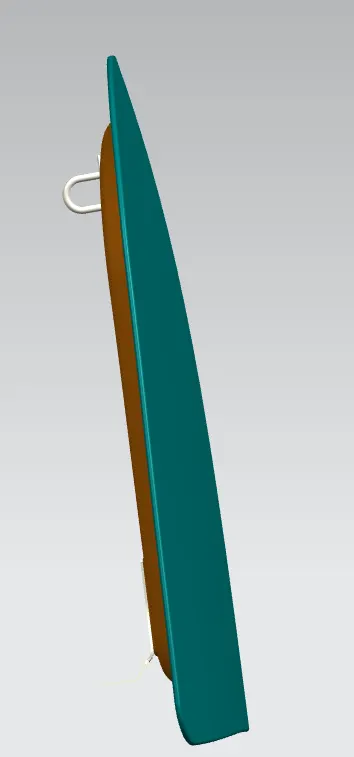
- Make sure that stiker plane is parallel to the hood plane.
Assembly Images:
Front View:
Side View:
Top View:

Isometric View:
Safety Considerations:
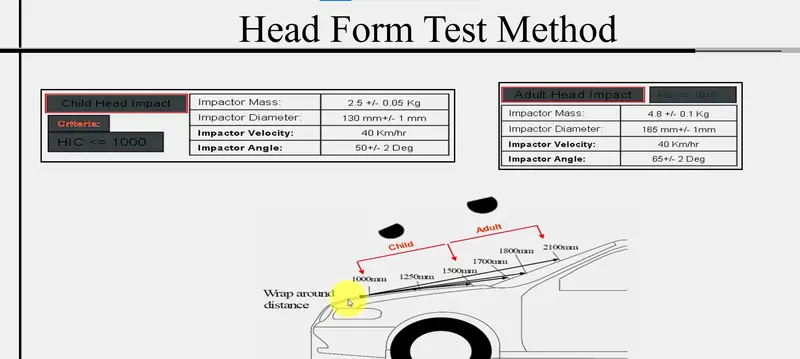
The safety considerations of hood will be set by EURO-NCAP
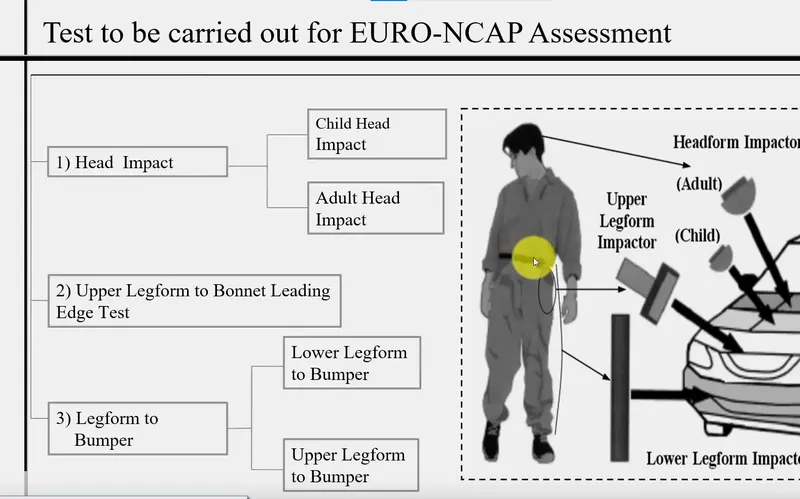
- Safety rating is carried out on the basis of pedestrian safety when the head its hood the impact should be low.
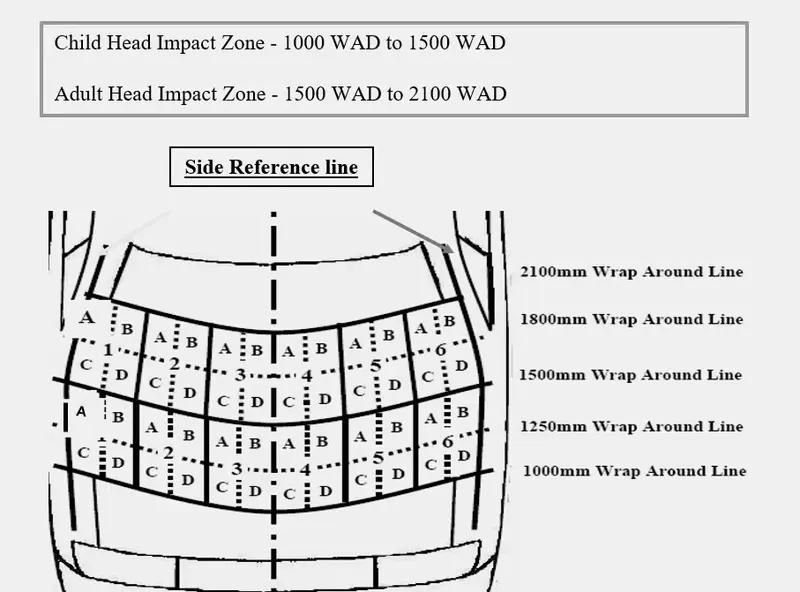
Wrap Around Distance:
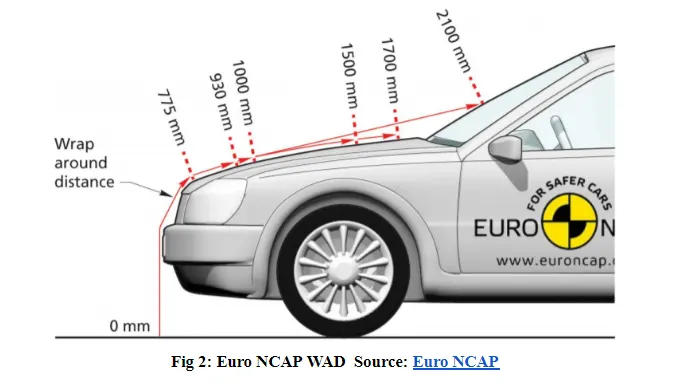
- When a car crashes on the pedestrian, the whole human body wraps around the front shape of the car and the head impacts on the bonnet or the windscreen. The distance on which the head impacts on the car rom the groun is called Wrap Around Distance.
- To be specific the Wrap Around Distance is a measurement of distance from the ground to the head impact zone over the outer surface of the car. The wrap around distance is measured longitudinally in the center of the vehicle from the ground.
Learning:
From this we learnt
- How to design inner panel from the master sketch and the purpose of creating Emboss ,cutouts and Mastics.
- How to draw a trajetory to place a striker at the exact position.
- How to draw an hinge axis and placed it parallel to the main hood plane.
- how to create an hem in the outer panel.
- Assembly of Hood.
CONCLUSION:
The Automotive hood is Succesfully designed by using given data. The result is satisfactory.