Hood design-Week 2
Aim - Design the Hood Outer Panel, Inner Panel, and the necessary reinforcements by following the Master Section mentioned with the Design parameters explained in the videos.
Submit an assembly of Hood's Inner Panel, Outer Panel, Latch, Hinge, and Reinforcements.
A detailed report about the Hood Design which includes a detailed explanation of the hood and its components, Latch Trajectory, Mastic Data, Emboss Definitions, Manufacturing processes like Drawing and Hemming, and all the parameters followed in the design.
Hood Thickness Information
- Outer Panel Thickness = 0.75mm
- Inner Panel Thickness = 0.75mm
- Reinforcement Thickness = 1.5mm
Submission -
What is Hood - A car hood panel is one of the most important components in BIW, considered the closure sheet metal components. A hood panel consists two penals hemmed together to form automotive hood assembly.
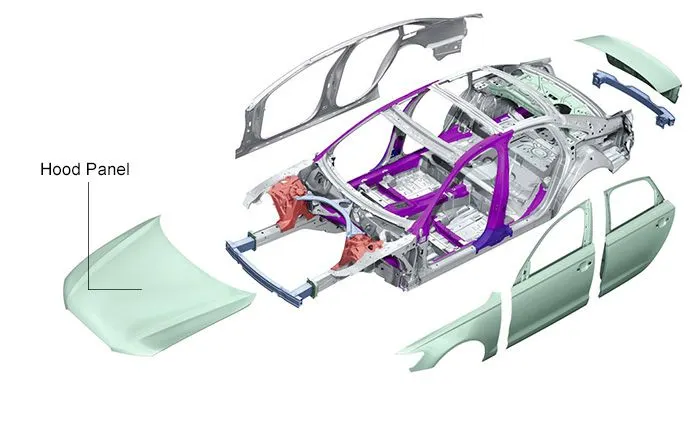
The function of the hood -
- Engine access
- Protection
- Aerodynamics
- Crash safety
- Aesthetics
Design consideration of hood -
- Material selection
- Shape and Contours
- Hinge latch mechanisms
- insulation and soundproofing
- Safety features
- Weight reduction
- Design Aesthetics
Design Procedure using NX CAD -
First of all, we were given Some files to work on it so we extracted all the files imported the Hood outer panel inside NX CAD, and started working on the Hood inner panel by trimming it in half.
Hood inner panel - It is the inner most surface of a hood panel that has flanges , embosses and mastic points on it and we take flanges dimension according to given mastersection I.e
- Class A surface - We have imported the outer panel so we take it as reference geomatery and take it as Class A surface and use it in Inner panel
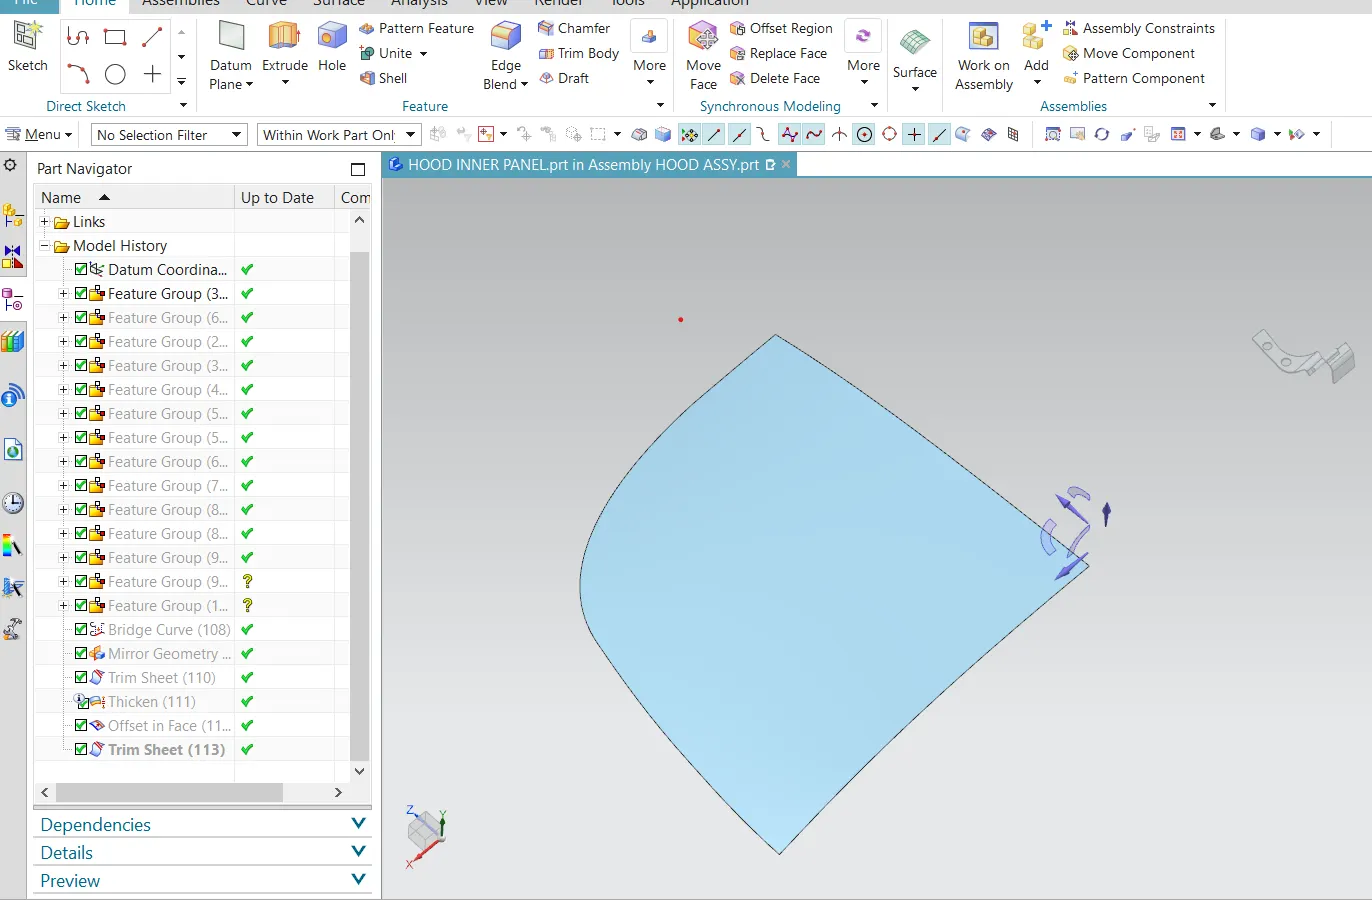
- Tooling Axis - Tooling axis is very important as we have to make flanges according to tooling axis
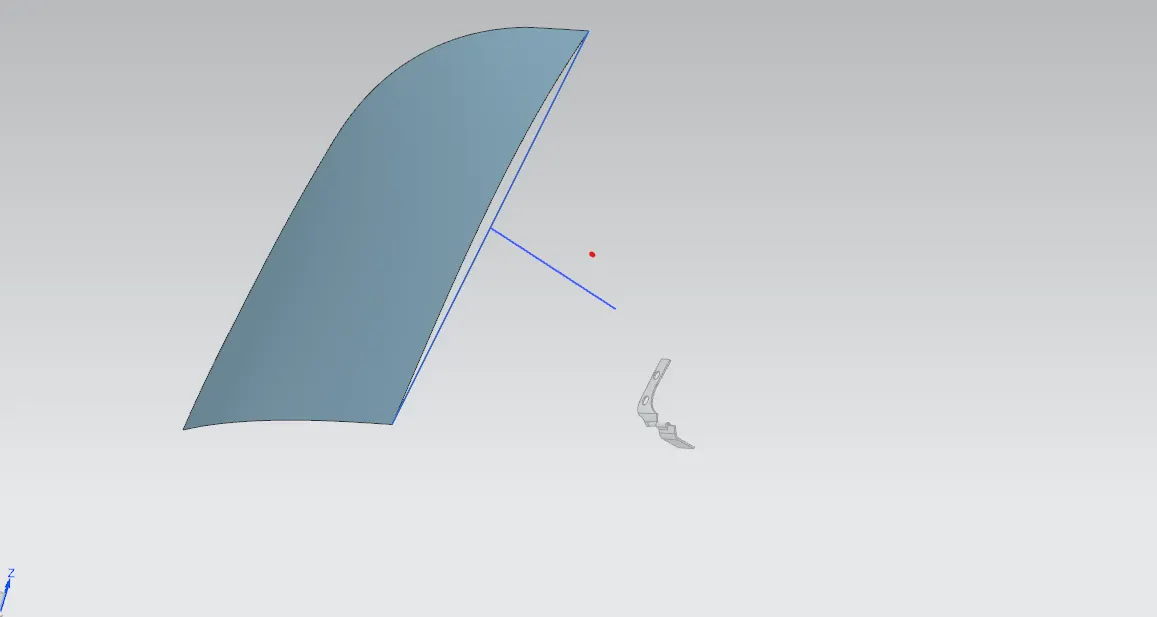
- Flanges - After Tooling Axis We have to work on flanges according to the master section we have to use offset and through curve commands to make perfect flanges -
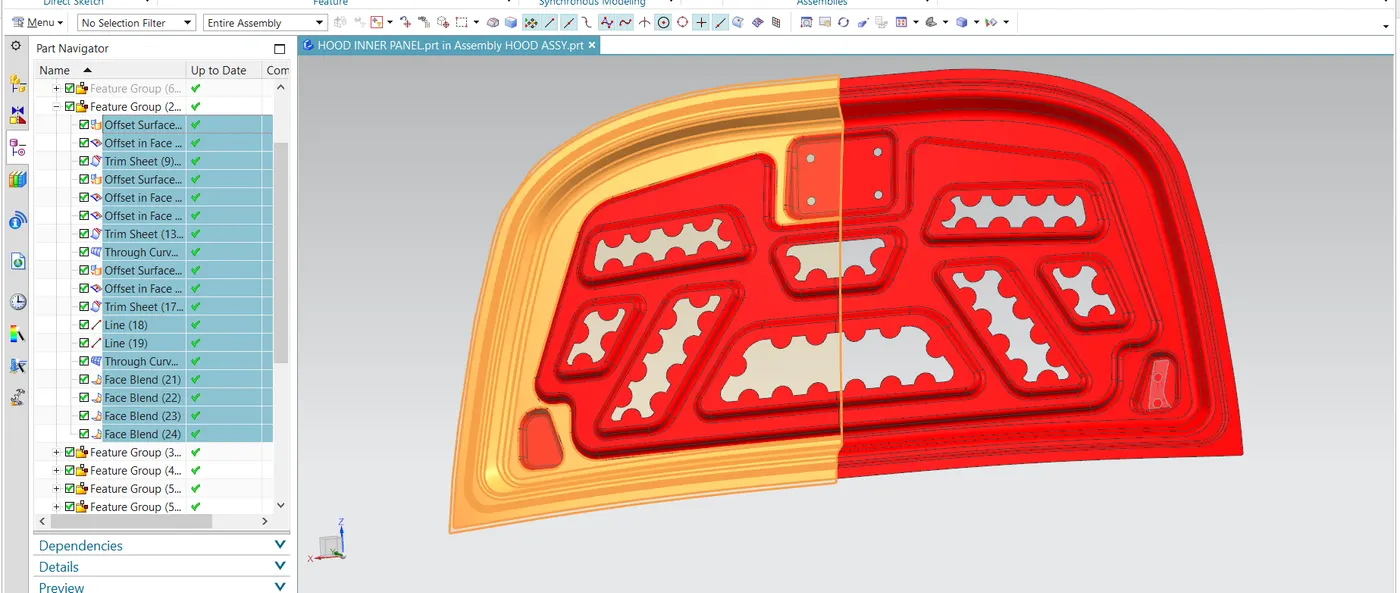
Highlighted parts show flanges
- Embosses - We make embosses using the emboss command and using sketch.
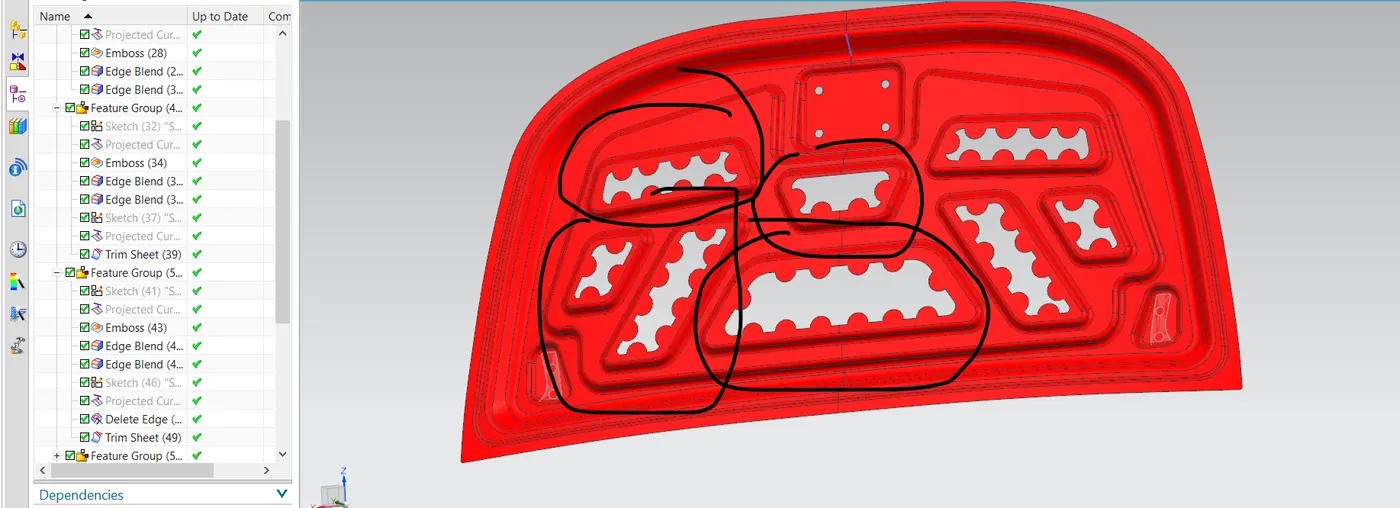
all embosses have mastic points for better joining of parts
At this stage, our door inner panel is finished now we move ahead to door striker and latches
Hinge assembly - First we have to open hinge assy in our hood assy and the we have to specify constraints to place them and after that make a mirror assembly wizaed to place it on exext same constraints with a copy.
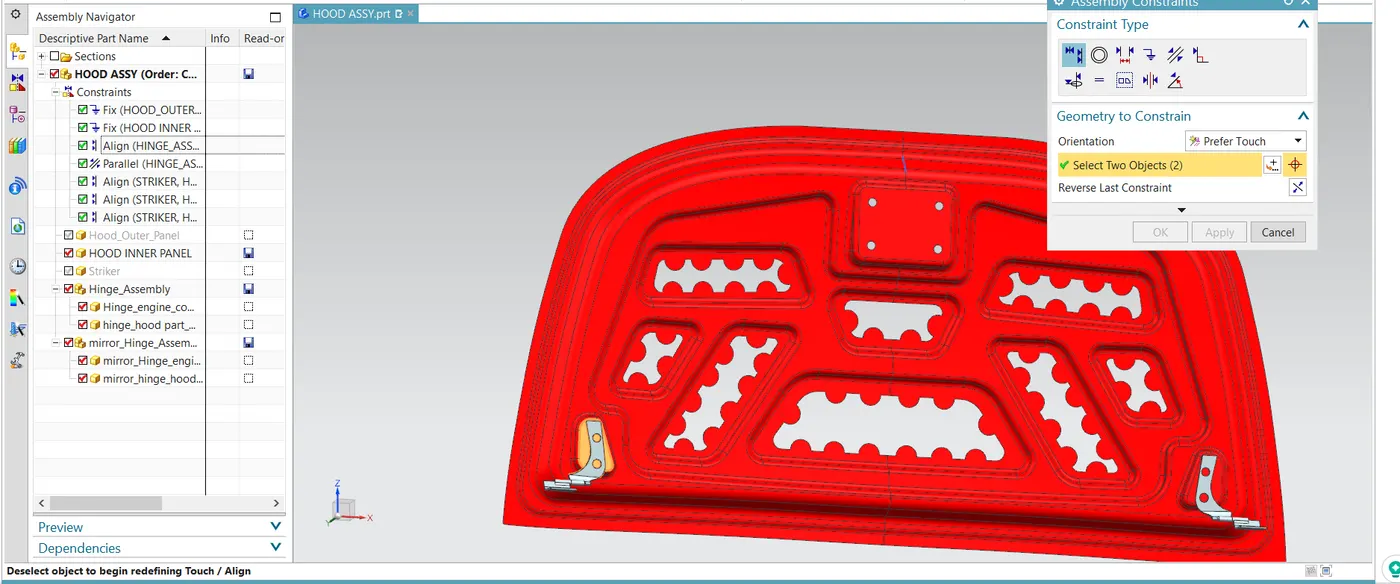
Striker - for the striker we have to make a trajectory to place at except dimension with its proper striker base
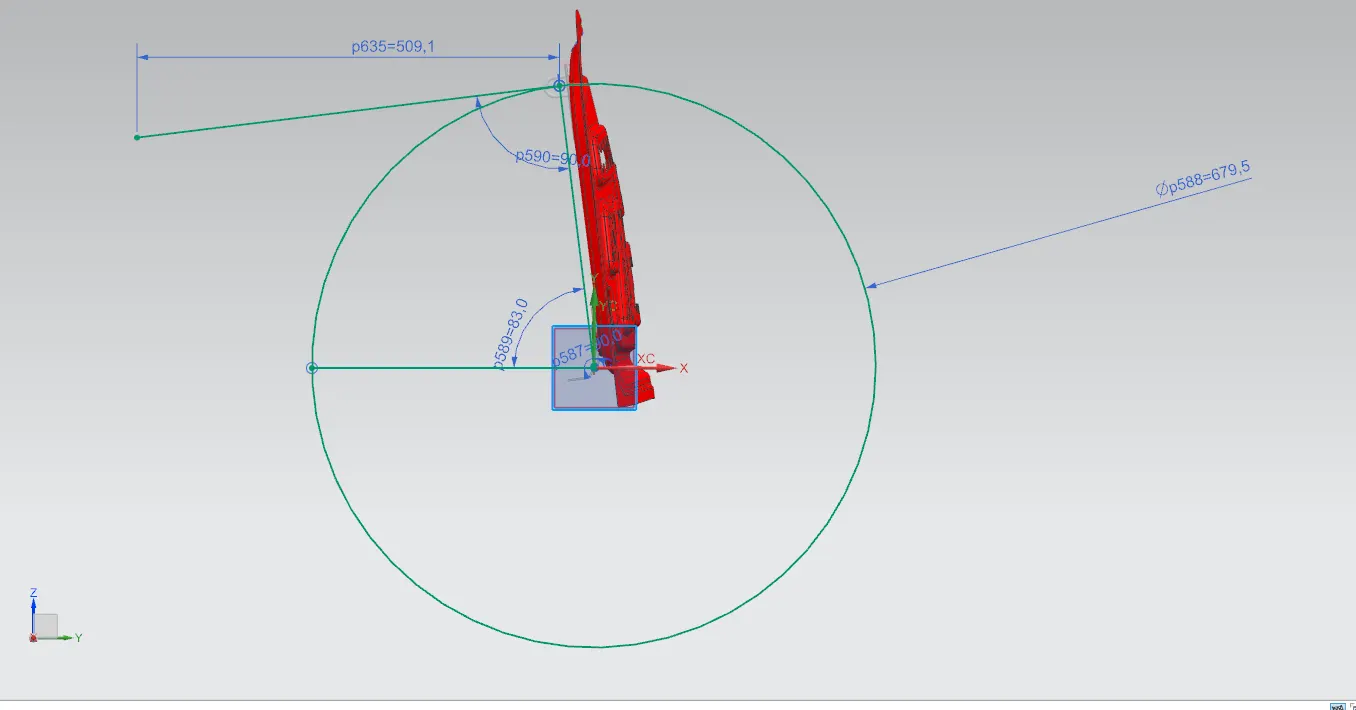
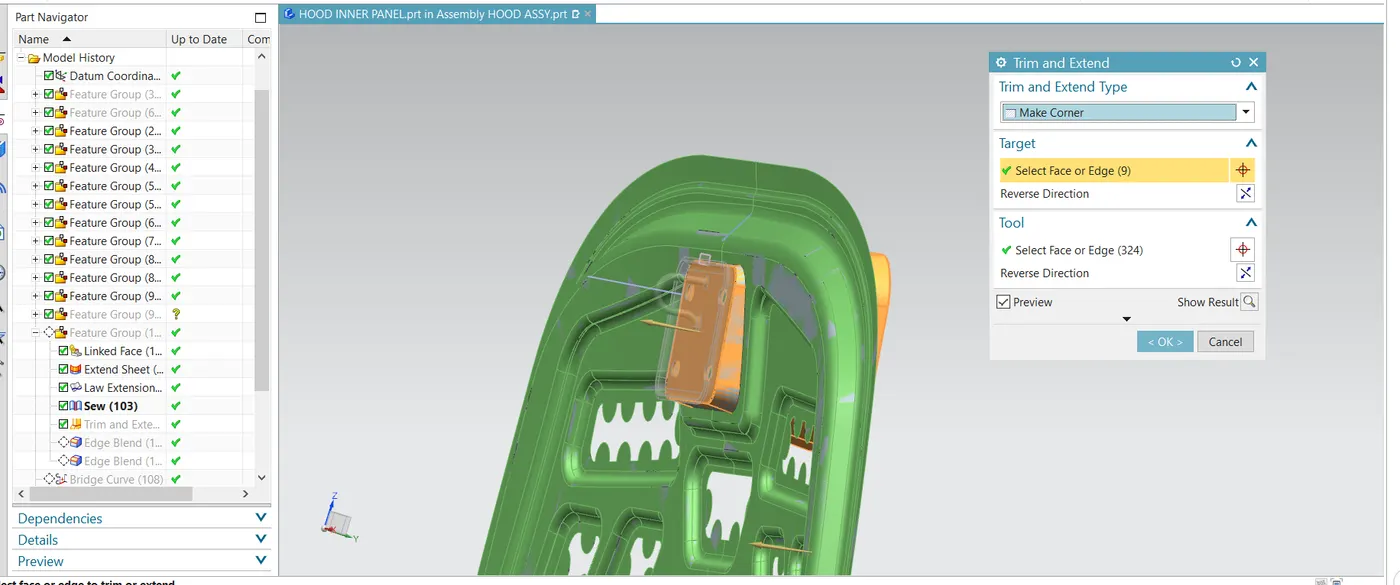
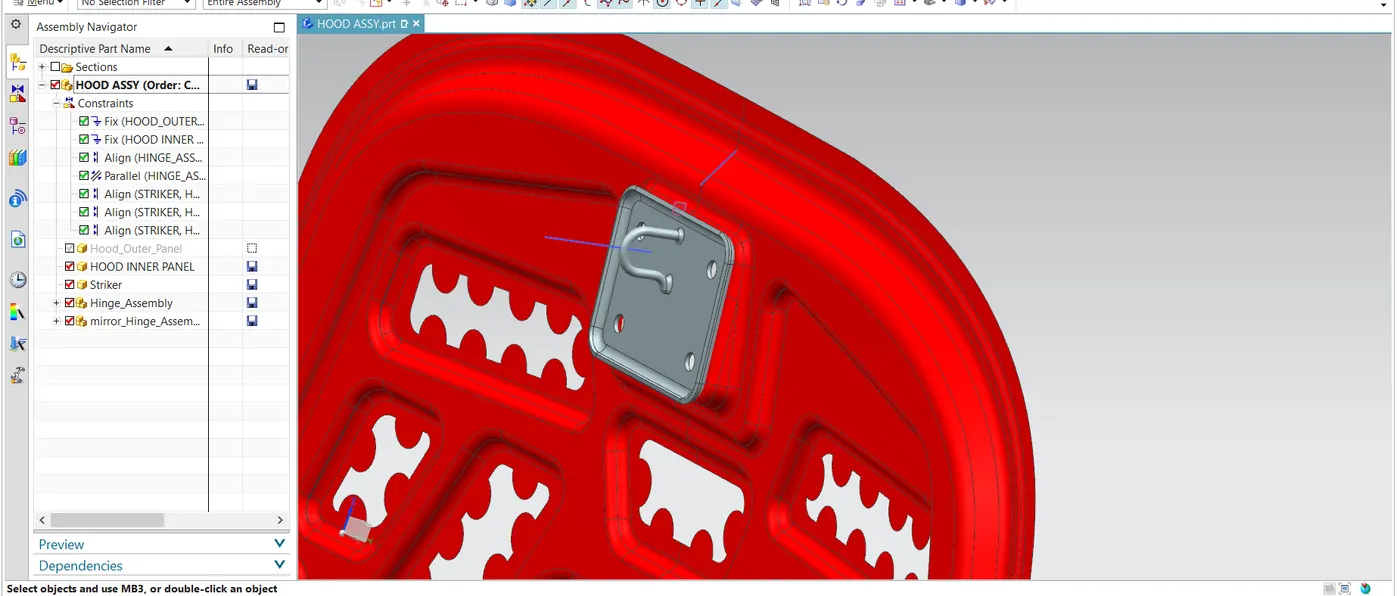
After getting the trajectory and striker axis we have to give constraints for a better position.
Hood outer panel - We have used the same approach as hood inner panel and work on half trimmed hood outer panel and make proper outer panel according to given master section.
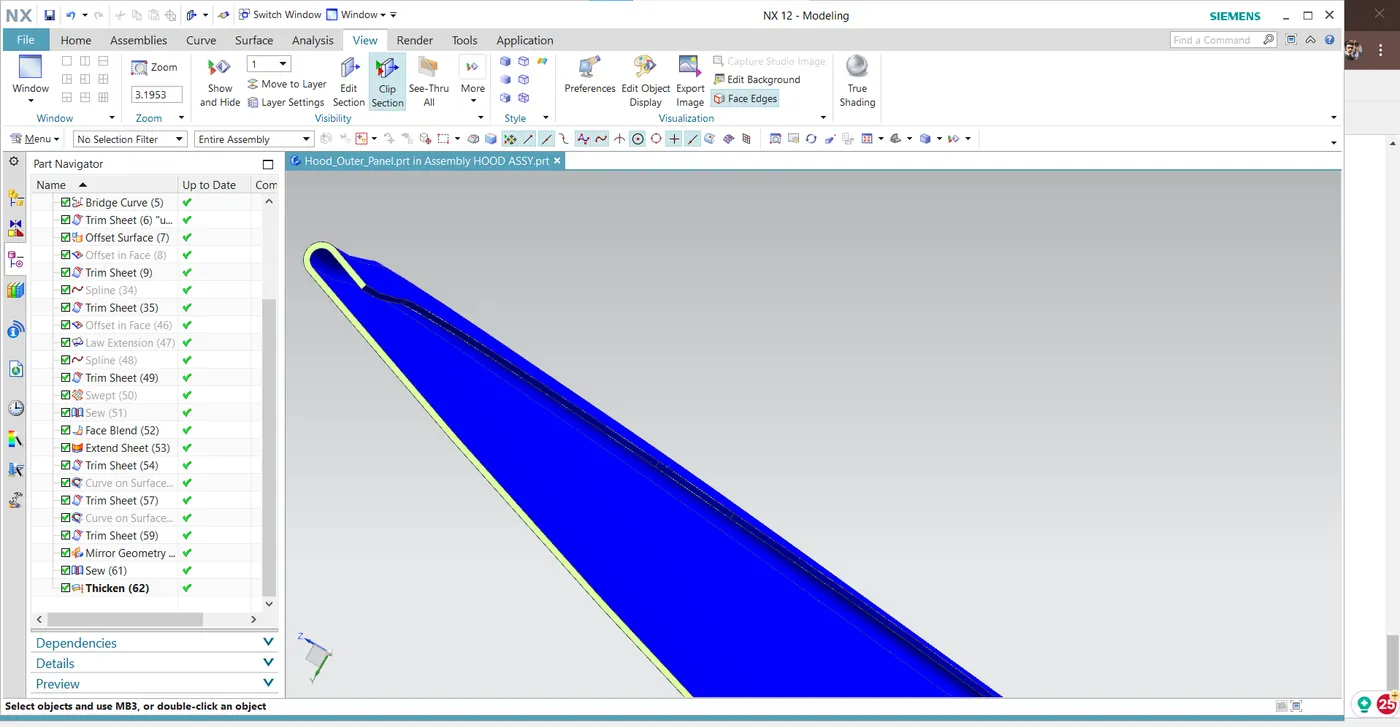
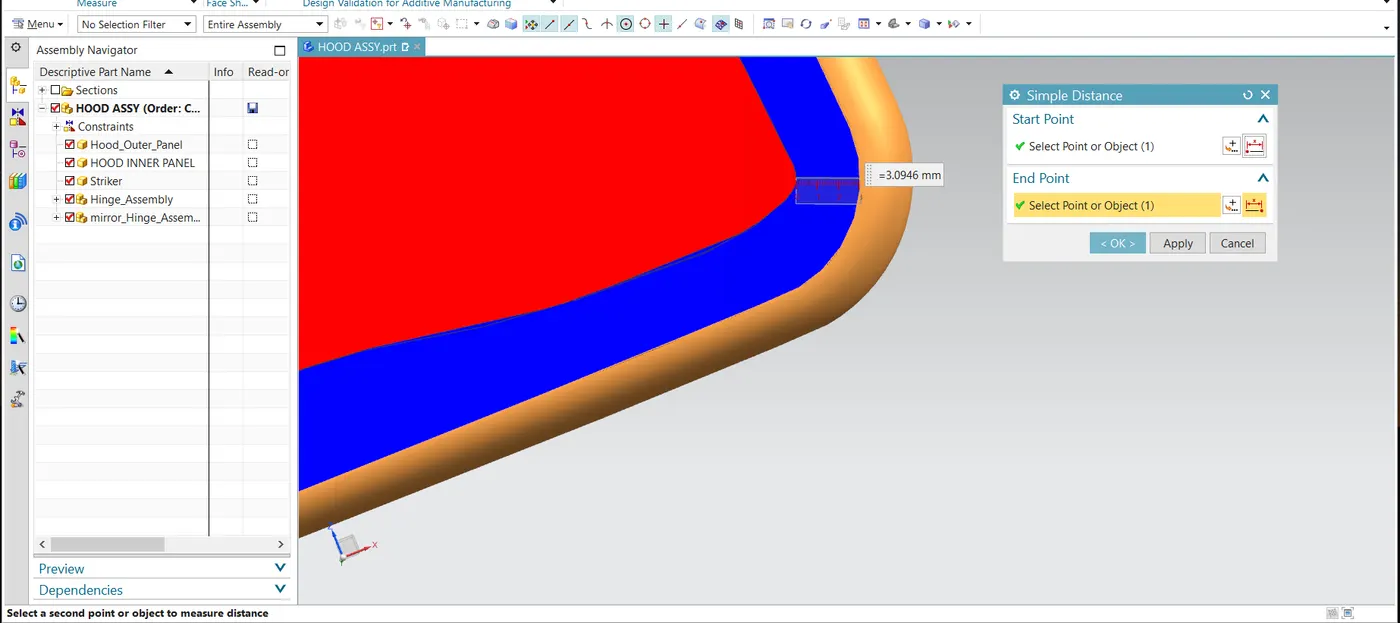
Completed hood panel -
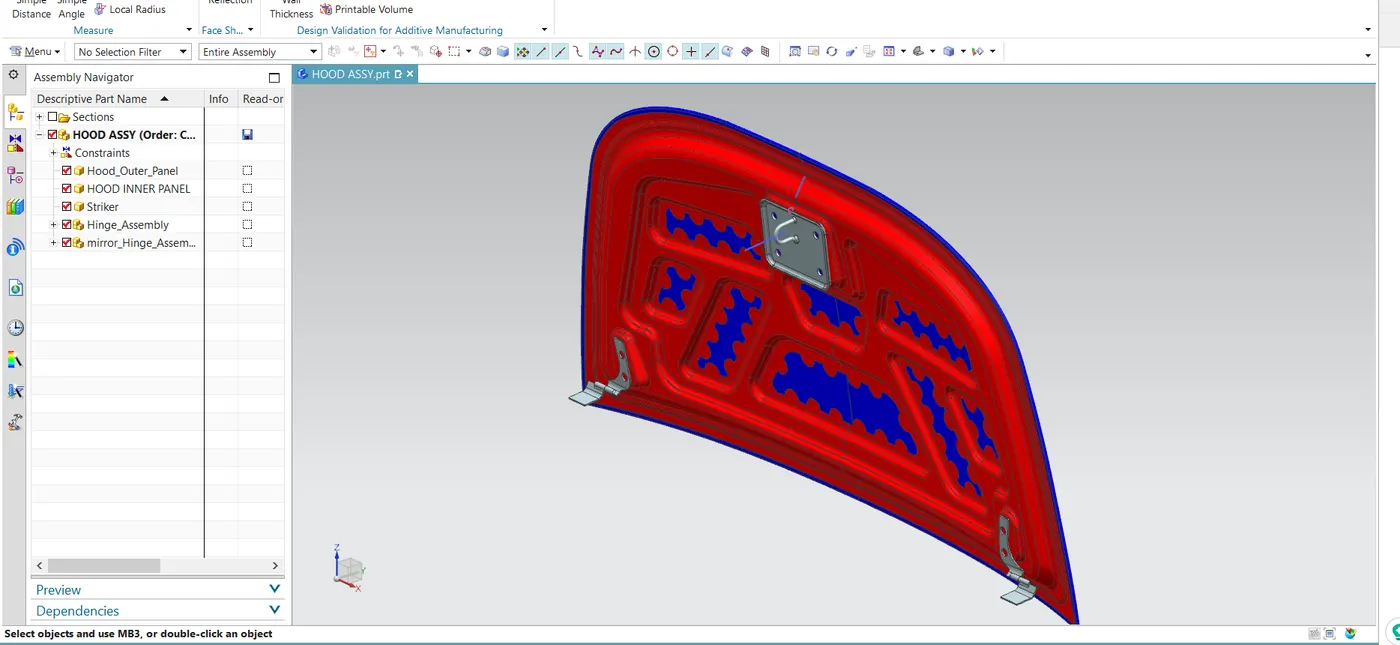
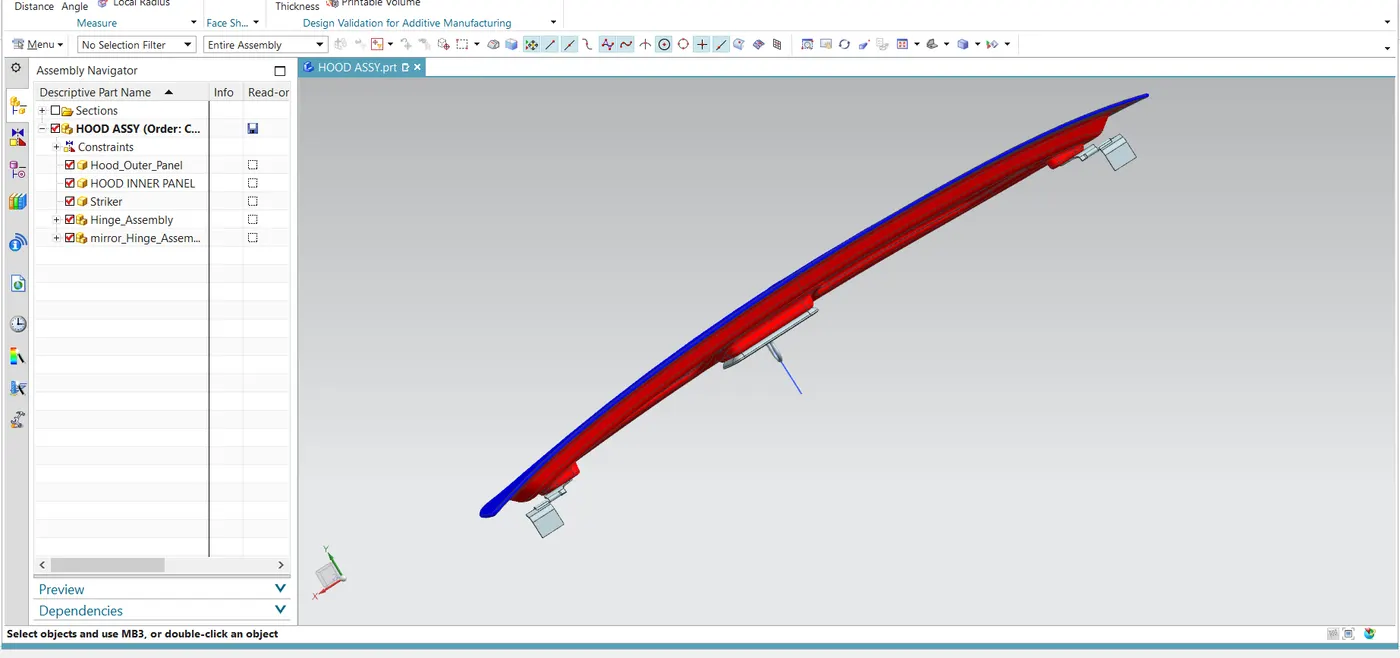
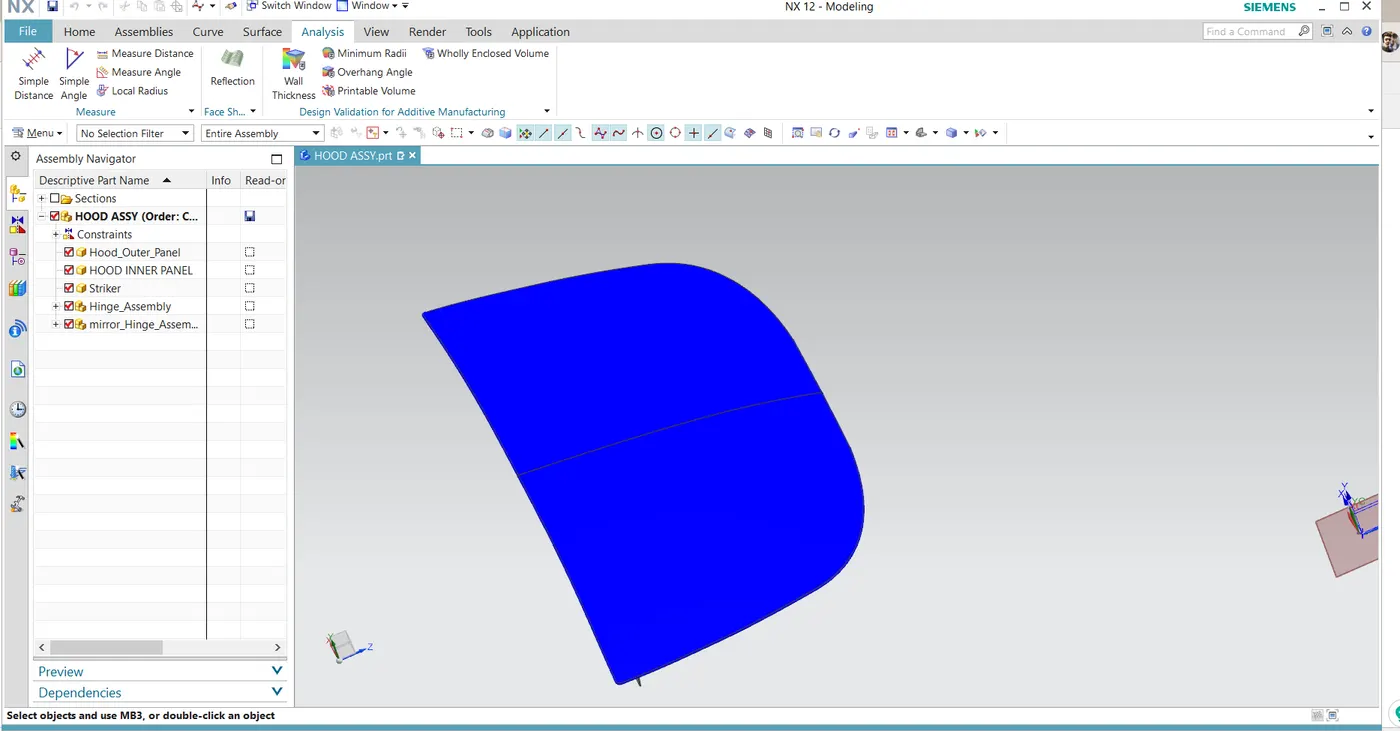
In conclusion, the car hood design project successfully achieved its objectives by integrating the outer panel, inner panel, reinforcements, latch, and hinge mechanisms to create a functional and aesthetically pleasing hood. The design adheres to industry standards, safety requirements, and manufacturing processes. While the project is comprehensive, there is always room for further optimization and innovation in future iterations of the car hood design."