Hood design-Week 2
Report:
1) Given Hood Outer Panel, Striker and Hinge are downloaded.
2) First, Hood outer is taken, Inner panel and assembly are needed.
3) An offset is created.
4) As per the given dimensions, step by step surfaces are made using offset, fillet, split options.
5) After the complete surface is obtained, embosses are given.
6) Cutouts are made inside these embosses.
7) Now, the complete inner panel is obtained.
8) Here, hemming needs to be done.
9) To get this, additional offset of Upper panel is to be taken and it should be cut as per given dimesions.
10) The corners of both these surfaces are made curved.
11) The upper surface edges are to be swept downwards.
12) Trilangential fillet is used to obtain Hemming.
13) Then, front and rear reliefs are made using Spline and Split commands.
14) Provisions for Hinge and Striler assemblies are made.
15) The Hood part is obtained.
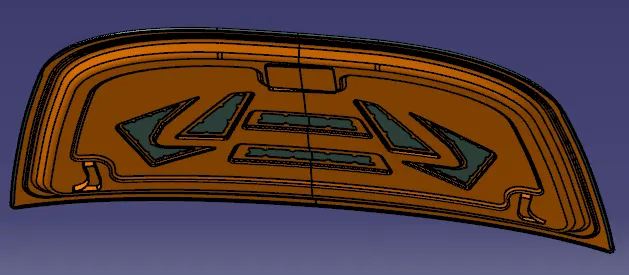
16) Hood part, Striker part and Hinge part are imported into a CADproduct file.
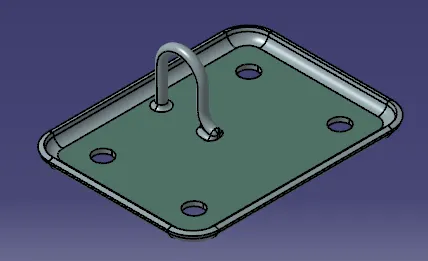
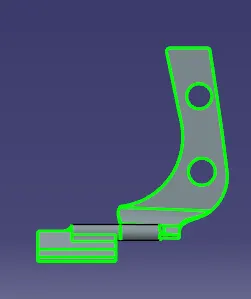
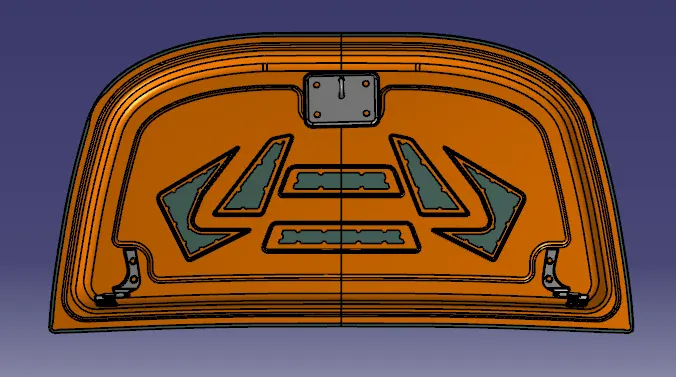
17) Hood Assembly needs to be kept fixed.
18) Striker and Hinge are arranged at required spots using Move commands.
19) Hence, The Final Hood Assembly CADproduct is obtained.