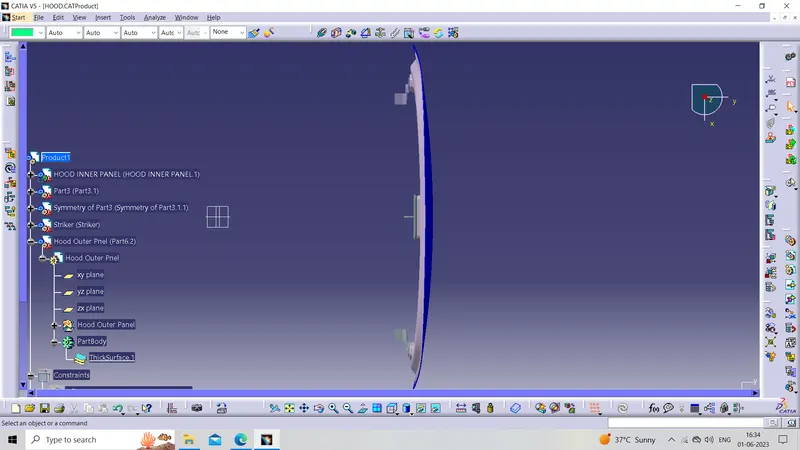
Hood design-Week 2
| REPORT on Hood Design Using CATIA V5 |
AIM- To Design the Hood outer panel, inner panel, and the necessary reinforcements by following the Master section mentioned with the design parameter, (Hinge, Striker) included.
Design Methodology
1. Develop the inner panel with
- Embossing (with minimum 7 Degrees Draft)
- Mastic Points
2. Develop the Outer Panel with
- Hemming
3. Positioning the reinforcements
- Hinges
- Striker for Latch
Given data for Hood Creation
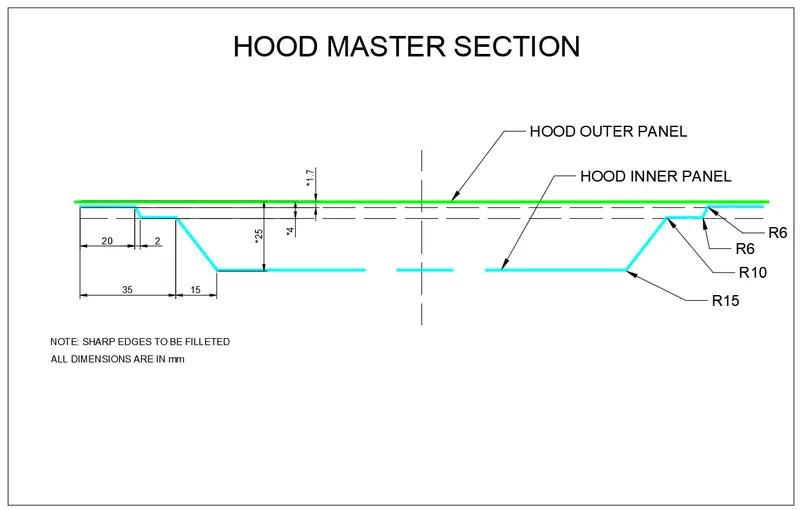
MasterSection
It has played a very important role as it considers every general design information for a hood. It shows the general dimensions and structural shape of the general hood design.
Inner panel
Embosses
Various embosses were made in the hood inner panel by keeping in mind the following design considerations
1. Pedestrian safety during the frontal crash.
2. To improve the strength and stiffness of the body.
3. the embosses were designed in such a way that the distance between the hood inner panel and the outer panel was kept 5 mm from the points it had to be attached.
4. Hinge emboss was done keeping in mind the striker and hinge axis correlation.
Embossing is done with the help of the given master section
First Step
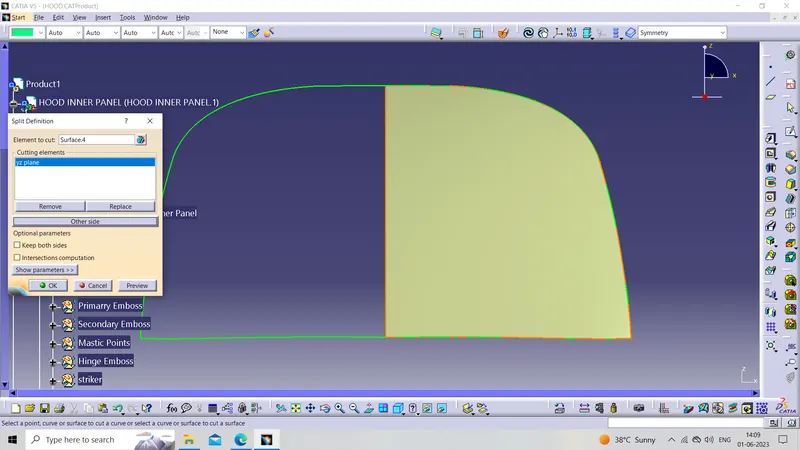
Split the Given Class Surface
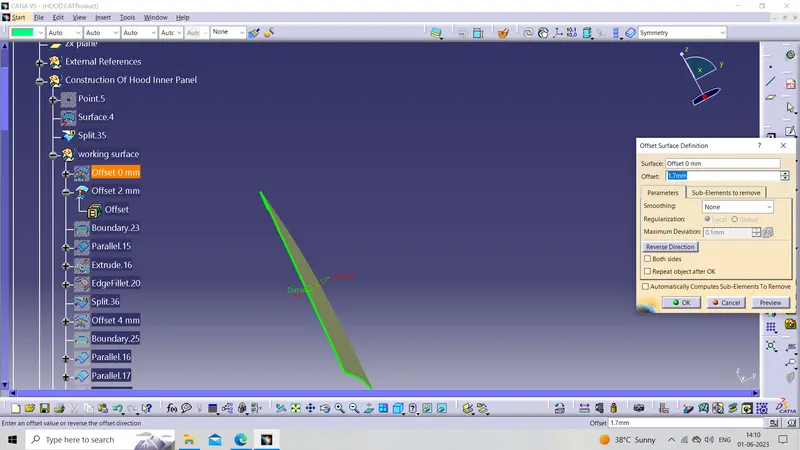
Now offset it for 1.7 mm As mentioned in the above-given Master section
Give Bodry to the split surface And then offset the boundary by using the parallel boundary command Then split the Above with the parallel boundary
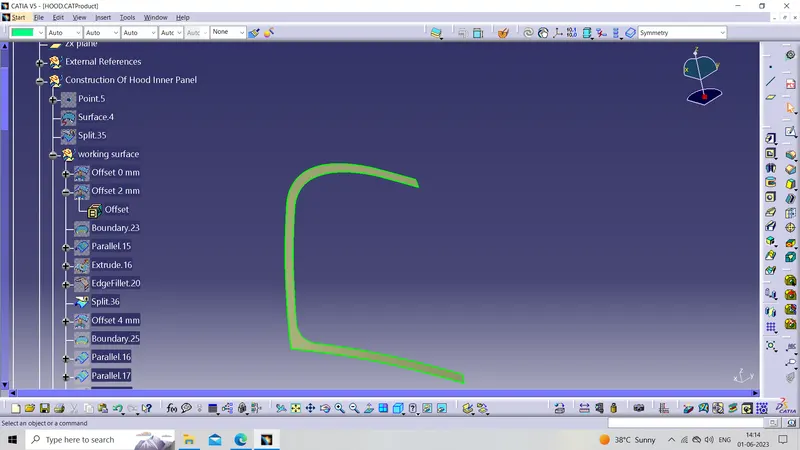
Use some steps for getting another two steps
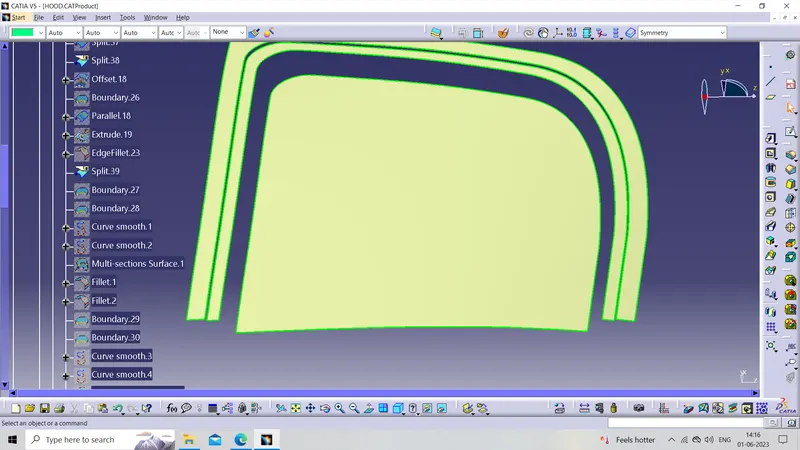
Now perform Multi Section to Fill the gap between Steps And use Standard dimension for fillet
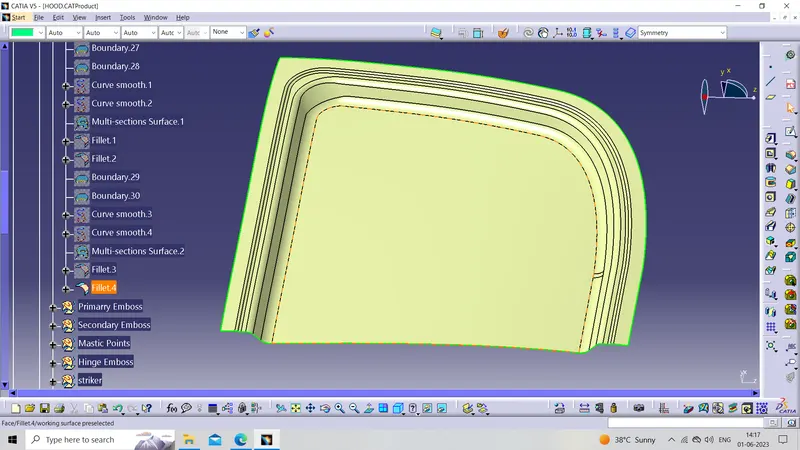
Primary Emboss
Now Create the sketch then project it on the Working surface for the Primary Emboss
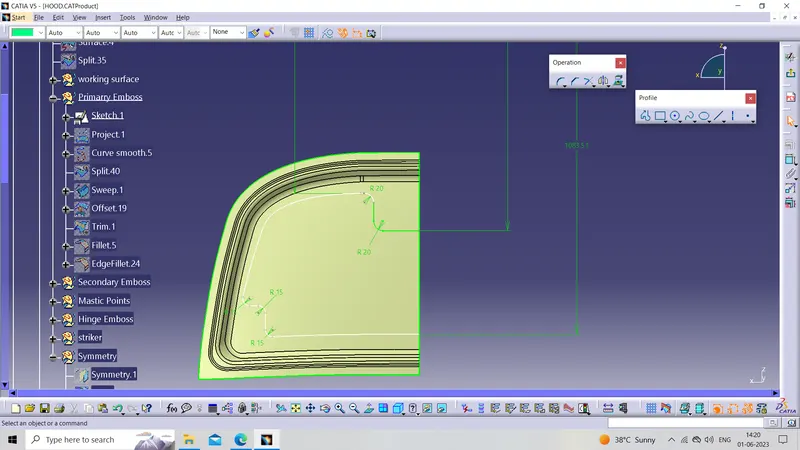
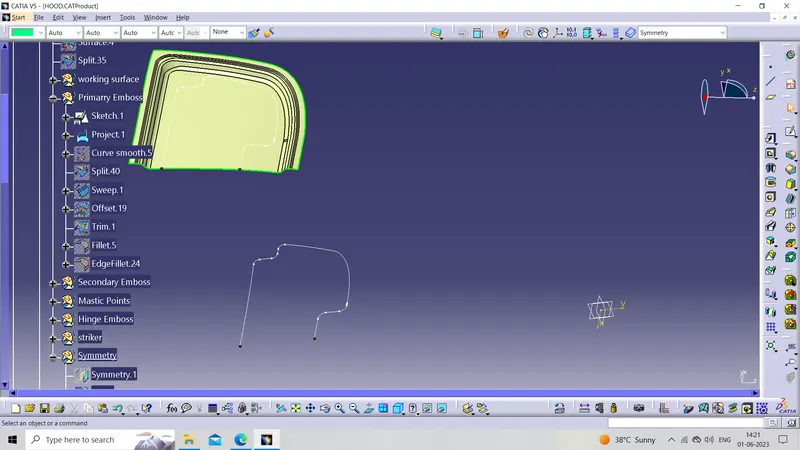
Now Split the sketch from the working surface
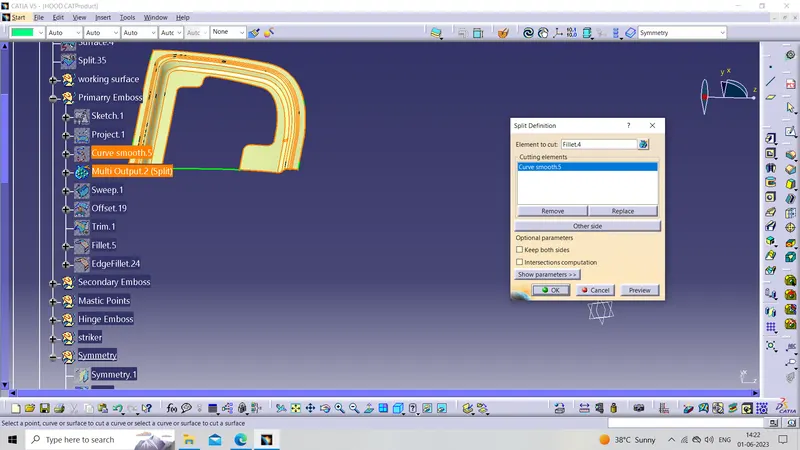
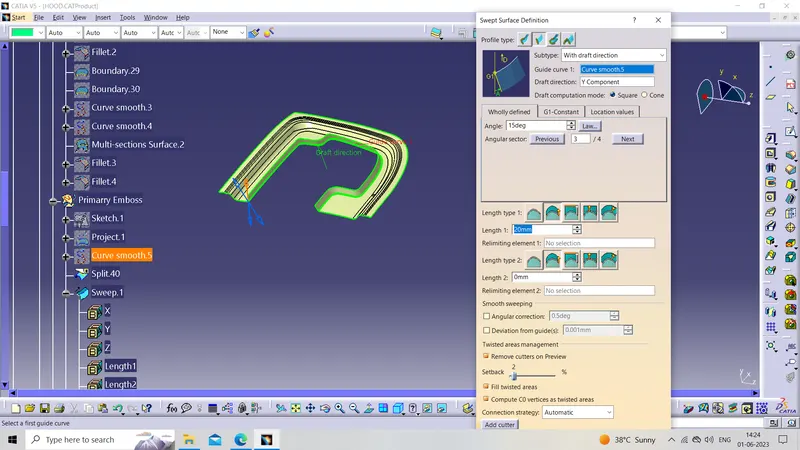
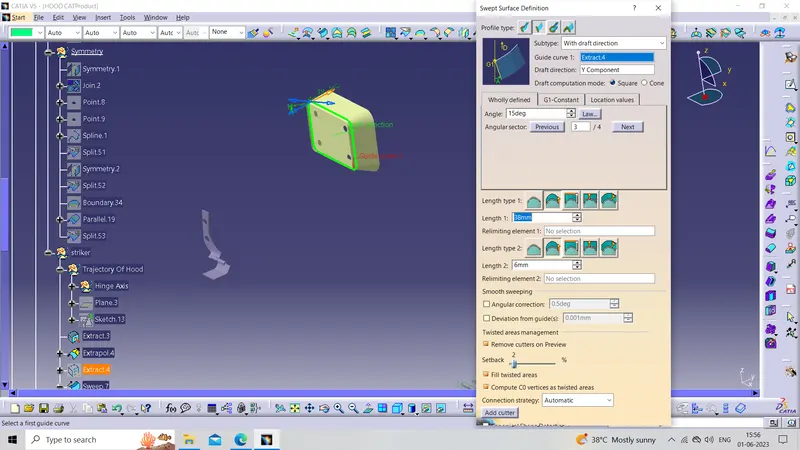
Now create the boundary On split edges And then use the sweep command (in that use With draft direction And minimum Angle for embossing is 7 degrees) for embossing
then create an offset surface at 20mm from the first split And then trim it with the Above sweep
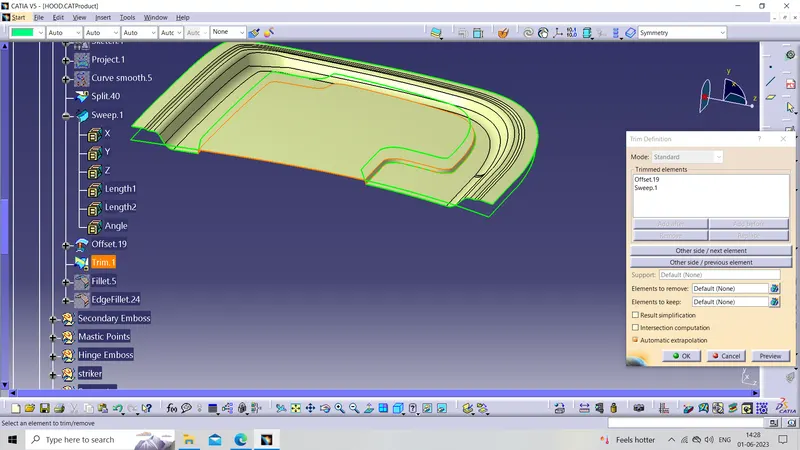
hence our primary embossing is ready
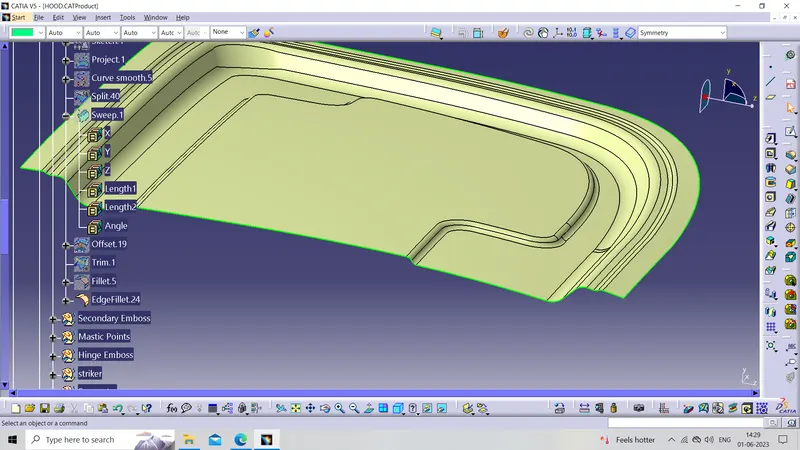
Secondary Emboss
Now Create the sketch then project it on the Working surface for the Secondary Embossing
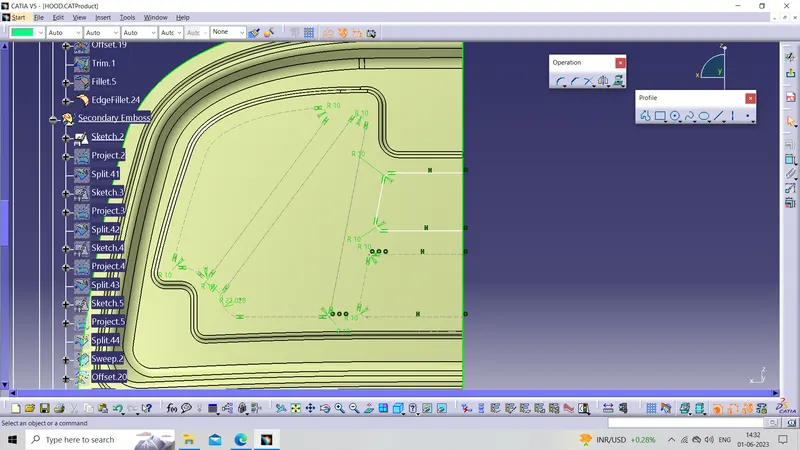
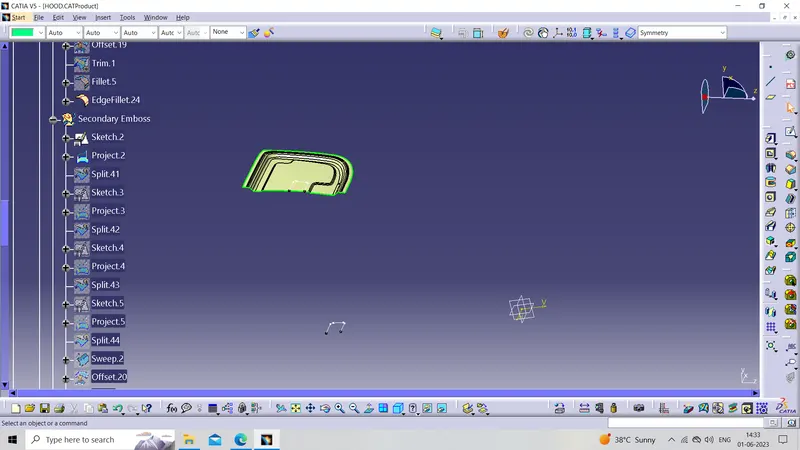
Now Split the sketch from the working surface
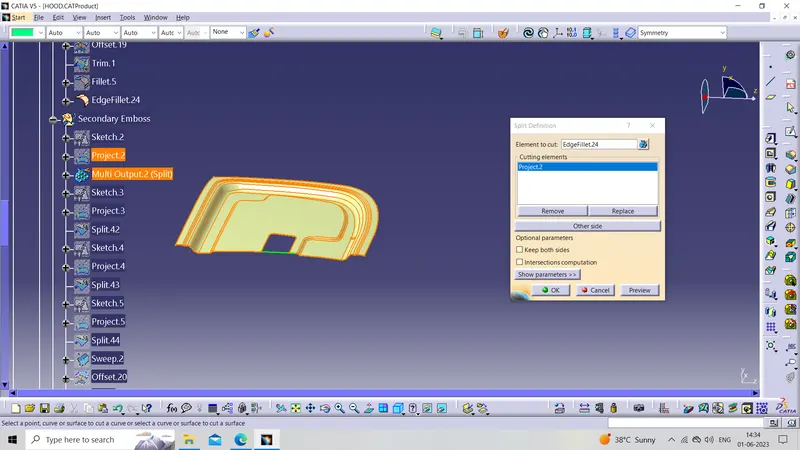
Now create the boundary On split edges And then use the sweep command (in that use With draft direction And minimum Angle for embossing is 7 degrees) for embossing
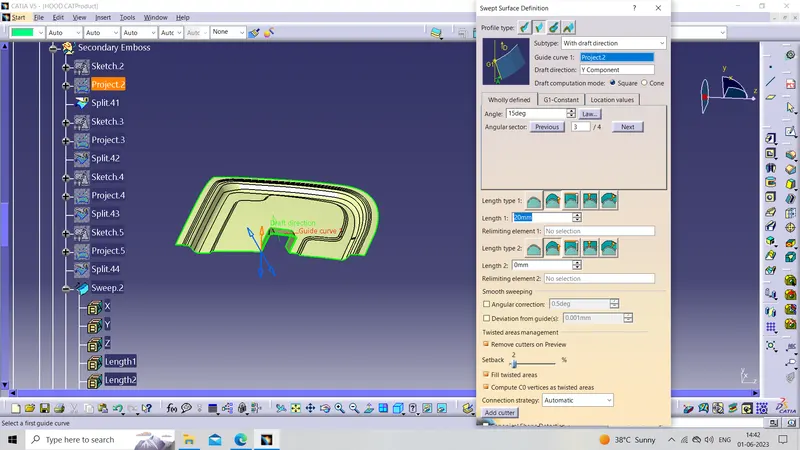
then create an offset surface at 15mm from the first split And then trim it with the Above sweep
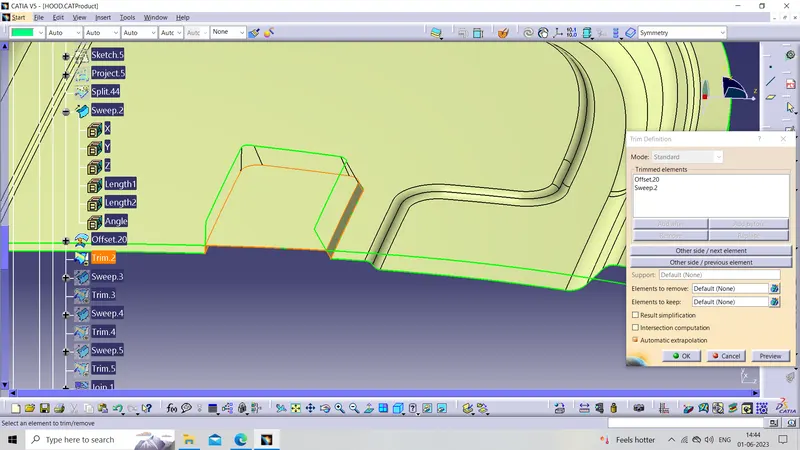
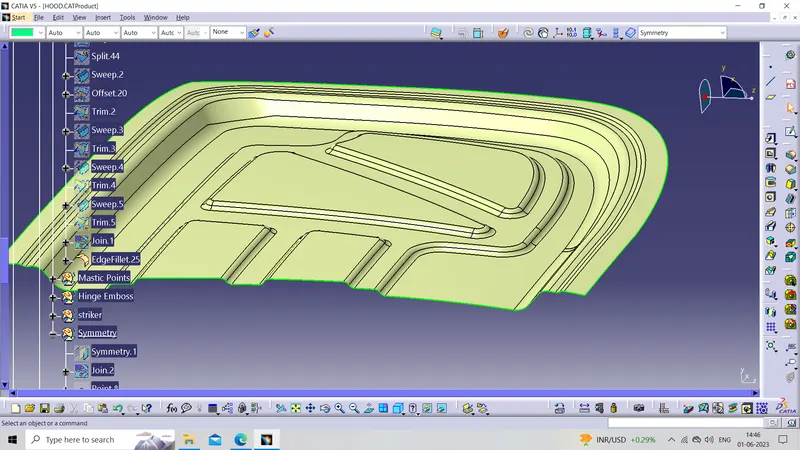
Use the Above steps And create more emboss
Hence Our Secondary Emboss is ready
Mastics Points
Create a sketch for Mastics points
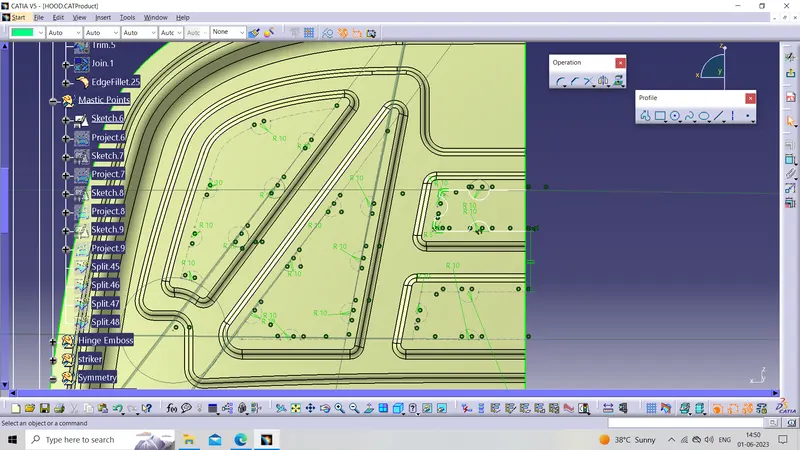
Now project the sketch on the working surface By using the projection command And then split it
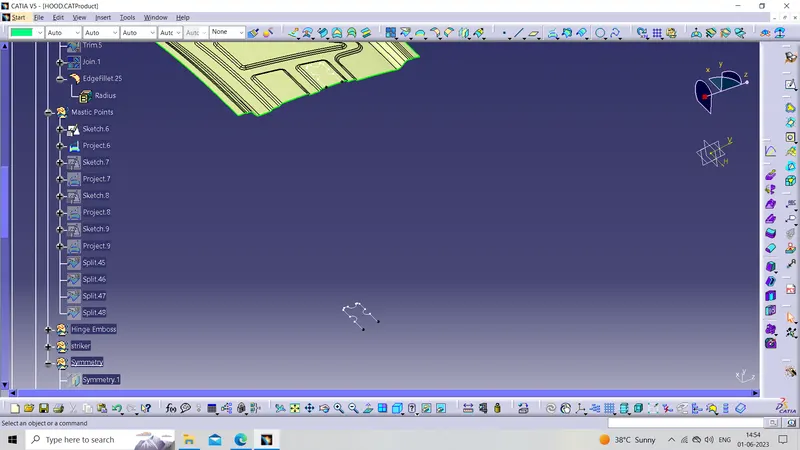
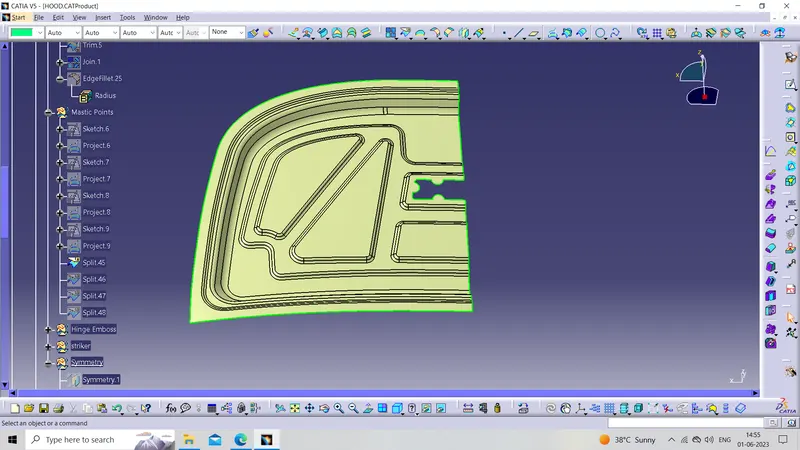
Our Mastics Points are Ready
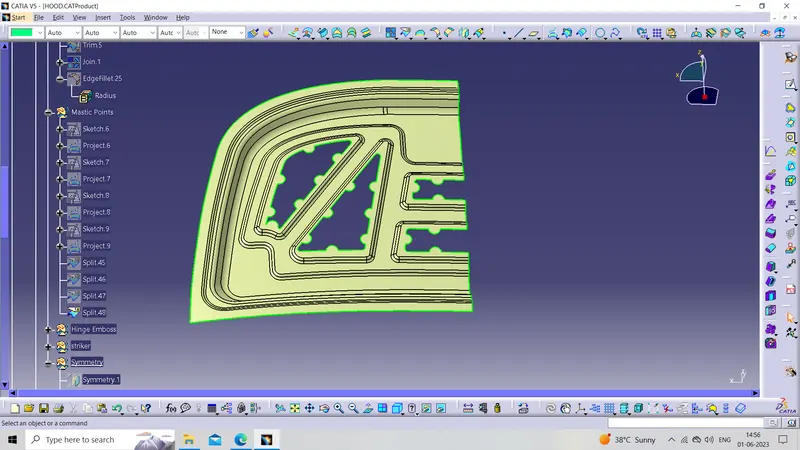
Hinge Emboss
Now create a sketch for Hinge Emboss And project it on the working surface
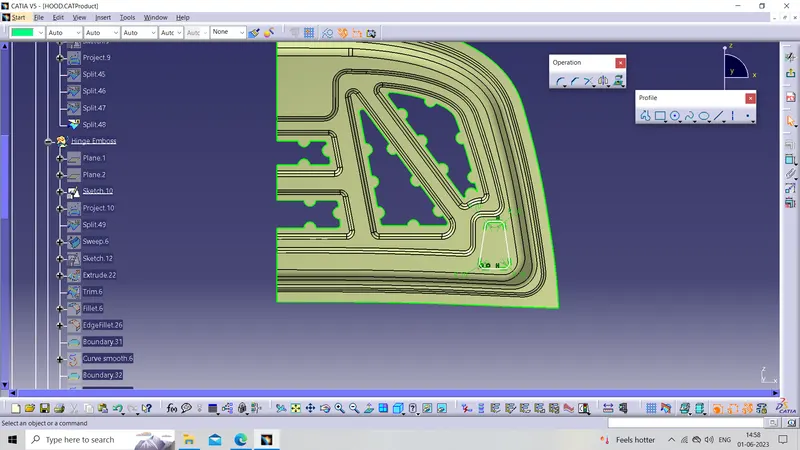
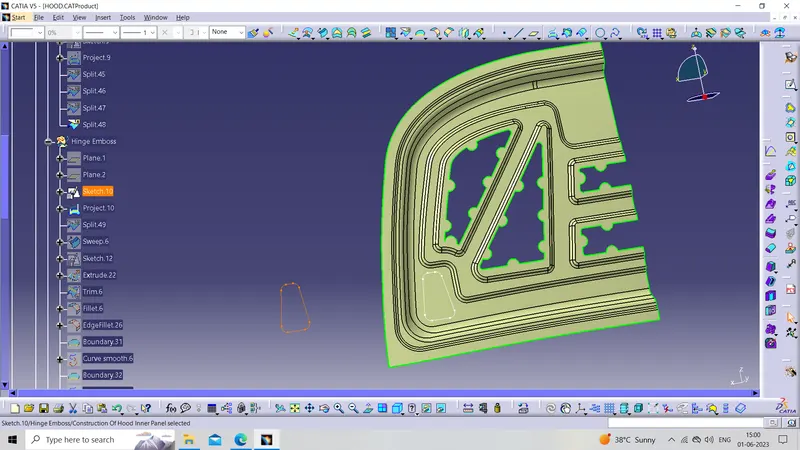
Now split the Above projection with the Wirking surface Ans then Uswe sweep command for creating the embossing
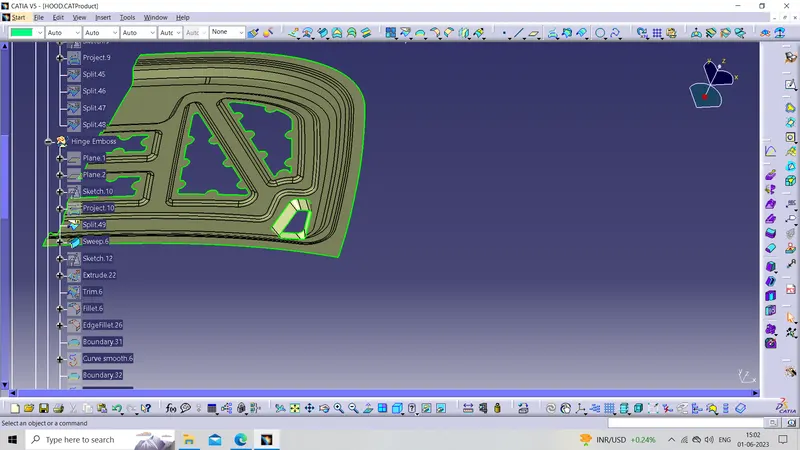
Now create one inclined plane and then create another offset plane to the inclined surface
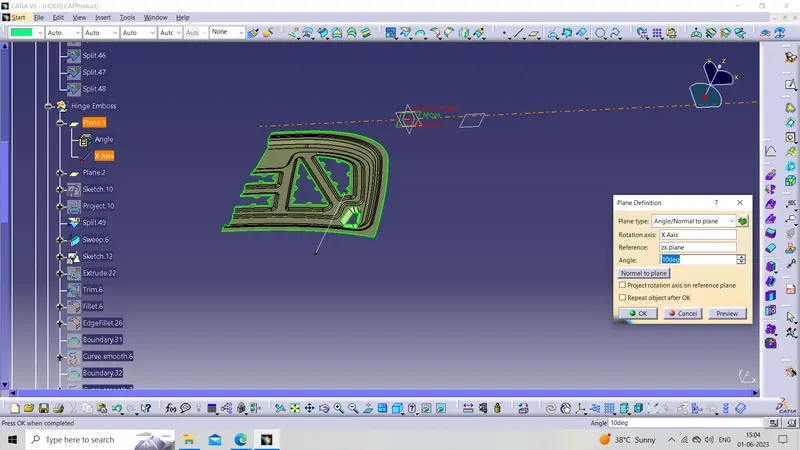
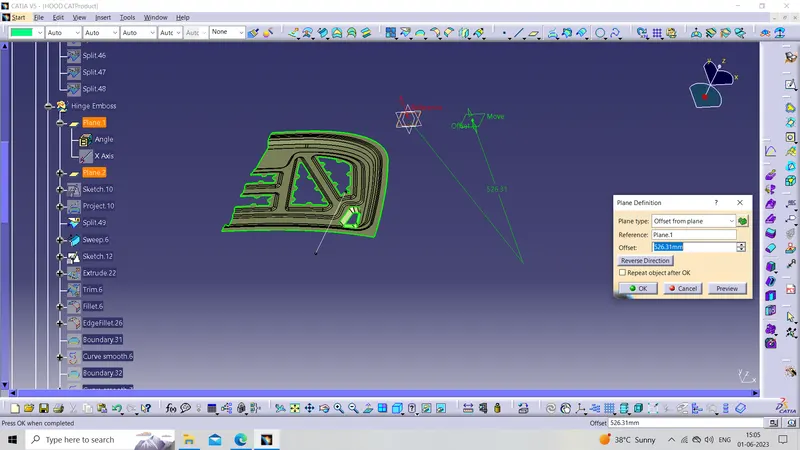
Now create Sketch on the offset Plane And then Extruded it
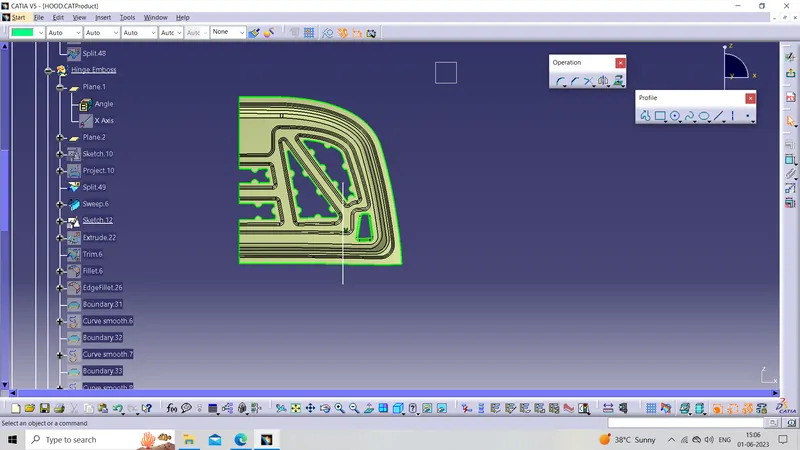
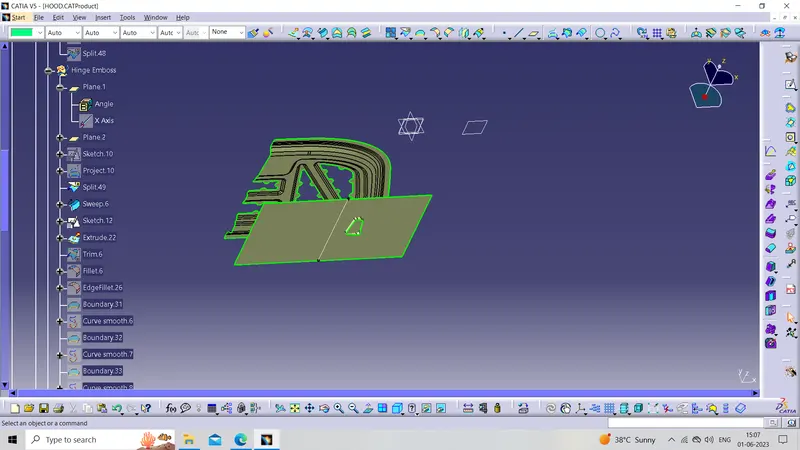
Now Trim/split above Extruded with the Hinge Emboss sweep
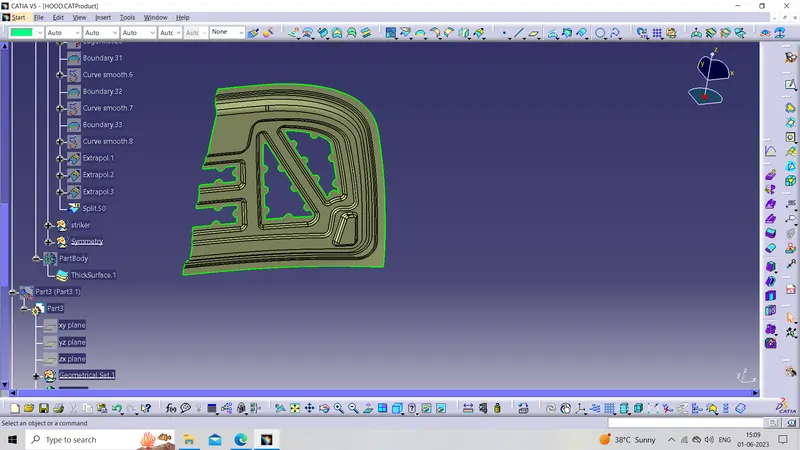
Symmetry
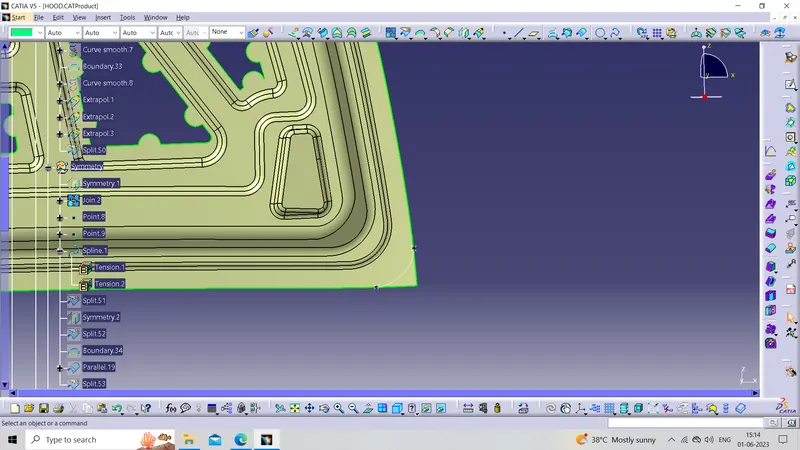
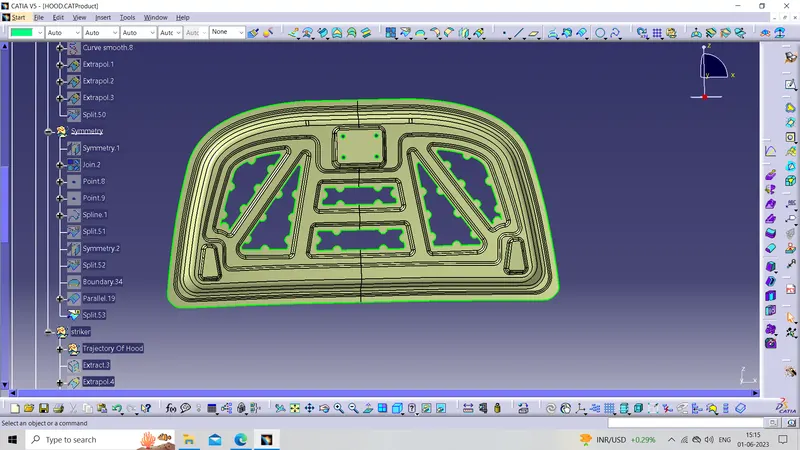
Now use the symmetry command for getting the other half portion of our hood inner panel
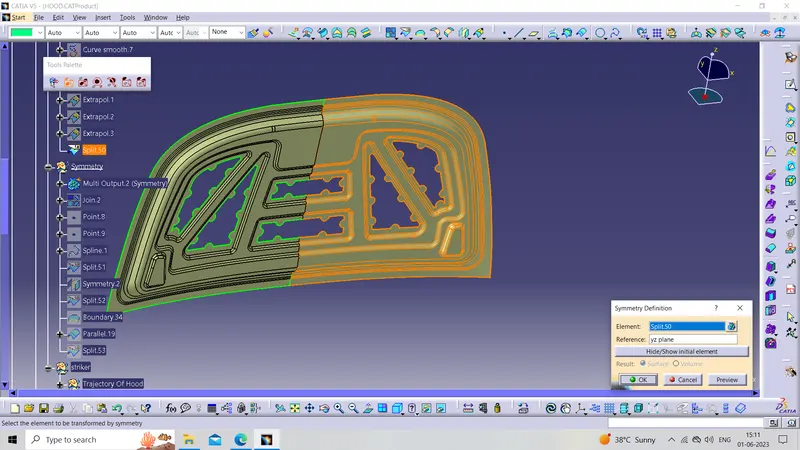
Now removing the sharp corners create a curve on the corner and then split it then again use the symmetry command for the corner cutting
Trajectory Of Hood
For creating the trajectory of the Hood we have to Add a Hinge in our assembly
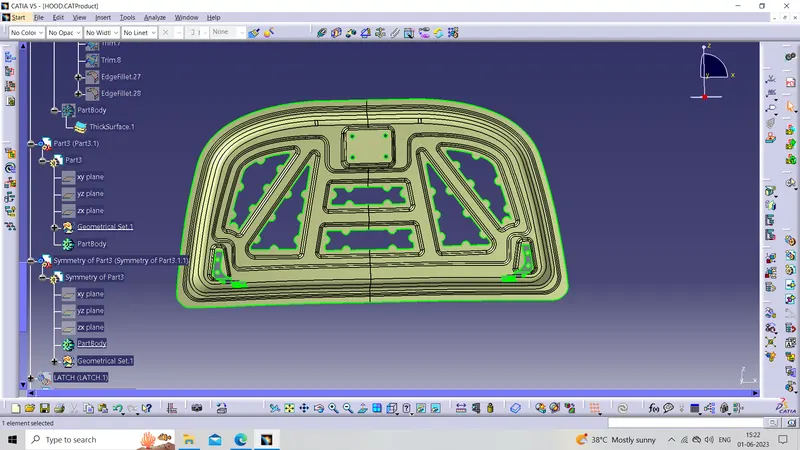
Hinge Stp File is given we directly add by using the Existing Component then use the Symmetry command to get the hinge on the other side of our hood inner panel
For placing the Hinge Properly on the Hinge Emboss We use the different Constraint commands (like Offset constraint And coincidence constraint) from the Mechanical Assembly Workbench
Now working on the Trajectory Of Hood
The trajectory Of the Hood is created for the Proper locking of the Striker with the latch on the engine side
Creating the Hinge Axis
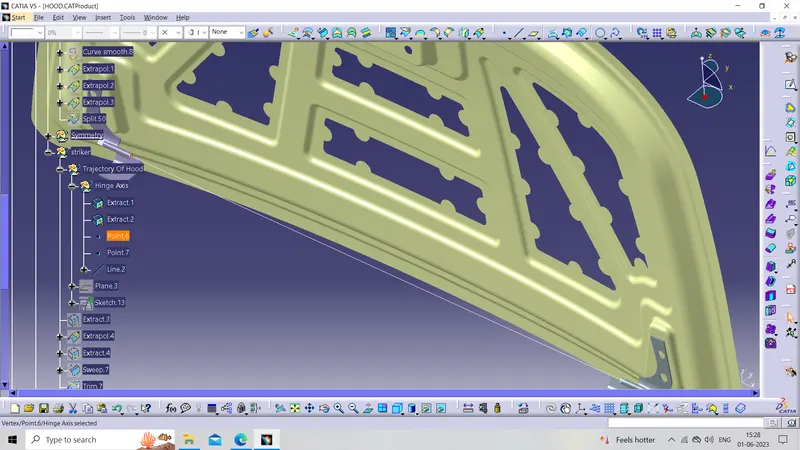
for the hinge axis, we extract the circular portion from both sides of the hinges And then create two points on the extracted circle command which give the point At the middle And the create line by using the point-to-point command
Now create the plane in the middle of the line by using the plane normal to the curve
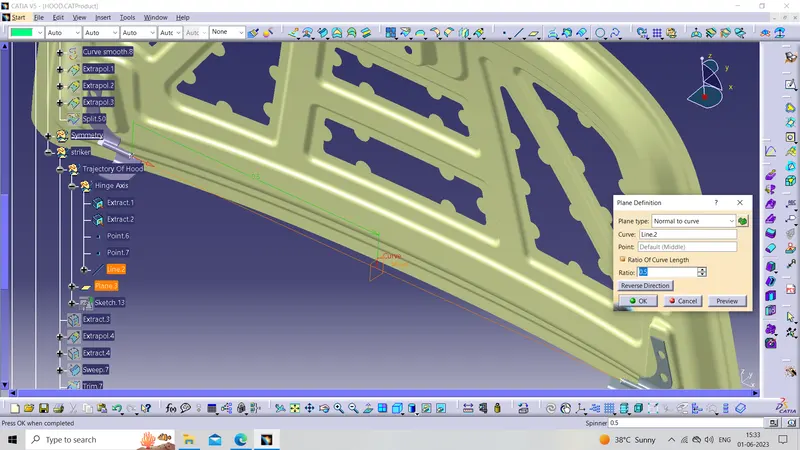
Now create the Sketch for the TRAJECTORY OF HOOD
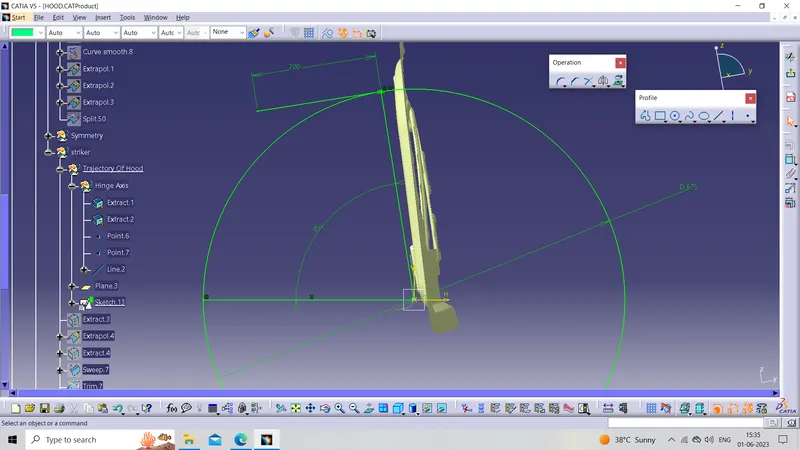
If our Striker is tangential to the trajectory of the hood circle then and then only it properly lock with the latch
Now for striker Emboss, We have to constraint the striker with the tangent of the Trajectory of the hood
Striker
now creating the sketch for constraining with the trajectory of the hood
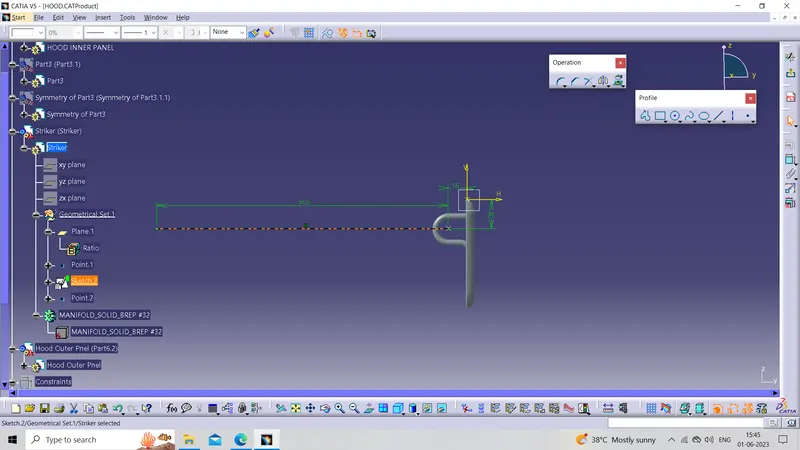
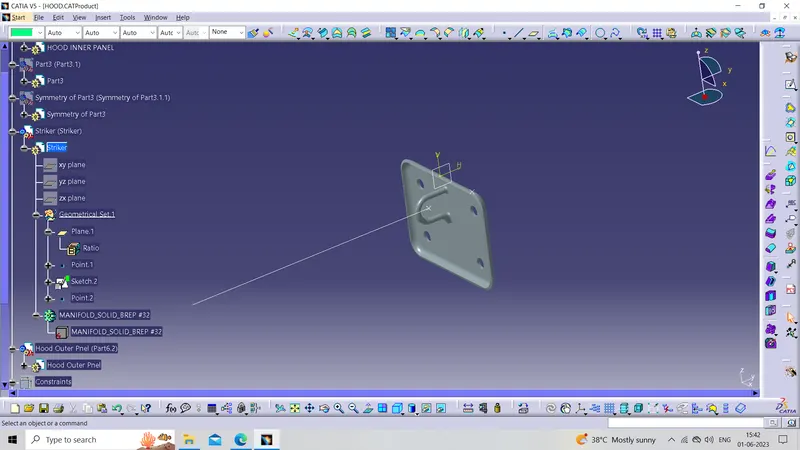
Now go to the Assembly workbench then use the coincidence constraint then select the Endpoint line of the Striker And the intersection point of the Trajectory circle and tangent again use the same command and select the line of the striker and tangent of the trajectory of the hood
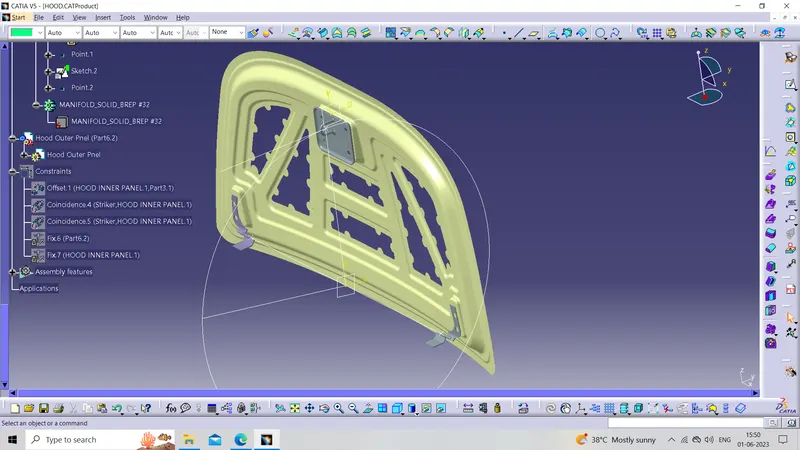
Striker Emboss
Now for the striker emboss extract the back face of the striker in the geometrical set of the hood inner panel
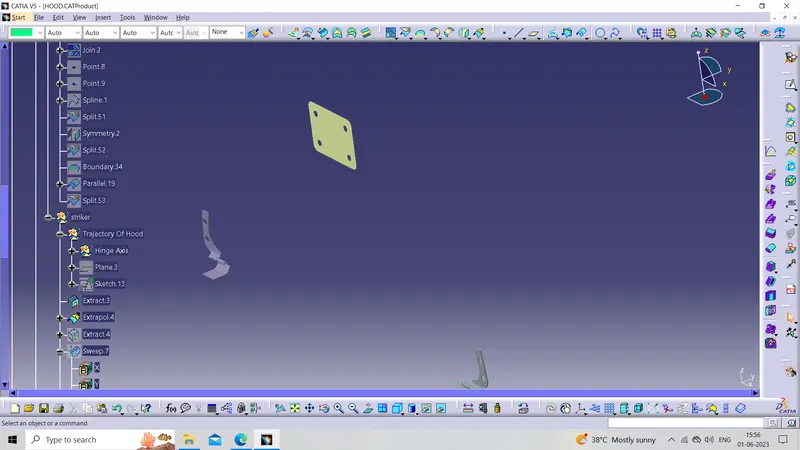
then create sweep
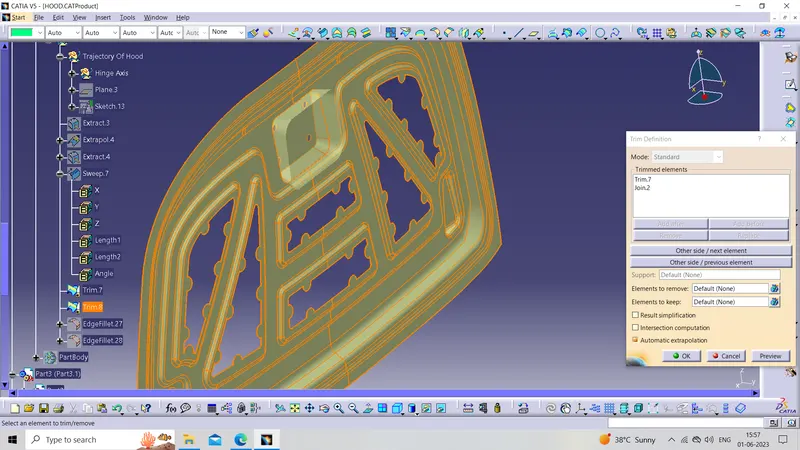
then trim the above sweep with the inner panel
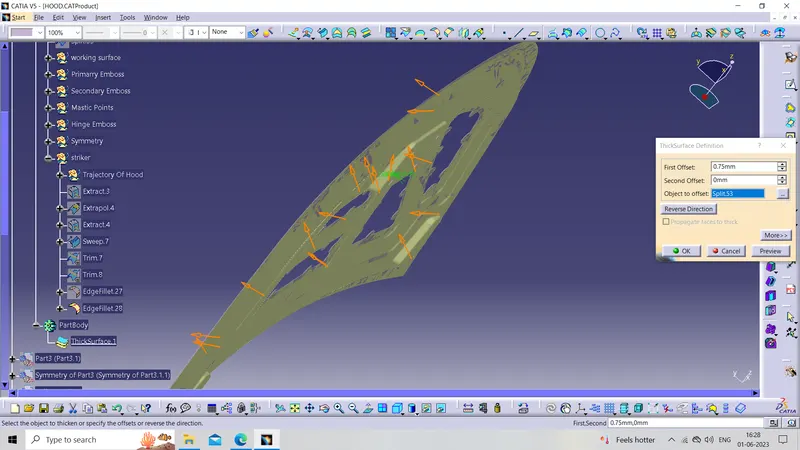
Thickn the Hood inner panel Always upward by using the thick surface command
Hood Outer Panel
Creating the upper surface of the Hood's Outer Panel
Split the given classy surface
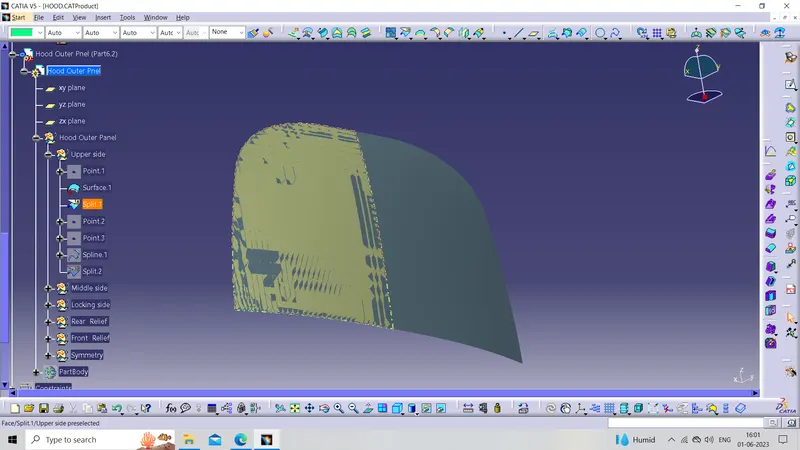
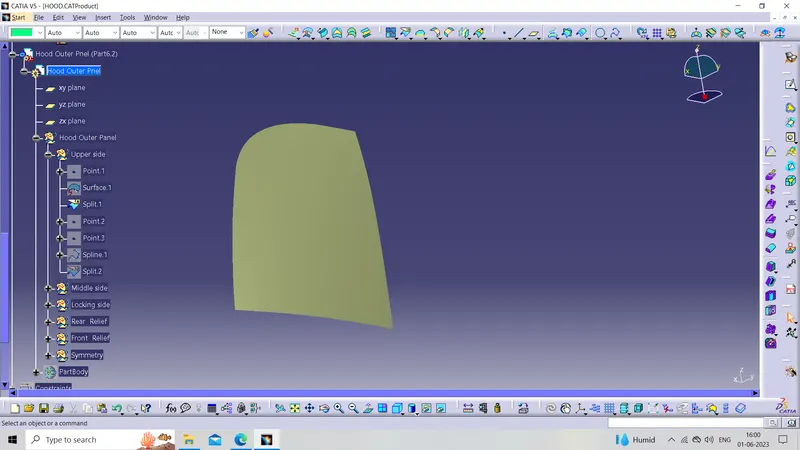
remove the sharp edge like that which is removed from the Hood's inner panel
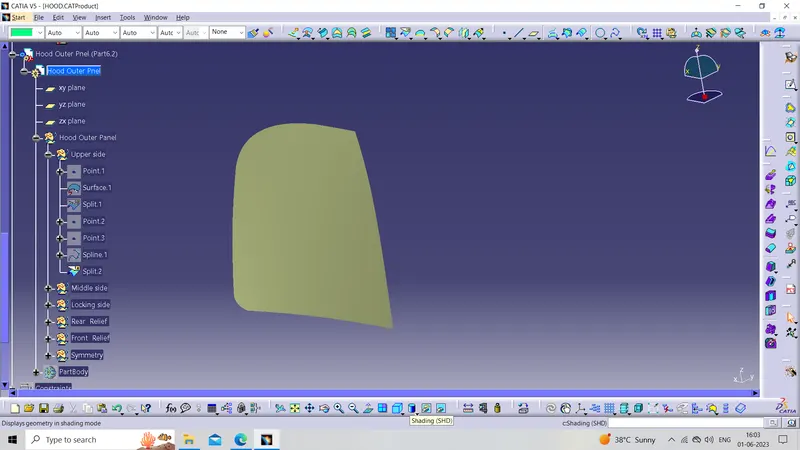
Creating the Locking surface of the Hood Outer Panel
Hemming Data:
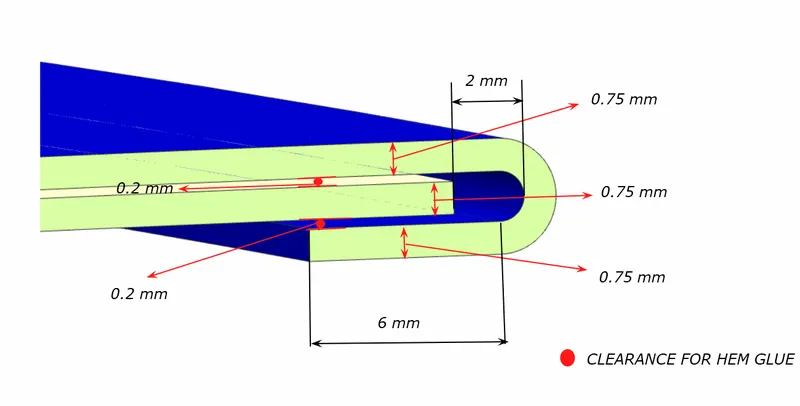
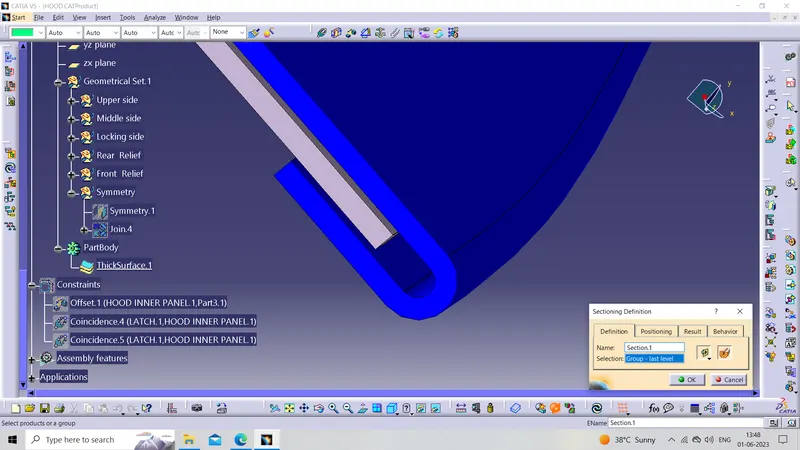
Data To be used
Outer Panel Thickness 0.75mm
Inner Panel Thickness 0.75mm
Reinforcement Thickness 1.5mm
By referring to the Above given data we offset the classy surface for 2.65mm
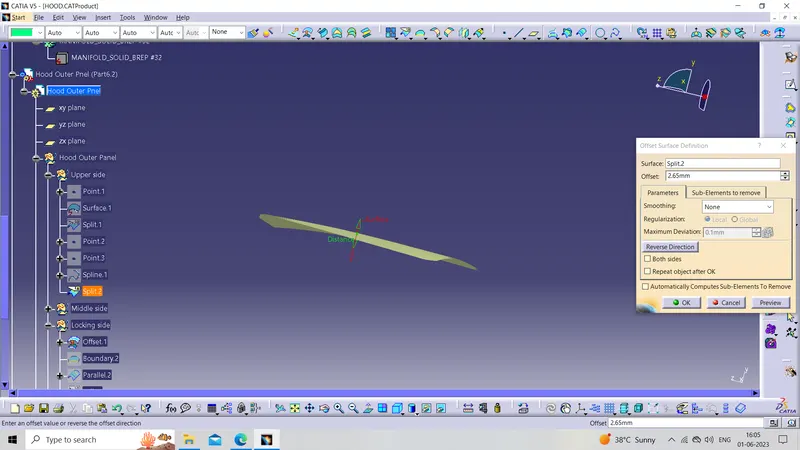
Now creating the boundary on the offset surface and then parallel curve definition for 7mm
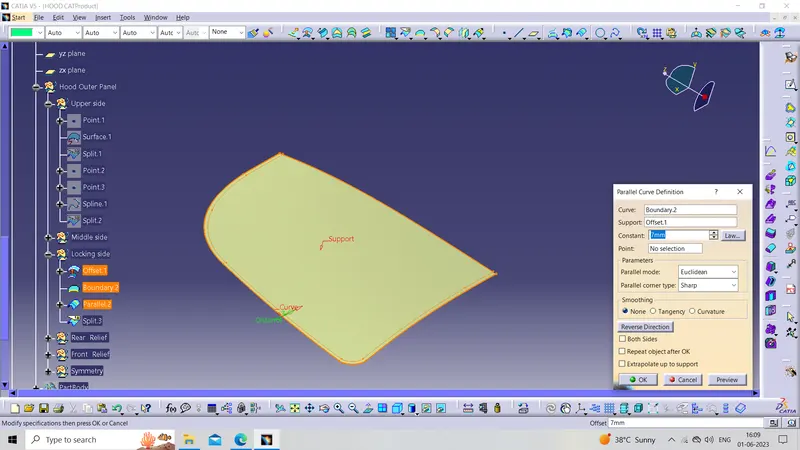
then split the offset surface with the parallel curve
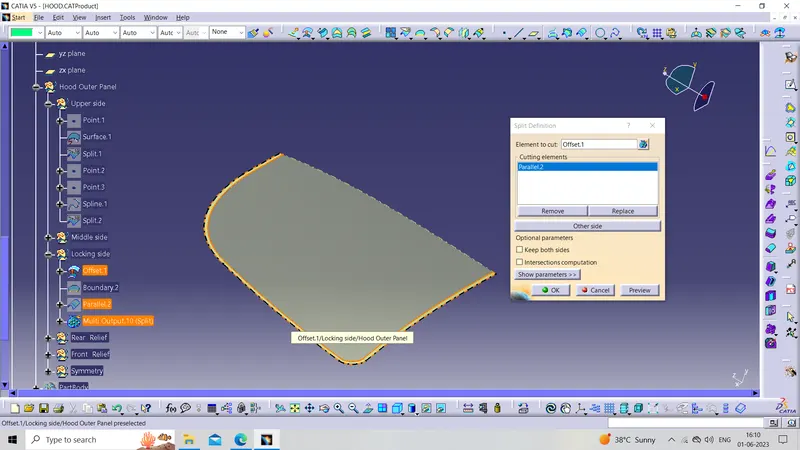
Now creating the boundary on the upper side surface
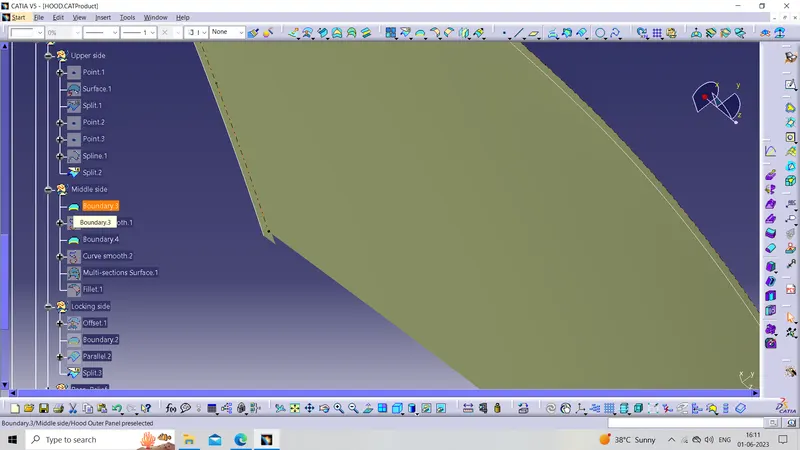
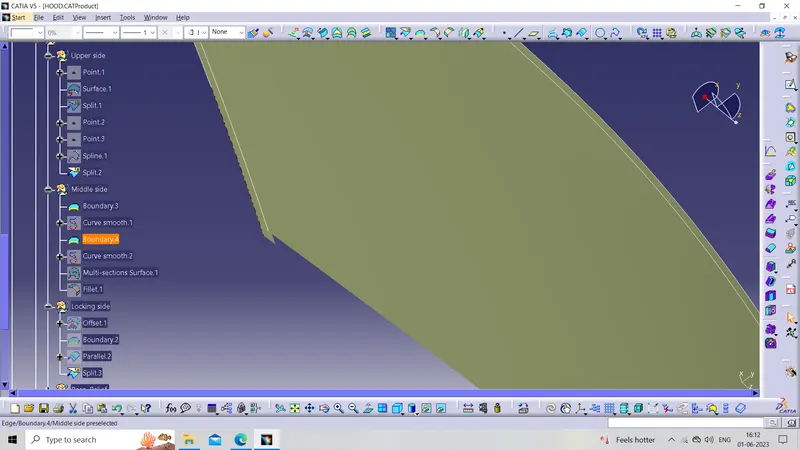
Now creating the boundary on the upper side surface
Now creating the multisection surface
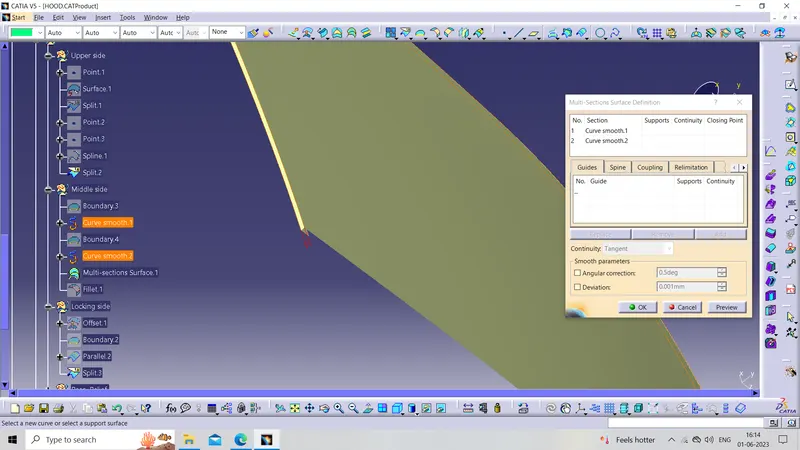
Now creating a curve surface by using the tangent fillet command
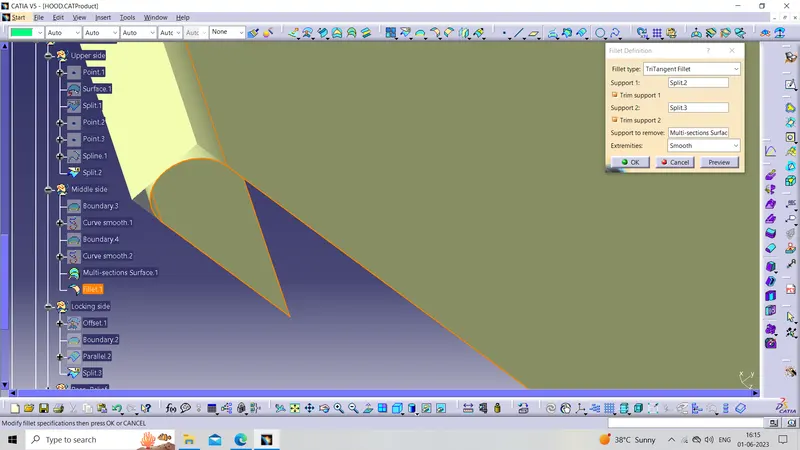
Now creating
Relief rear section:
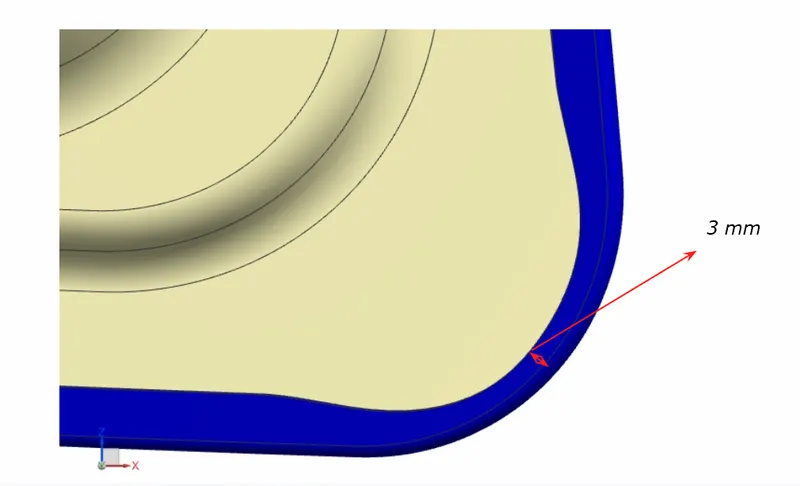
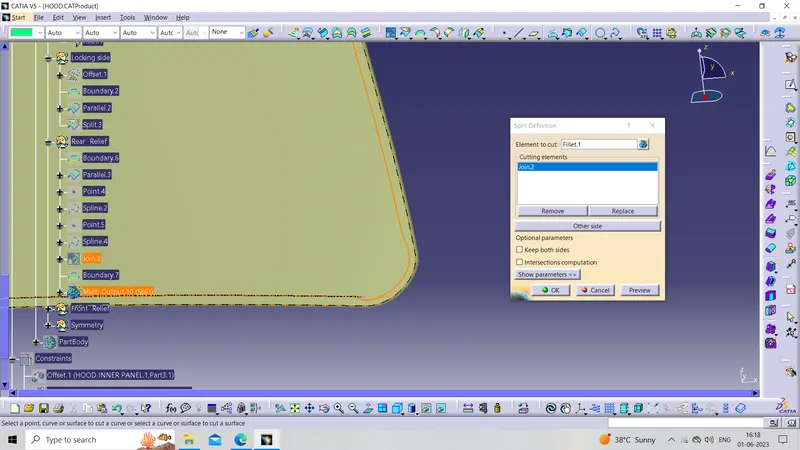
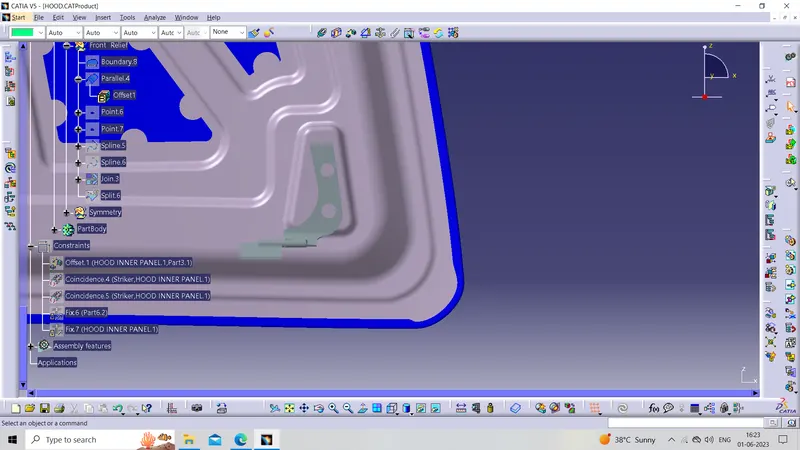
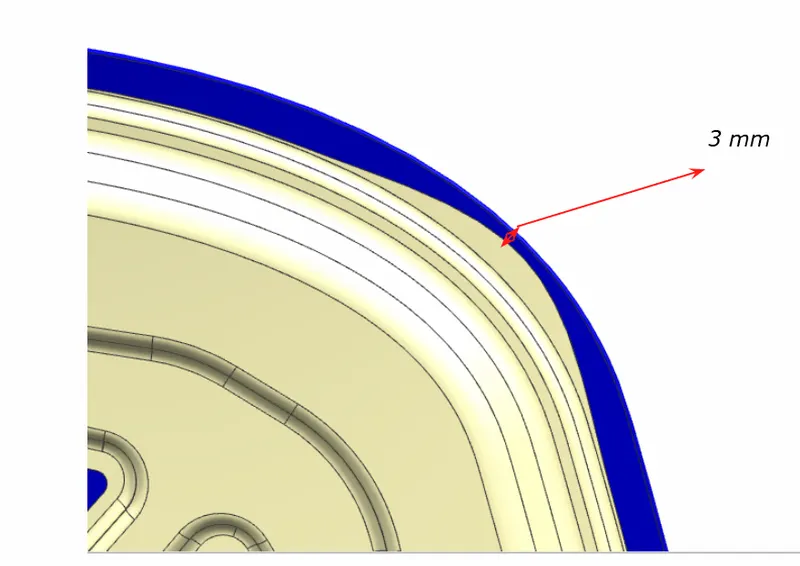
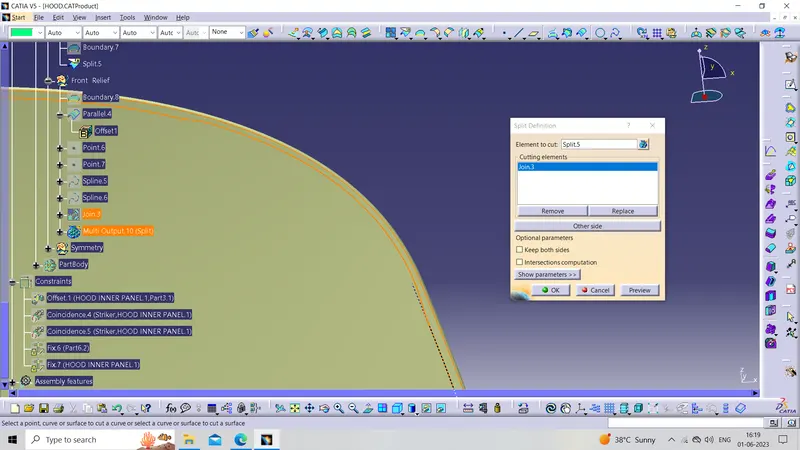
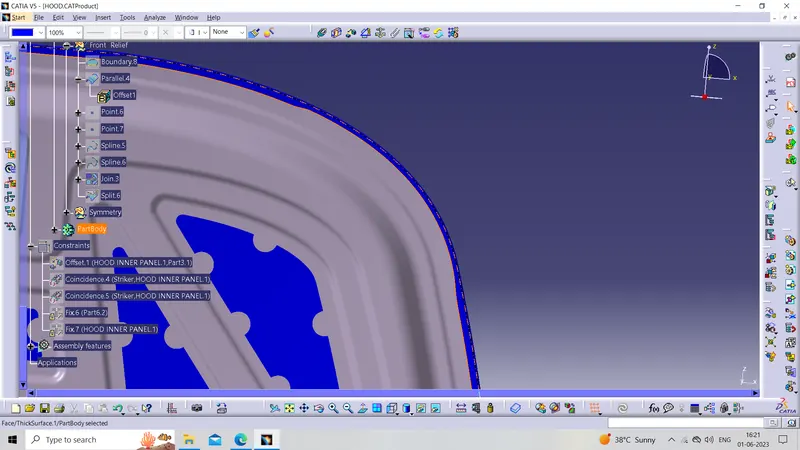
Front relief:
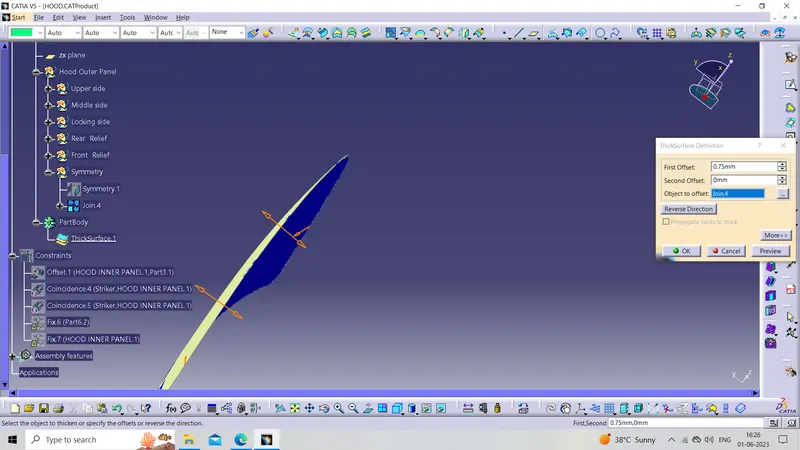
Thickn the Hood outer panel downward by using the thick surface command
Isometric View
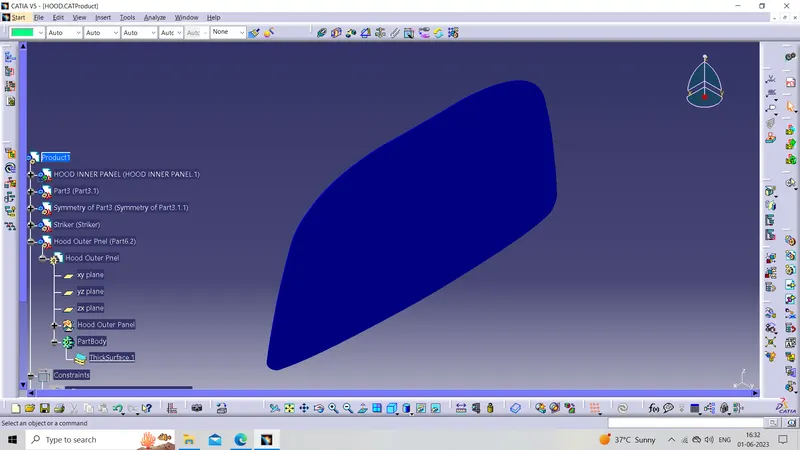
Front View
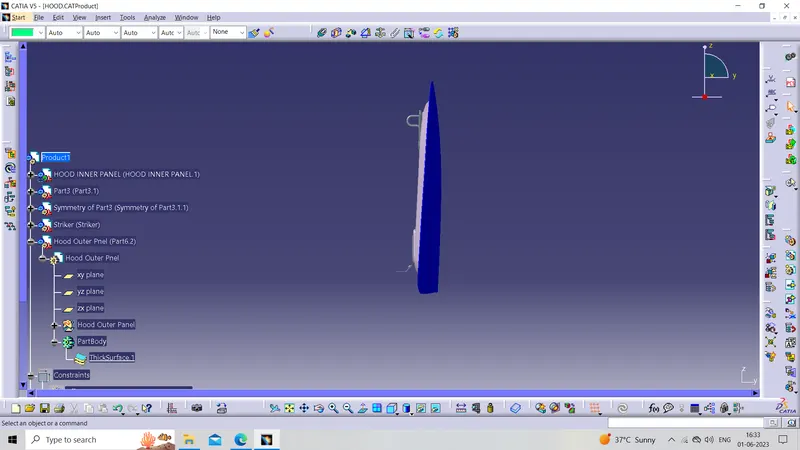
Side View
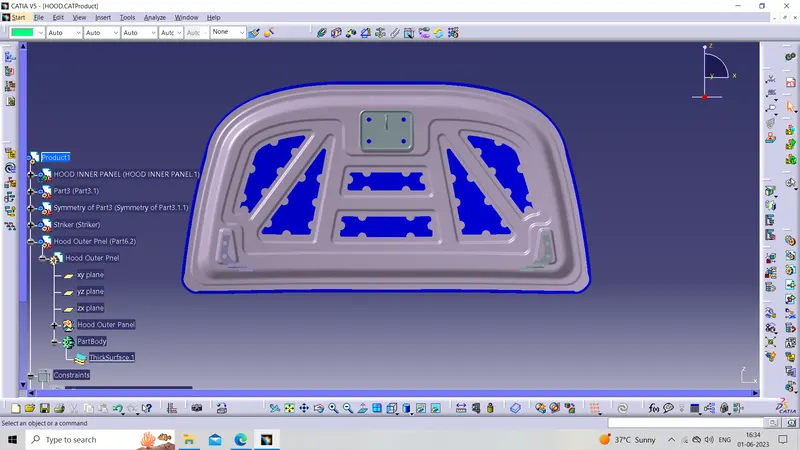
Top View