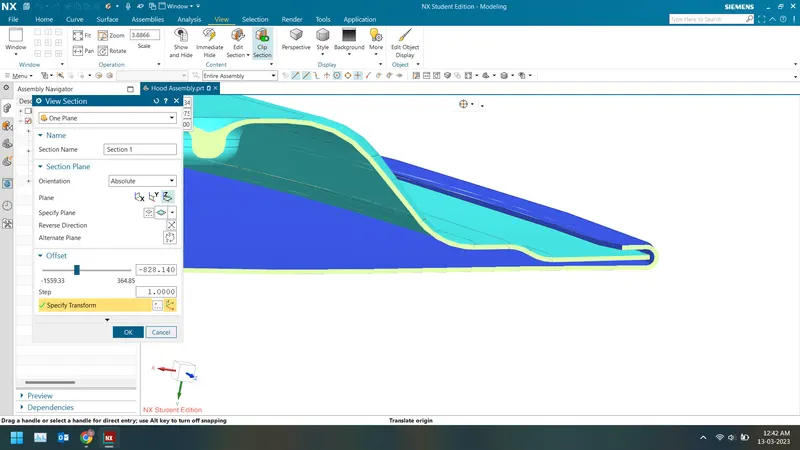
Hood design using Siemens NX
AIM
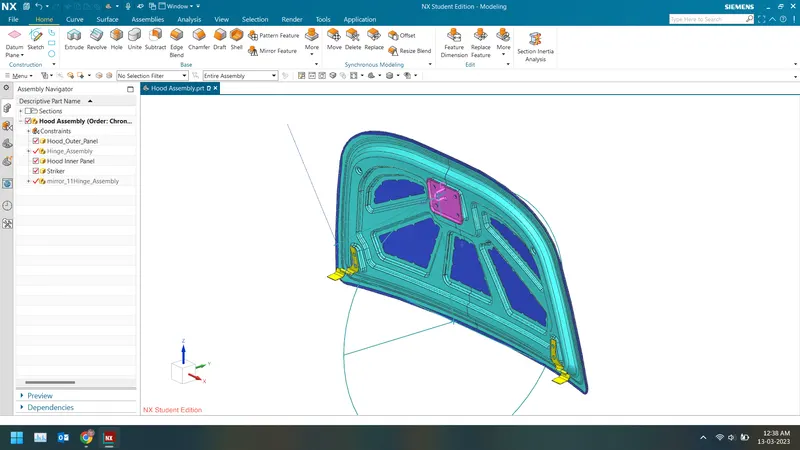
Design a car's hood with the class A Outer panel surface, master sections, hinge assembly, and striker.
WHAT IS A HOOD?
The hood or bonnet is the hinged cover over the engine of cars. Hoods can open to allow access to the engine compartment or trunk on some rear-engine and mid-engine vehicles for maintenance and repair.
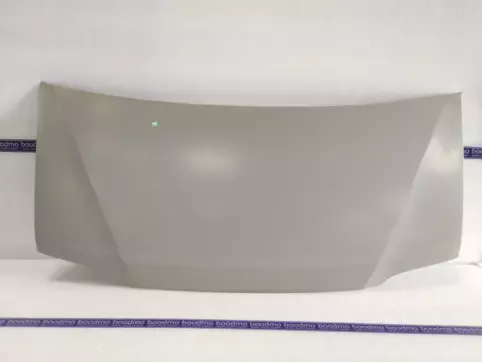
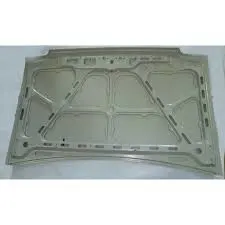
HOOD DESIGN CONSIDERATIONS
A lot of things are taken into consideration before designing a hood.
- Since the car could be an international product so we need to obey the safety guidelines of different countries. One such could be the opening height of the hood. Since the average human height differs from country and region to region so the height must also be changed accordingly.
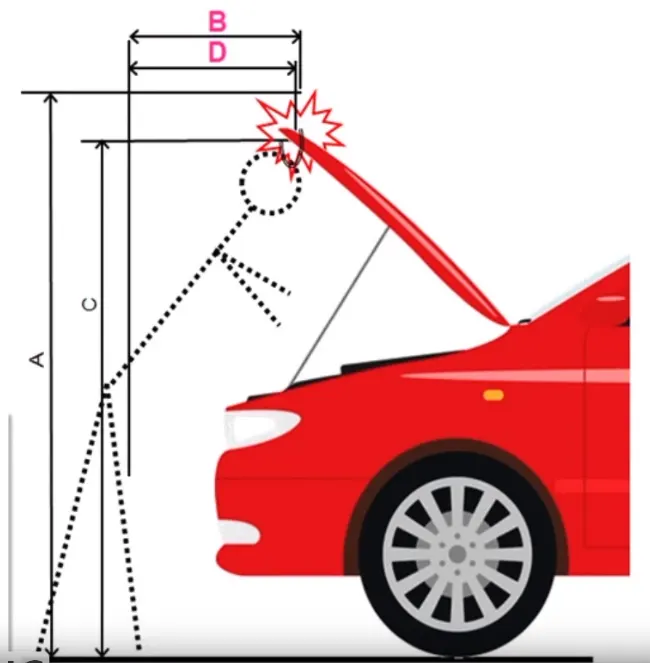
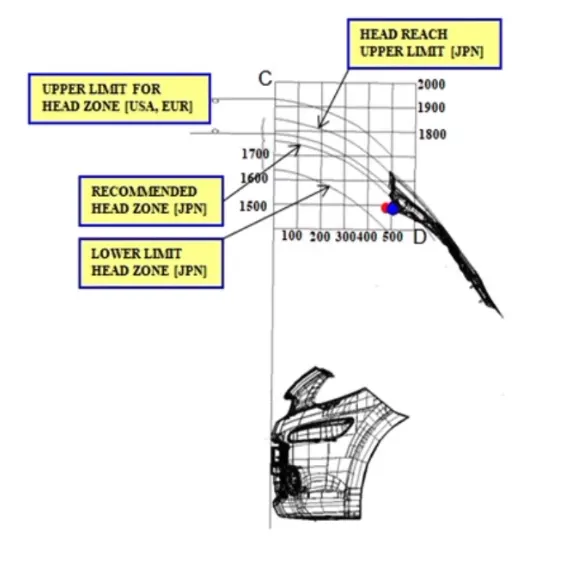
- Since in due collision, it is the foremost contact point with pedestrians so it mustn't be very stiff. It should have crumple zones to absorb some force.

-
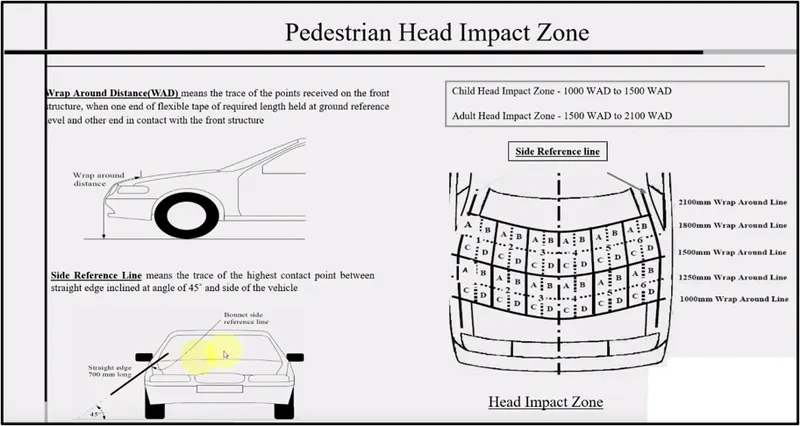
When a car crashes on a pedestrian, the whole human body wraps around the front shape of the car and the head impacts the bonnet or the windscreen. The distance on which the head impacts the car from the ground is called the Wrap Around Distance (WAD).
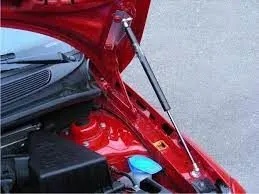
- The hood post opening needs to stay open for which we can use either of the two
- Gas Stays - Gas stays are great for helping control the motion of the hood. The gas stay can help keep the hood in the closed position, aid in lifting, and hold it in the open position. Gas stays are pressurized with nitrogen gas and contain a small amount of lubricating oil within the cylinder.
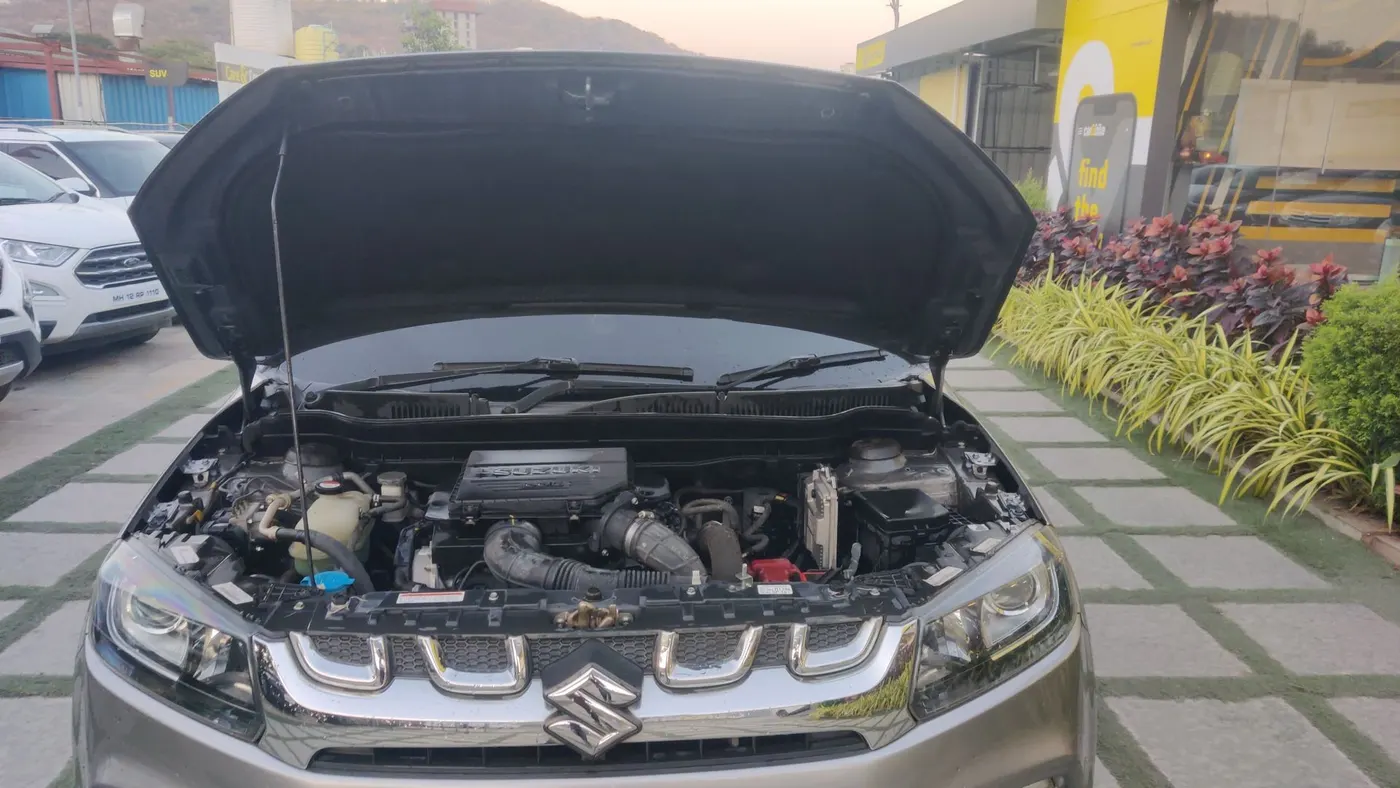
- Support Rods - Support rods are simple rods that either rest locked on the engine side or on the hood side and hold the hood open when physically attached between the hood and engine compartment.
- Gas Stays - Gas stays are great for helping control the motion of the hood. The gas stay can help keep the hood in the closed position, aid in lifting, and hold it in the open position. Gas stays are pressurized with nitrogen gas and contain a small amount of lubricating oil within the cylinder.
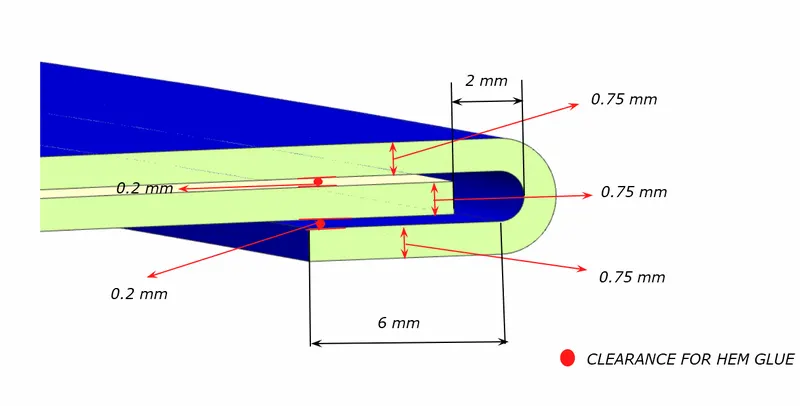
- Hoods are not manufactured by welding sheet metals. Rather process like hemming and pasting are used to join panels of the hood. Individual panels are stamped on the sheet metal to produce the embossing.
- Hemming is a sheet metal forming process in which sheets are joined by bending them usually to 180°. Automotive body panels and automotive parts such as hoods and tailgates are formed by the hemming process. Normally hemming operations are used to connect parts together, improving the appearance of a part and reinforcing part edges.
DESIGN PARAMETERS
- Outer Panel Thickness = 0.75mm
- Inner Panel Thickness = 0.75mm
- Reinforcement Thickness = 1.5mm
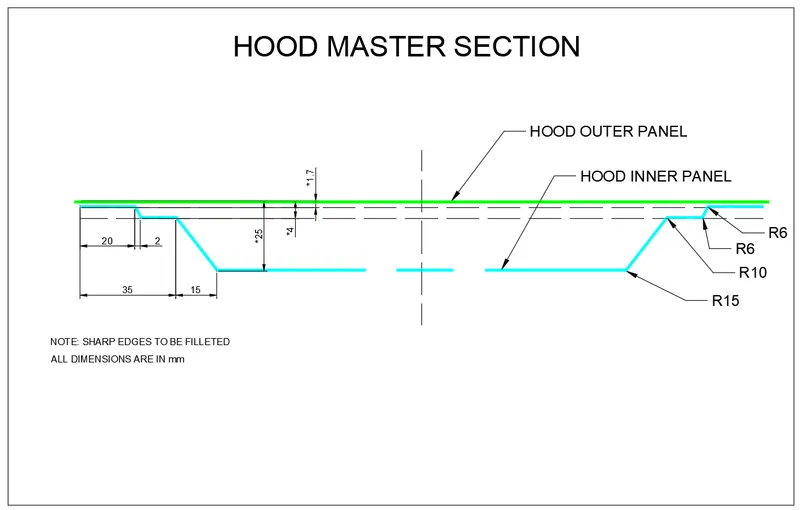
HOOD MASTER SECTION
HEMMING DATA
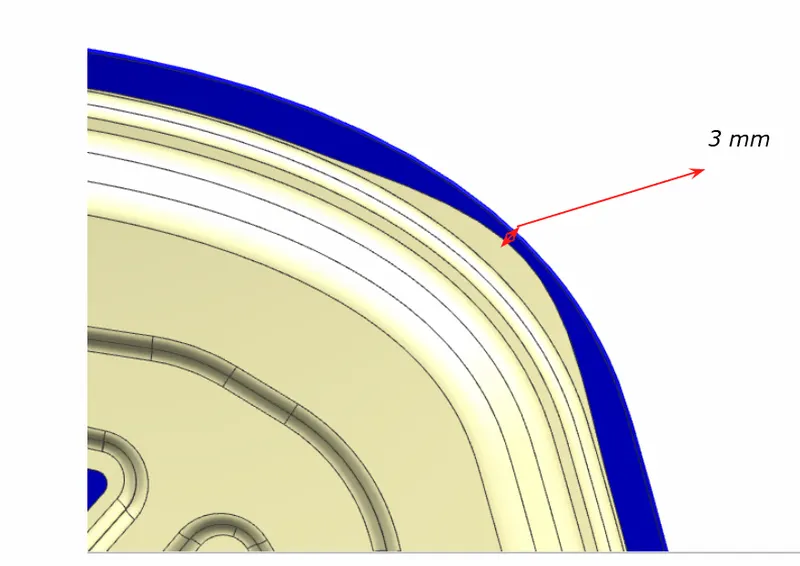
FRONT RELIEF
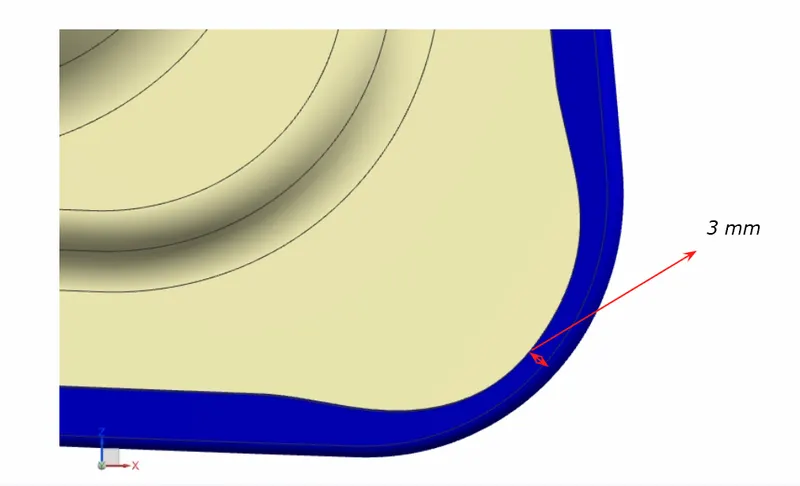
REAR RELIEF
DESIGN PROCEDURE
- Available Assembly/Part - Striker, and Hinge assembly
- We create a new assembly file and add the available components and create a new part as the Hood inner panel
- HOOD OUTER PANEL
- Class A surface of the hood outer panel is received directly from the styling team.
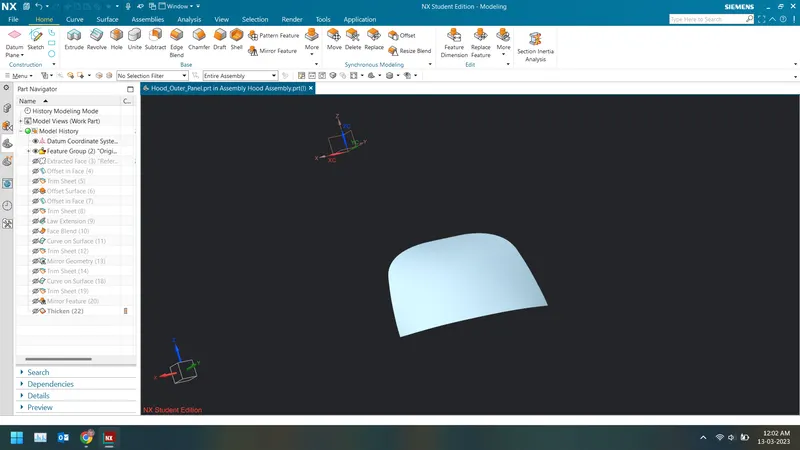
- We create a feature group to add the original surface and create an extract of the same for future use.
- We fix the Class A surface to restrict all DOFs.
- We offset the extracted surface to 2.65mm (0.75+0.2+0.75+0.2+0.75) and offset curve in face for 8 mm and trim the surface to create the hemming flange.
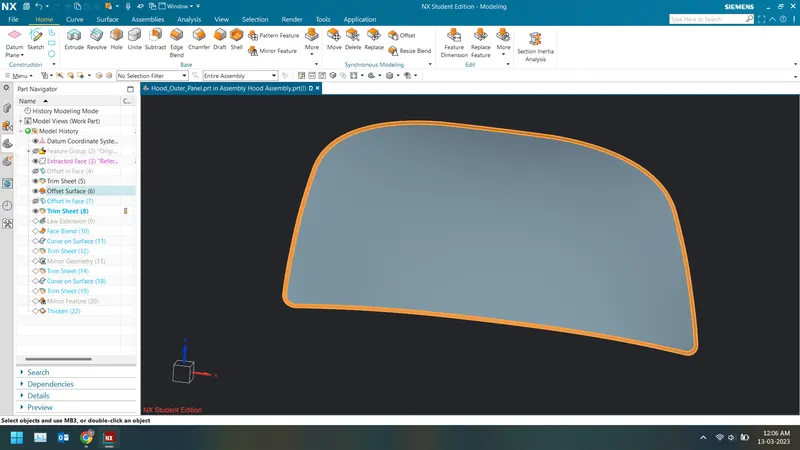
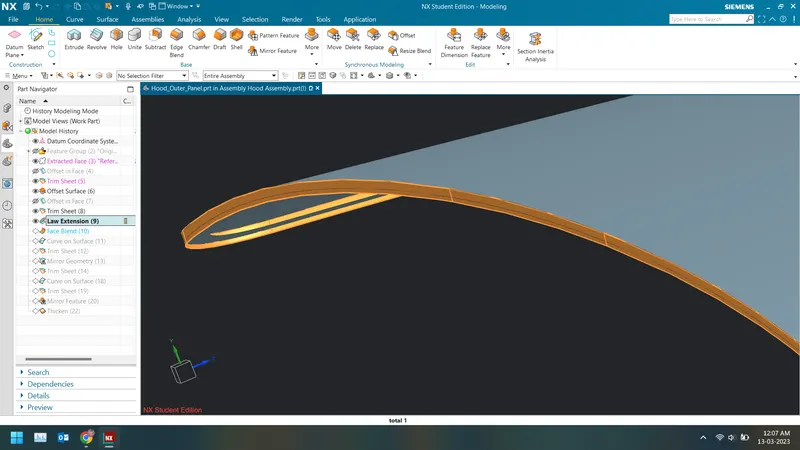
- We create a law extension with the outer edge of the hood outer panel for 4mm with 10 degrees of draft.
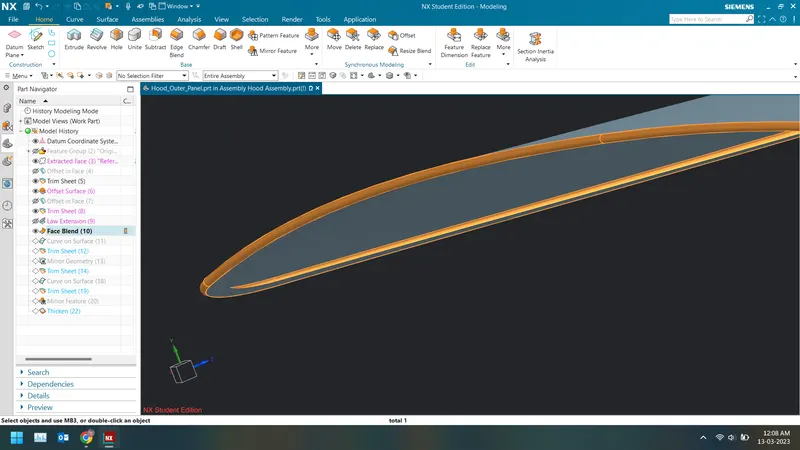
- We use 3 face blend to create the bend.
- We create freehand spline at the front and rear ends and use the mirror feature to get the reliefs.
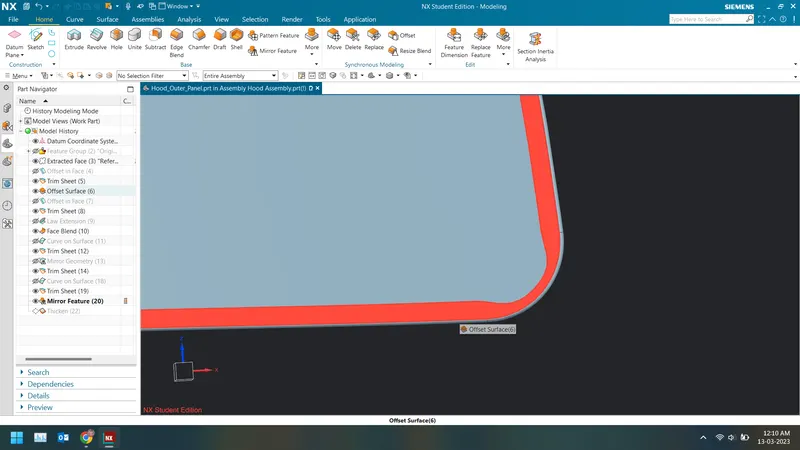
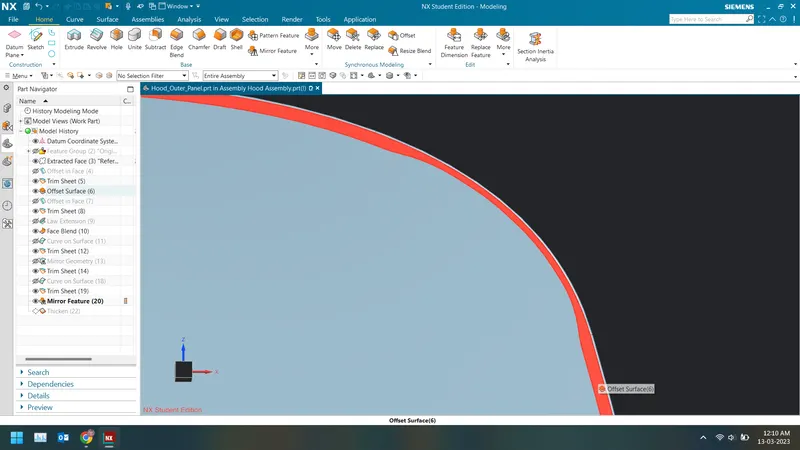
- Finally, we thicken the surface towards the inner panel for 0.75mm to get the final hood outer panel.
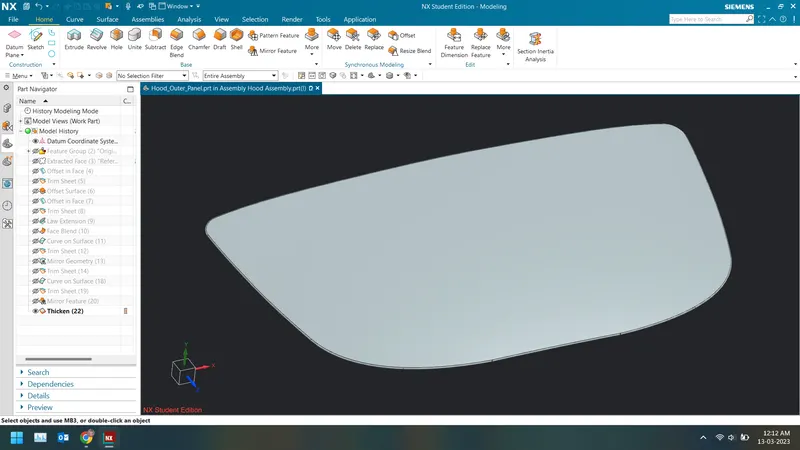
- Class A surface of the hood outer panel is received directly from the styling team.
- HOOD INNER PANEL
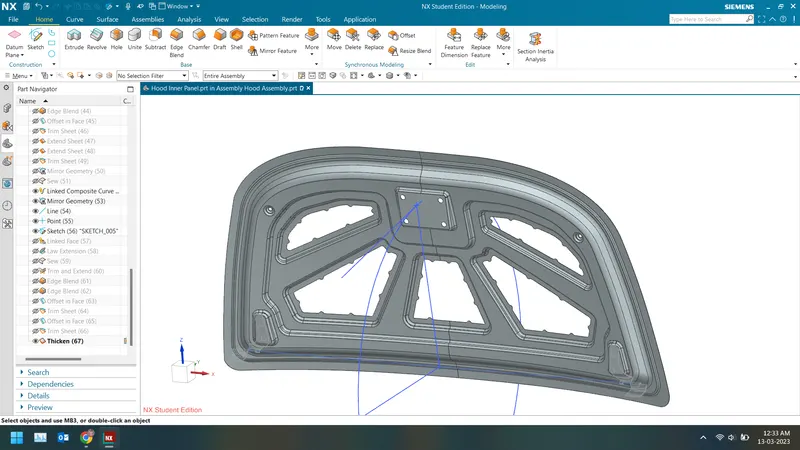
- We use the wave geometry linker to extract the hood's outer panel surface with no associativity.
- We fix the panel to restrict all DOFs.
- Since the hood class A surface is symmetric so we trim it by the YC-ZC plane.
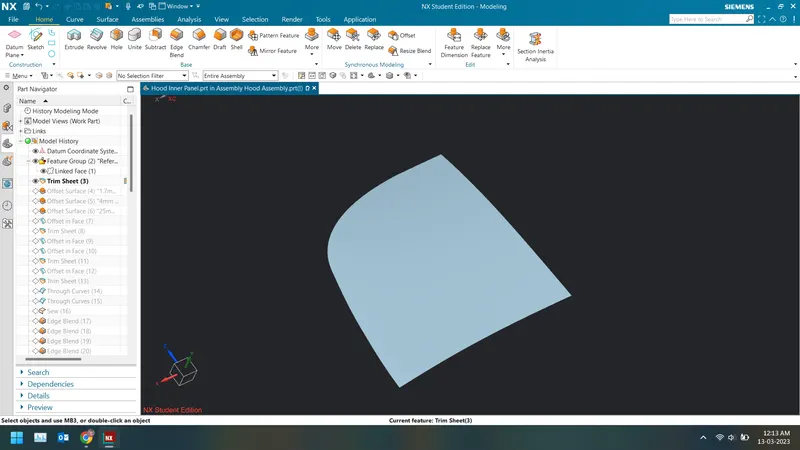
- Now we create three offsets at 1.7mm, 4mm, and 25 mm respectively for flanges as per the master section.
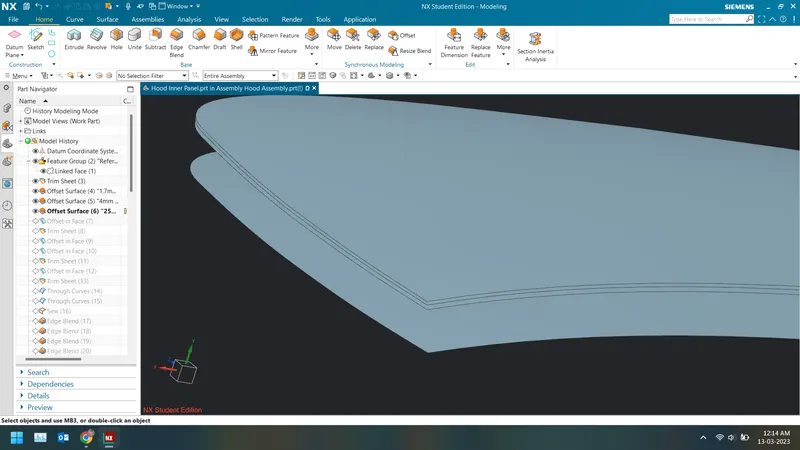
- In the 1.7mm offset surface, we offset the edge curve on the face for 20mm and trim the surface to keep the inside surface.
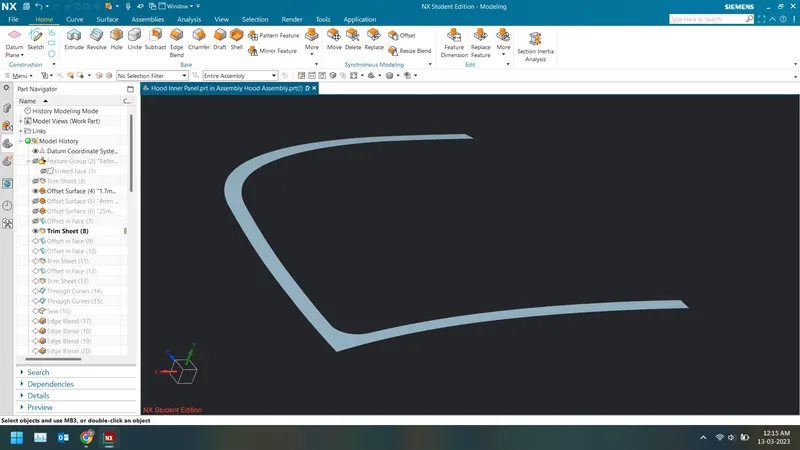
- In the 4mm offset surface, we offset the edge curve on the face for 22mm and 35 mm and trim to keep the middle surface.
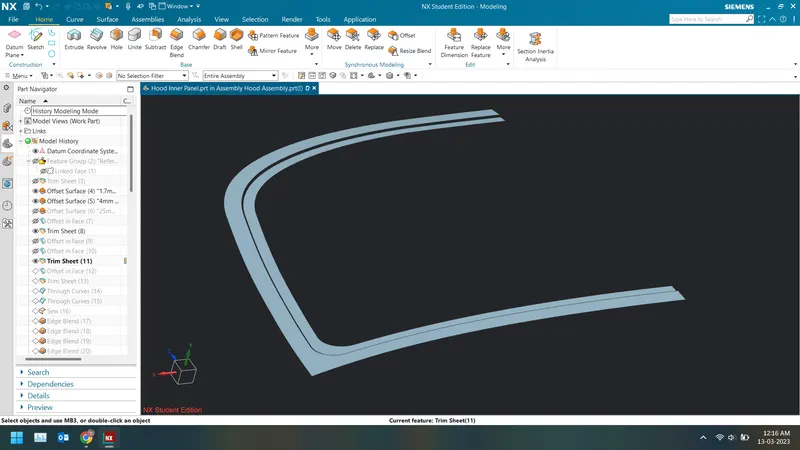
- In the 25mm offset surface, we offset the edge curve on the face for 50mm and trim the surface to keep the inside surface.
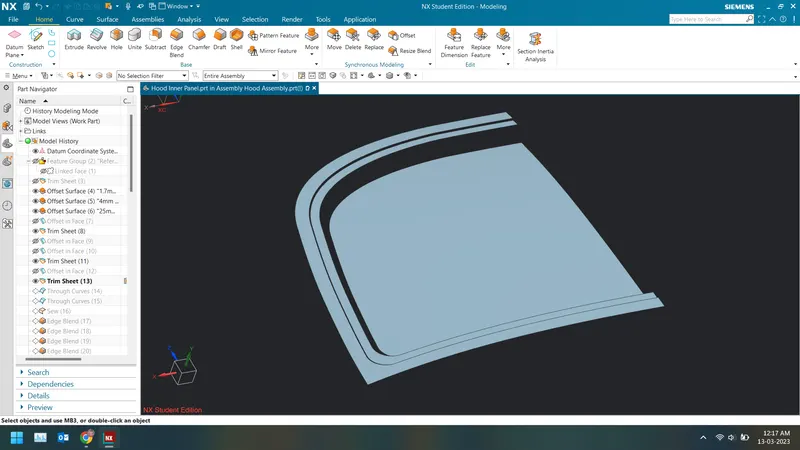
- We use the Through Curve command to connect the offset flanges and sew all the surfaces into one. Then apply edge blends as per the master section.
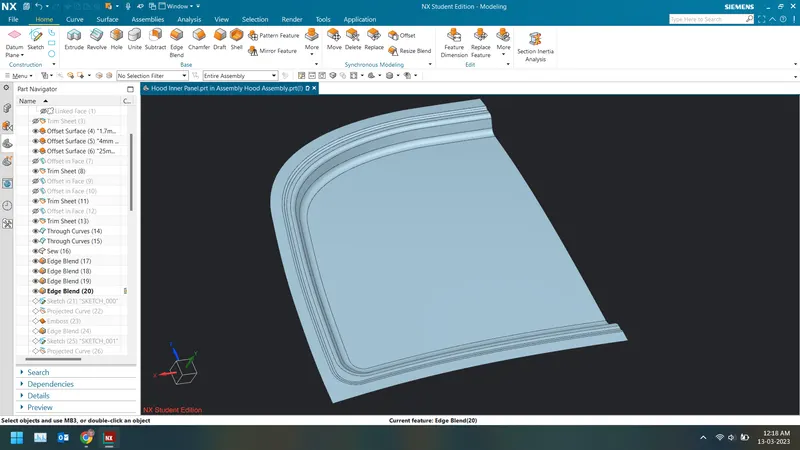
- We then create the sketch for the base emboss keeping space for the striker and hinge assembly and project on the inner panel.
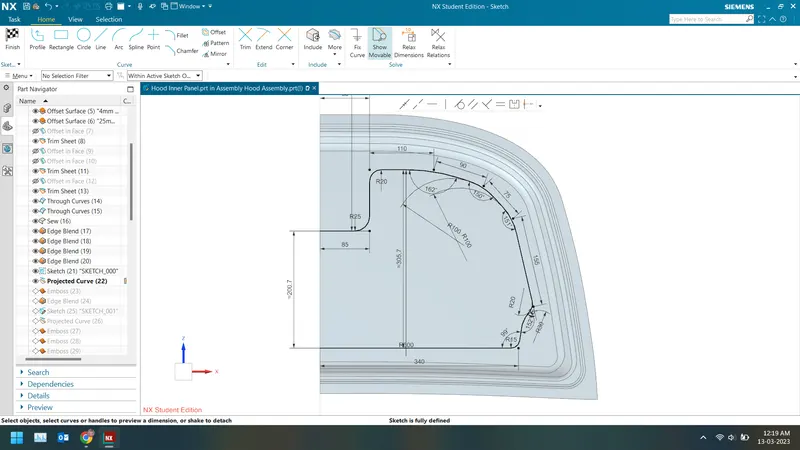
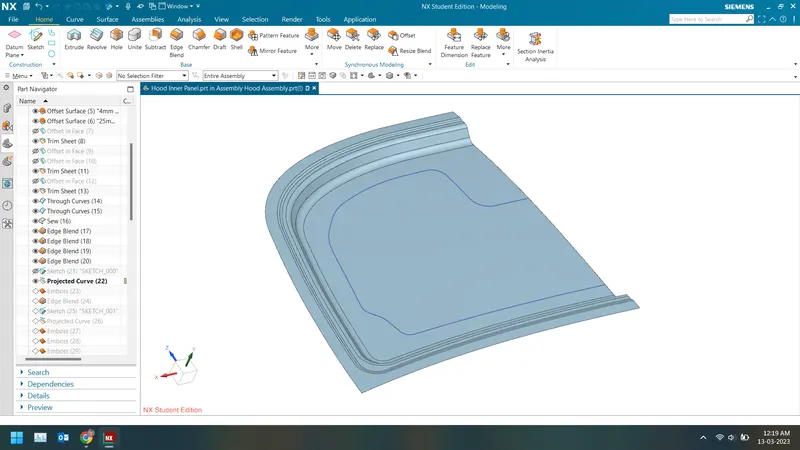
- we use the emboss command to create the emboss for a height of 10 mm with a 10-degree draft.
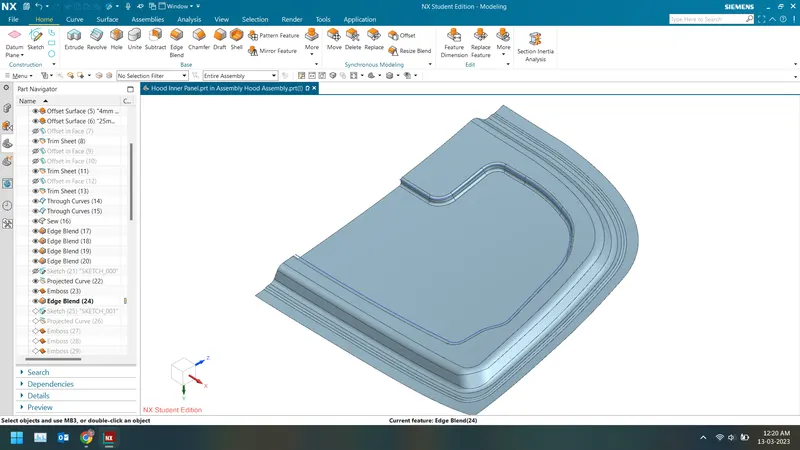
- Next, we create the sketch for smaller emboss and repeat the above step to create them and edge bled with 4mm.
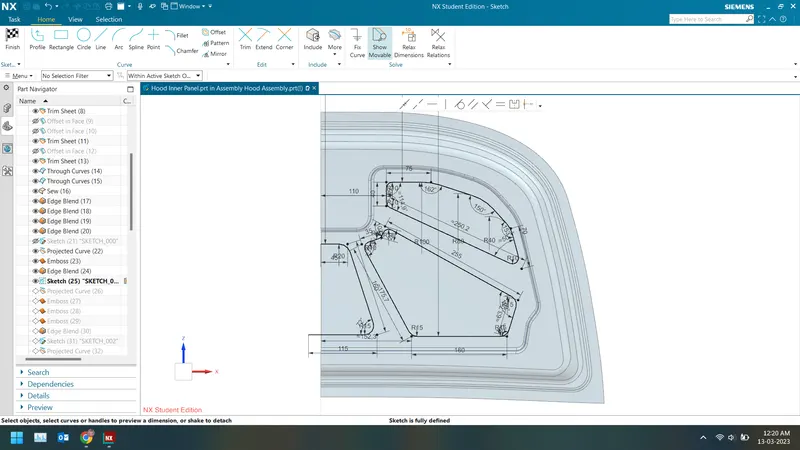
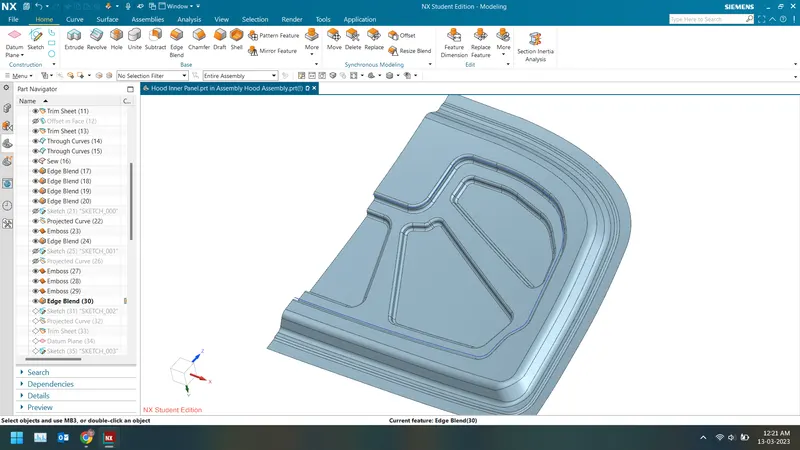
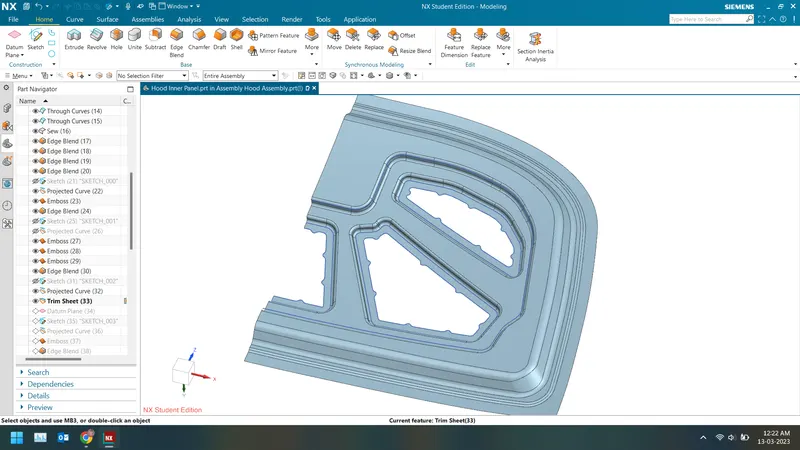
- We then create the sketch for cutouts and mastic points and project the same on the inner panel and trim to remove the enclosed surface.
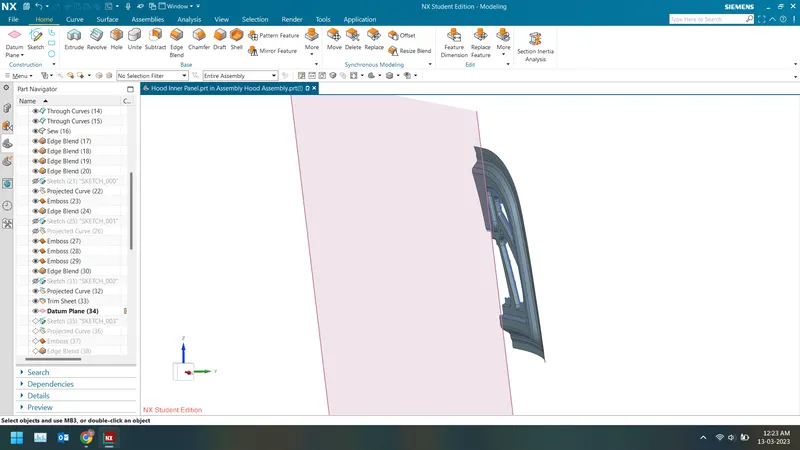
- We create a datum plane offset from the XC-ZC plane somewhat parallel to the hood inclination and nearly 25 mm from the hood.
- We create a sketch for hinge embossing and use the datum plane as the end cap to create flat-faced emboss.
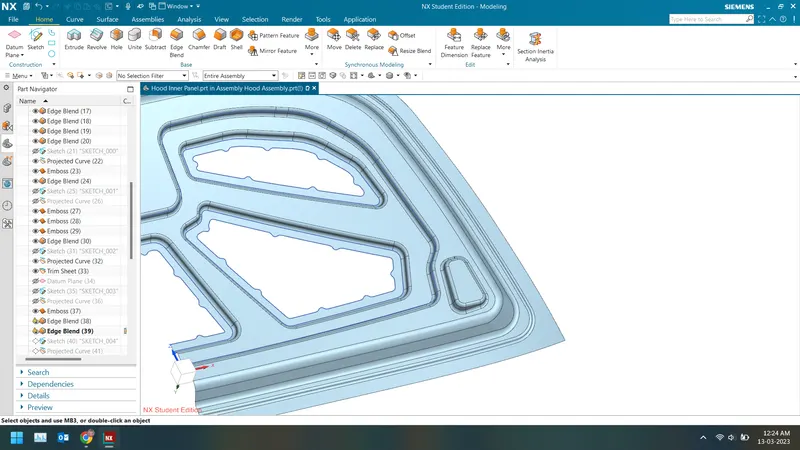
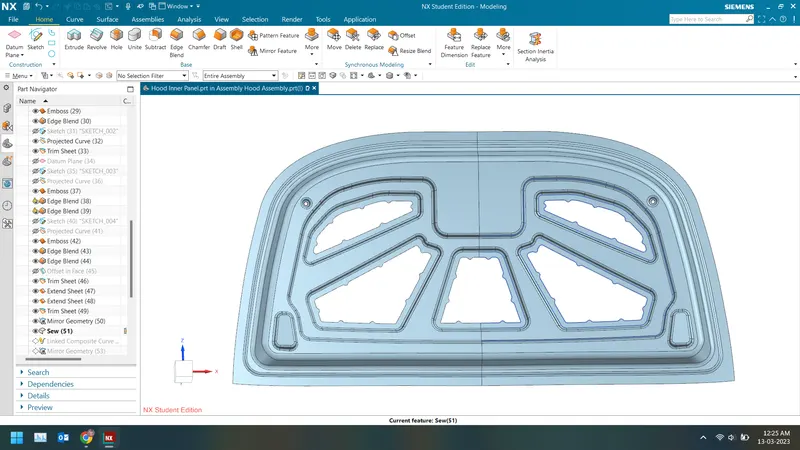
- We extend the inner edge and trim with the YC-ZC plane and mirror the half inner panel and sew them together to create the final Hood Inner panel.
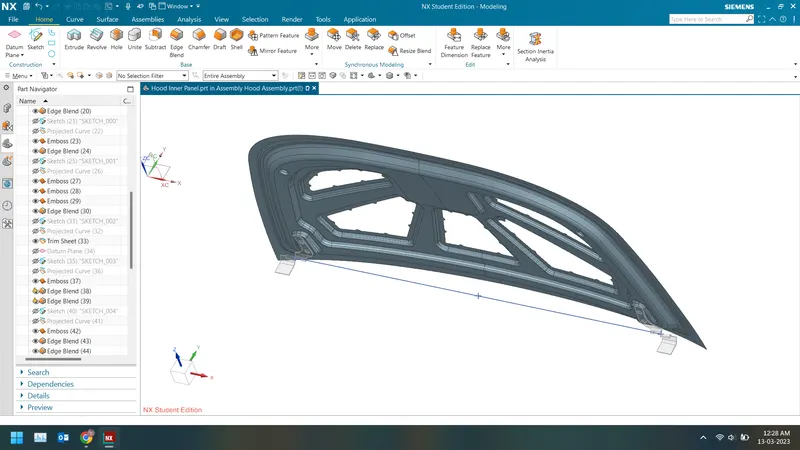
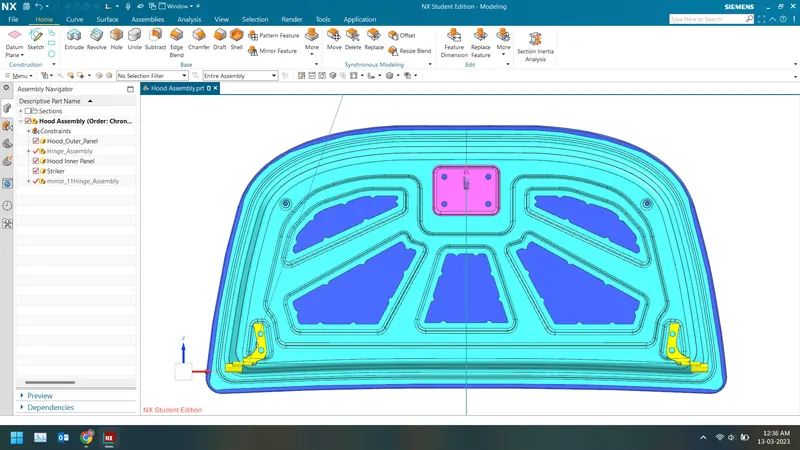
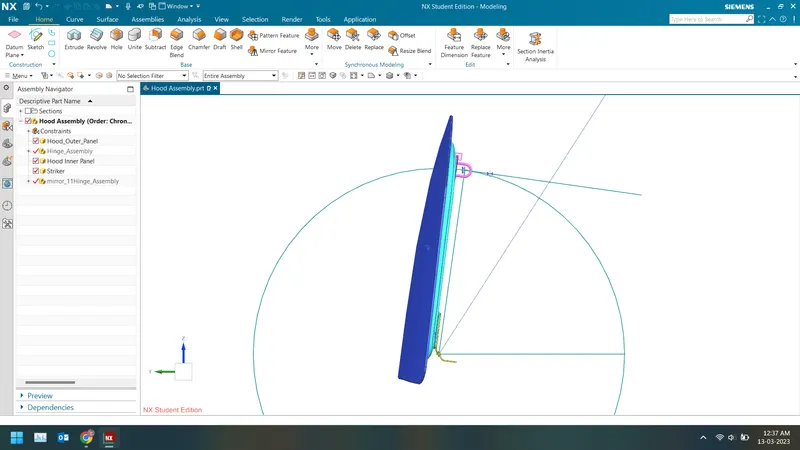
- We constraint the hinge assembly to place it on the hinge emboss and create an associative mirror about the YC-ZC plane. We then use the center point of the hinge to create the Hood closing axis.
- We create a circle to position the striker and create a horizontal line and a line at any angle and create an intersection point.
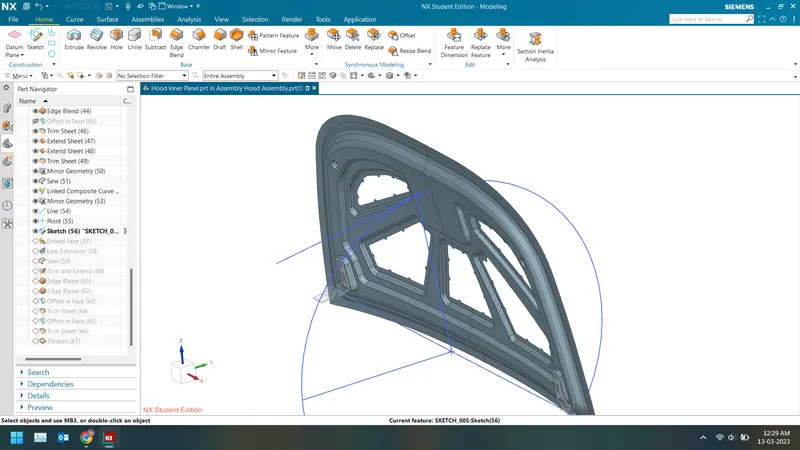
- We create a perpendicular line to the striker and align the endpoint and tangent the striker line to the hood trajectory.
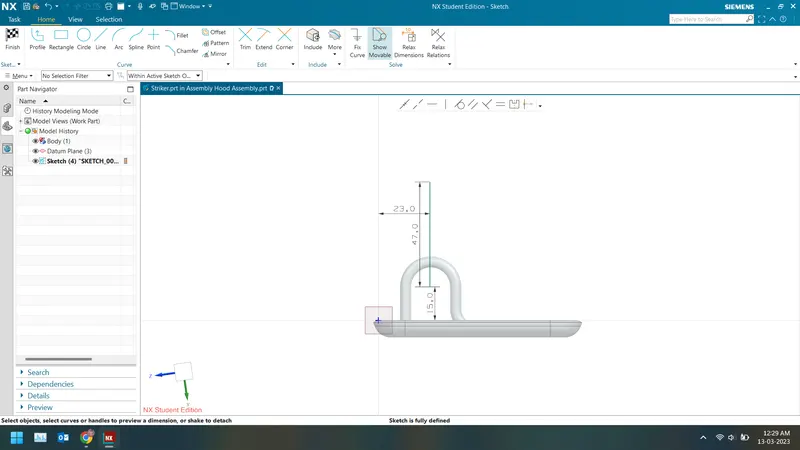
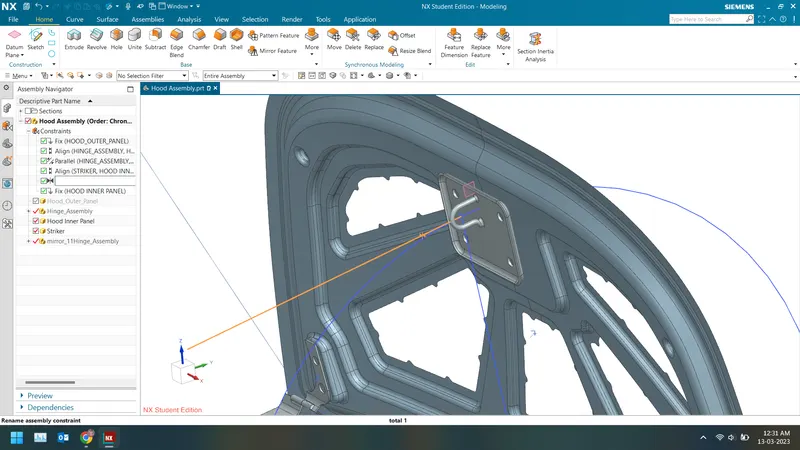
- We place the striker in the vicinity of the hood and use the wave geometry linker to extract the back face of the striker.
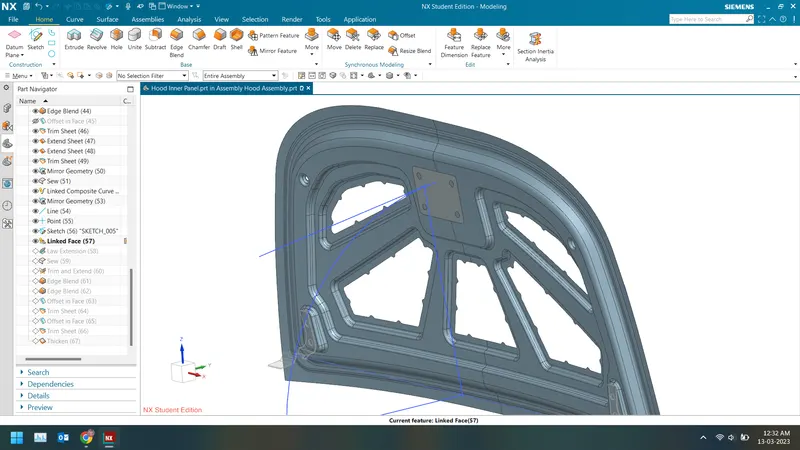
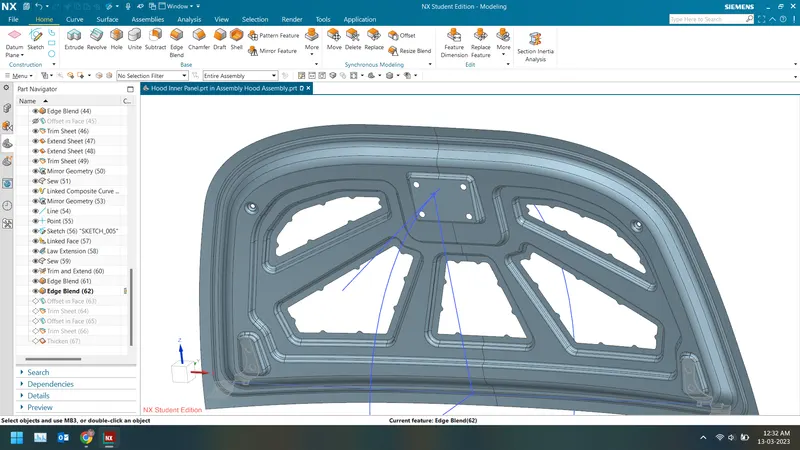
- We use law extension to extrude the edge with a draft angle of 10 degrees. We trim and extend it with the Hood's Inner panel and thicken it towards the outer panel to get the final hood's inner panel.
VIEWS
- Front view
- Side view
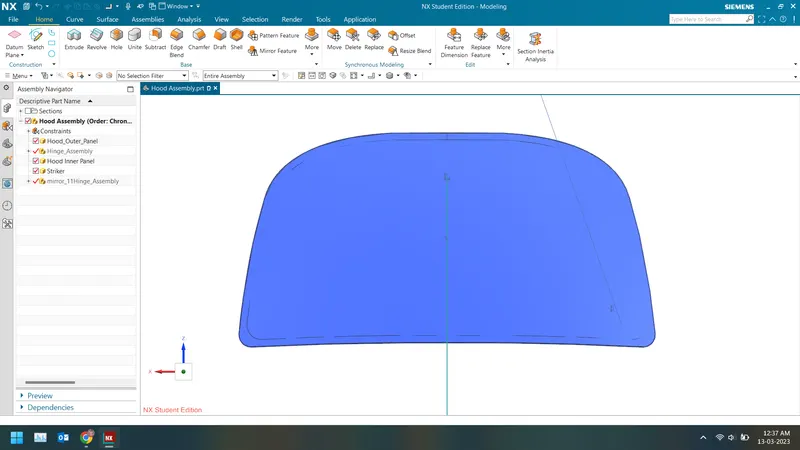
- Top view
- Isometric view
HEMMING CROSS-SECTIONAL VIEW