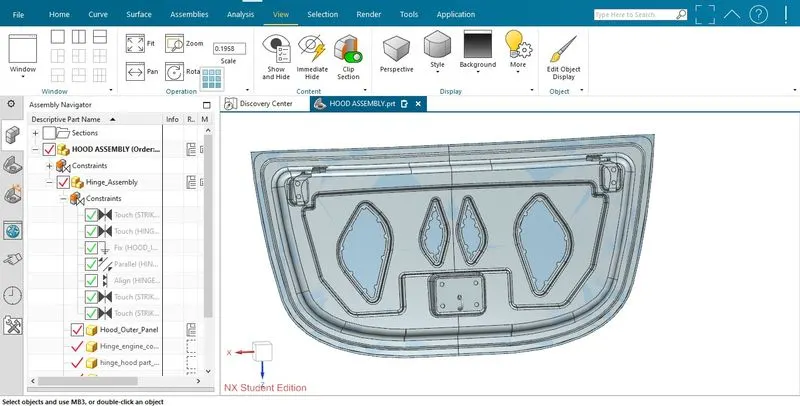
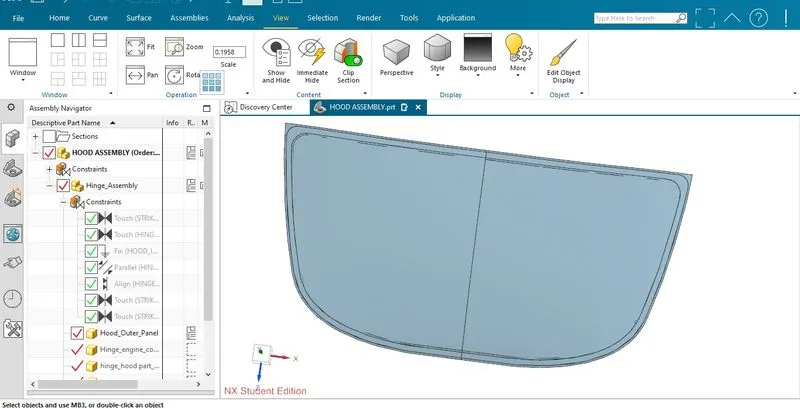
Hood design-Week 2
Report on the Hood design
AIM: To create hood from the given outer panel surface by following the master section and design rules.
Given outer panel surface:
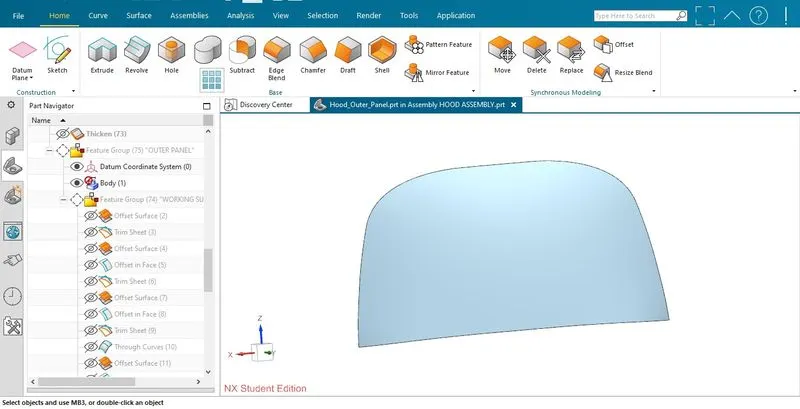
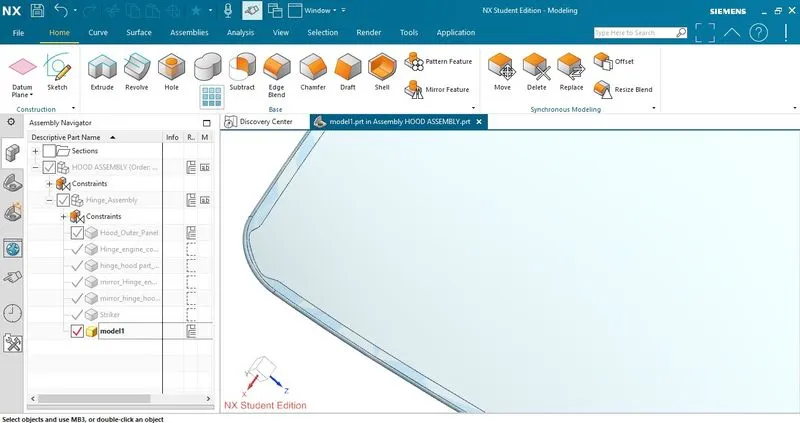
Step 1: Start working with outer panel surface first offset it by 2.65 mm downward and create hemming surface by using the command such as offset on face curve and trim sheet command then create the wall in between them and create three face fillet to create hemming on the surface.
- Now we need to give the relief around the corner of the hemming surface to avoid the wrinkels and undesired markes around the corner of hemming surface, that is also called deep drawing.
Step 2 : Now we will make the inner panel by cutting the given surface into half by trim sheet and then using offset on face command.
- The trimmed surfaces in this way can be offseted upto different levels acc. to the given mastersection. And the space between them could be filled by through curve surface command.
- now we give the face blend and edge blend to avoid the sharp corner on the surface;
- Then we create step emboss first leaving the space for latch striker reinforcement and hinge reinforcement surface and create emboss further on the step emboss, these emboss are of random shapes and we give draft angle of 10 deg.
- Now we create the Mastic section on these emboss by creating overlaping cicles of diameter 80mm and creating the circles of 10 mm concetric to those overlapping surface, now use trim sheet to create that mastic section surface on those emboss which we projected on the step embossas shown below.
- Finally mirror the created surface to make whole inner panel surface as shown below.
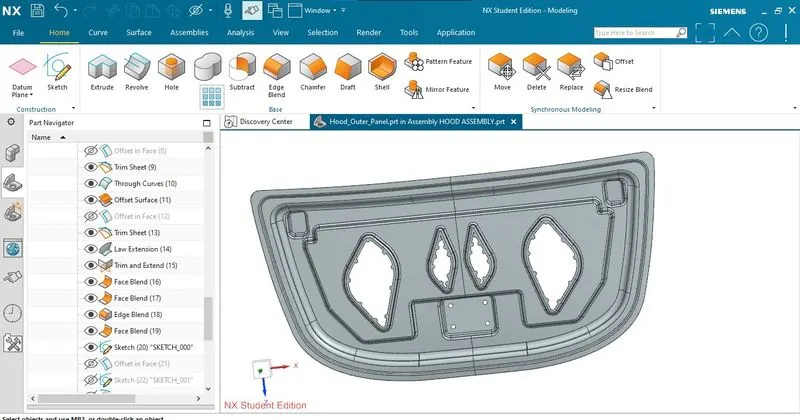
- Mastic section surface on the emboss:
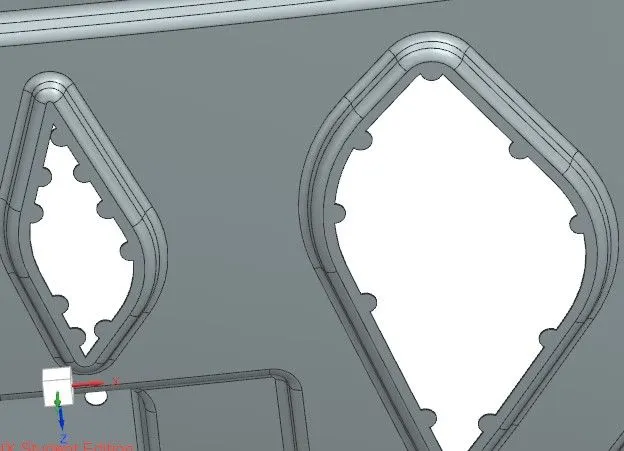
- Now create emboss for hinge reinforcement by creating a datum plane first then creating emboss with that datum plane to make the plane surface of that emboss as shown below
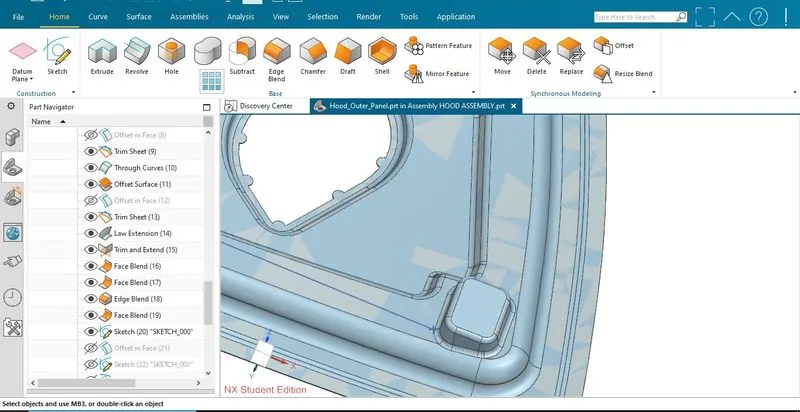
Step 3: Giving constraints to Hinge assembly on the emboss surface and creating emboss for latch stiker reinforcement and after that giving constraints to it by Latch trajectory
- we give 3 contraints to the hinge assembly these constraints are align constraint with x axis, touch constraint and parallel constraint to get the hinge assembly attached to the hinge reinforcement surface.
- Now create hinge axis and create midpoint on it to create the latch trajectory surface take radius of trajectory from the centre of hinge axis and approx. mid point of latch reinforcement surface, now create tangent to this circle to predict the path of latch and striker.
- now give contraints such as align to the line passing through the centre of latch striker and the tangent of latch trajectory and now create emboss for the latch reinforcement.
- Finally give the toch constraints to attach striker on the inner panel as shown below.
- Latch trajectory :
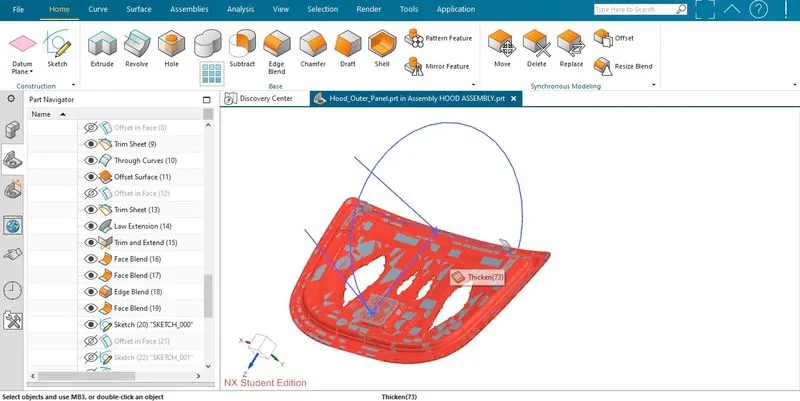
- Attached components :
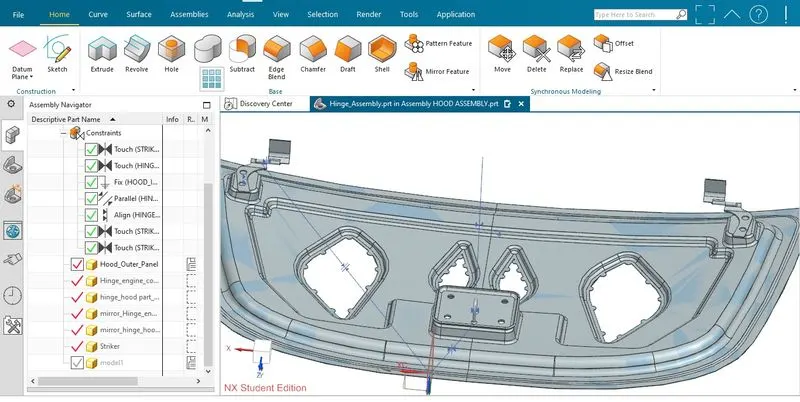
Now our final component is ready with assembly as shown: