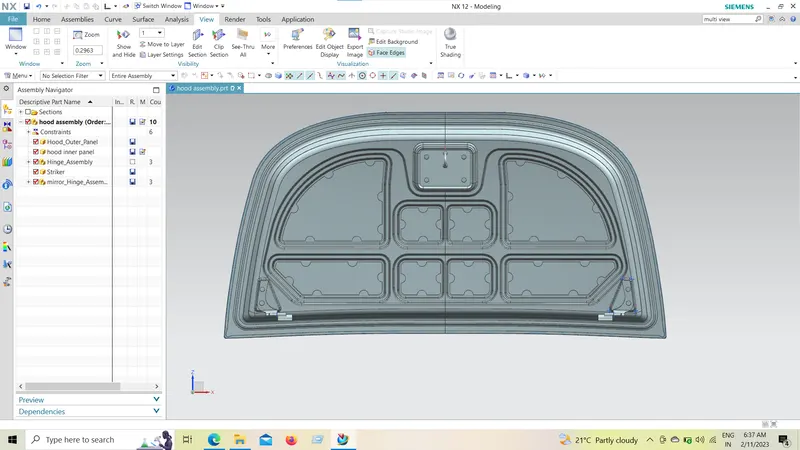
Hood design-Week 2
Hood outer panel outer surface given as reference surface. New assembly file created.Decided for Top down approach method.So imported all parts inside that assembly file.Inner panel part need to be created new.
Inner panel:
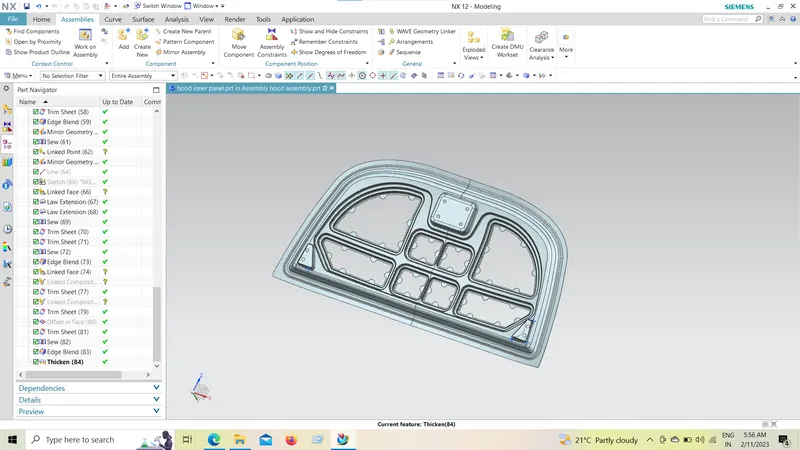
Offseted outer panel for zero mm.
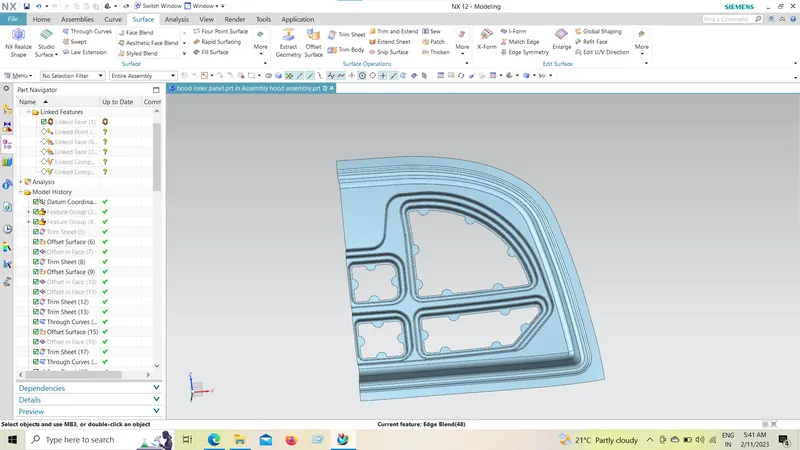
Since inner panel profile is symmetry for middle plane,I have trimmed into half using trim sheet command.
Then as per master section,profiles created one by one.
To make inner panel more strengthen embossing provided.To fix the inner panel with outer panel mastic joint is the way.For mastic joint we need 5mm inner clearance between both panels.So for that I have creted embossing steps for three times to get that clearance.
For pedestrian safety constrain we have to reduce the surface area of inner panel as much as possible.So I have provided cutouts with proper clearnce.
Then using edge blend option all sharp edges removed.
Hinge fixing provision:
Approx parellel plan created for hinge surface.10 degree inlination given for that plan.
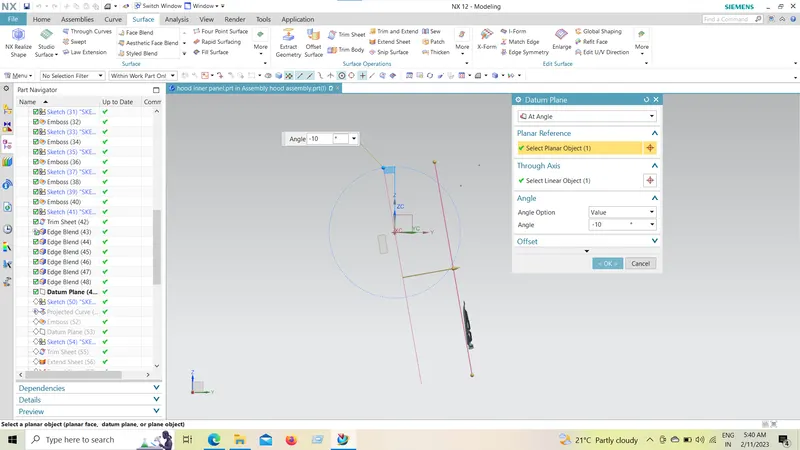
Flat surface created at inner panel using this plan.Profile of this surface created with suitable for hinge profile.
Position of the hinge placed aprox now.
Hinge Fixing holes extracted using wave linker option & provided at created surface.
Then using sew command this hinge fixing part attached with inner panel.
Then created opposite surface using mirror option.
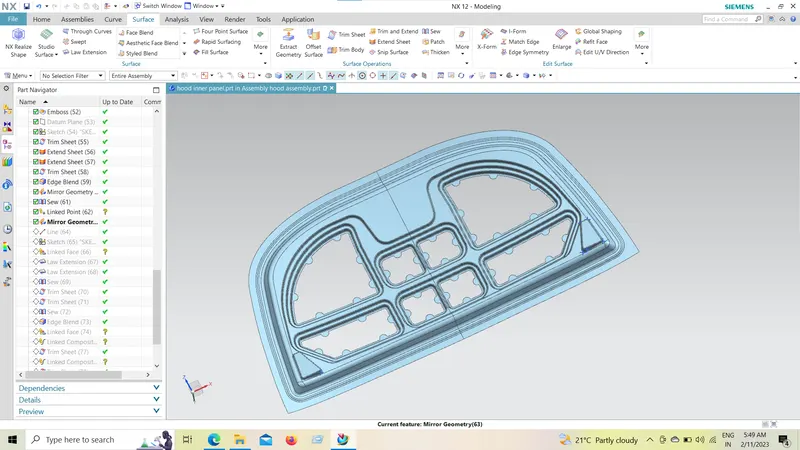
Striker plate fixing:
Using wave geometry linker option striker surface extracted.
Surface for striker plate fixing created.
Using sew option it was joined with inner panel.
Fillets provided at required edges with suitable radius value.
Striker plate position also fixed temporarely now.
Using thicken option Inner panel has been converted into solid part.Thickness reffered from master section.It is considered for 0.75mm thickness.
Latch Trajectory:
Position of hinge & striker plate will be integerated after this process.
Opposite side hinge created using mirror assembly command.
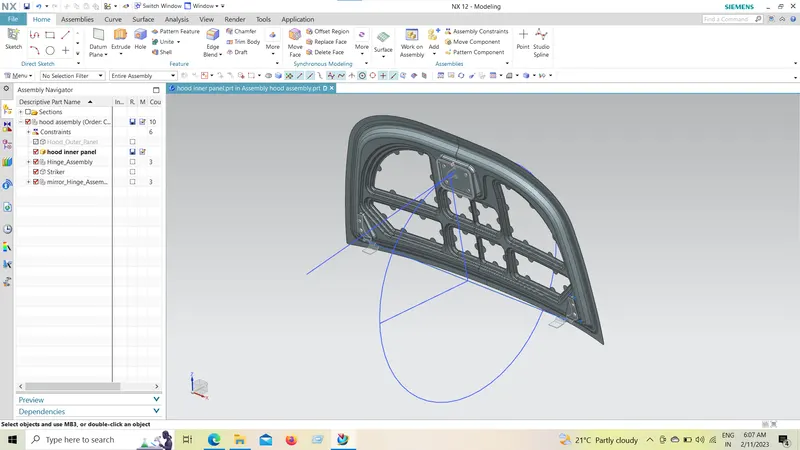
Striker plate & hinges have corelated function while actual working.So we have to link them both using latch trajectory concept.
Center axis line created for hinges.
Then another line created for some particular angle(80 degree).
Circle created with center point at axis line center & circle boundary at inclined line edge.
Then another line created .It is perpendicular for inclined line & tangent to circle.
This line represents trajectory direction of striker plate.
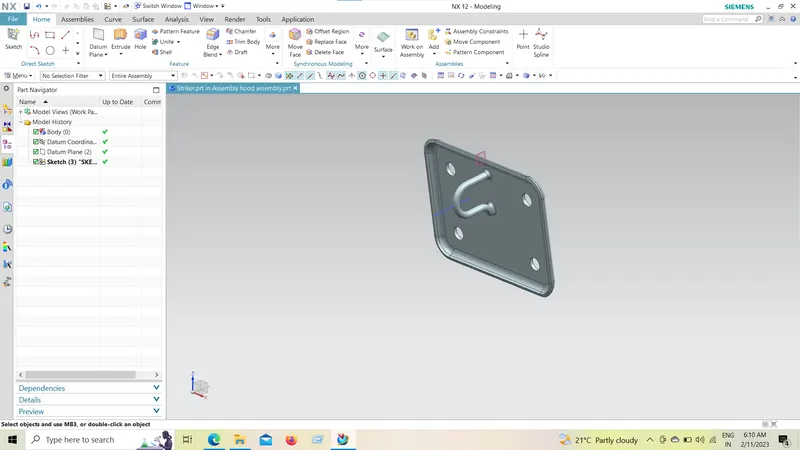
Then in striker plate line created perpendicular to striker plate surface.It's edge is reffered from locking clamp center.
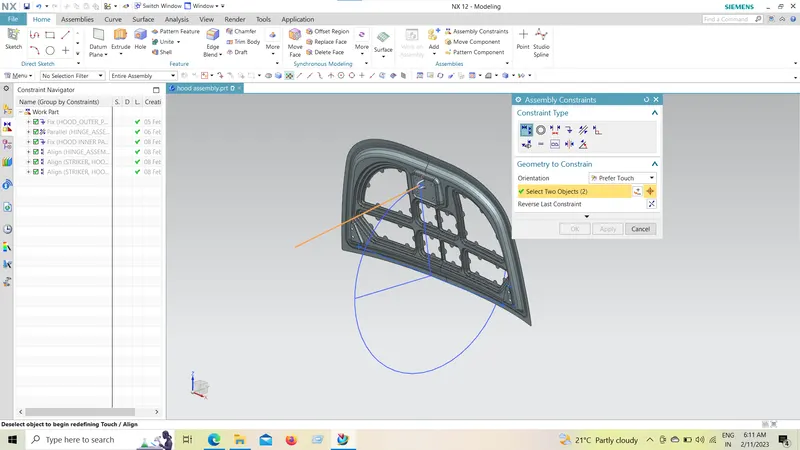
Then in assembly both trajectory lines contrained with touch align option.
Now Hinge position & Striker plate position has been corelated.
Hood outer panel:
To fix the outer panel with inner panel,hemming is the most prfarable option.
It is a type of edge forming process.Edges of the sheetmetal will be foled inside for 180degree & closed tightly.
Befor closing the outer panel's edges we will place the inner panel inside.So that Outer panel will be hardly attached with inner panel.
Hemming:
Using law extension option all surfaces required for hemming has been created.
Then joined & trimmed those surfaces using three surface blend option.
Relief at corners needed.So it provided.
Then converted it into solid body using thicken command.
Thickness used as per mentioned in master section.It is 0.75mm.
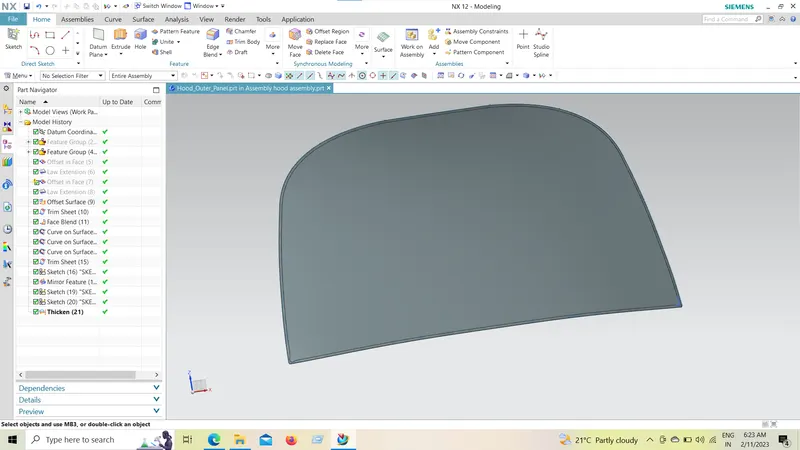
On both side 0.2mm gap provided between inner & outer panels.
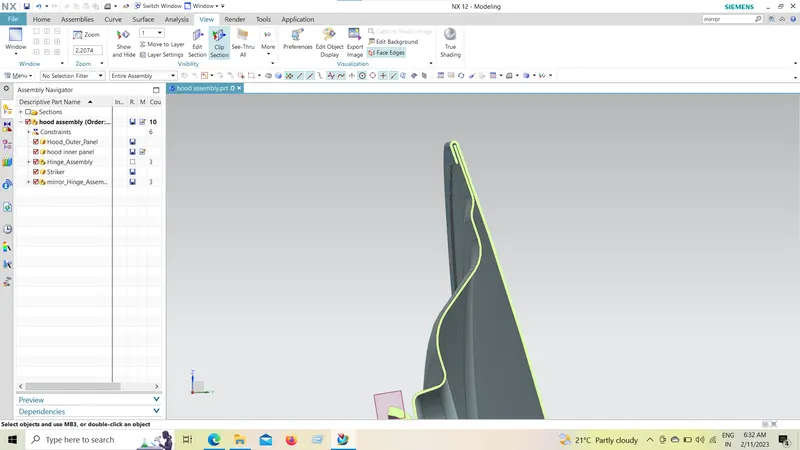
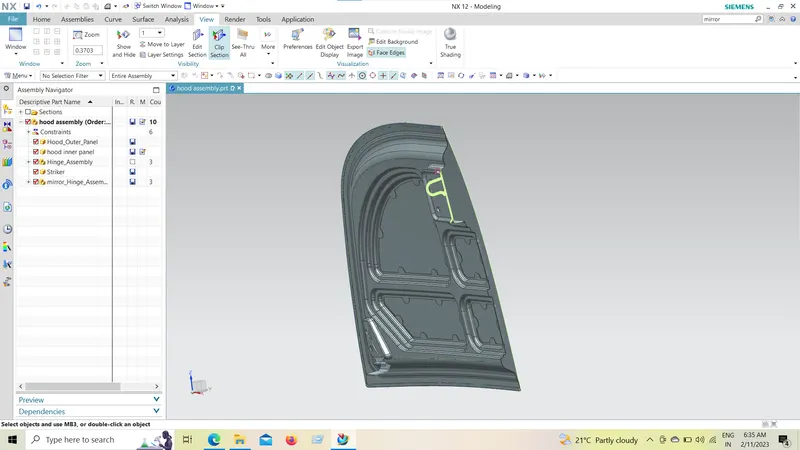
Now the complete Hood assembly is ready.
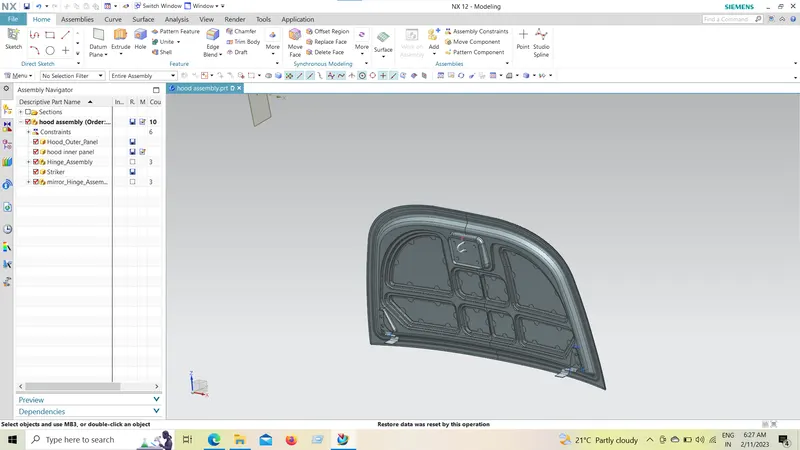
Front view