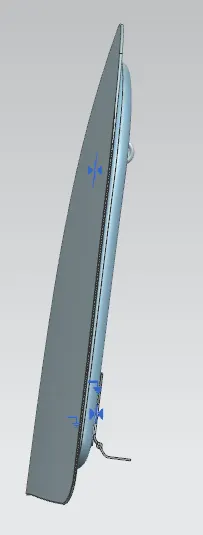
Hood design-Week 2
DESIGN OF BIW COMPONENT- HOOD OUTER AND INNER PANEL
1. DESIGN METHODOLOGY
- Insert a CLASS A surface in assembly work bench.
- Add part file in assembly for inner panel.
- Offset the inner & outer panel surfaces.
- Create the required embosses in inner panel.
- Add required edge blend and face blends.
- Remove excess surfaces and add mastic points.
- Give the thicken command to add material to both panels.
- Create Hemming flange.
- Sketch latch trajectory.
- Fixing hinge axis.
- Add reinforcements of HINGE AND LATCH.
- Give relief at corners
- Fix hinge and latch assembly at the accurate position.
2.DESIGN CONSIDERATIONS FOR DESIGNING THE HOOD
1.Latch Trajectory
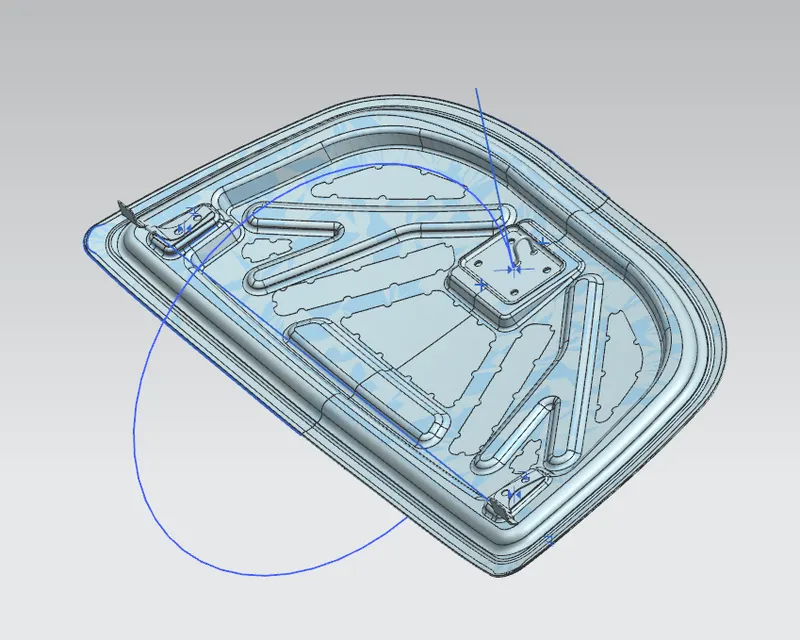
The latch trajectory shows the path of the striker when the hood is opened and closed on a vehicle. The radius of the circular trajectory is determined by the set standard based on the average height of a person. The radius is measured from the hinge axis up-to the latch.This varies along different places of the world as the average height off the people vary in asia and europe and other parts of the world.
2.Fixing the Hinge Axis
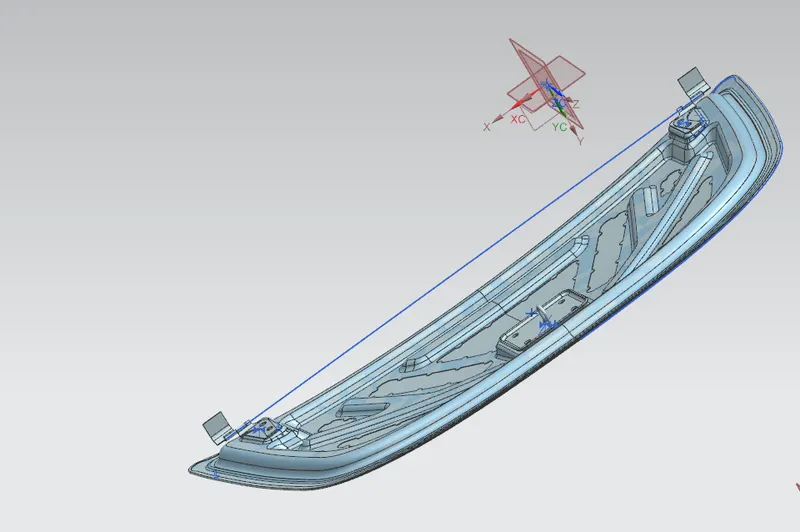
The hinge axis is positioned in such a way that the axis lies in the same line so that it is parallel to the “x” axis plane. This is done in order to position the latch and sticker trajectory motions exactly perpendicular to the hinge axis.
3.Mastic Points
The mastic points are areas where the mastic is placed to attach the outer panel to the inner panel. We cannot use spot welding as it would give a less aesthetically pleasing result. Hence mastics are used to join the panels together as it does not melt the metal itself.The diameter of each mastic point is 10mm.
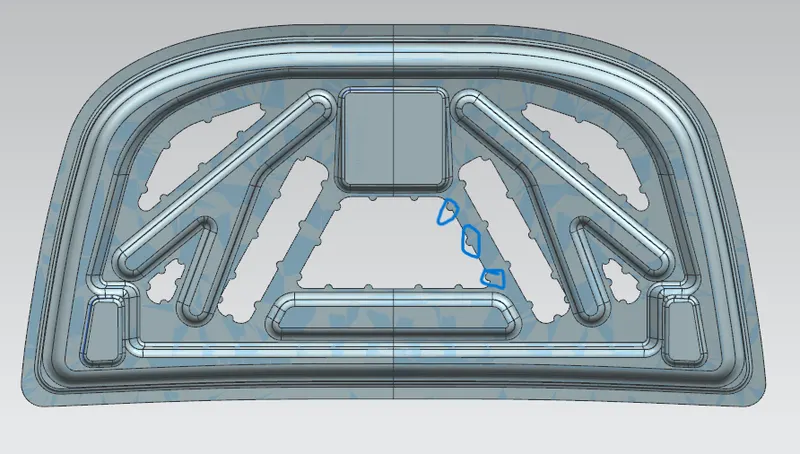
4.Emboss Definitions
The inner panel consists of various embosses which help dissipate the force during impact.They are designed in such a way that in case of accidents the force is dissipated towards both the hinges(outwards).Embosses are given certain depths too.
5.Reinforcements
The area near hinge and latch has more chances of failure in the hood panel. Hence to avoid any failure, the hinge and latch areas are reinforced with extra material whose thickness is usually determined by the type of vehicle.
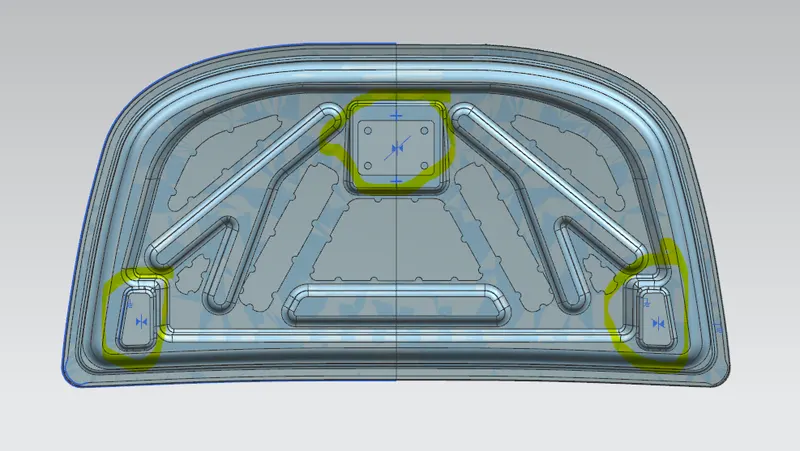
Here we have 3 reinforcements,two for hinges and one for the Latch.
7.Relief on the Corners
This is provided to facilitate a time saving hemming process.As the corners will take more time and precision for the hemming process.
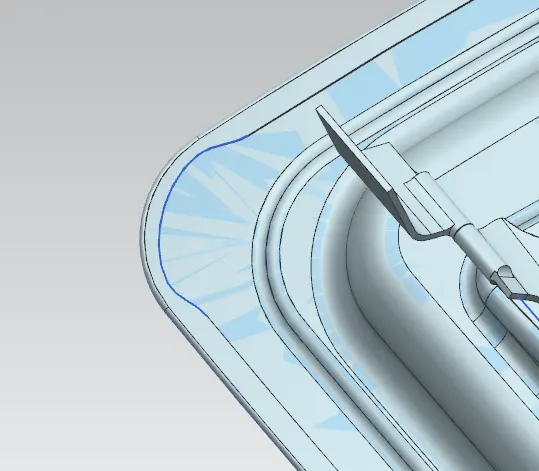
3mm is the gap provided at the corners.
8.Hemming In Sheet Metals
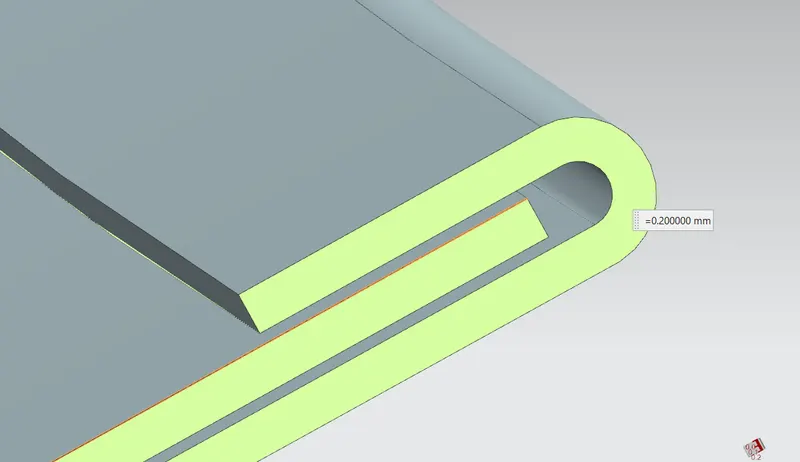
The 0.2mm gap is for the glue on both sides.
3.Manufacturing Processes Involved in Hood Design
1.Embossing (Manufacturing)
Sheet metal embossing is a stamping process for producing raised or sunken designs or relief in sheet metal. This process can be made by means of matched male and female roller dies, or by-passing sheet or a strip of metal between rolls of the desired pattern. It is often combined with Foil Stamping to create a shiny, 3D effect.
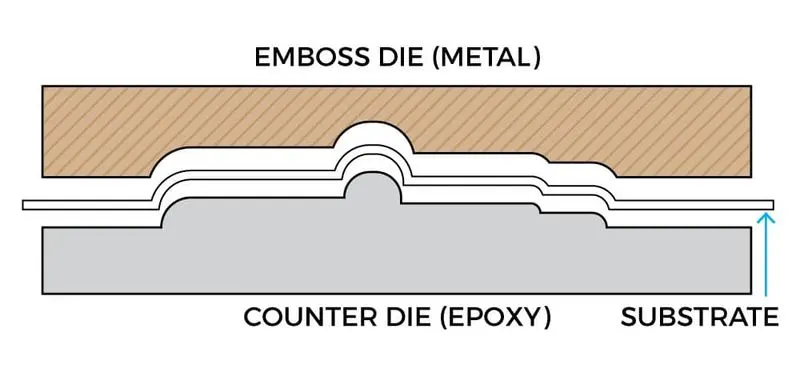
2.Deep Drawing
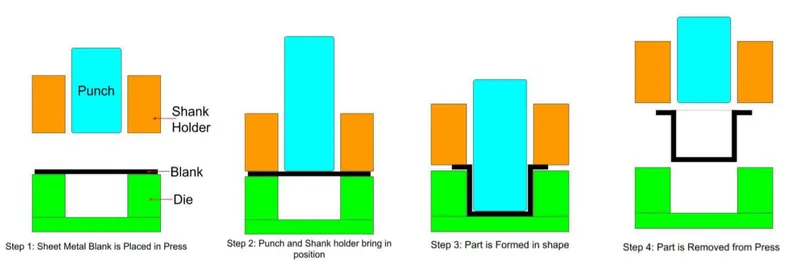
Deep drawing is a sheet metal forming process in which a sheet metal blank is radially drawn into a forming die by the mechanical action of a punch.As shown in the dwg. a punch is used to make push the blank upto the required shape.
3.Hemming Process
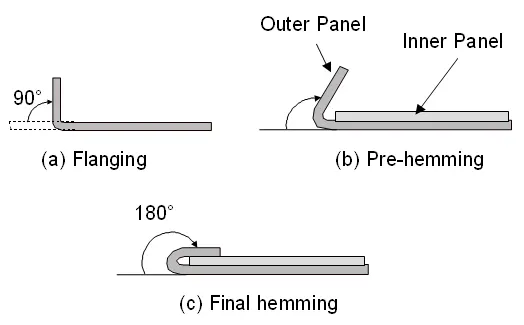
It is a metal forming process in which sheets are joined by bending it to 180 degrees usually.
Different Views of The Designed Hood
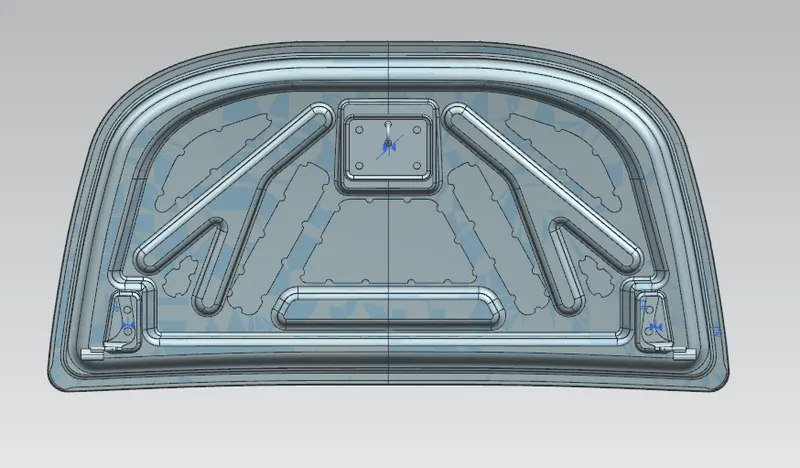
Front View
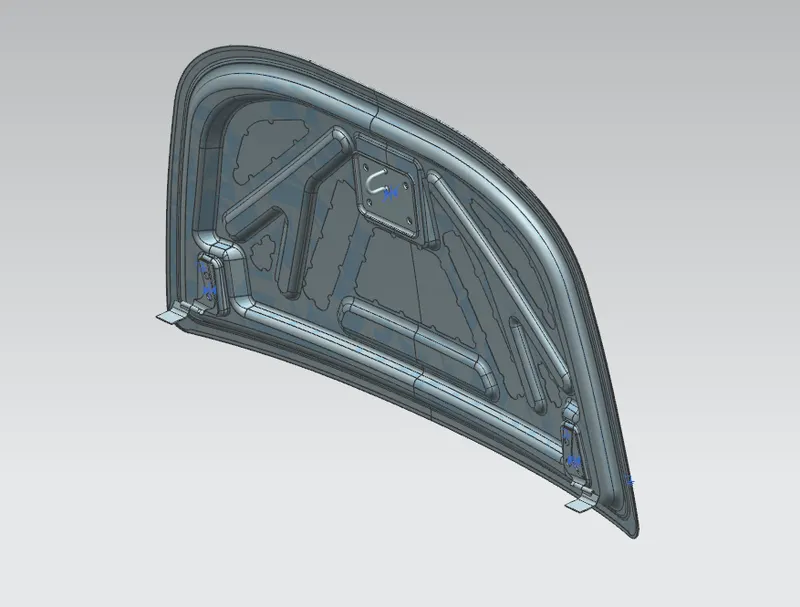
Isometric View
Top View
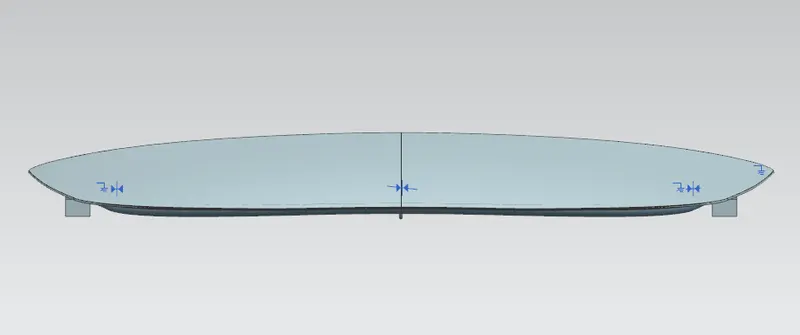
LHS VIEW