Hood design-Week 2
Hood Design Report.
Initially we got the hood outer panel surface. According to the instructions and requirememnts , we offset the surface and created the inner surface to apply emboss and other features.
Spiltted the surface and worked on it entirely to mirror and avoid doing things twice.
Gave emboss and Mastic points according to the requiremnts,
Emboss.
Secondary emboss was also given.
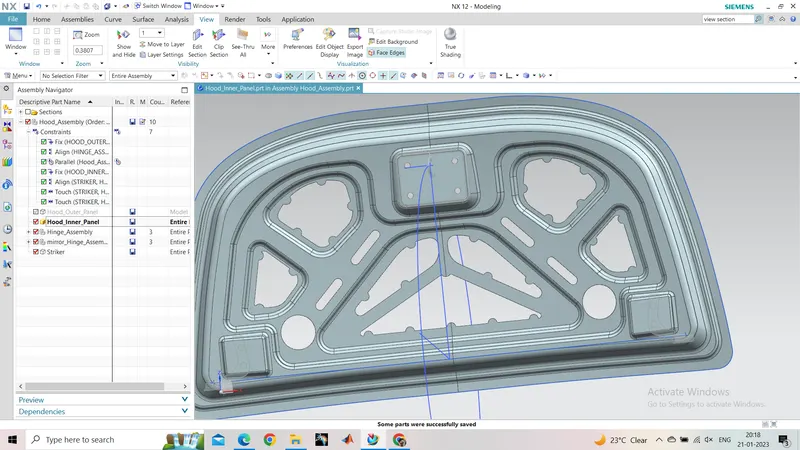
Mastic points.
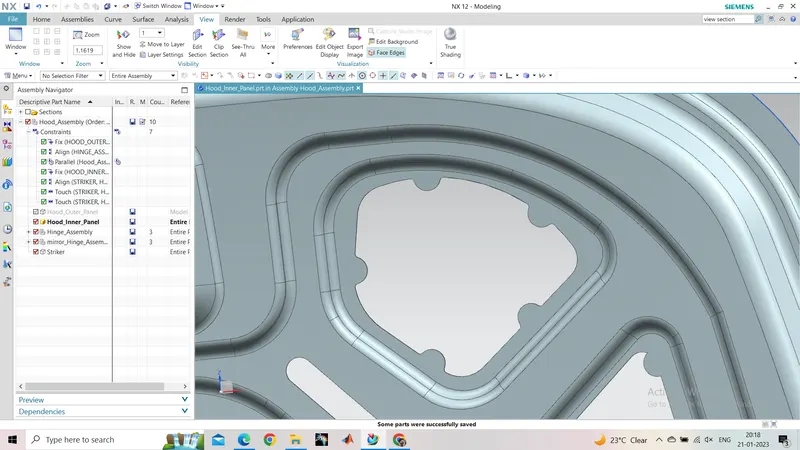
Mastic points were given keeping 70mm circle effective area.
Hinge Platforms were made by creating a plane that would be almost parallel to the Surface. This is done to get a flat surface for hinge to join. The hinges were joined by constraints.
Then we made hinge axis. Hinge axis was a reference to a circle that would be used to get a intersection point for striker mmovement.
We made a tangent line to the circle for the strikers perpendicular line for its movement.
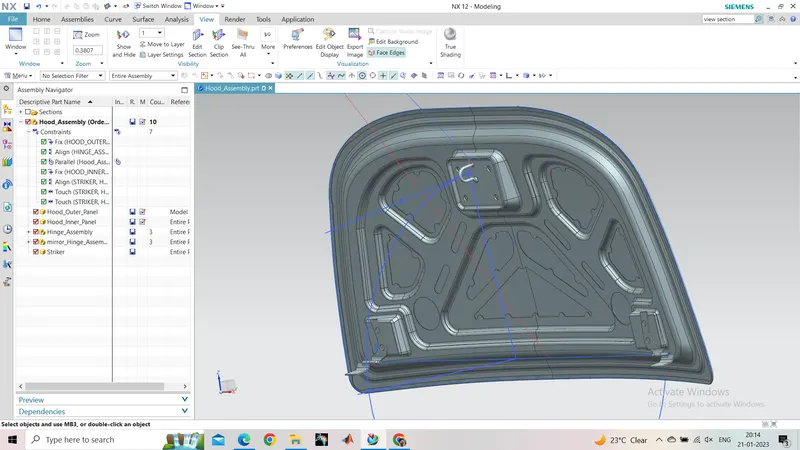
The Stricker line wasmade constraint to the tangent and intersection point so that we could move it with respect to angle and circle radius for its position.
. We created Strickers base by extracting strickers base and law extending the same . Then trim extend the same with corners.
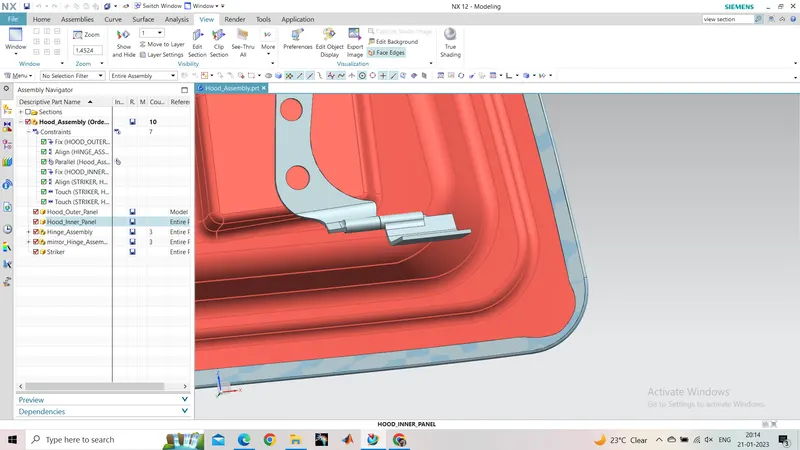
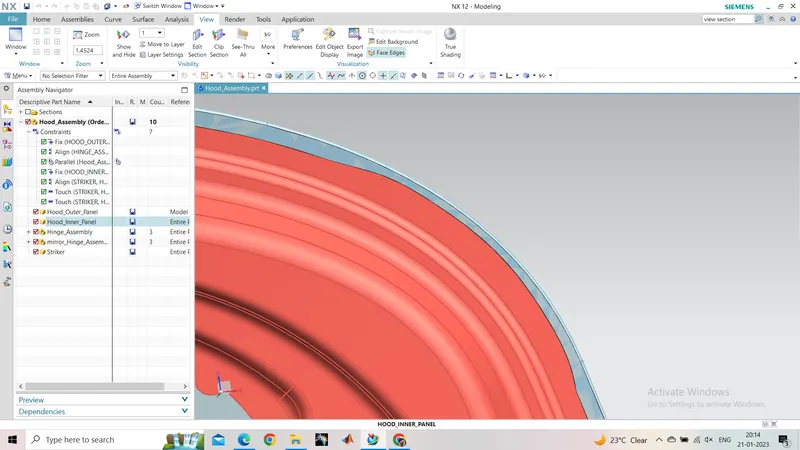
We did hemming and relief features.
Hemming was done by extending the outter surface by adding 3 surface thickness and clearance of 0.2 on both side.
Then we law extended the surface and face blended it.
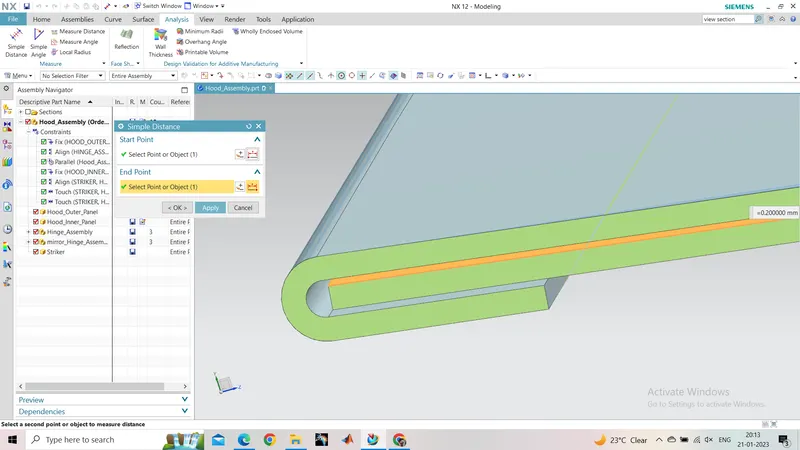
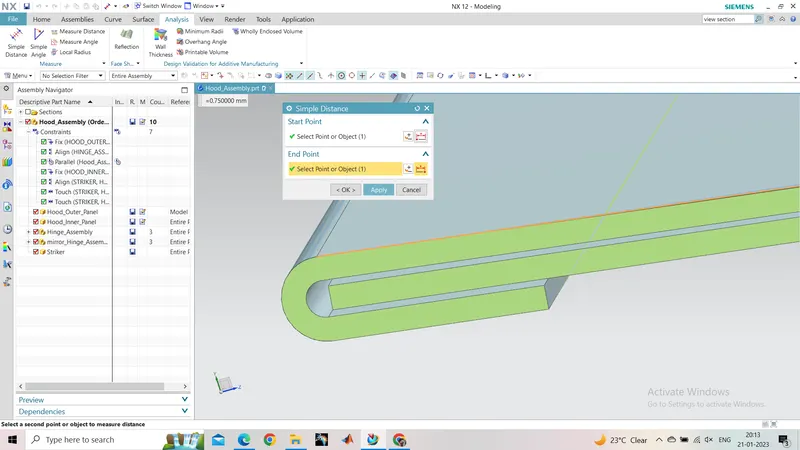
The thickening was done as per the certain direction. Outer panel towards inwards and inner panel outside.