Hood design-Week 2
Hood Challenge
Introduction
Hood is the front cover of a car which covers the engine compartment and serve as a n important noise reduction components at the front and also perform important function in front end collision expecially with a pedestrian.When a vehicle collides with a pedestrian the head of the pedestrian will impact mostly on the hood of the car.So wee need to ensure that there should be sufficient cusioning under the hood without sacrificing the strength.In this project we will model the whole hood of a car from the skin data.
Objective
In this project we aim to create the important components such as huud outer panel,hood inner panea,Hinge mechanism and the locking latch placement.We have access to the skin data of the outer of hood which is a surface in the iges format.We have to create the inner panel with the embossings for crash requirements and latch and hinge placement.We need to create the hemming for the outer panel with the relief provided.
Methodology
What is a hood
Hood covers the front portion of a car and works as a door to allow for repairing the engine and other components.The Hood performs other functions such as crash protection,pedestrian safety because the head of a pedestrian mostly hit the hud of the car.
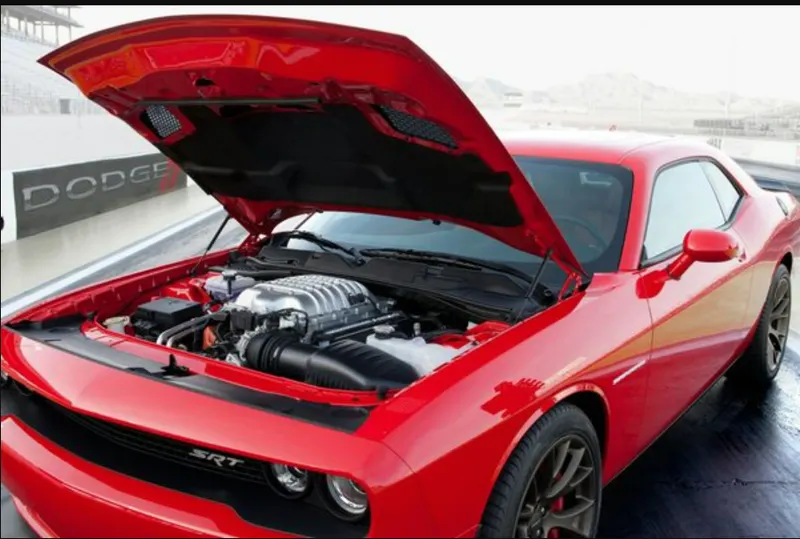
Under the hood we have the engine compartment.This is where all the components of a car are arranged.The hood can be opened and closed using a homge mechanism.One side of the hinge is attached to the car body and other side is attached to the inner panel of hood using bolts.
Some cars use the below type of hinges
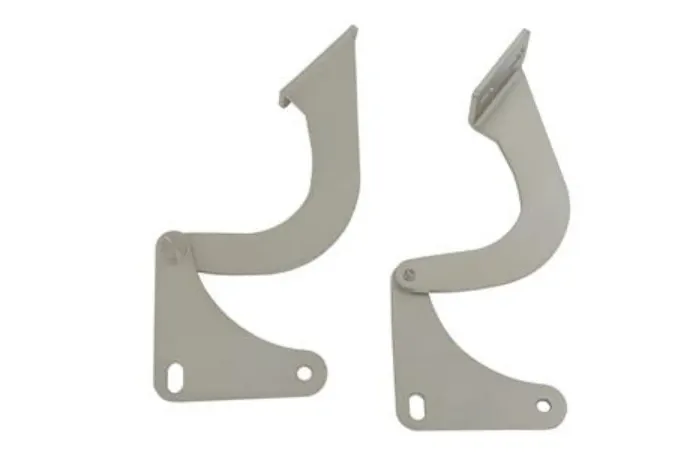
There is another kind of hinge which uses a four bar linkage mechanism.Its image is shown below.
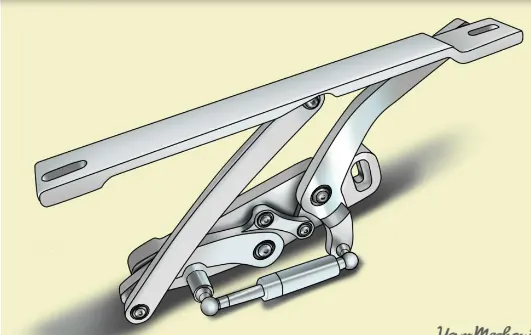
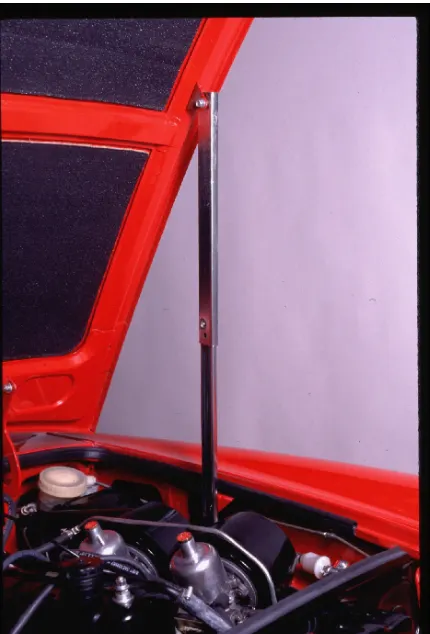
The hood has some weight,so in the open position we need to support it in position.There are two types of links used for for staying the hood in the open position.
Hood prop rod
This device is just a bent rod bented in a particular format and supports the weight.Generally when not in use it will stay in the engine compartment in two supports.When it needs to support the weight of the hood there is a locking hole into which the rod is to be inserted and is locked in position.
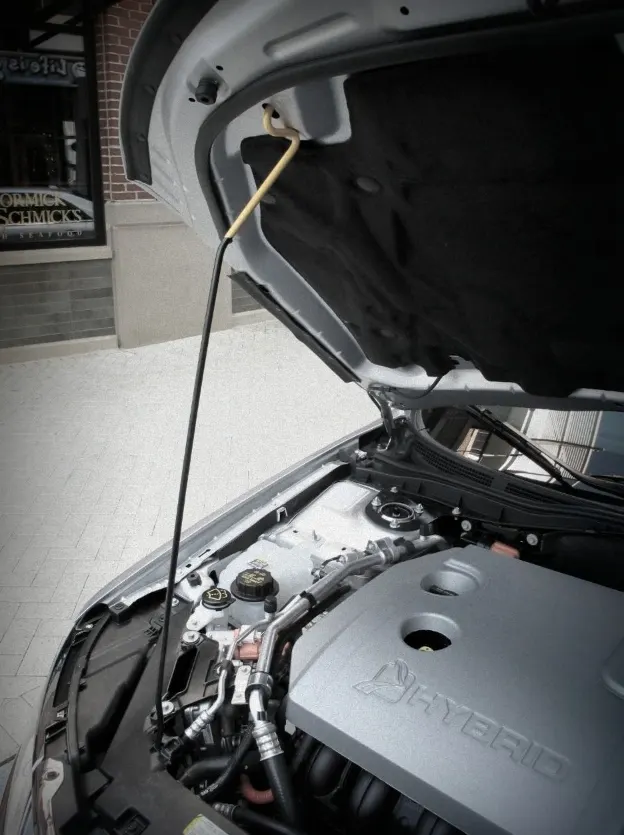
There are some self locking or toggle hood stays also.
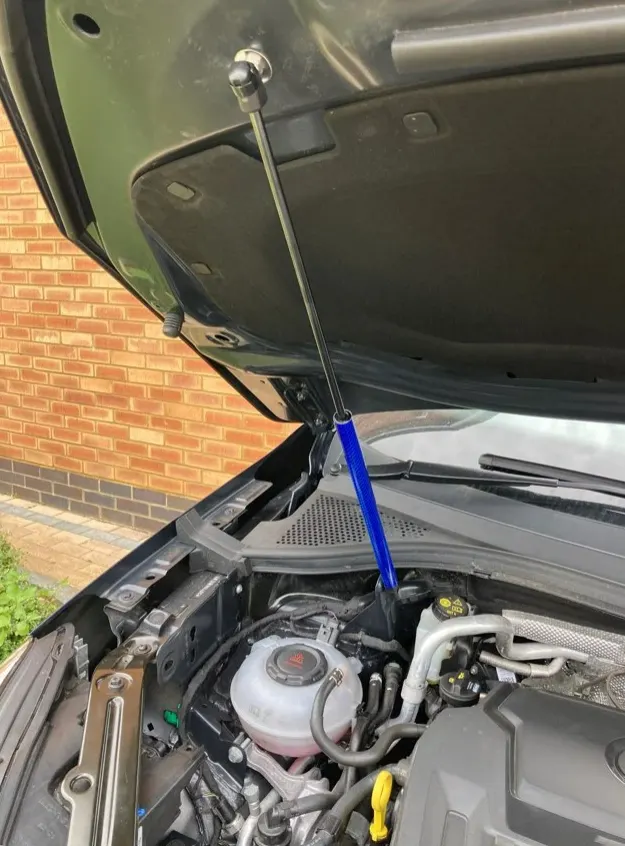
Gas stay
Now a days gas stays are also used for staying the hood in place.
The hood itself is made out of different components.
- Hood inner panel
- Hood outer panel
- mastic seals
- Hinges
- Latches
The Hood outer panel is a class a surface which is a visually appealing surface. we cannot apply any welds of rivets of the hood outer panel.
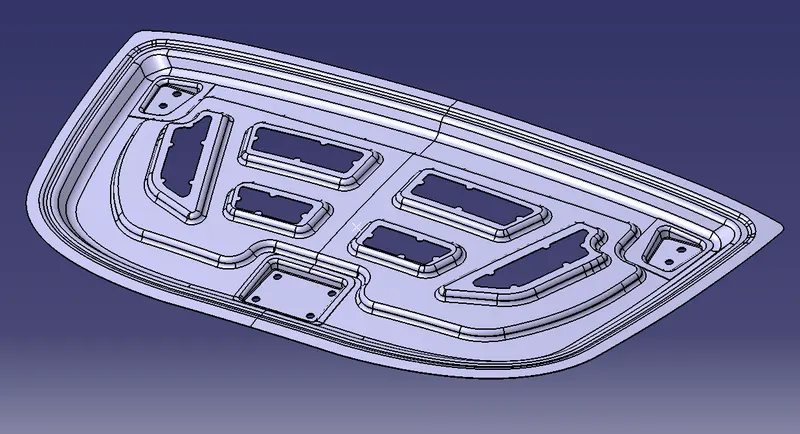
The hood inner panel is the inner components and provides most of the strength to the hood.
Now we can talk about the locking mechanism of the hood when closed.
There are two locks available,first one is openable from inside the cabin and the second one openable from under the hood when hood is ina slightly opened posiotion.
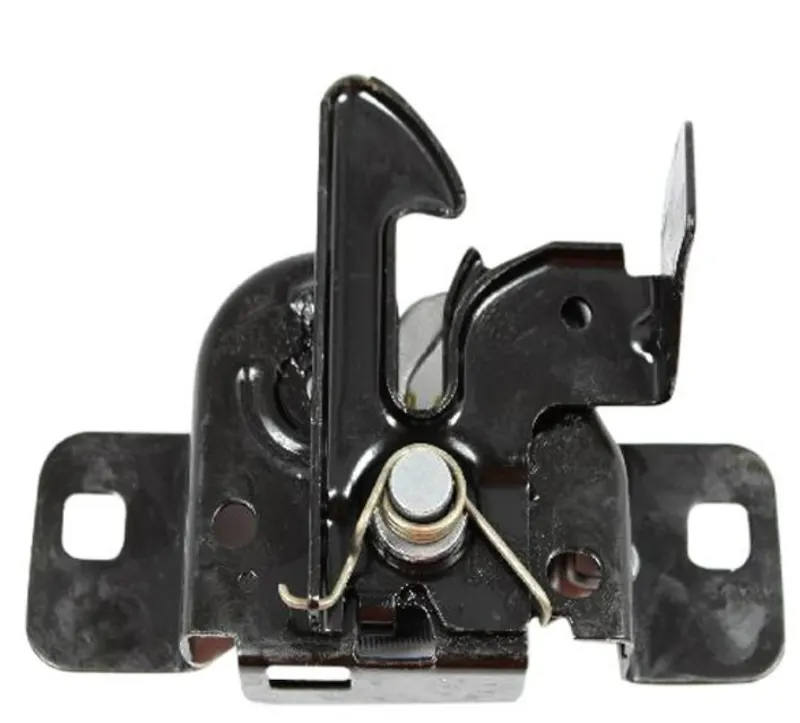
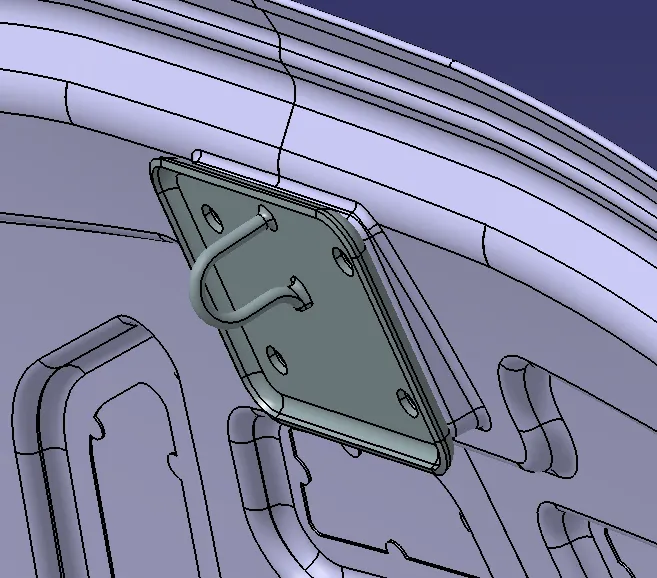
The hood striker present on the hood lower panel is inserted into the lock and placed in postion by a second lock.
Modeling Inner Panel
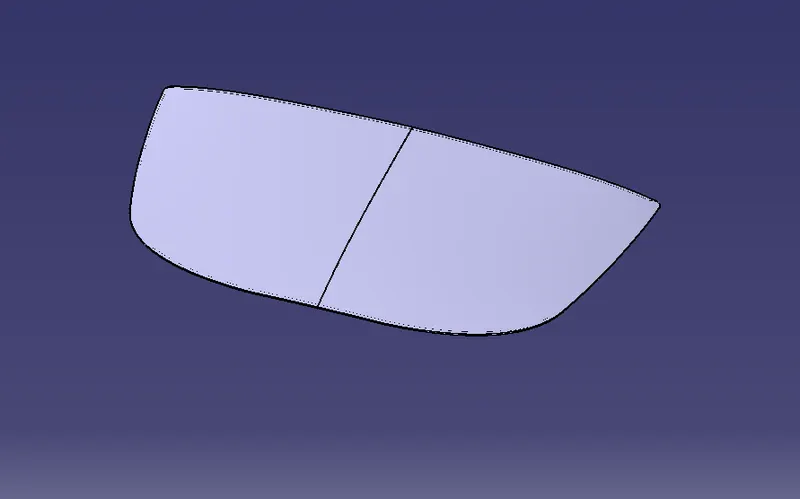
The inner panel is created by taking a reference surface from the outer panel visual surface.This surface is split in half so that at the end everything can be mirrored to get the output.
The embosses in the inner panel is creates with reference to the master section provided.
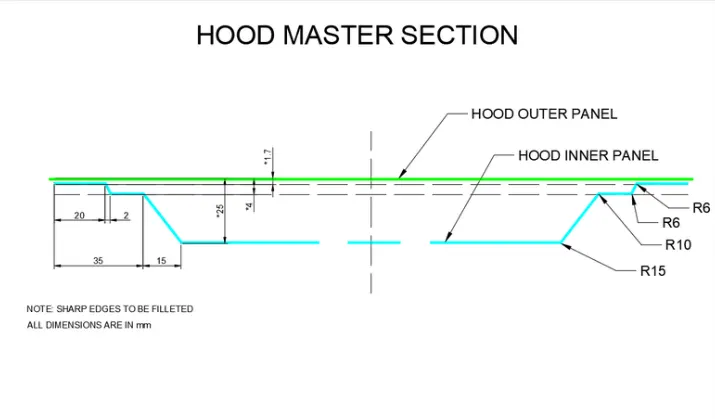
The embosses are produced by using the tools offset surface,split,trim,parallel curve,boundary,multiple extract,fillet etc.
The way thses embosses are manufactured is by using a press known as deep drawing shown in the image below.
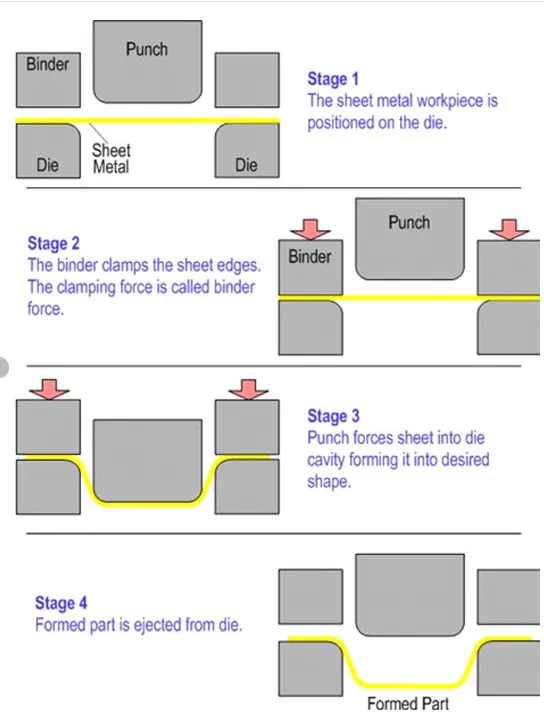
We need to provide and angle for the embosses so that the formed metal part can be pushed out of the die easily.In our part we follow a draft angle of 7 degree.The direction in which the embosses are cutting is also important and these will help in deviating the forces under impact into the sides of the car instead of directly into the passenger cabin.
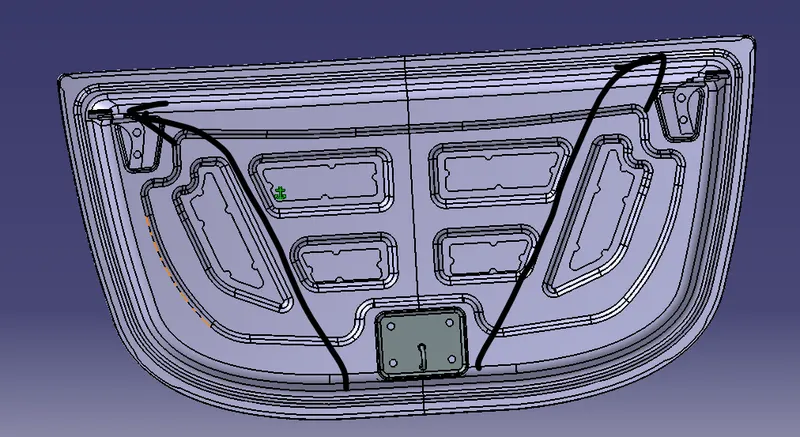
Additional embosses are to be provided for latch and hinge attachment.
Also additional reinforcements are also to be provided for the latch and hinge attachment spots.
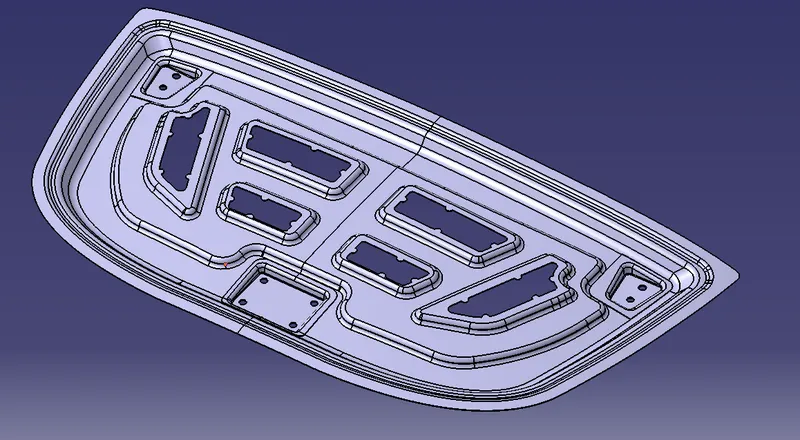
We will model the inner panel as a surface with all the embosses and at the end we will thicken it for a thickness of 0.75.
The finished Inner panel is shown below.
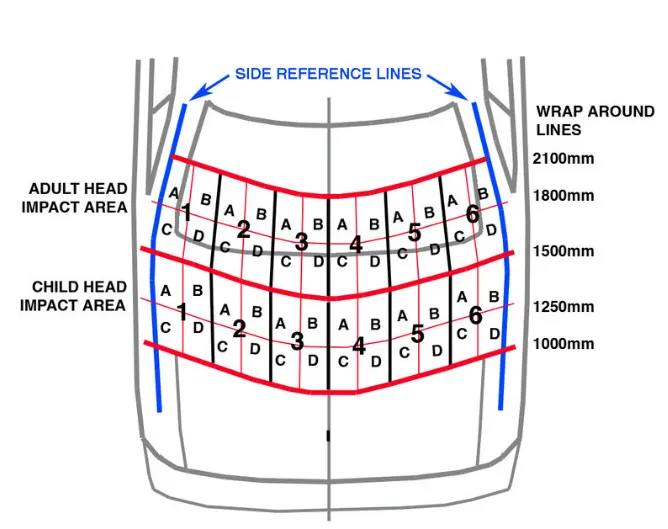
Also cutouts are provided so that pedestrian safey is ensured ad when the head of a pedestrial hits the hood the hood will deflect and we have to provide the cutouts at these positions.
In some cars there are mechanisms for the hood to go up a little bit as the pedestrian will land on the cushioned hood.
After modelling the inner panel the outer panel is modeled for the hemming provisions.
Hemming
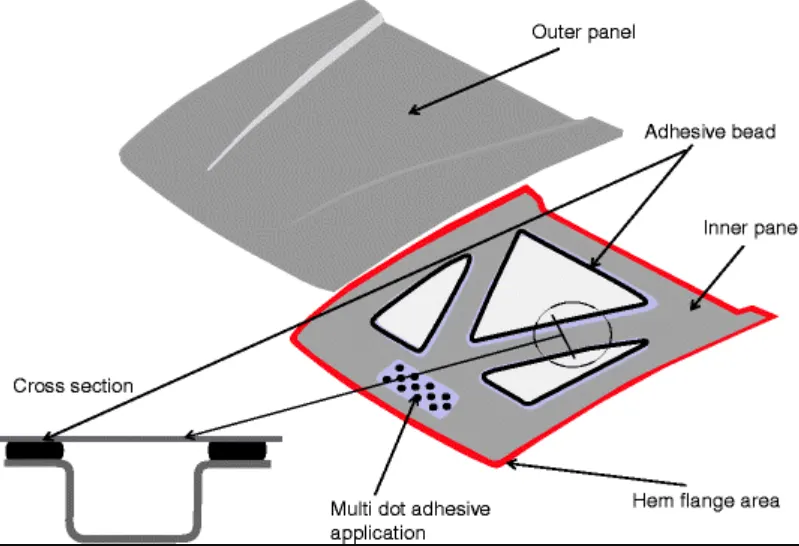
Hemming is the process used to connect between the inner and outer panel.The outer panel is a visible surface so we cannot tamper its visible features by giving any welding features.So we will attach the inner and outer panel by bending the outer panel by using a method known as hemming.
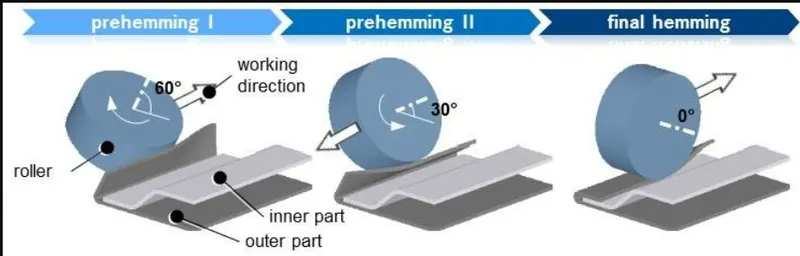
The abobe image explains hemming.One roller will roll the outer panel onto the inner pane and a glue is applied in between the two panels known as hemming glue.
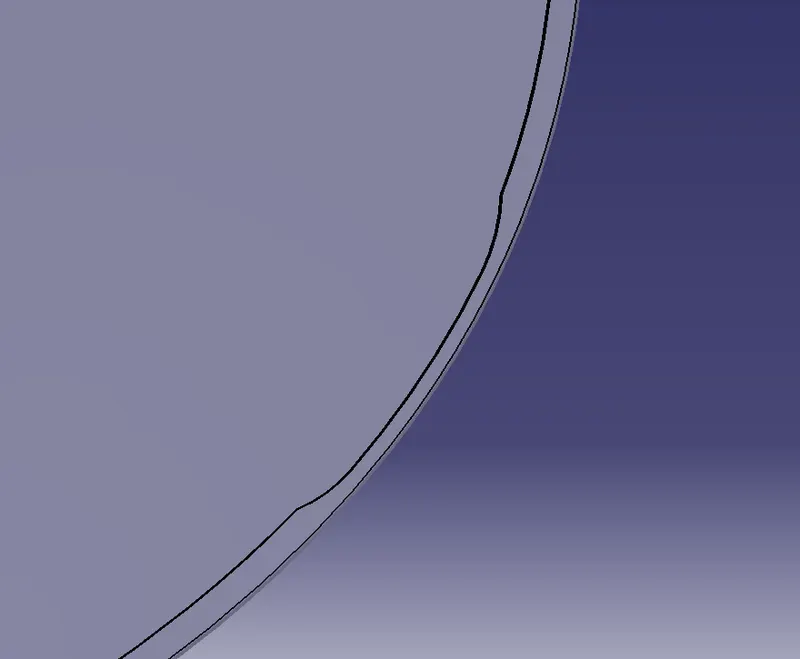
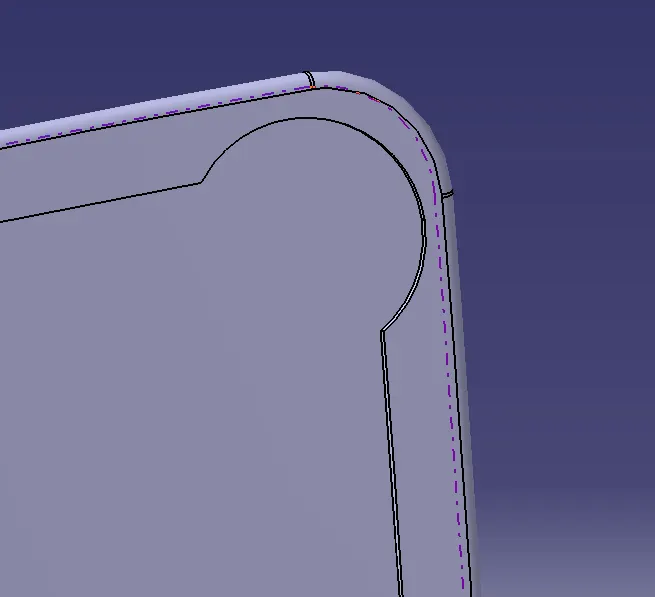
when hemming is done on corner points there is a chance that metal will overlap and stress will build up.Inorder to avaoid this overlap we have to provide some relief at the point of corners.
Front side relief.
Back side relief.
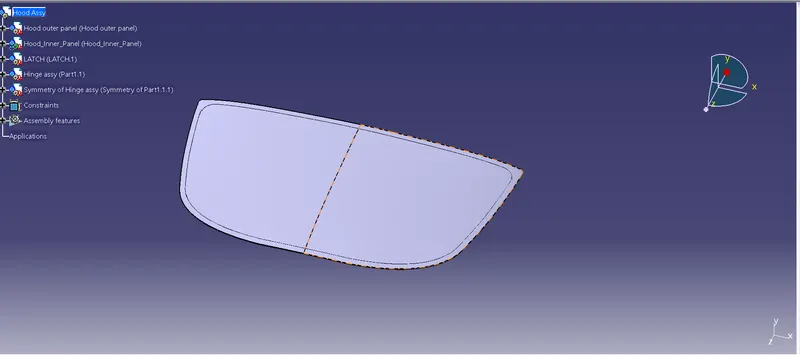
After creating all the components they are assembled into a new product as shown below.
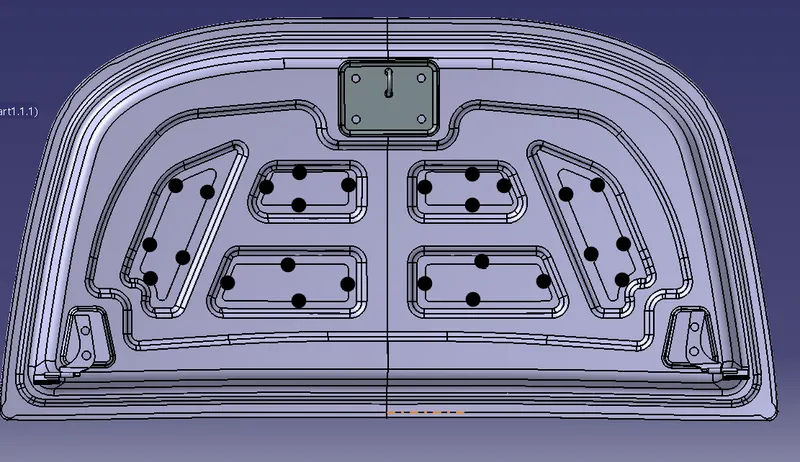
Mastic is provided between th two panets to helt them in place.Mastic is made of ribber and can support a portion of 8 cm diameter round around a mastic.
All the assembly parts are attached in the asset box.
Conclusion
In this challenge learned the basics of hood modelling and its design specifications and also the surface modelling tools in catia.