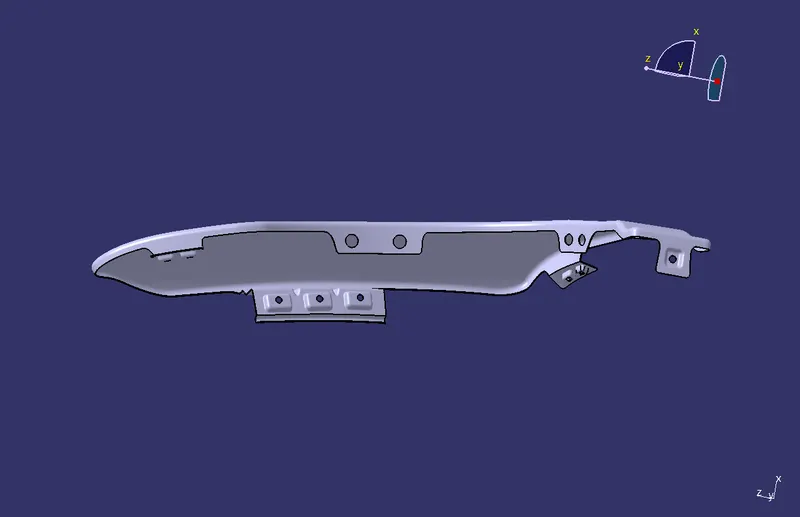
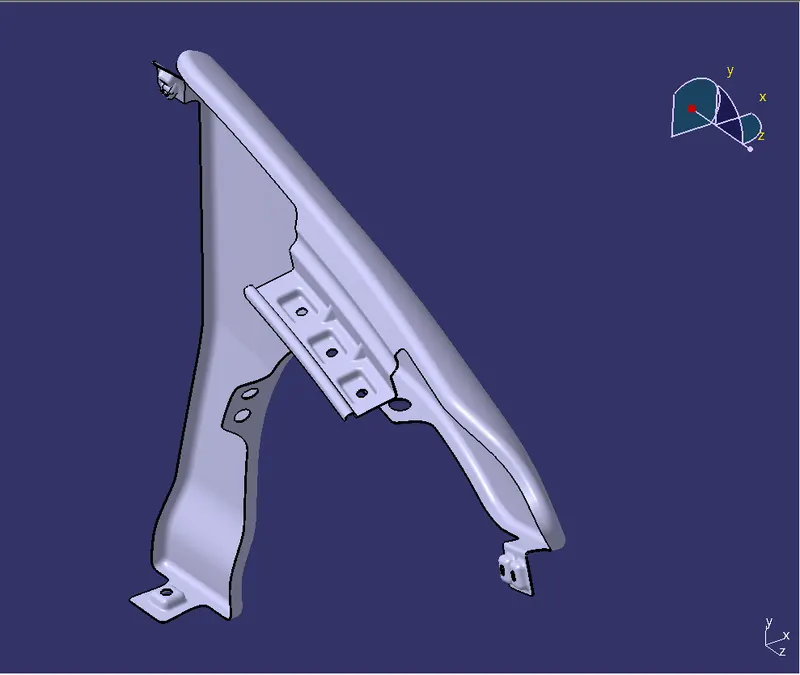
Fender Design Challenge
DESIGN AND DEVELOPMENT OF CAR FRONT FENDER
INTRODUCTION
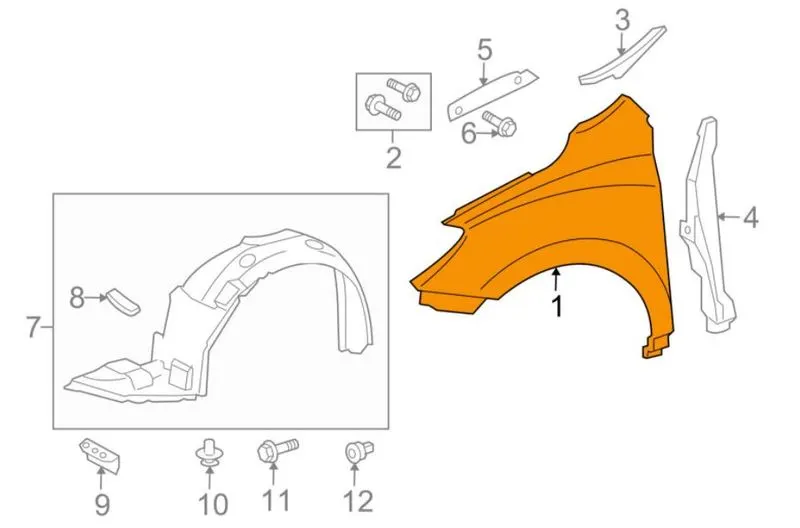
Fender is a BIW component used as a frame for the wheel, the main purpose of a fender in an automobile is to protect the engine compartment from sand, dust, small stones, etc which are thrown into the air by the tire grip. These can cause damage to the car body and hence we use a fender to guard the tire. We have front as well as a rear fender in a car, the rear fender is integrated with the body side. The front fender is a separate closure commodity.
There are two types of the fender in general:
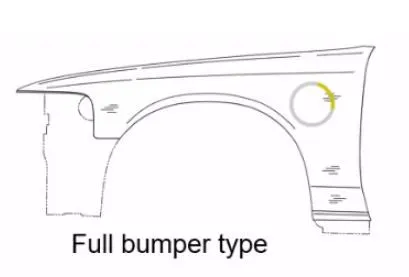
- full bumper type
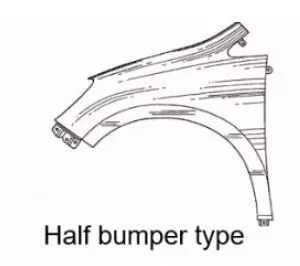
- half bumper type
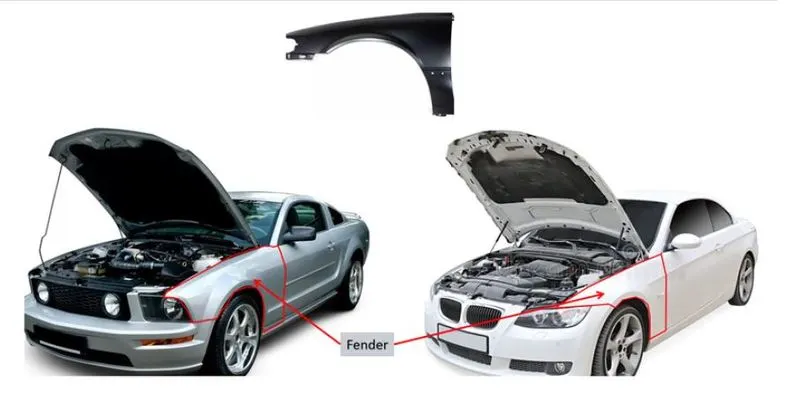
Full bumper type :
The full bumper type fender was used in old cars, it covers the full area until the front lighting. But it has a lot of sheet metal material which is unnecessary and increases the weight of the fender. These type fenders are no longer used in the automobiles.
HALF BUMPER TYPE:
Half bumper type is the modern design where less material consumption is observed, so productivity increases by reducing the size of the blank and thus providing more performance. The maintenance also relatively low compared to the full bumper type.
We are changed from full bumper type to half bumper type to reduce the scrap rate per blank. In the full bumper, we can only produce one Fender per blank, whereas as a half bumper type we can produce 2 fenders per blank.
GIVEN DATA
Fender Class A surface and master section of the Drip area.
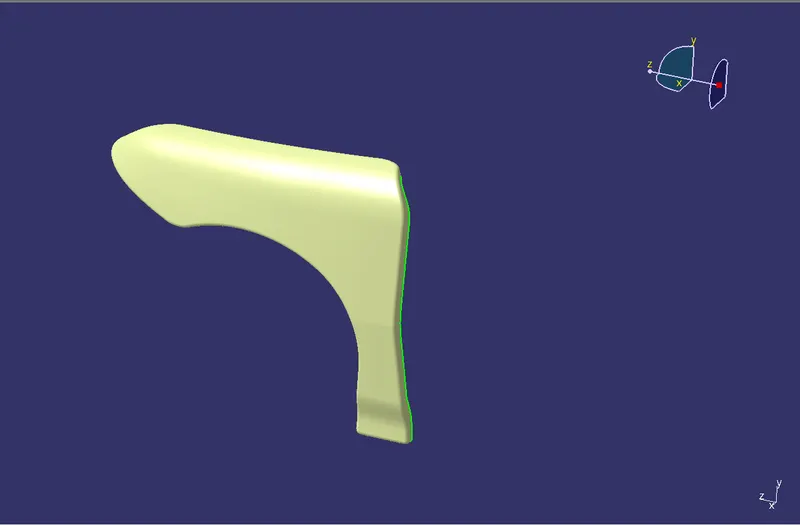
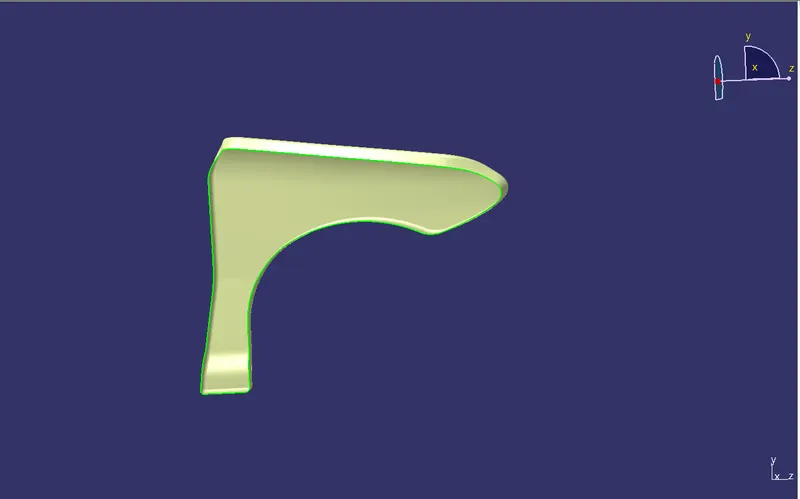
Class A surface
Rules for Drip Area creation
MOUNTING POINTS:
Fender is going to fix on following locations
Drip Area:
- Two main points to be remembered while designing the drip area.
- A minimum gap of 200 mm should be maintained from the rear end of the fender. This is because to have spacing for cowl mounting.
- The second thing is to maintain a minimum gap of 150 mm front end of the fender for headlamp mountings.
- It is considered to be important because it is mounted on the engine compartment.
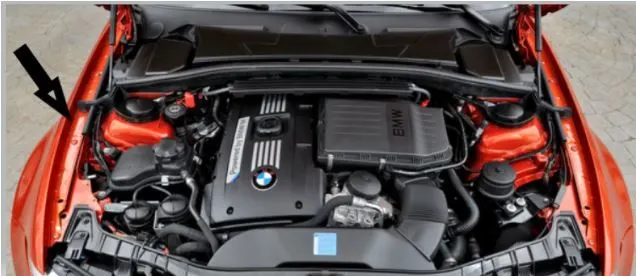
Bumper mount:
It is the front portion of the fender where the bumper is mounted with the help of brackets.

Splash mount:
- The Splash area also plays a vital role in anti-chipping.
- It protects the dust particles, spray particles from being entered inside the car.
- Thus Splash plays a vital role in the fender.
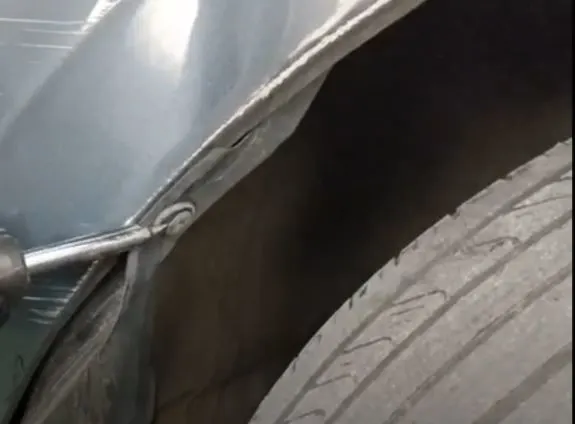
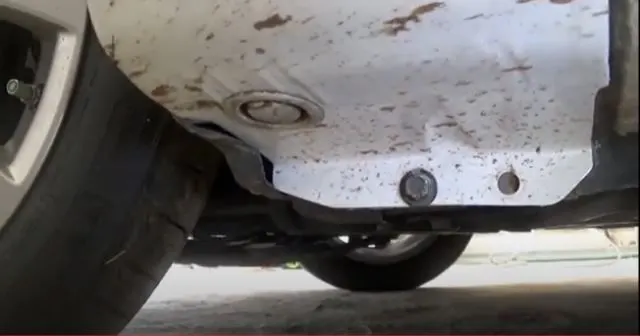
Sill mount: It is the front portion of the fender where the bumper is mounted with the help of brackets.
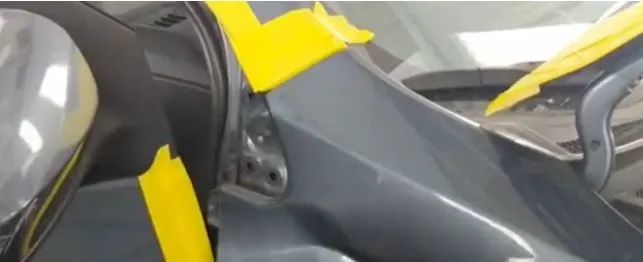
A-Pillar mount:
A pillar is a region where the A-pillar of the car is mounted from the front fender. It is located at the top right corner of the fender.
AIM:
To design and develop drip area and mounting points by following OEM regulations.
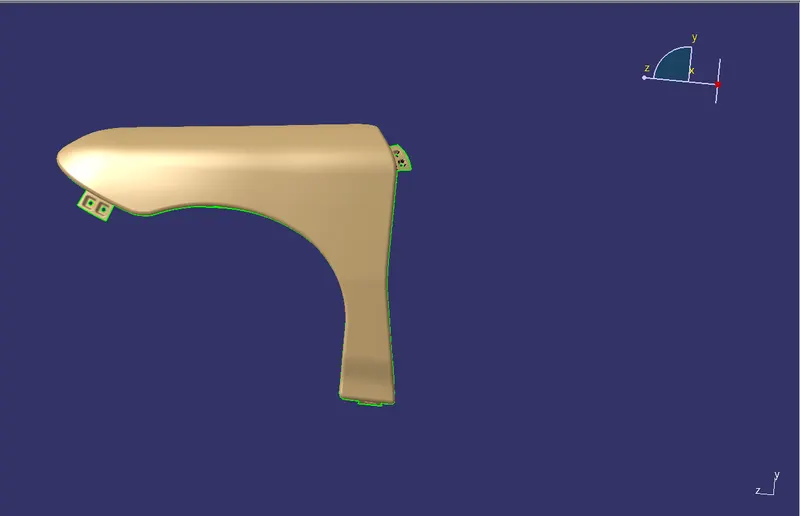
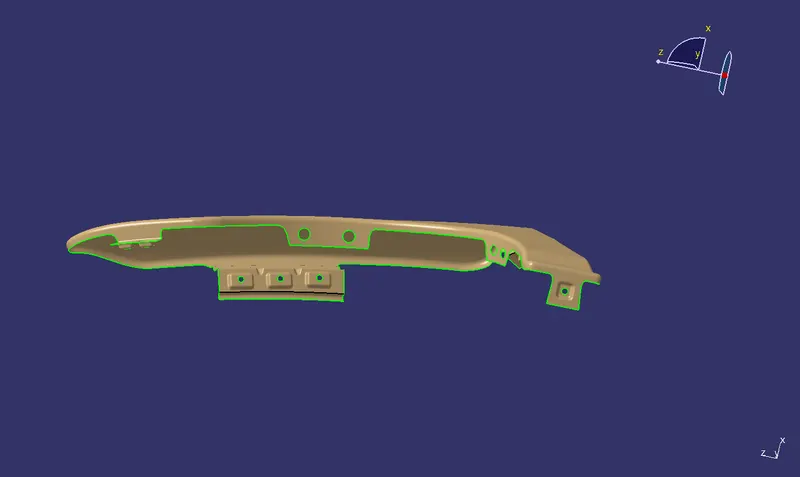
PROCEDURE:
Check for the boundaries on the given surface and work on them
After that manipulate the outer surface for mounting points.
First, draw the sketches on the outer surface using (boundary, splines)
After, join the splines and spilt the outer surface of mounting points.
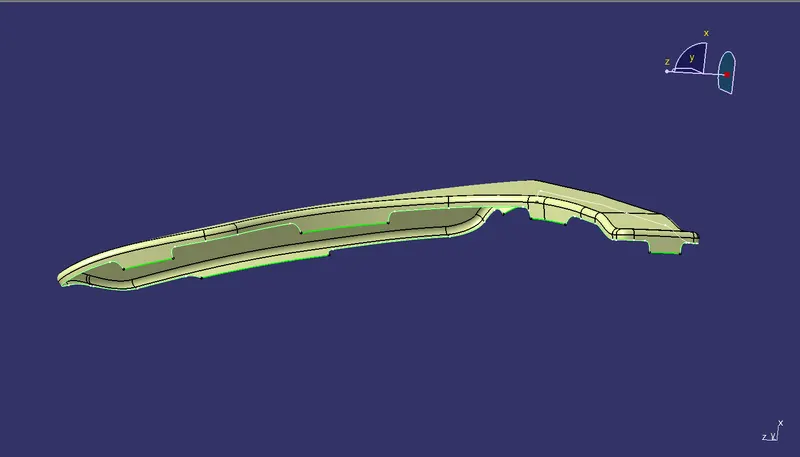
DRIP AREA:
- First, use the sweep through surface for the drip area according to master section in side view and extrude.
- After that trim with the outer surface to get the emboss
- Use the hole command to get holes.
- Ribs are provided to improve the stiffness and holes are given for mountings over the engine compartment.
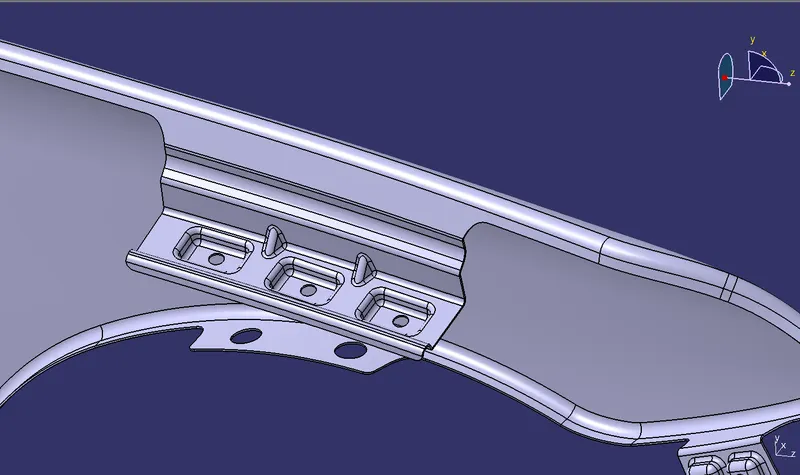
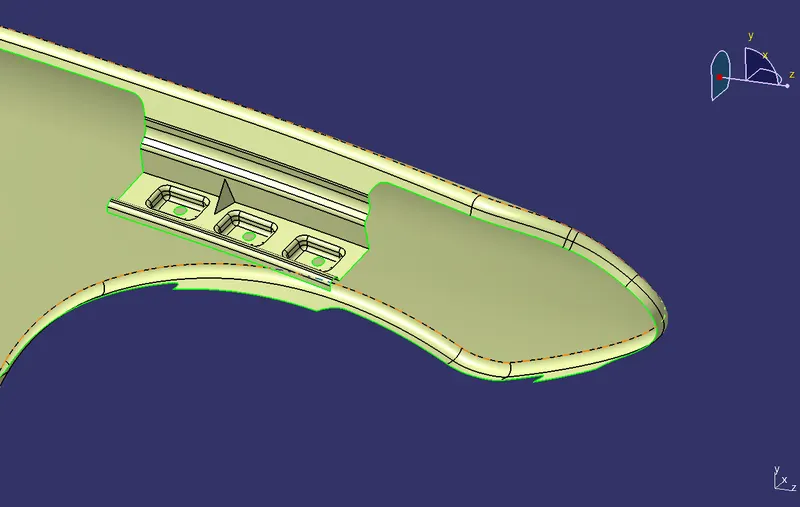
DRIP AREA RIBS/ BEADS
BUMPER MOUNT:
- Create a sketch according to mount and use extrude, offset, draft, trim to create emboss.
- Use the hole command to create the hole
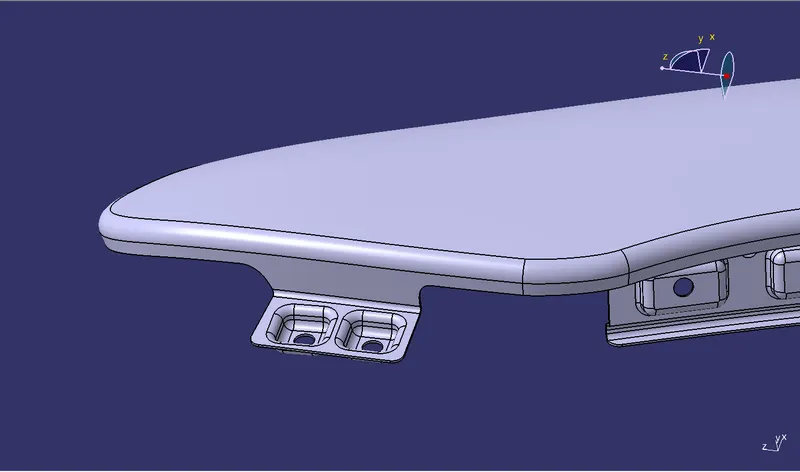
SPLASH MOUNT:
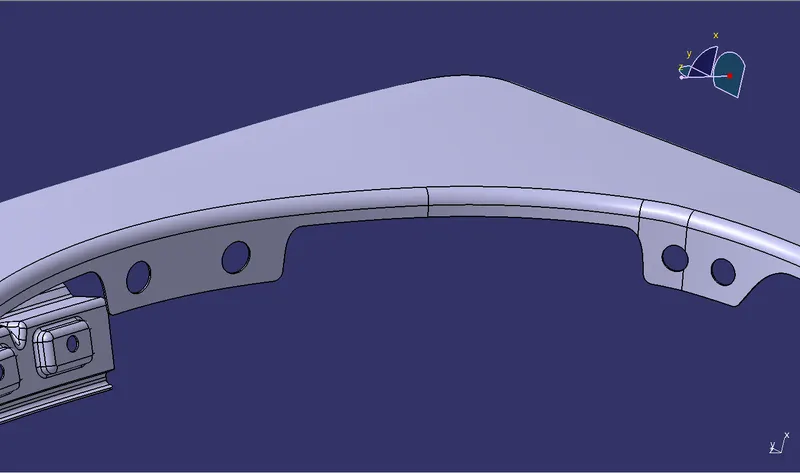
SILL MOUNT:
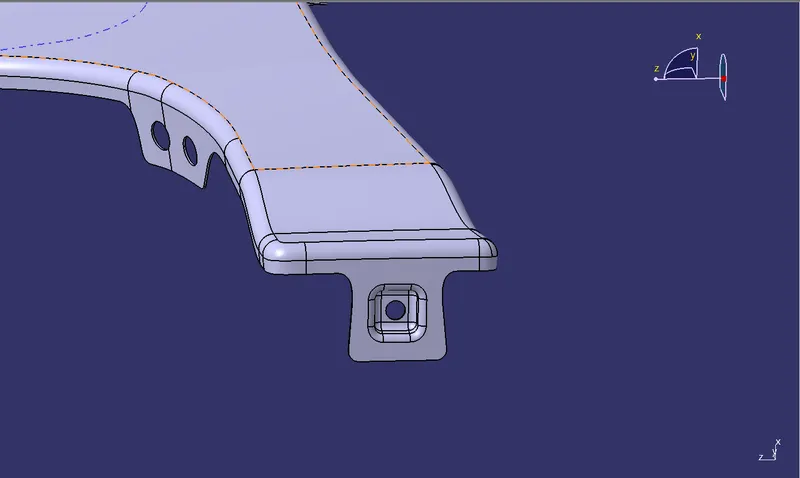
A-Pillar Mount:
- Create a sketch according to mount and use extrude, offset, draft, trim to create emboss.
- Use the hole command to create the hole
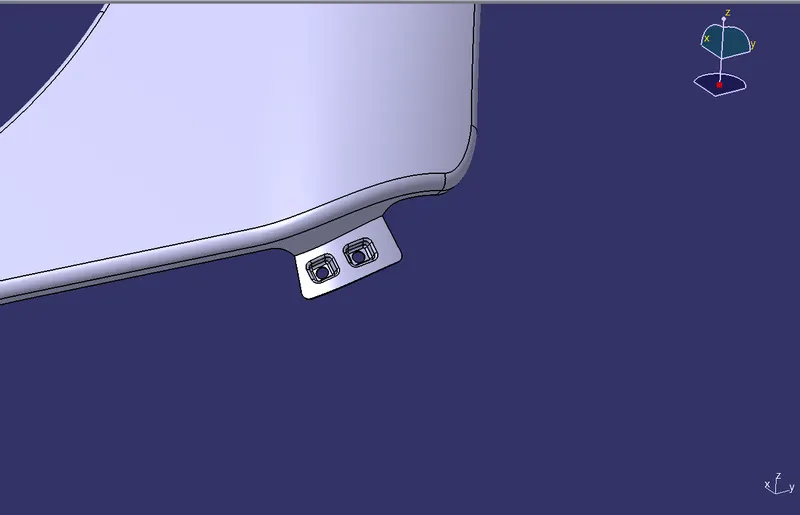
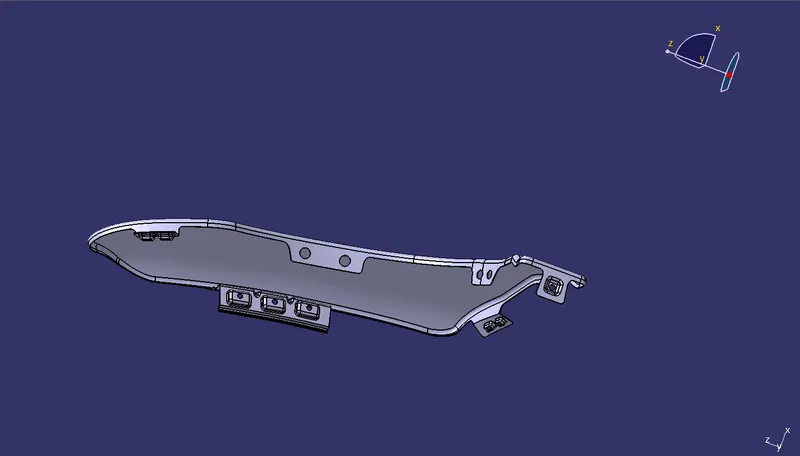
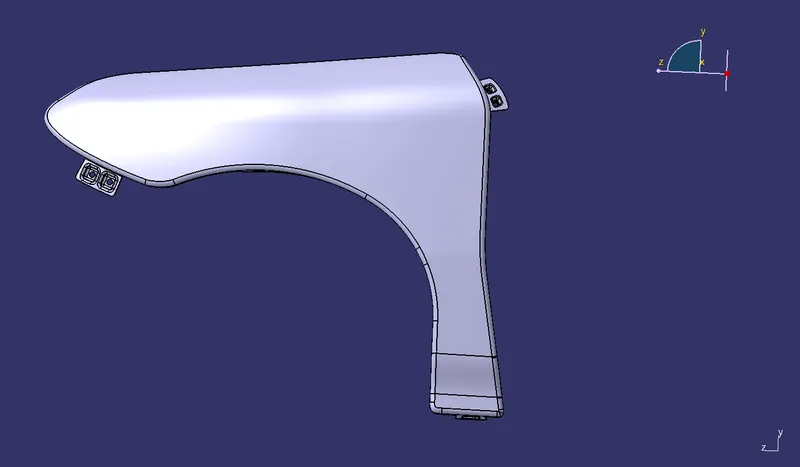
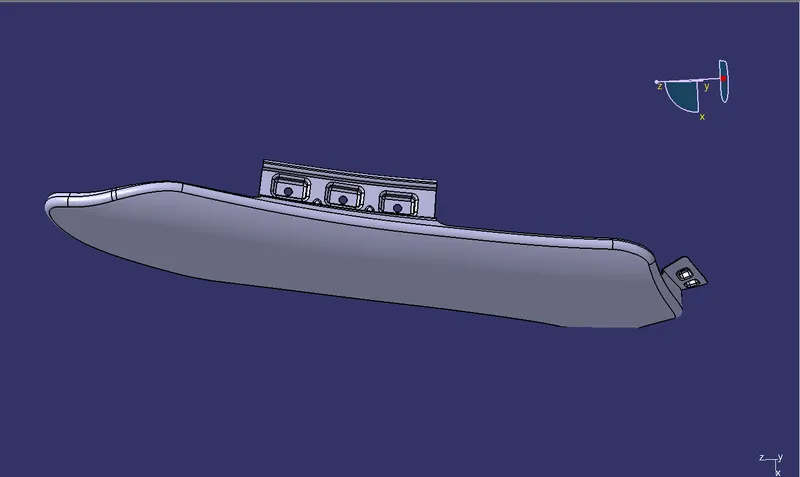
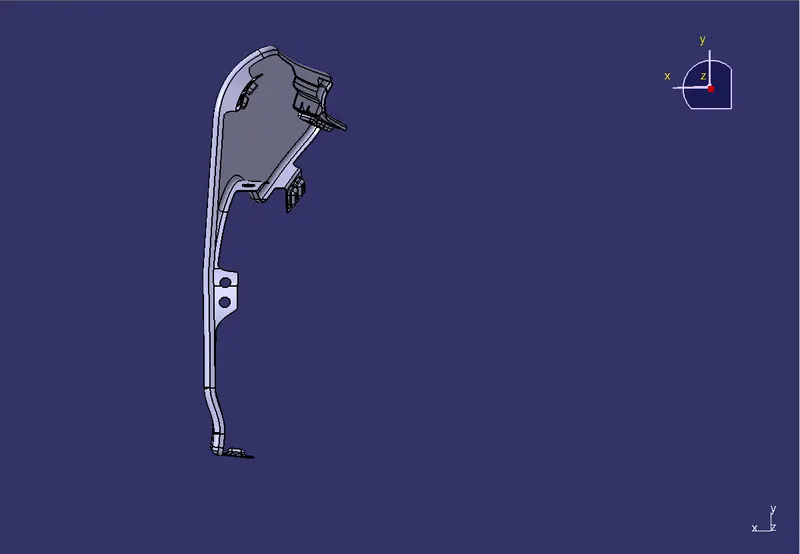
fender with all five mounting points